
|
|
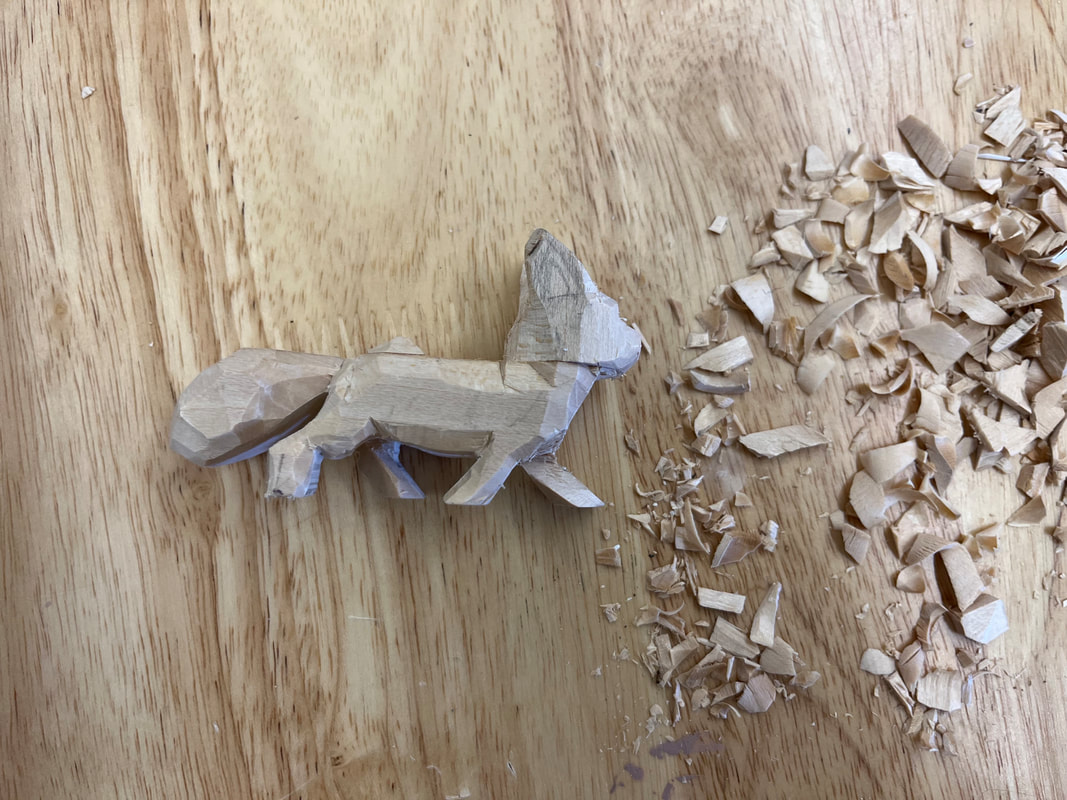
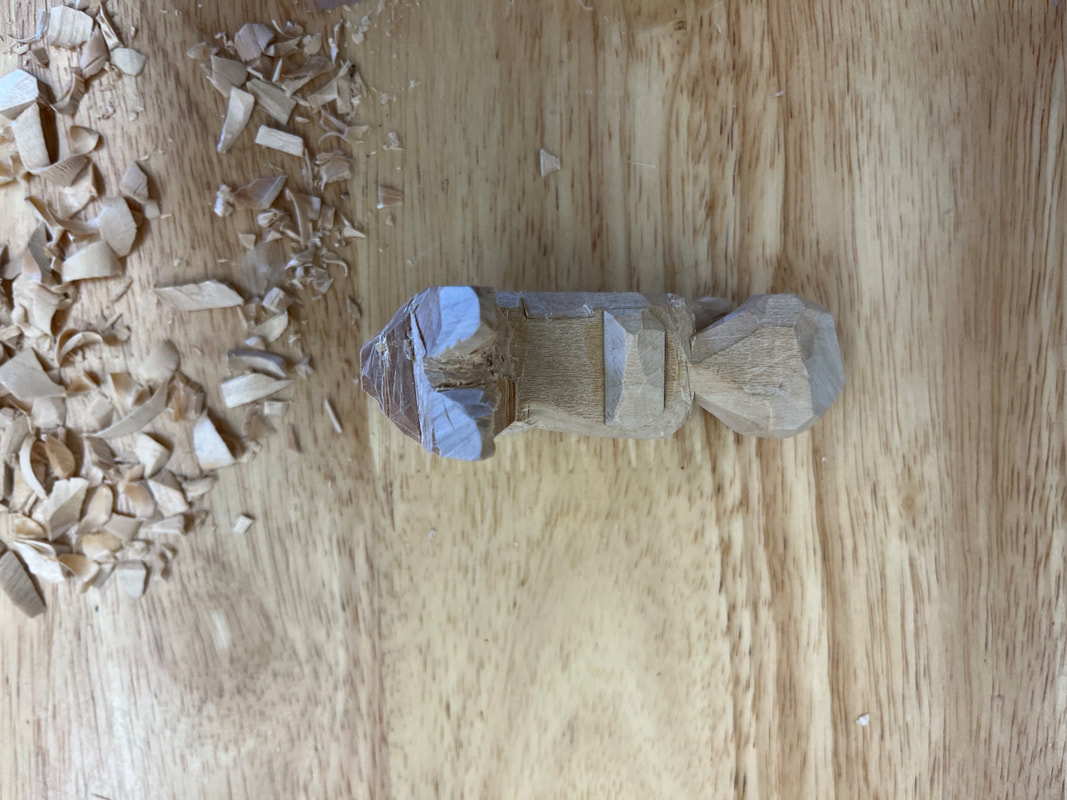
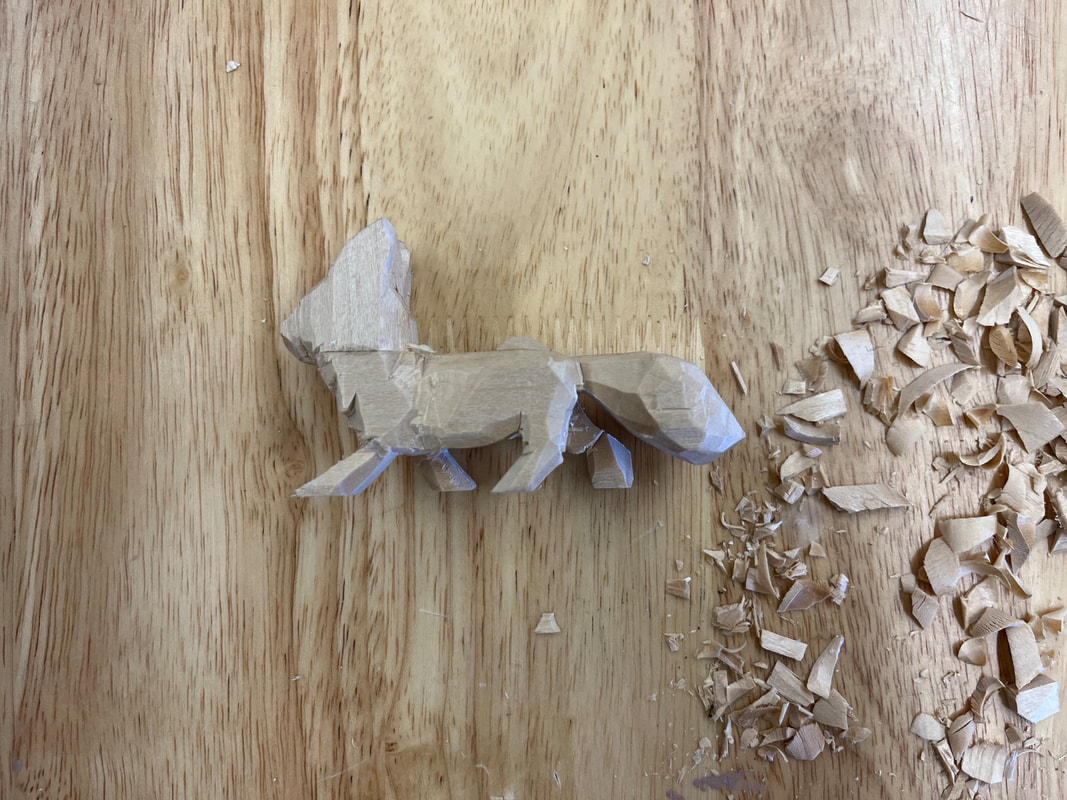
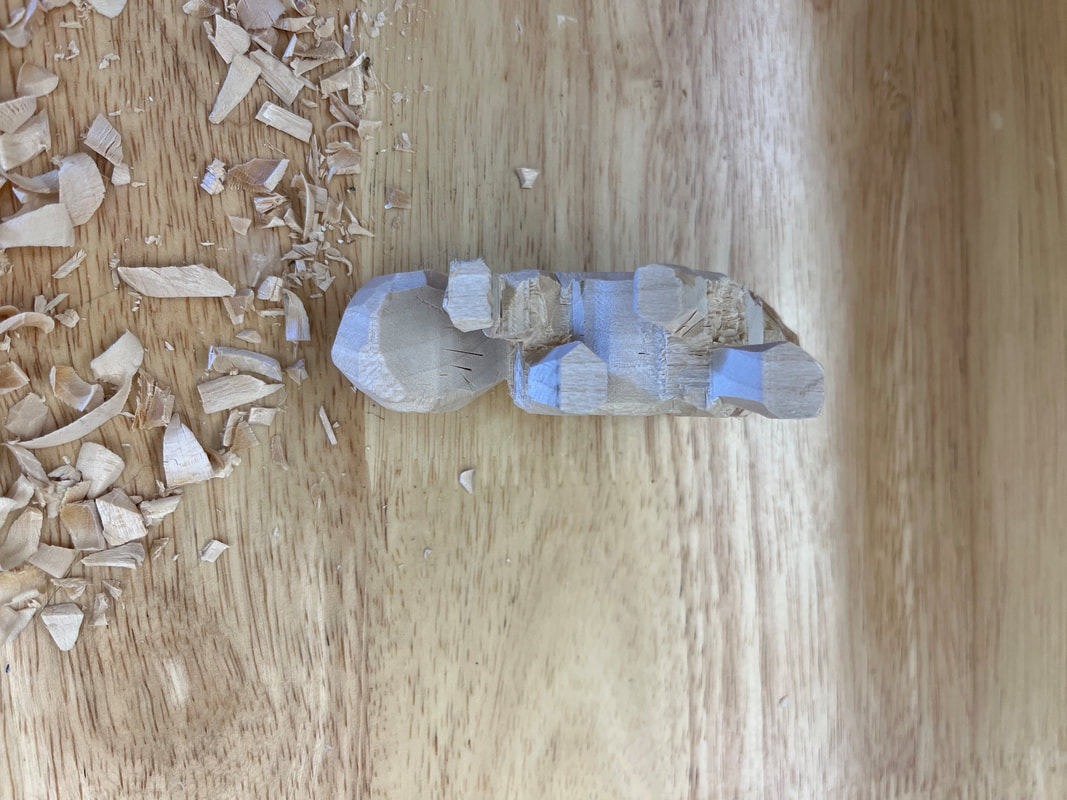
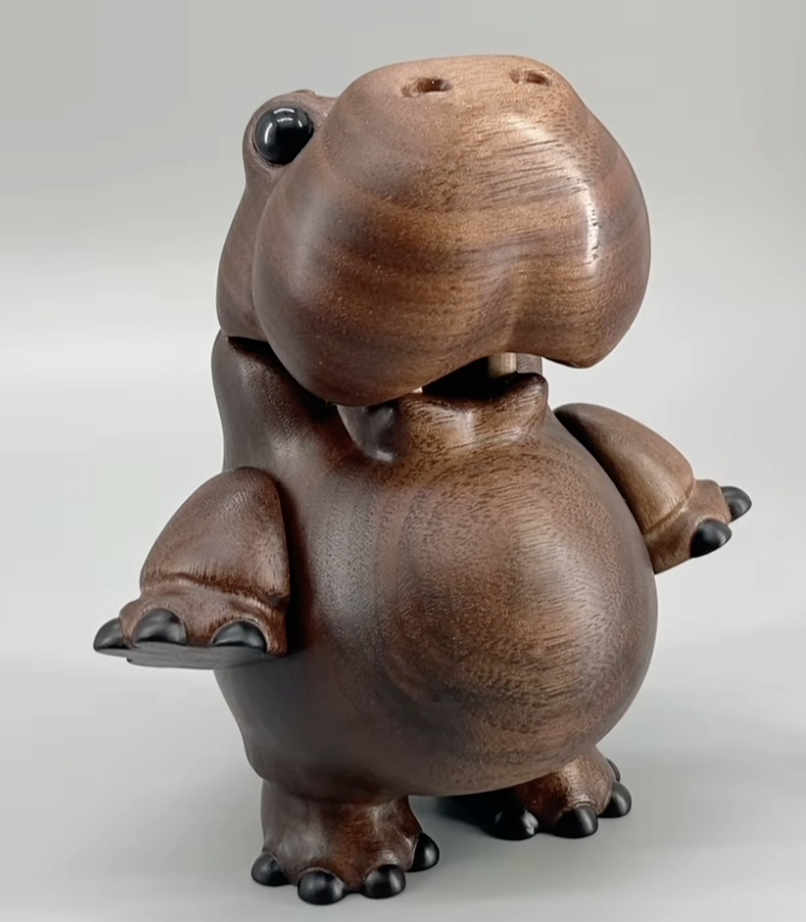
Wood Carving AnimalsStudents will create a wood carved pendant with recessed levels.
This unit has four parts: research and design (designing a project, measuring for materials), prototype (practicing carving with soft wood), final design in hard wood, and documentation of the finished work (photos, email, reflection, and critique). |
Overview Unit Goal
|
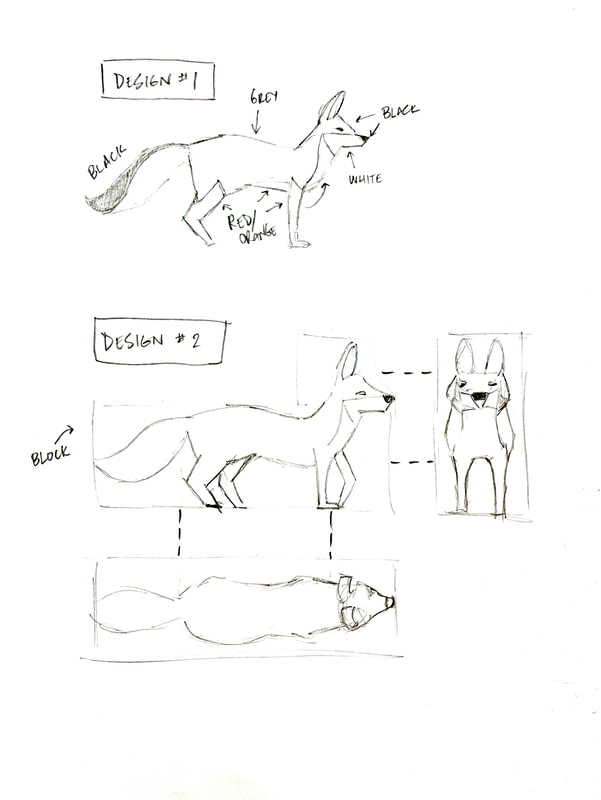
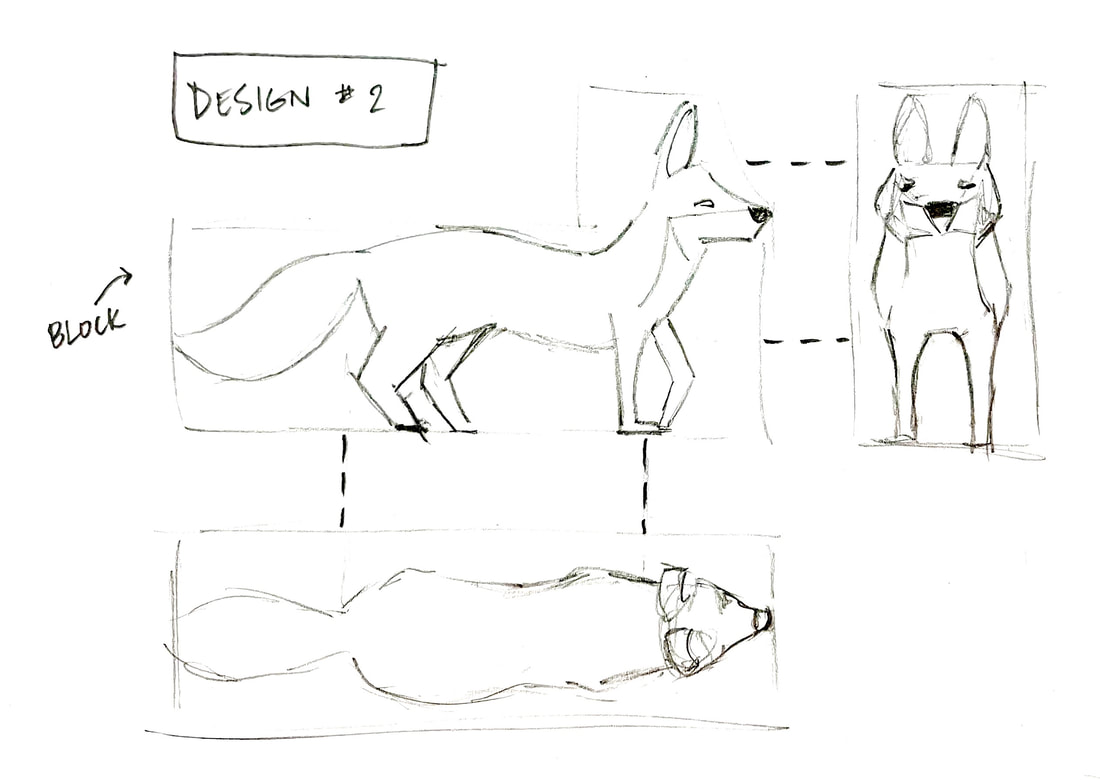
RESEARCH & DESIGN
|
Composition Concepts
|
|
Technical Skill VideosHARDWOOD ANIMALS
SOFTWOOD CREATURES
ADVANCED IDEAS
|
Order of WorkDetermine Your Design
|


Research & Design
|
|
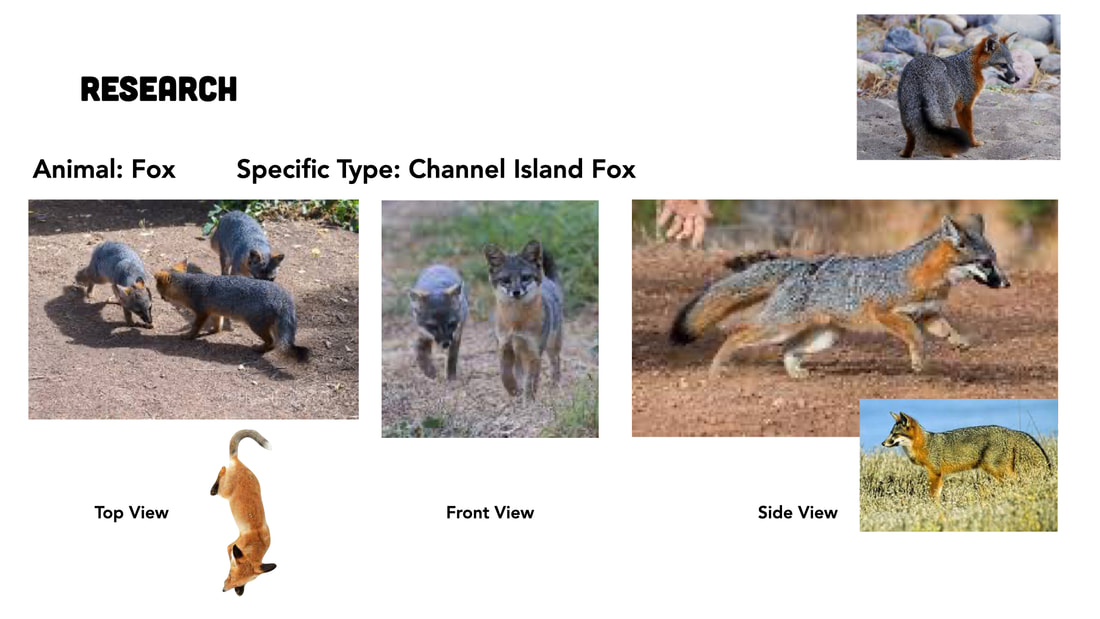
RESEARCH
|
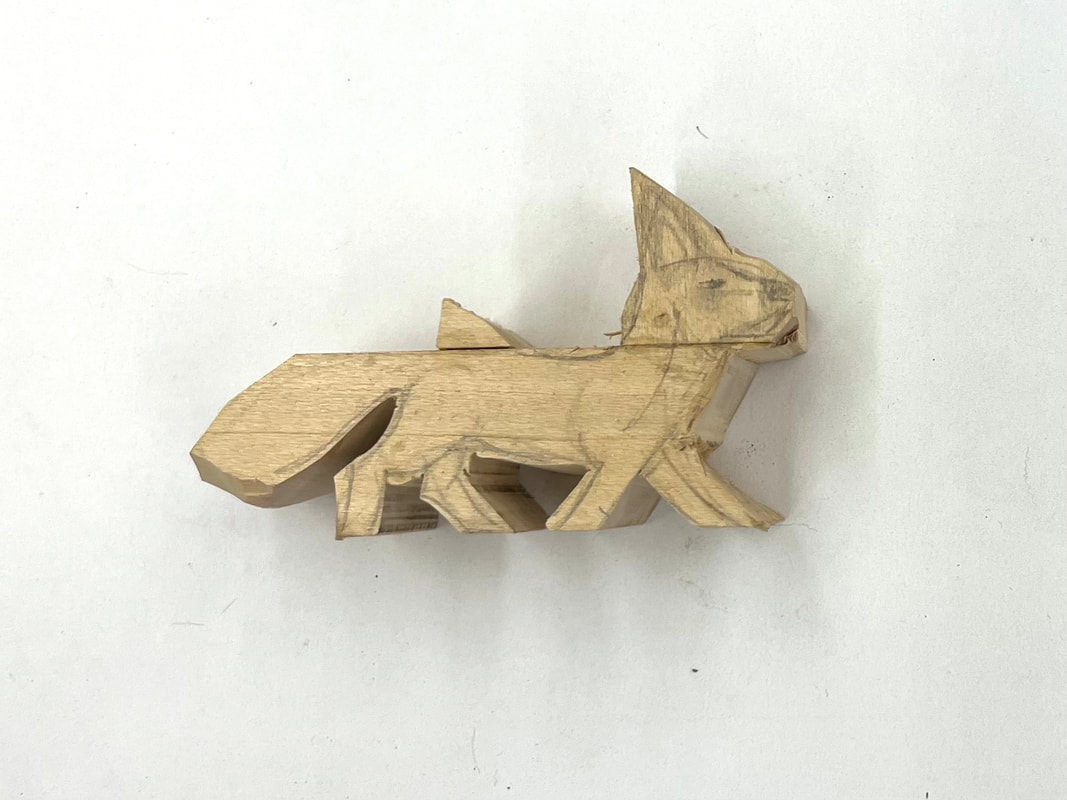
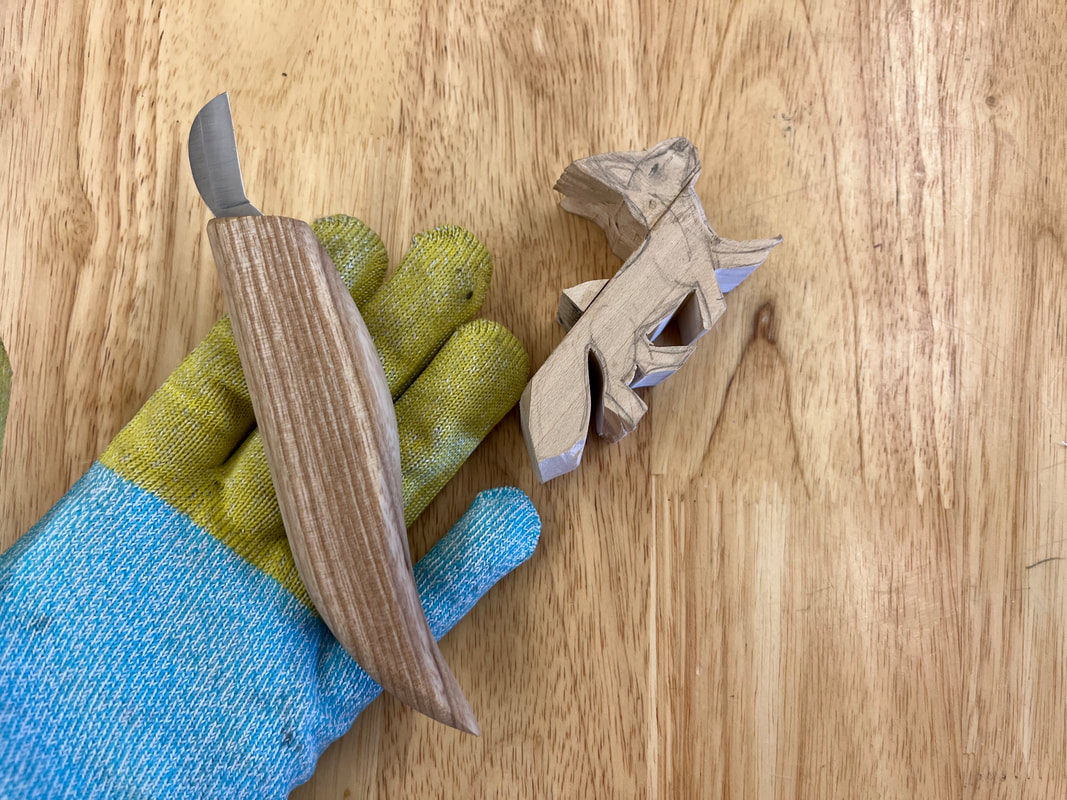
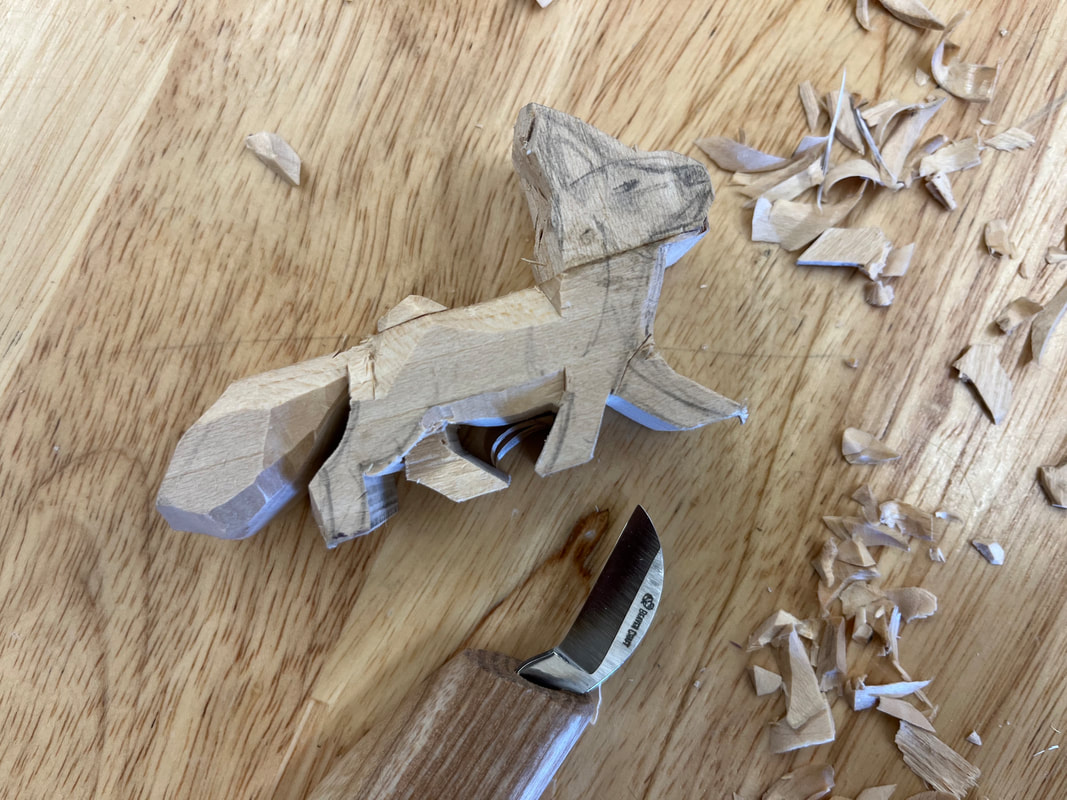
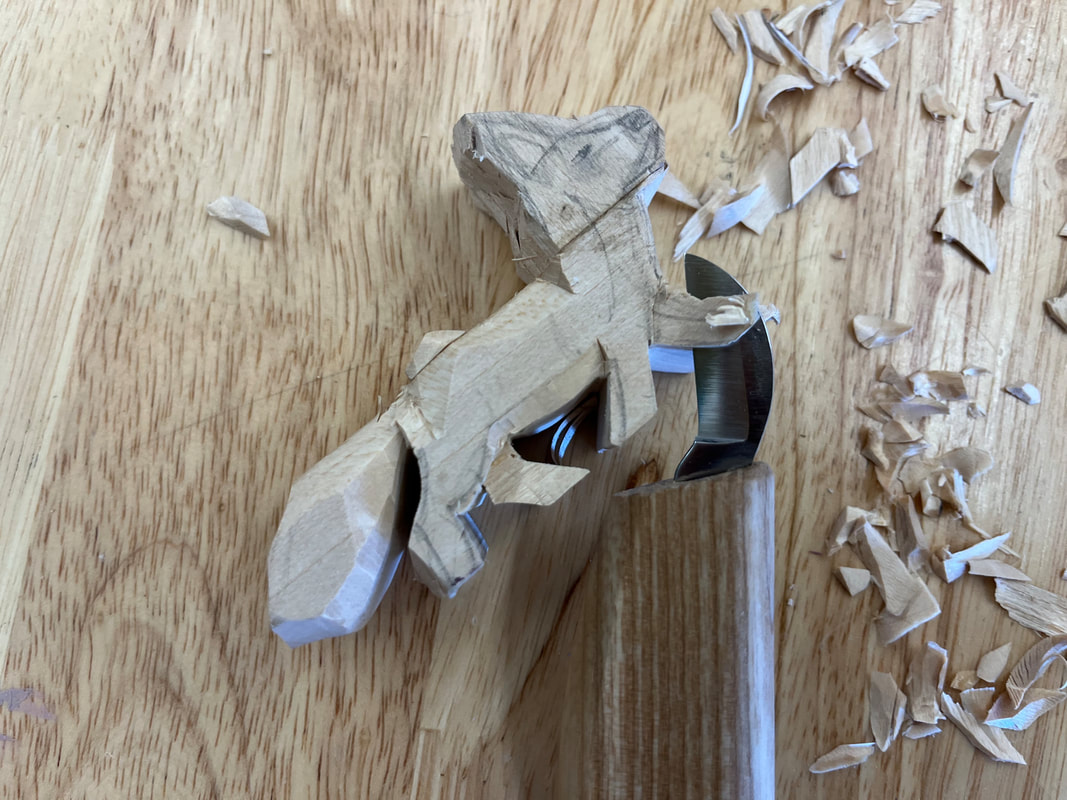
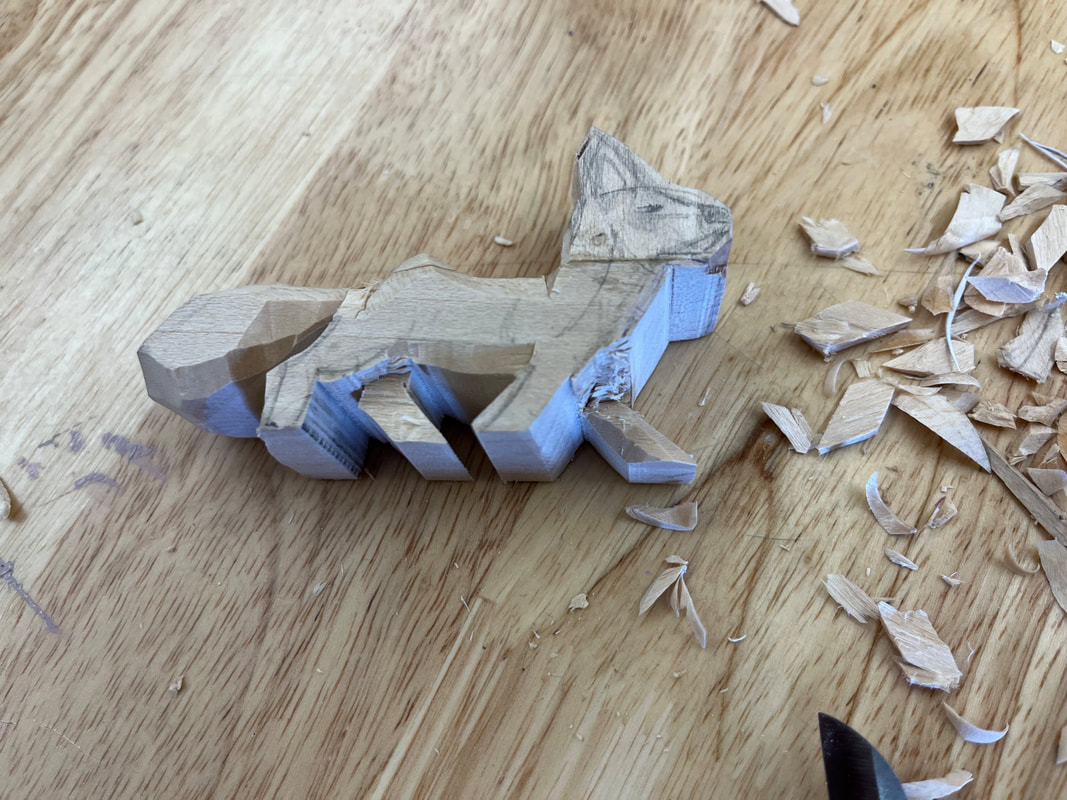
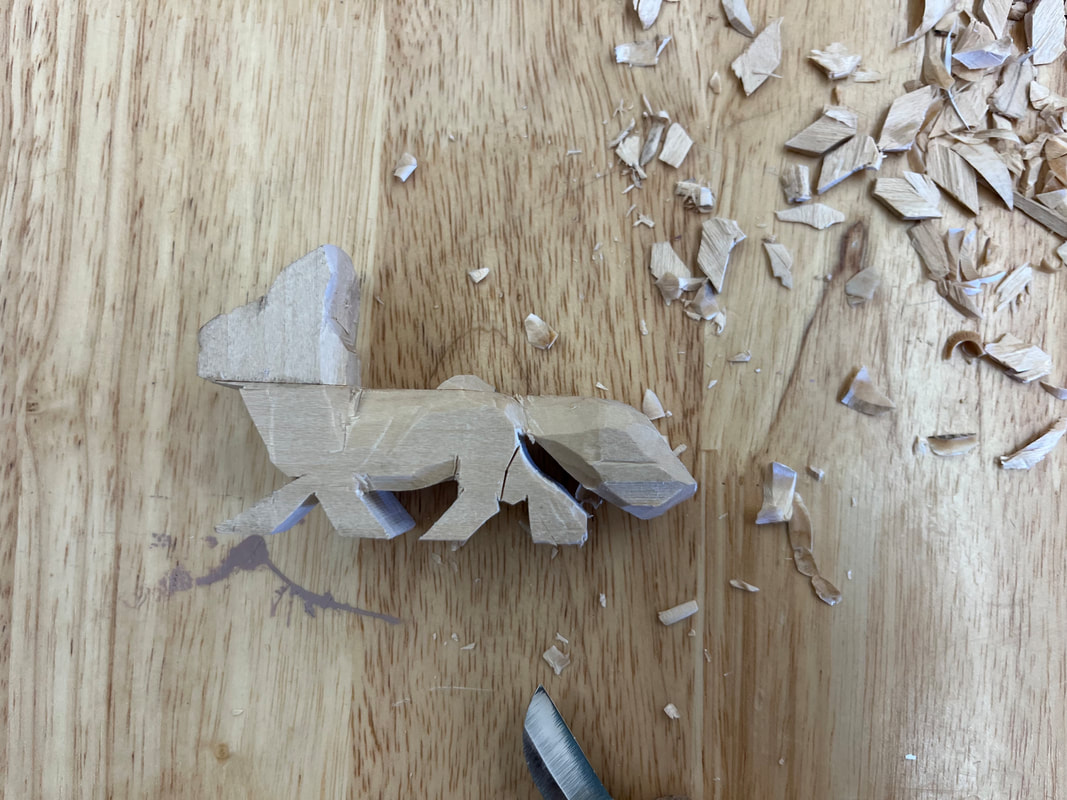
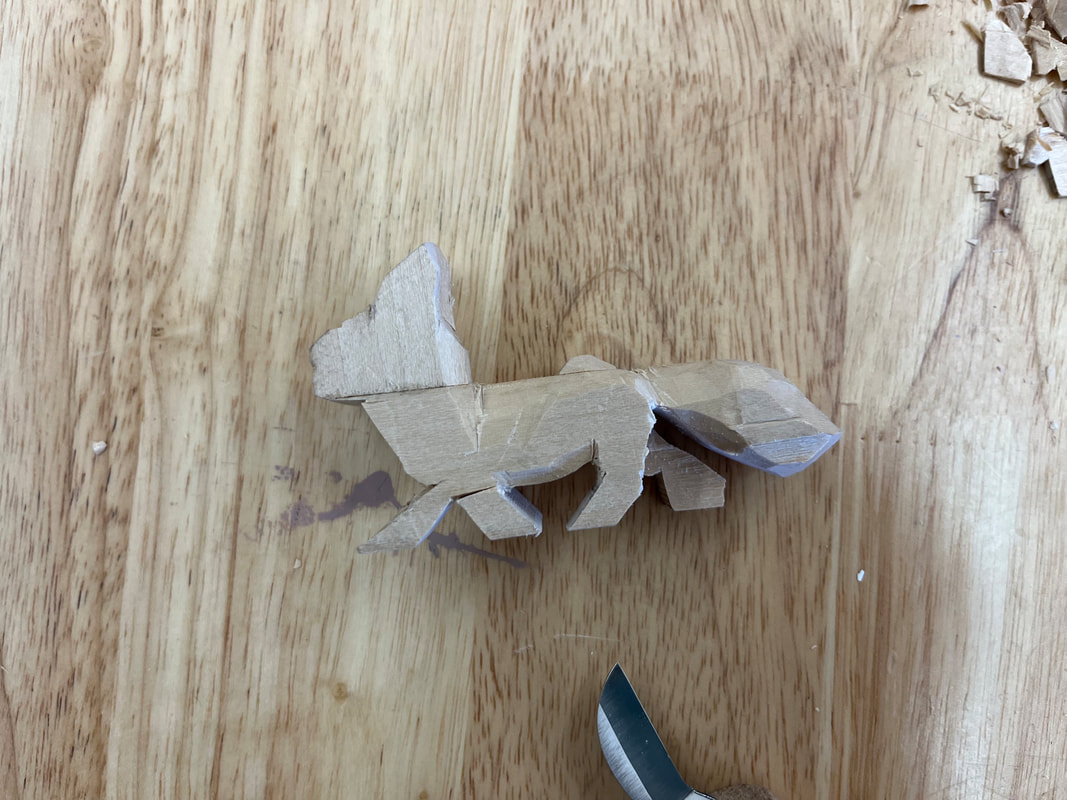
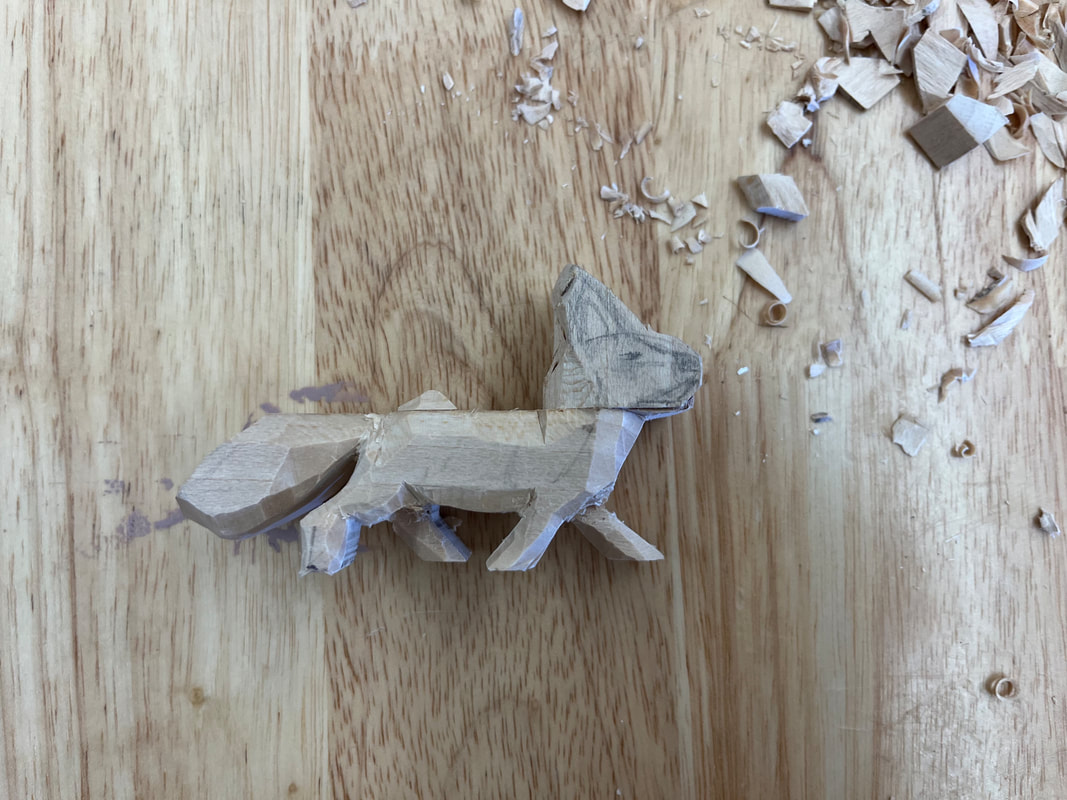
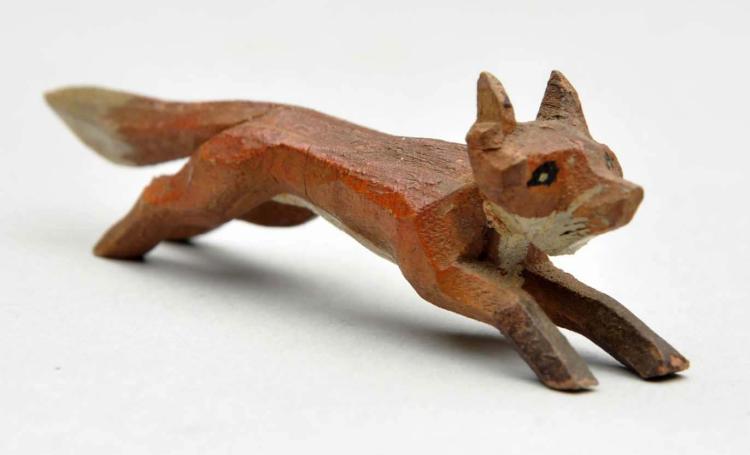
Softwood Carving: Whittling
|
|
|
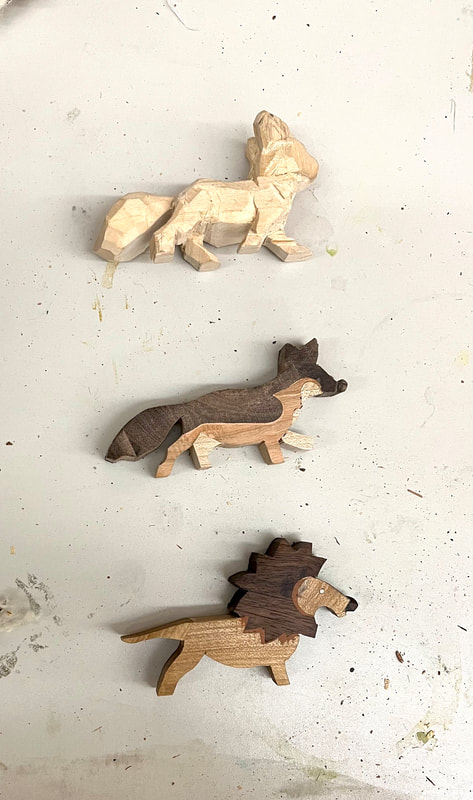
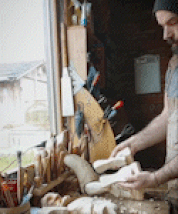
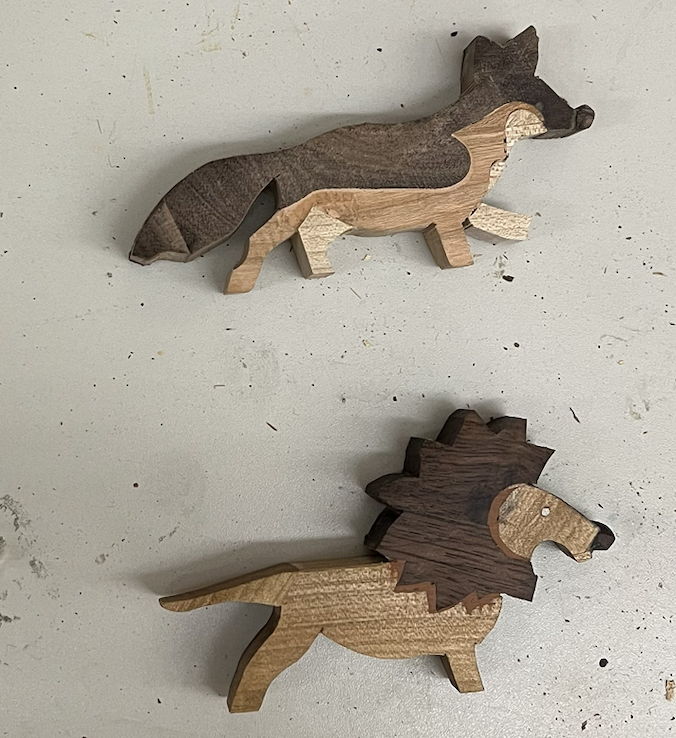
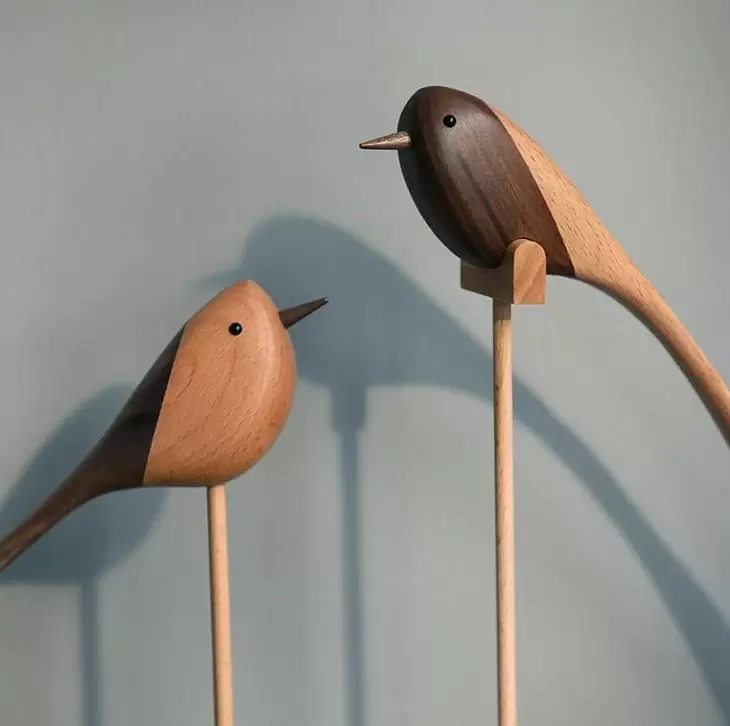
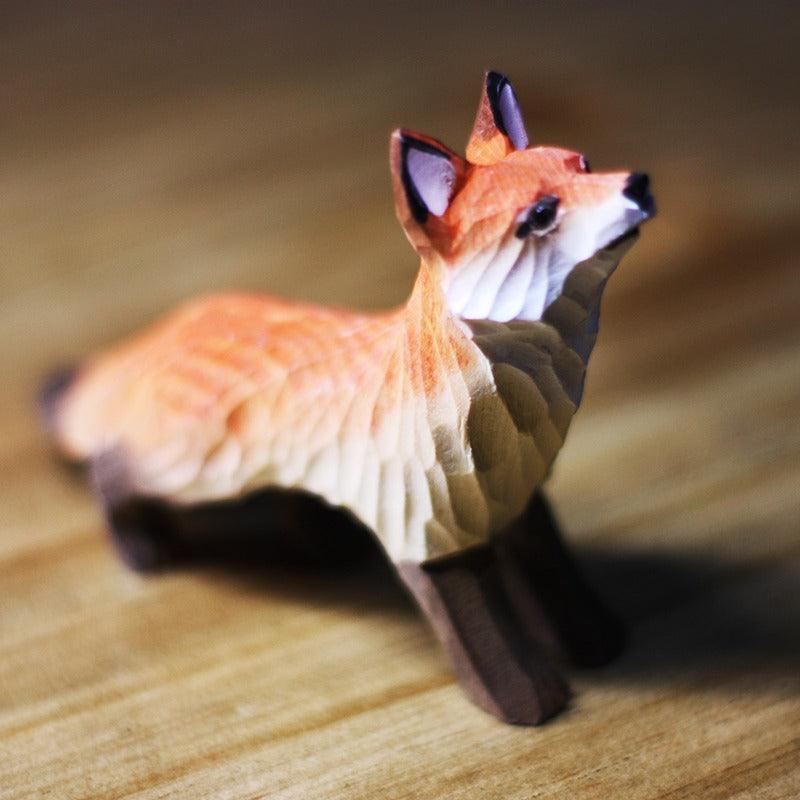
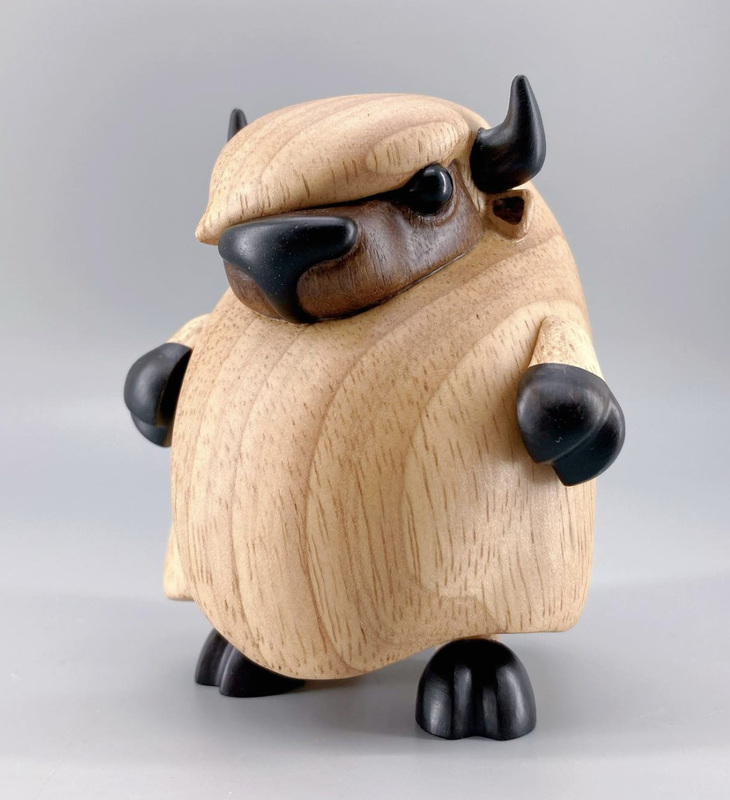
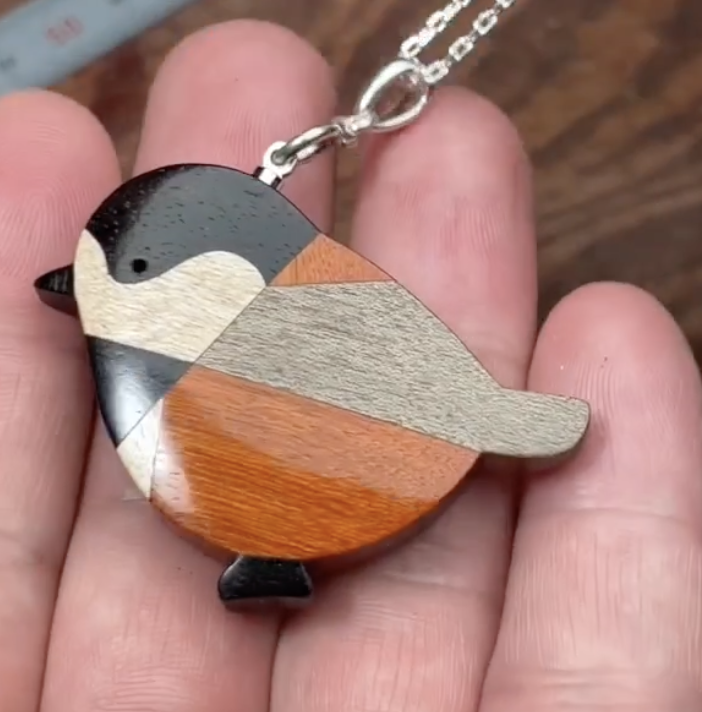
Hardwood Carving: 2+ Wood Type Animal with Saws
|
|
|
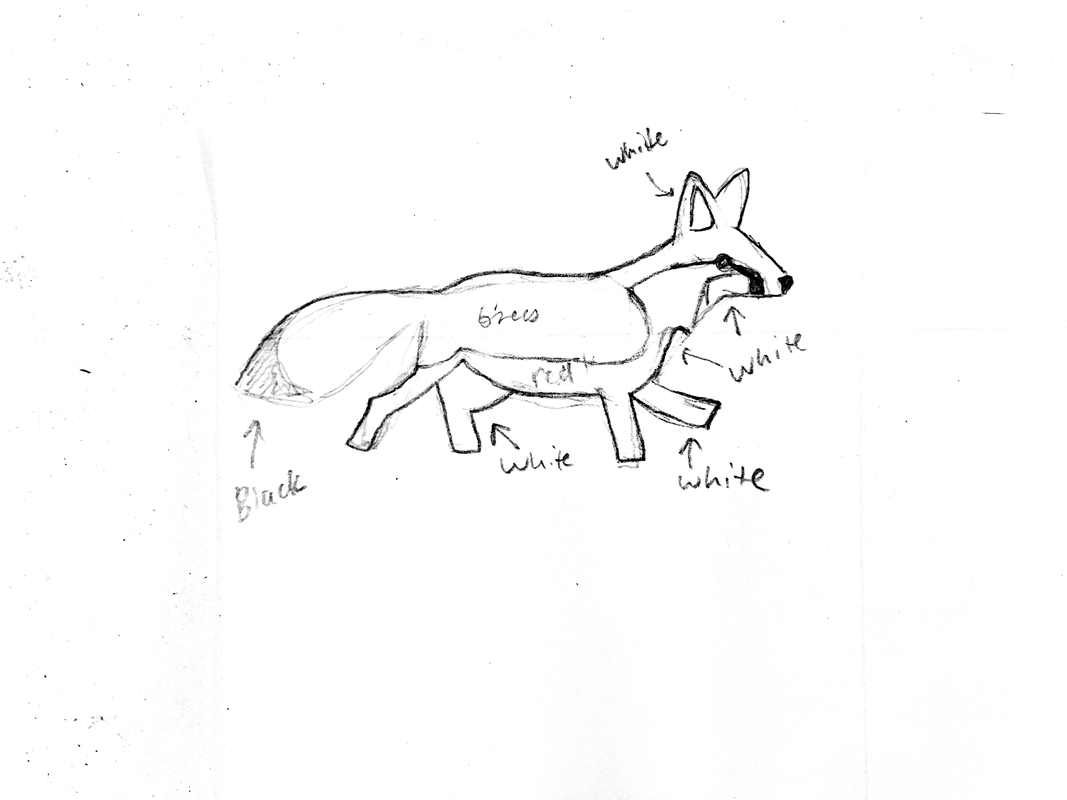

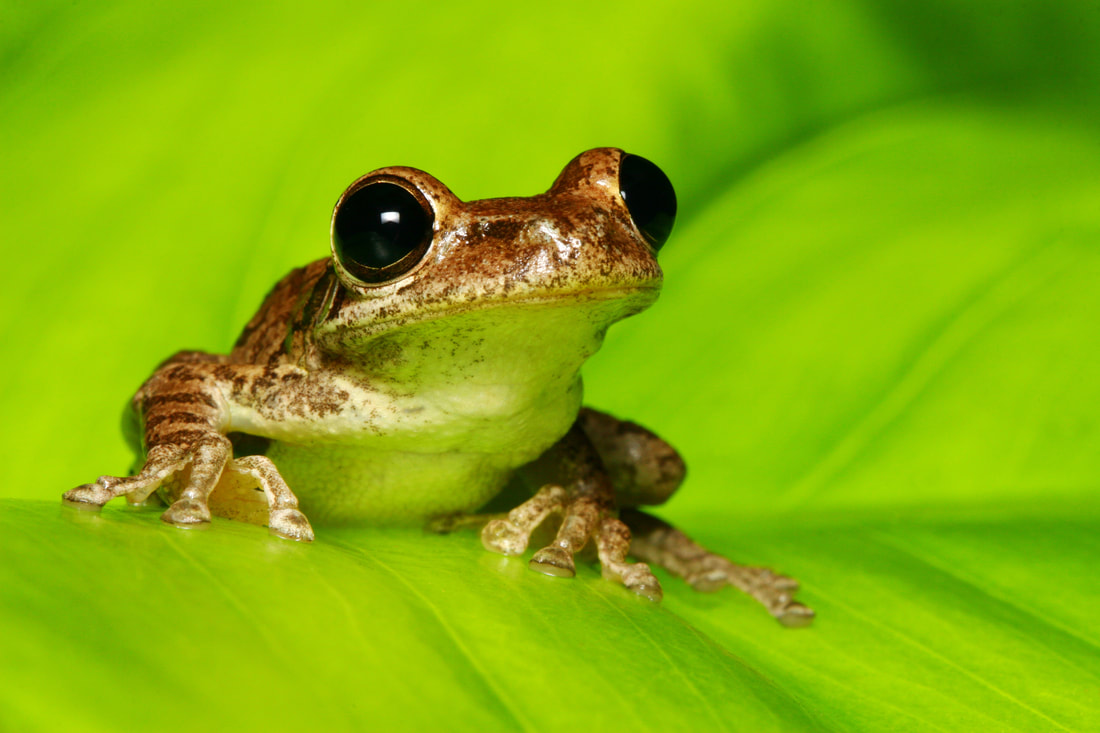
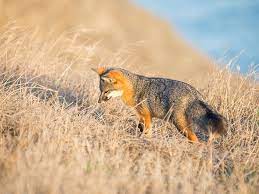
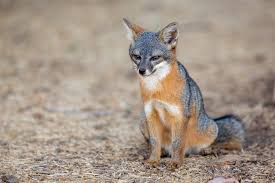
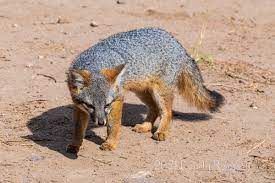
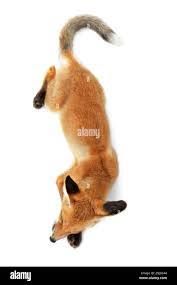
FIND A PHOTO OF AN ANIMAL
|
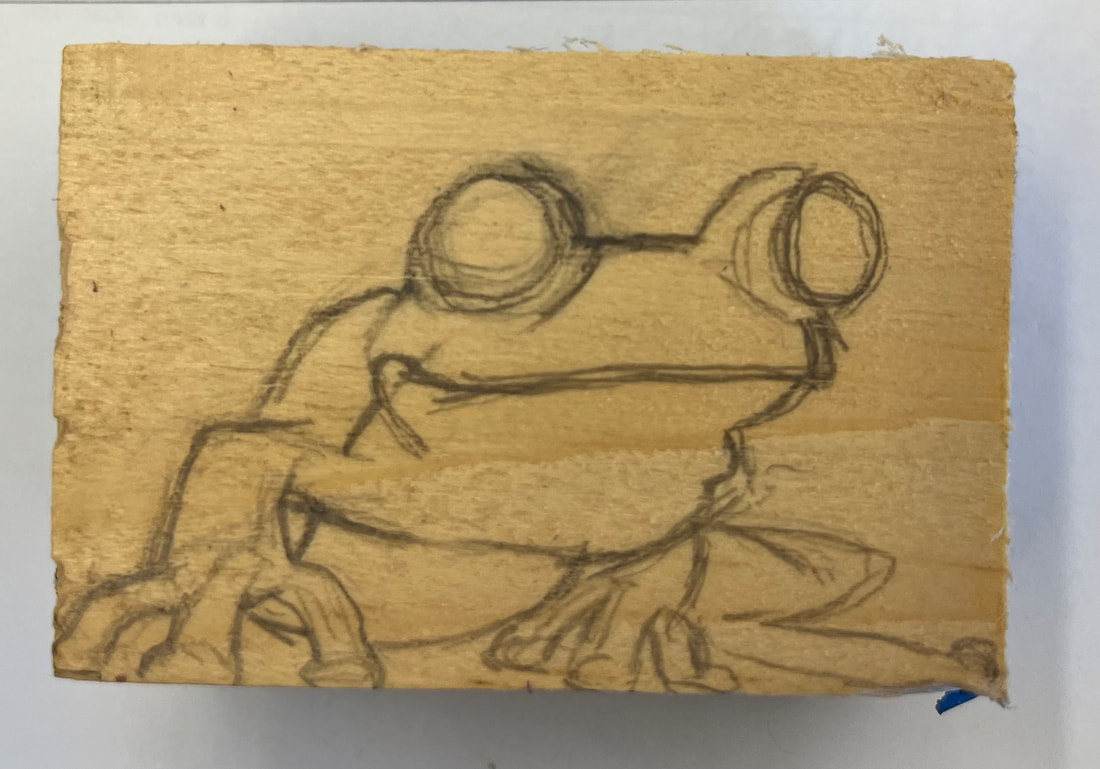
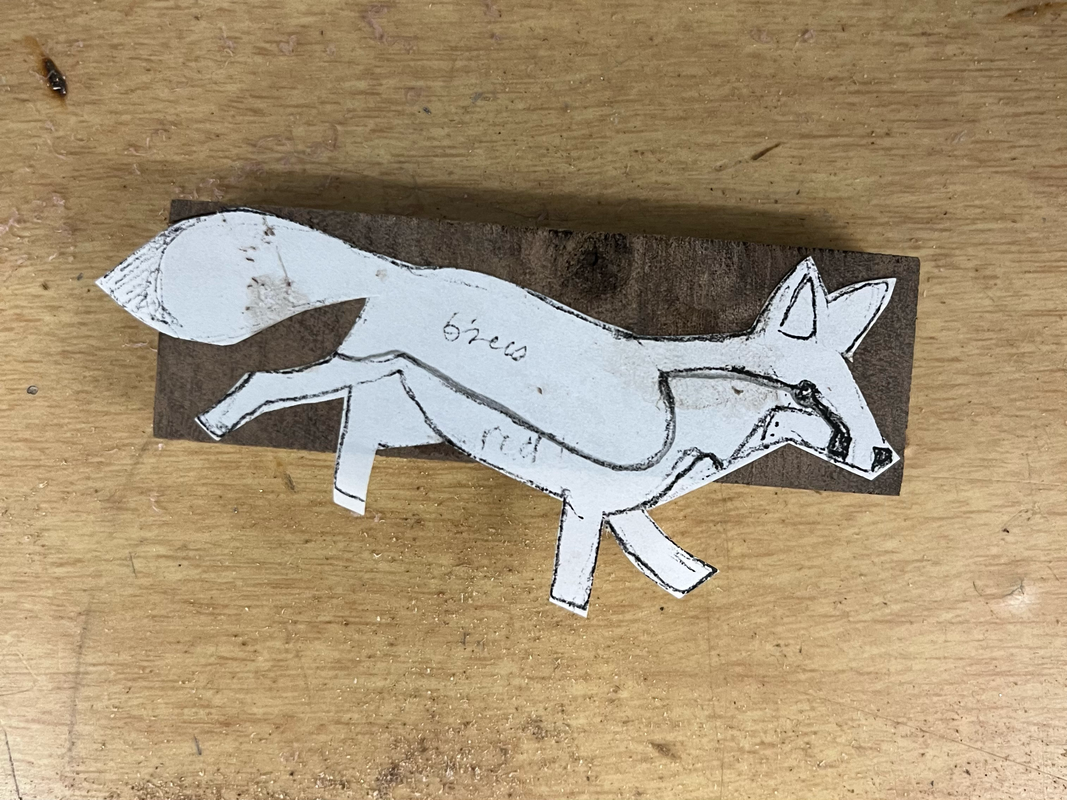
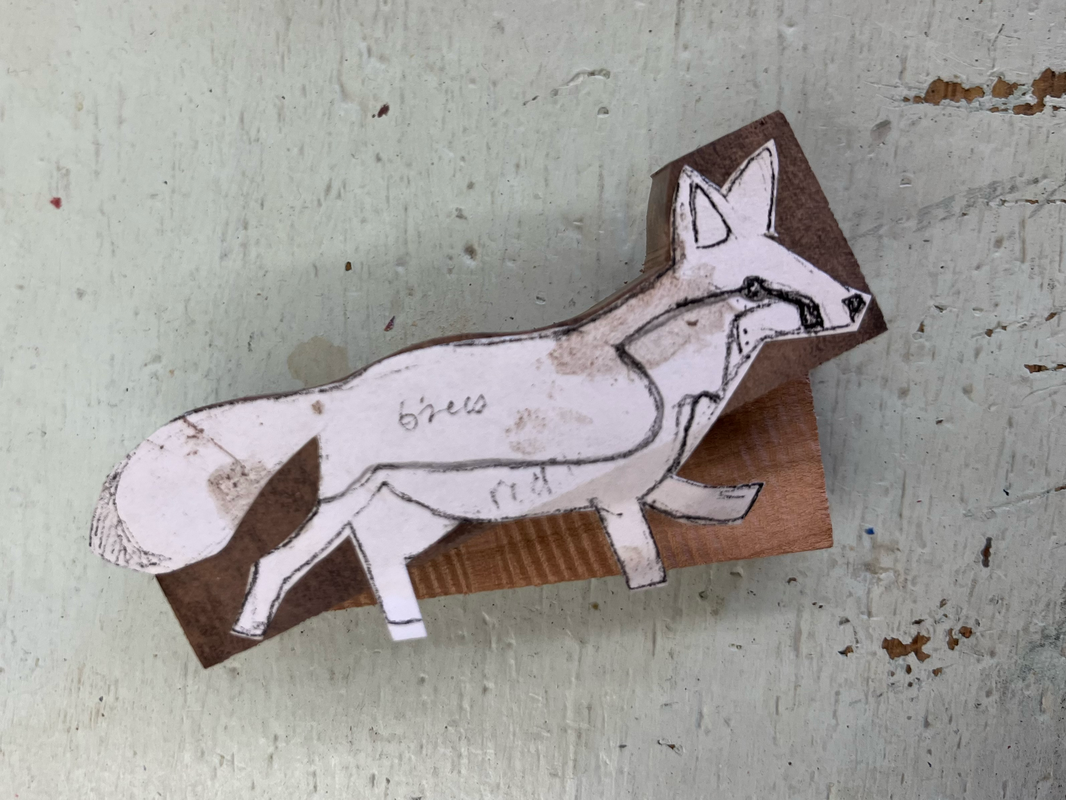
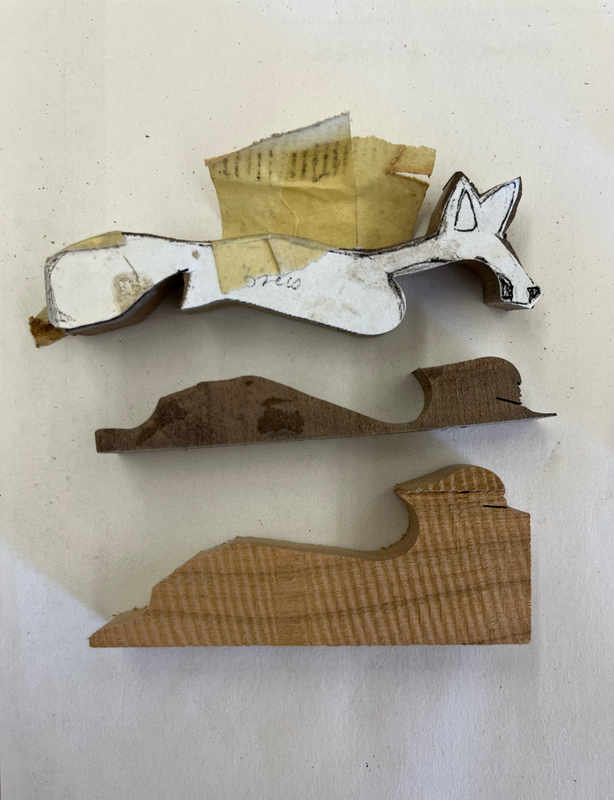
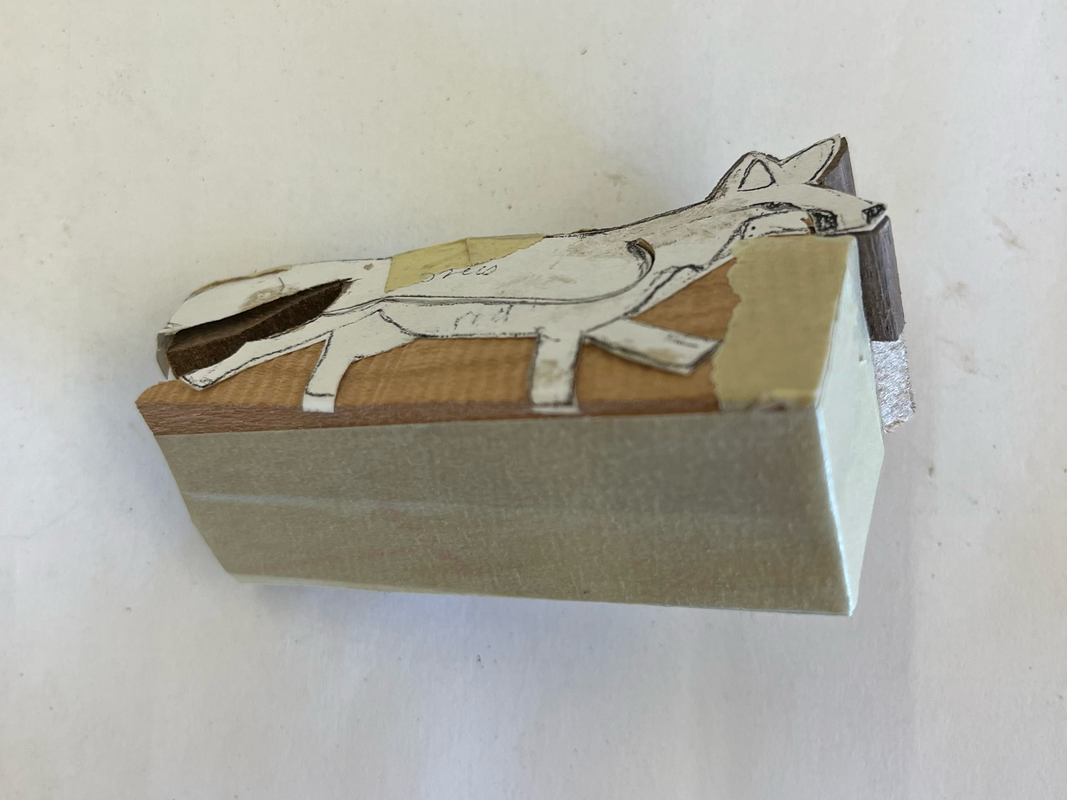
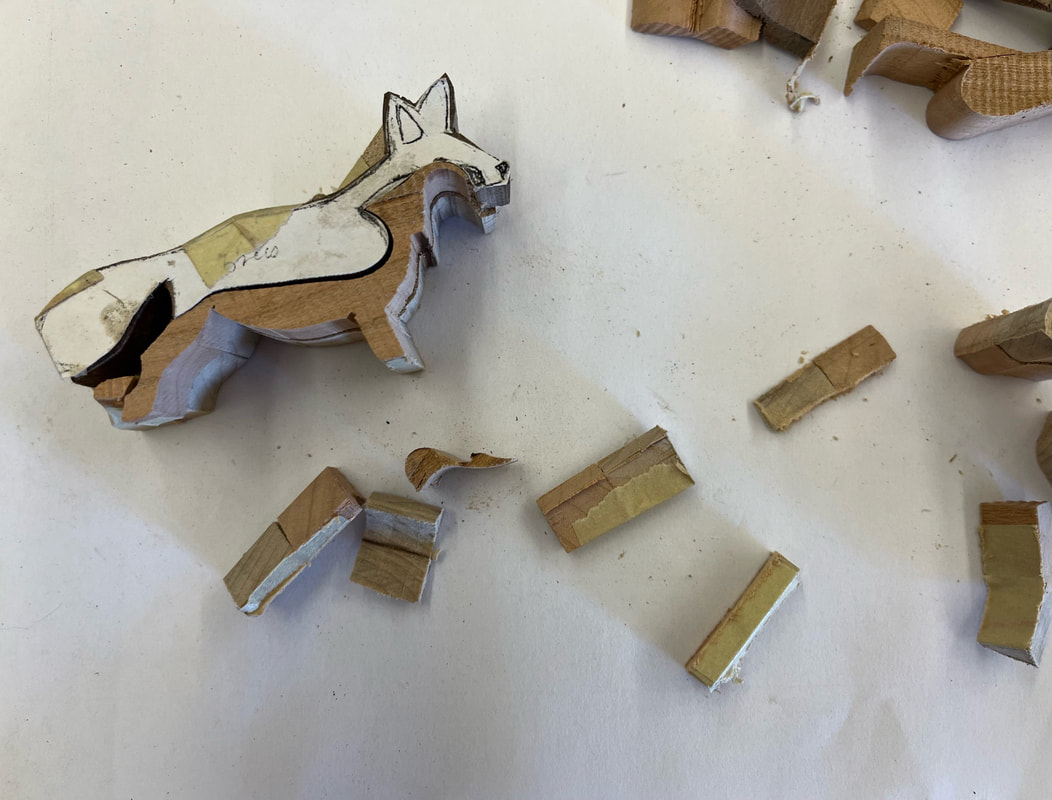
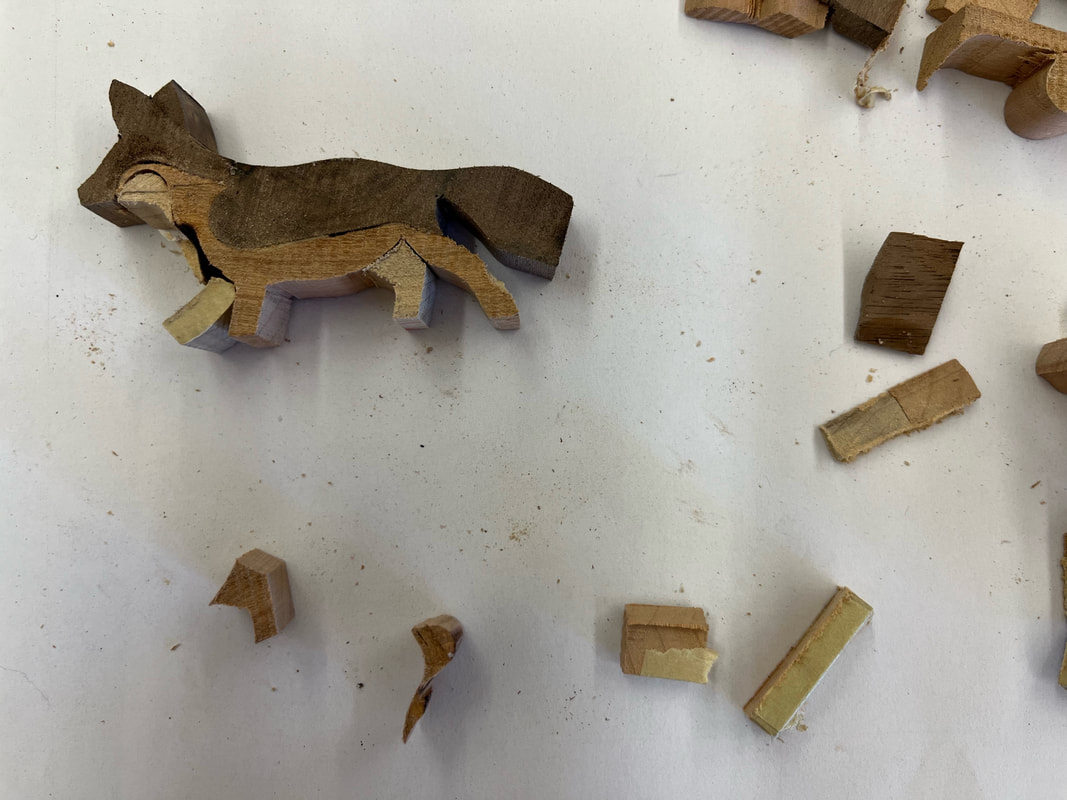
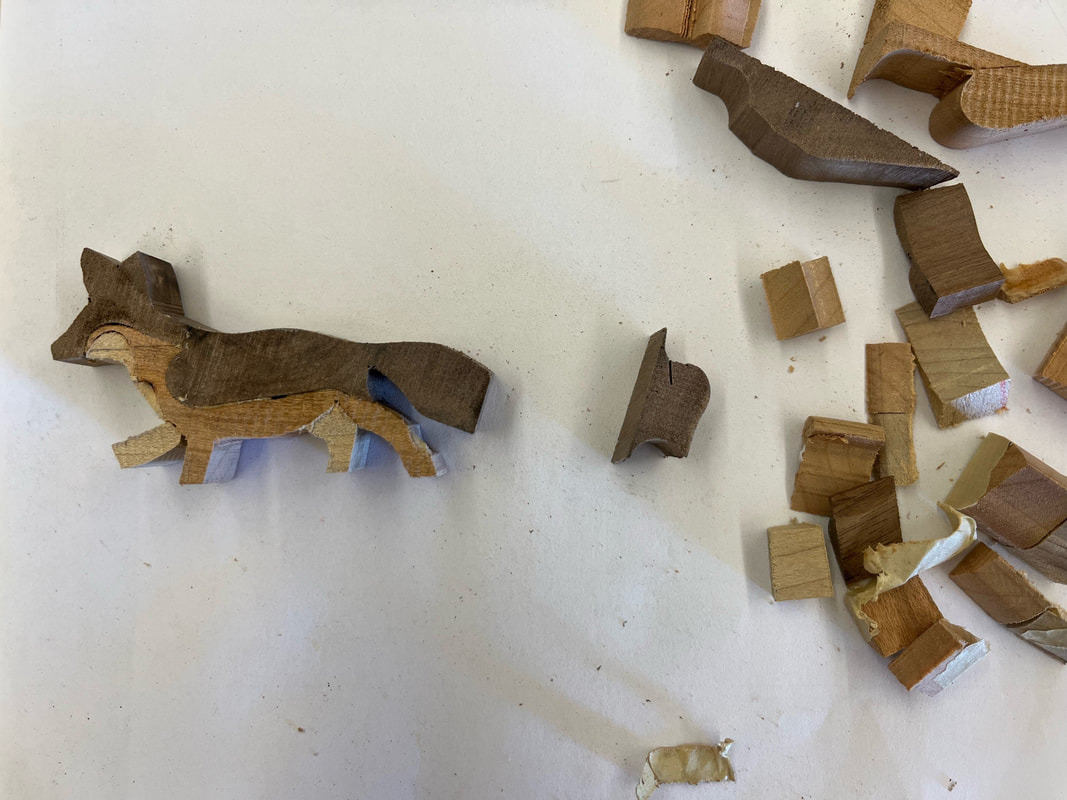
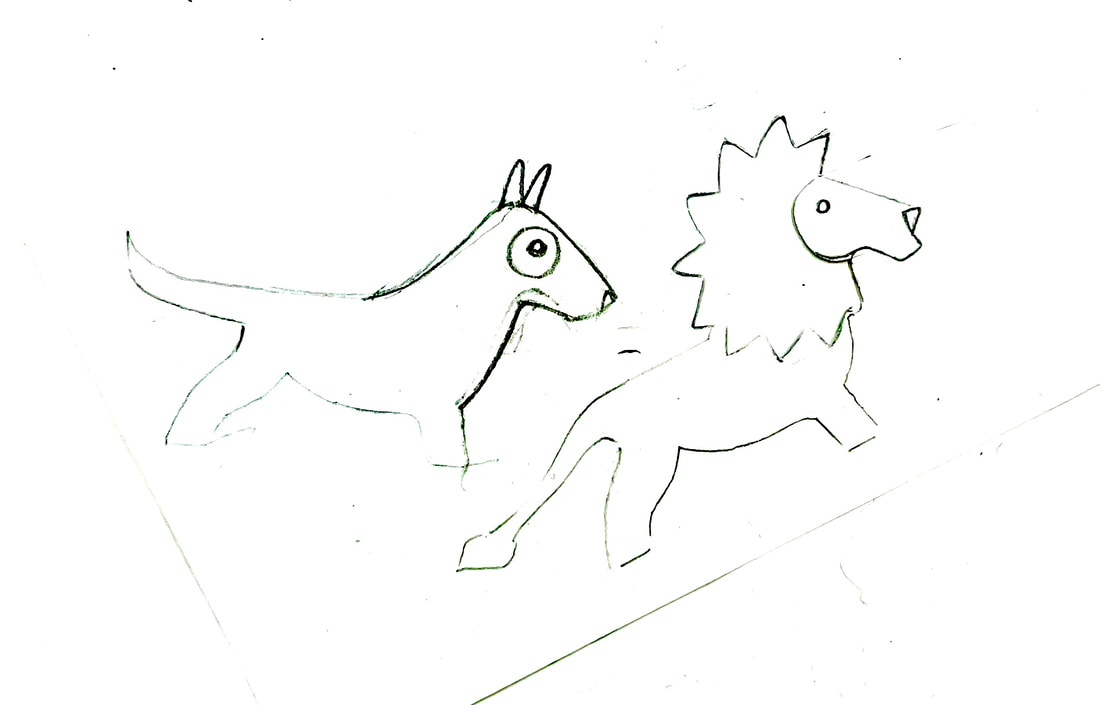
DRAW YOUR DESIGN ON THE WOOD STACK
|
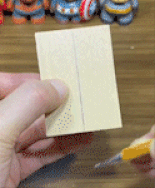
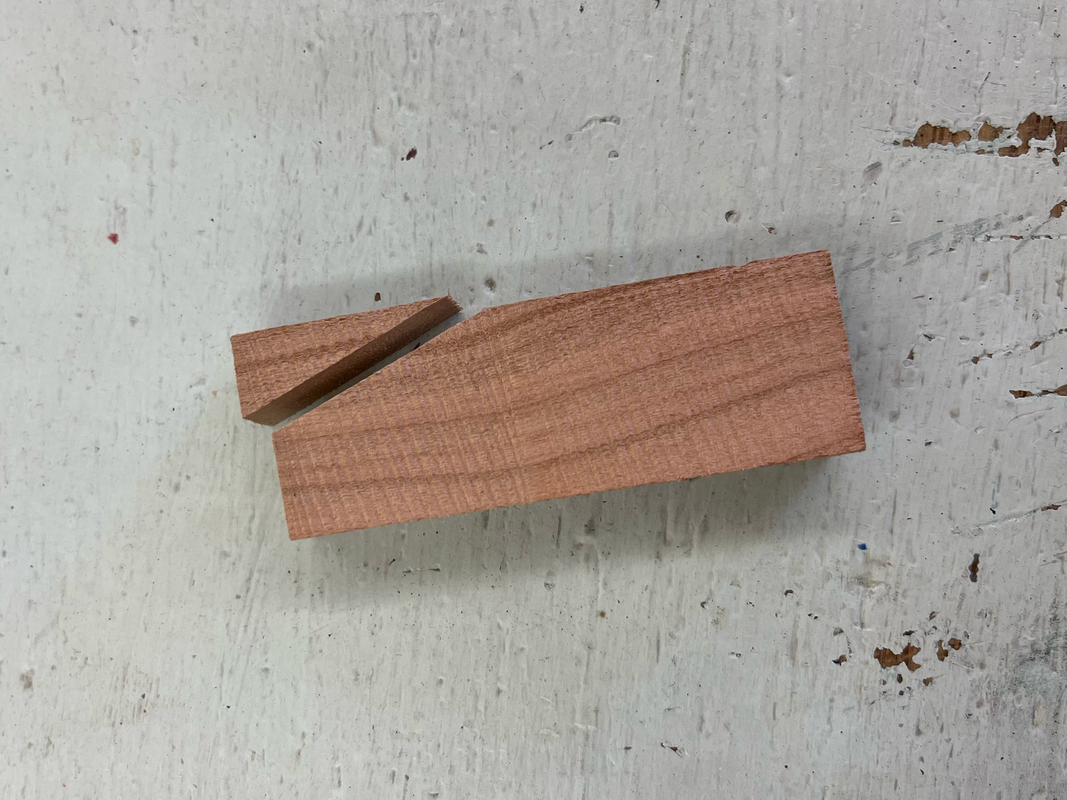
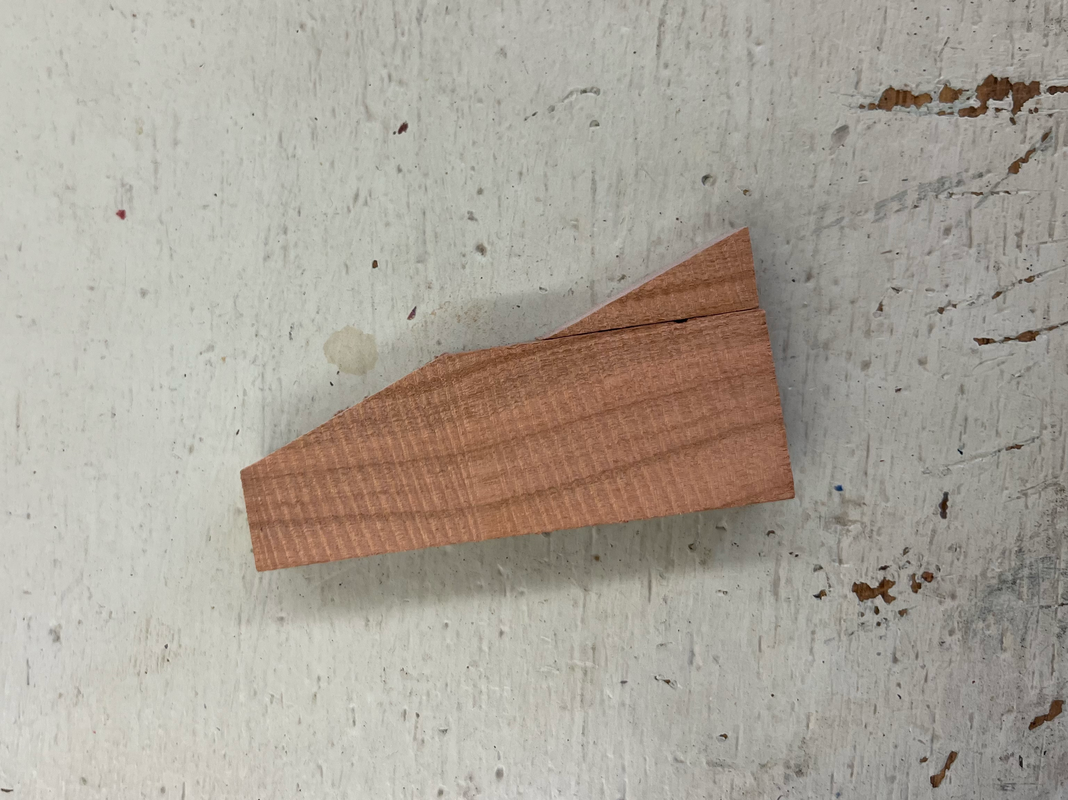
CUT OUT THE WOOD STACK ALL AT ONCE
|
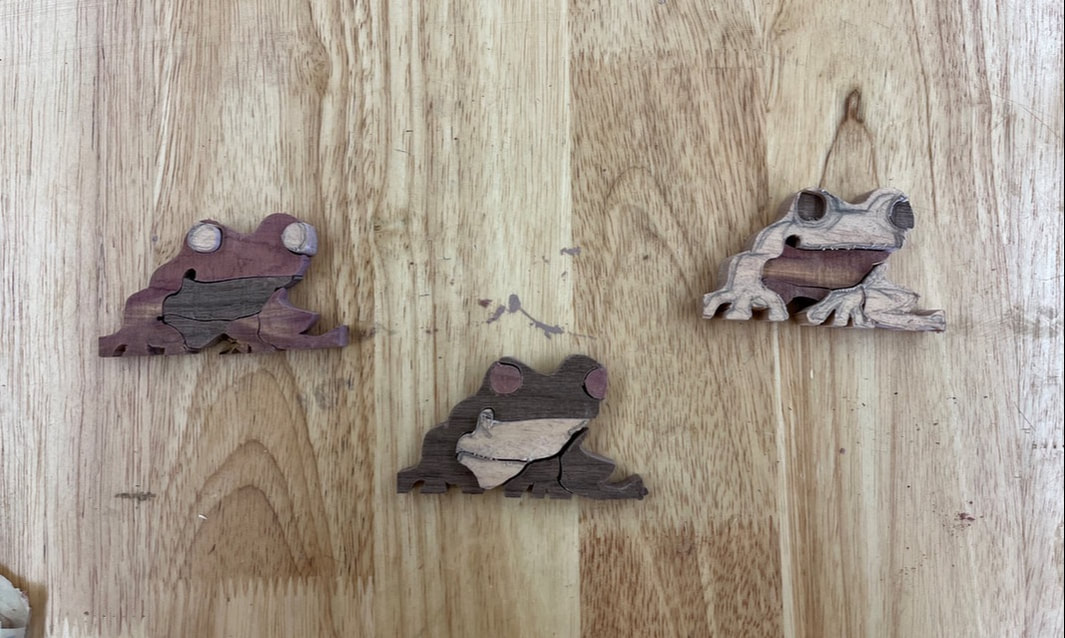
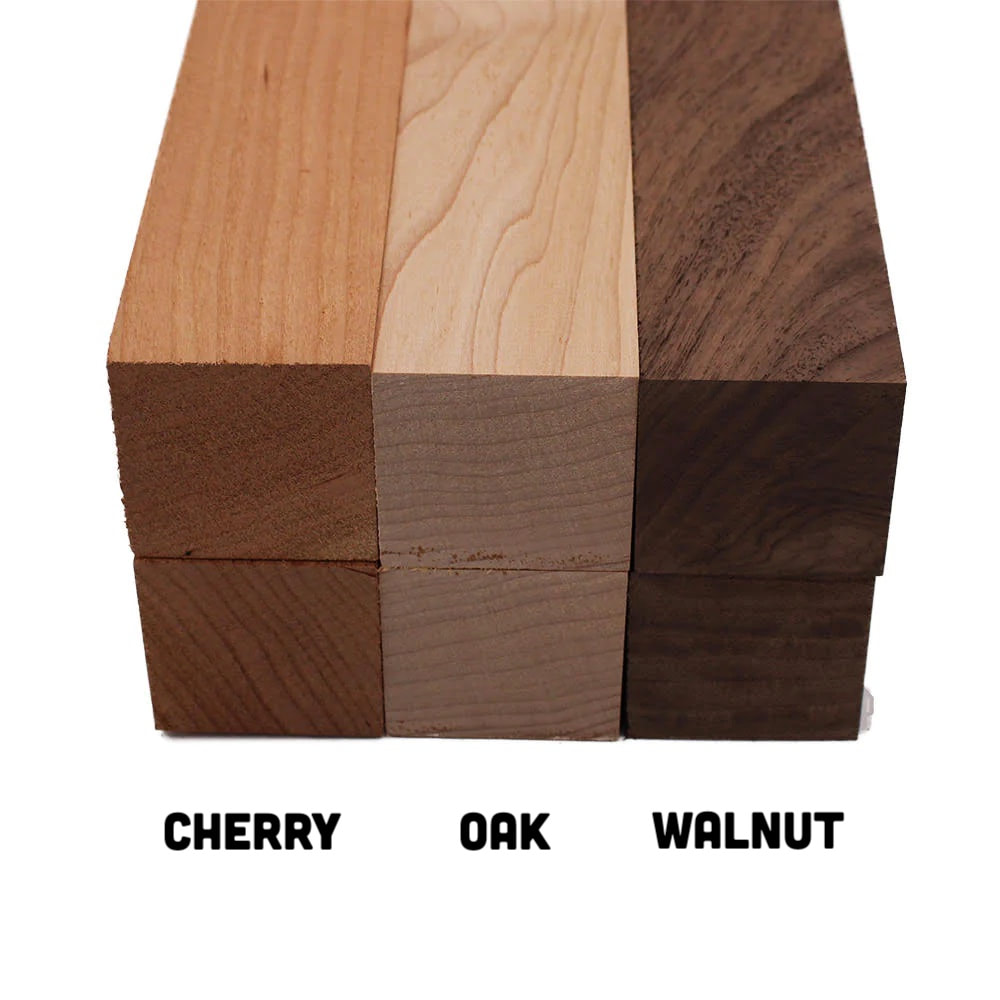
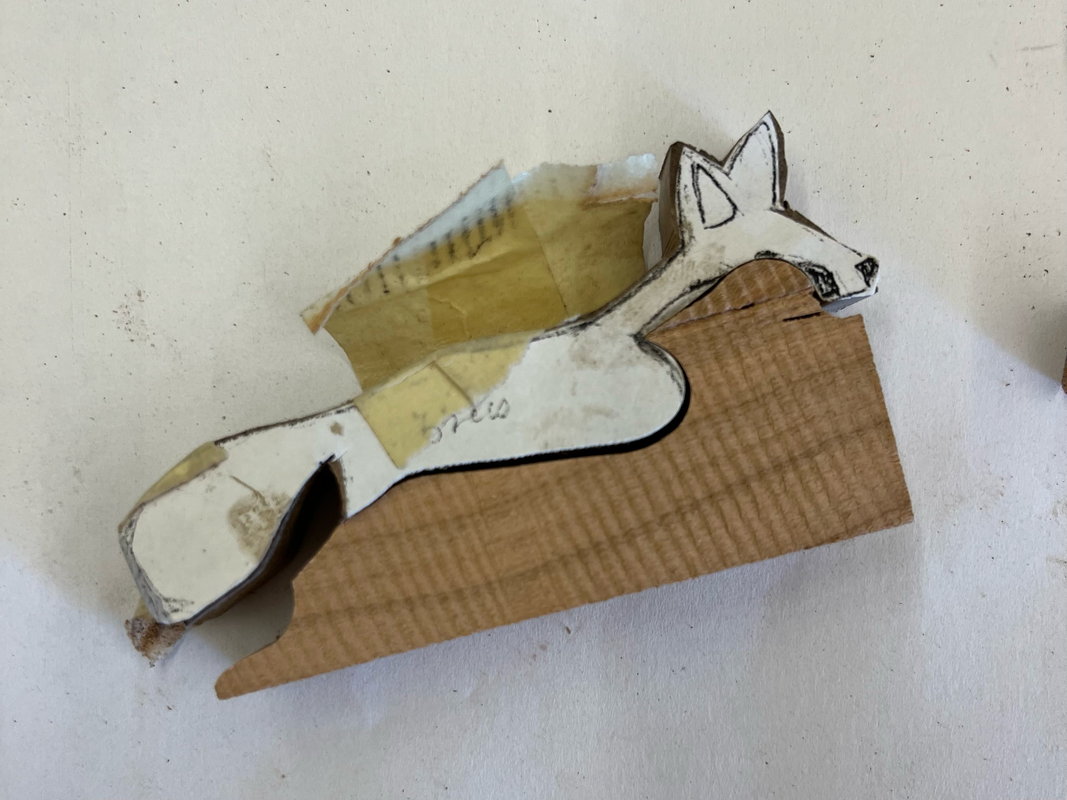
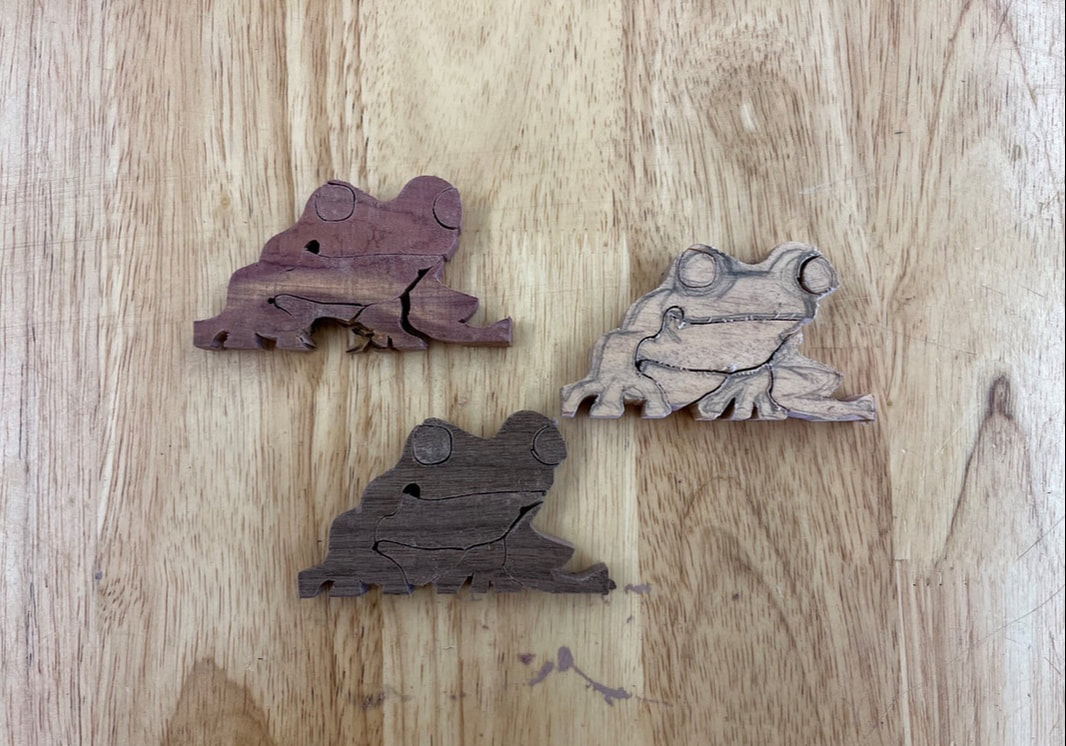
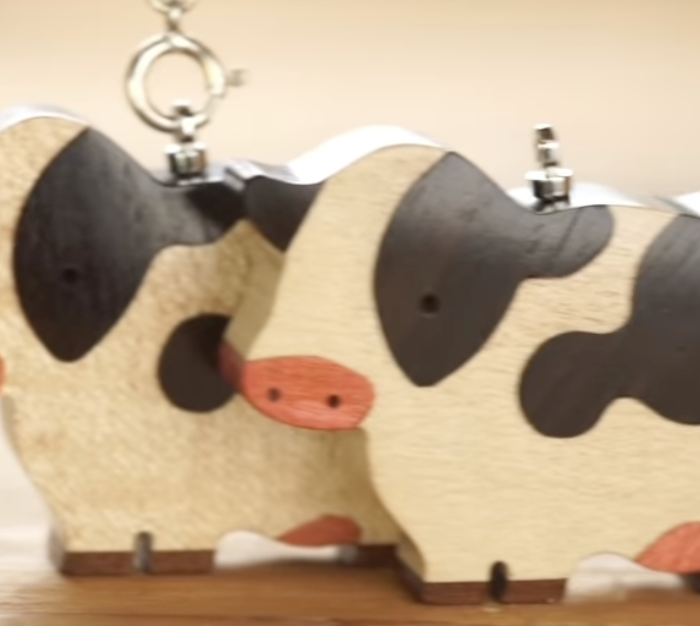
SWITCH THE WOOD COLORS TO INCREASE CONTRAST AND MAKE THE DESIGN MORE CLEAR
|
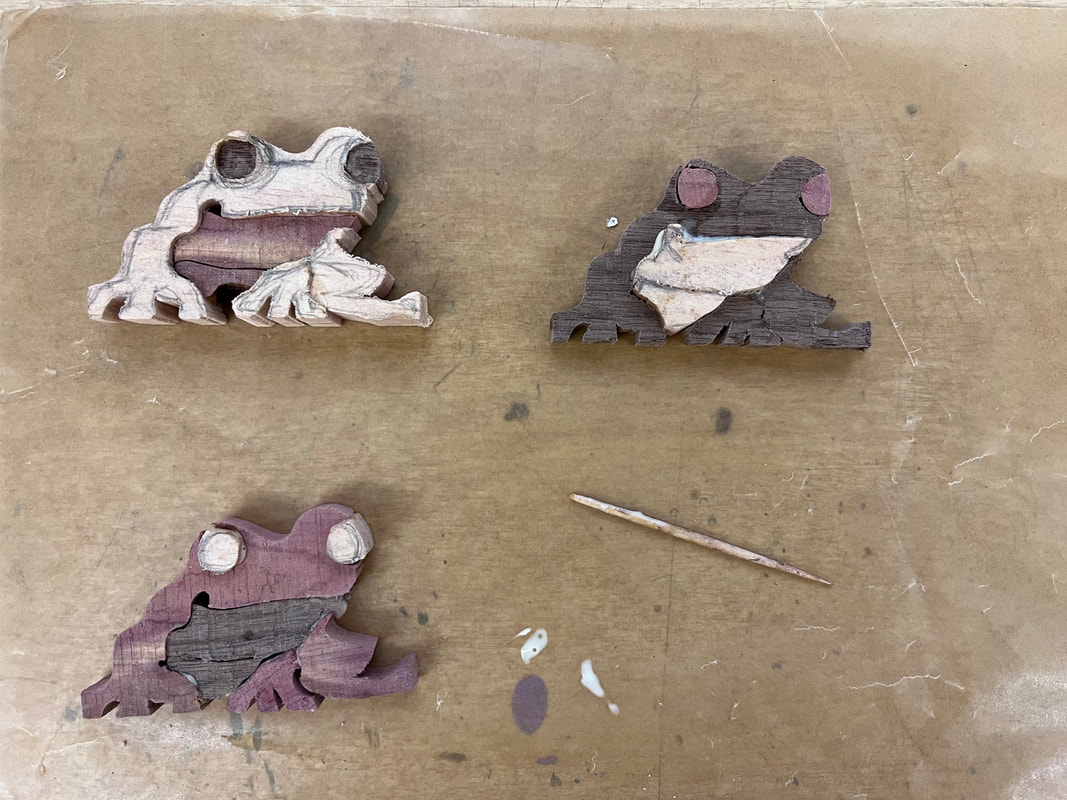
GLUE THE WOOD PIECES
|
Things to Consider
|
|
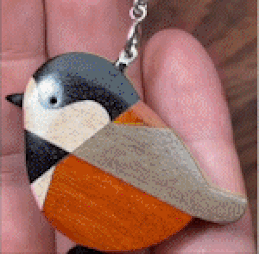
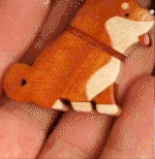
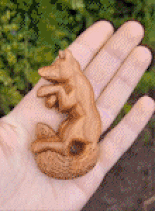
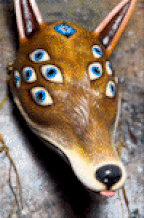
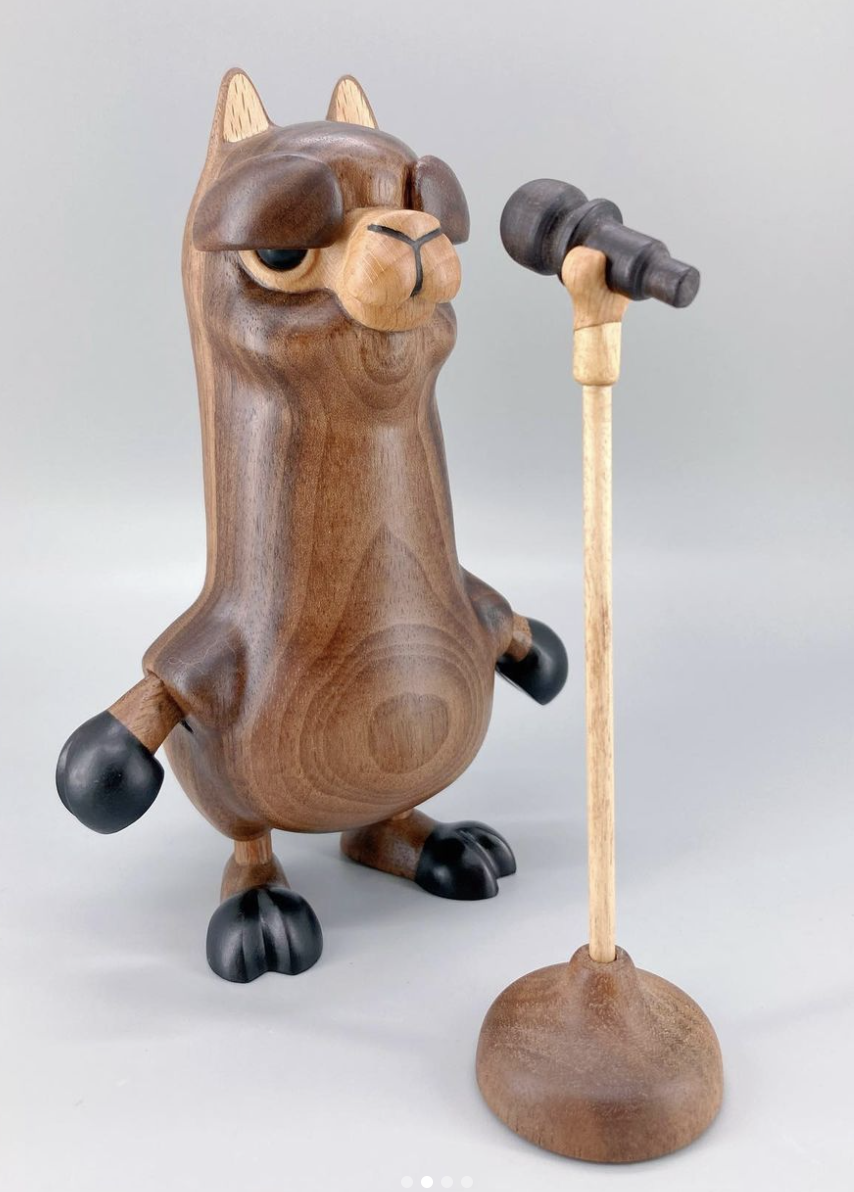
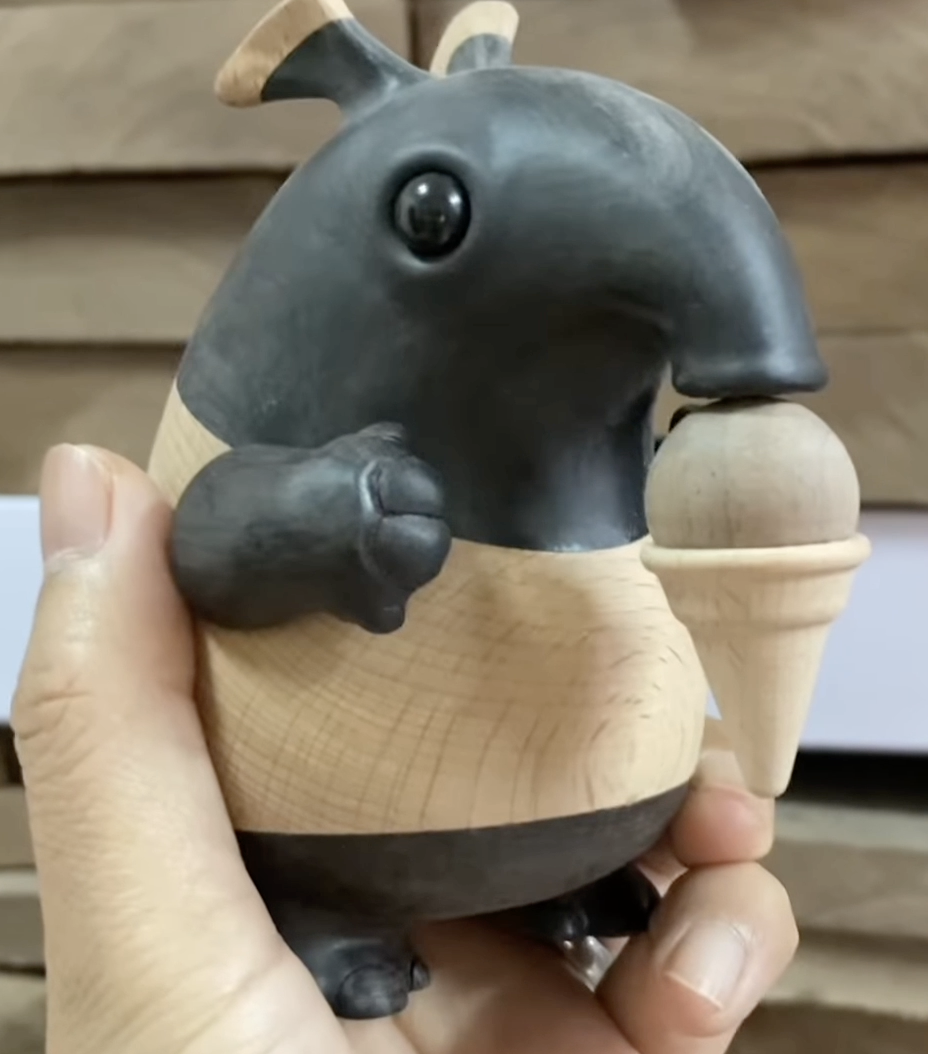
Wood Animal Ideas
4 Photos of your Wood Sculptures
Email an Image of Your Project
|
Grading Criteria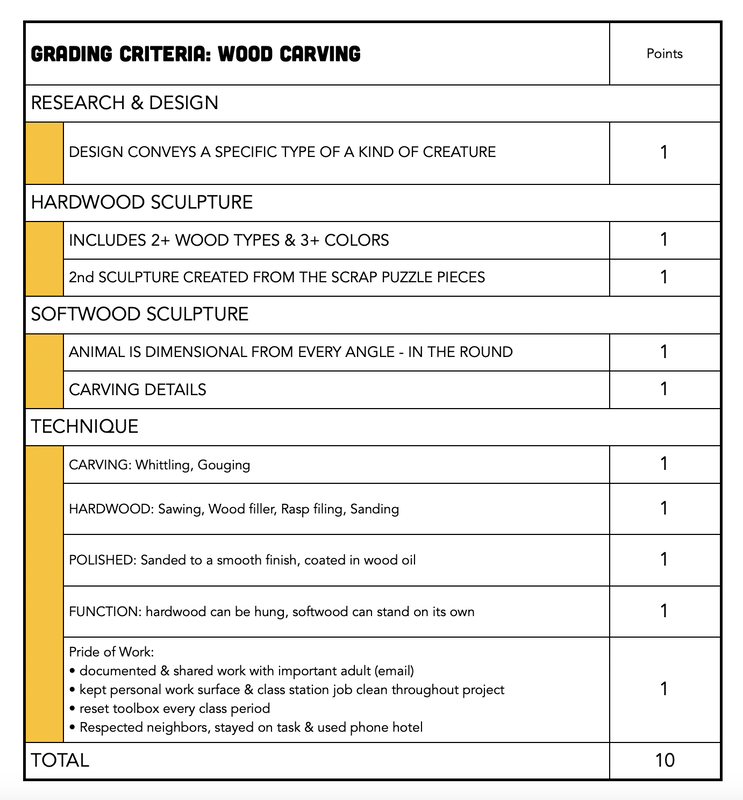
|
