art with ross
  • Home
  • Sculpture
  • Advanced Sculpture
  • Sculpture for Animation
  • Art Terminology
    • Art Term - Line
    • Art Term - Shape
    • Art Term - Form
    • Art Term - Color
    • Art Term - Value
    • Art Term - Texture
    • Art Term - Space
    • Art Term - Balance
    • Art Term - Contrast
    • Art Term - Dominance
    • Art Term - Pattern
    • Art Term - Movement
    • Art Term - Rhythm
    • Art Term - Variety
    • Art Term - Unity
    • Art Term - Style
    • Art Term - Perspective
    • Art Term - Vantage Point
    • Art Term - Graphic Design
    • Art Term - Hand Lettering
    • Art Term - Drawing Styles
    • Art Term - Shading
    • Art Term - Ceramics
    • Art Term - Painting
  • GHS
    • Field Trips
    • Intro
    • Motion
    • Printmaking
    • AP
    • Gallery
    • Other Art Classes
    • Distance Learning
    • AP 2019
    • Enrichment

Sculpture for Animation

Sculpture is a three dimensional art form. It can be used for stop-motion animation (puppet making, sets, etc.), modeling for character development in traditional animation, as kinetic sculpture, or in its own right as a stand alone work of art. 

Wax Clay - Animation Principles

Students will use wax-based clay to practice four of the principles of animation - squash & stretch, anticipation, and followthrough. Students will practice making a short animated looping GIFs of their wax-based clay.

Claymation

Stop-motion Animation using clay is called claymation. Two Disney animators wrote a book about the principles of animation. The 12 principles of animation are useful in all forms of animation, claymation included. We will be practicing four of the principles: Squash & Stretch, Anticipation, Followthrough, and Secondary Action.

Squash & Stretch

Squash & Stretch is the first principle of animation
Bouncing a ball is a good example of squash and stretch

Picture
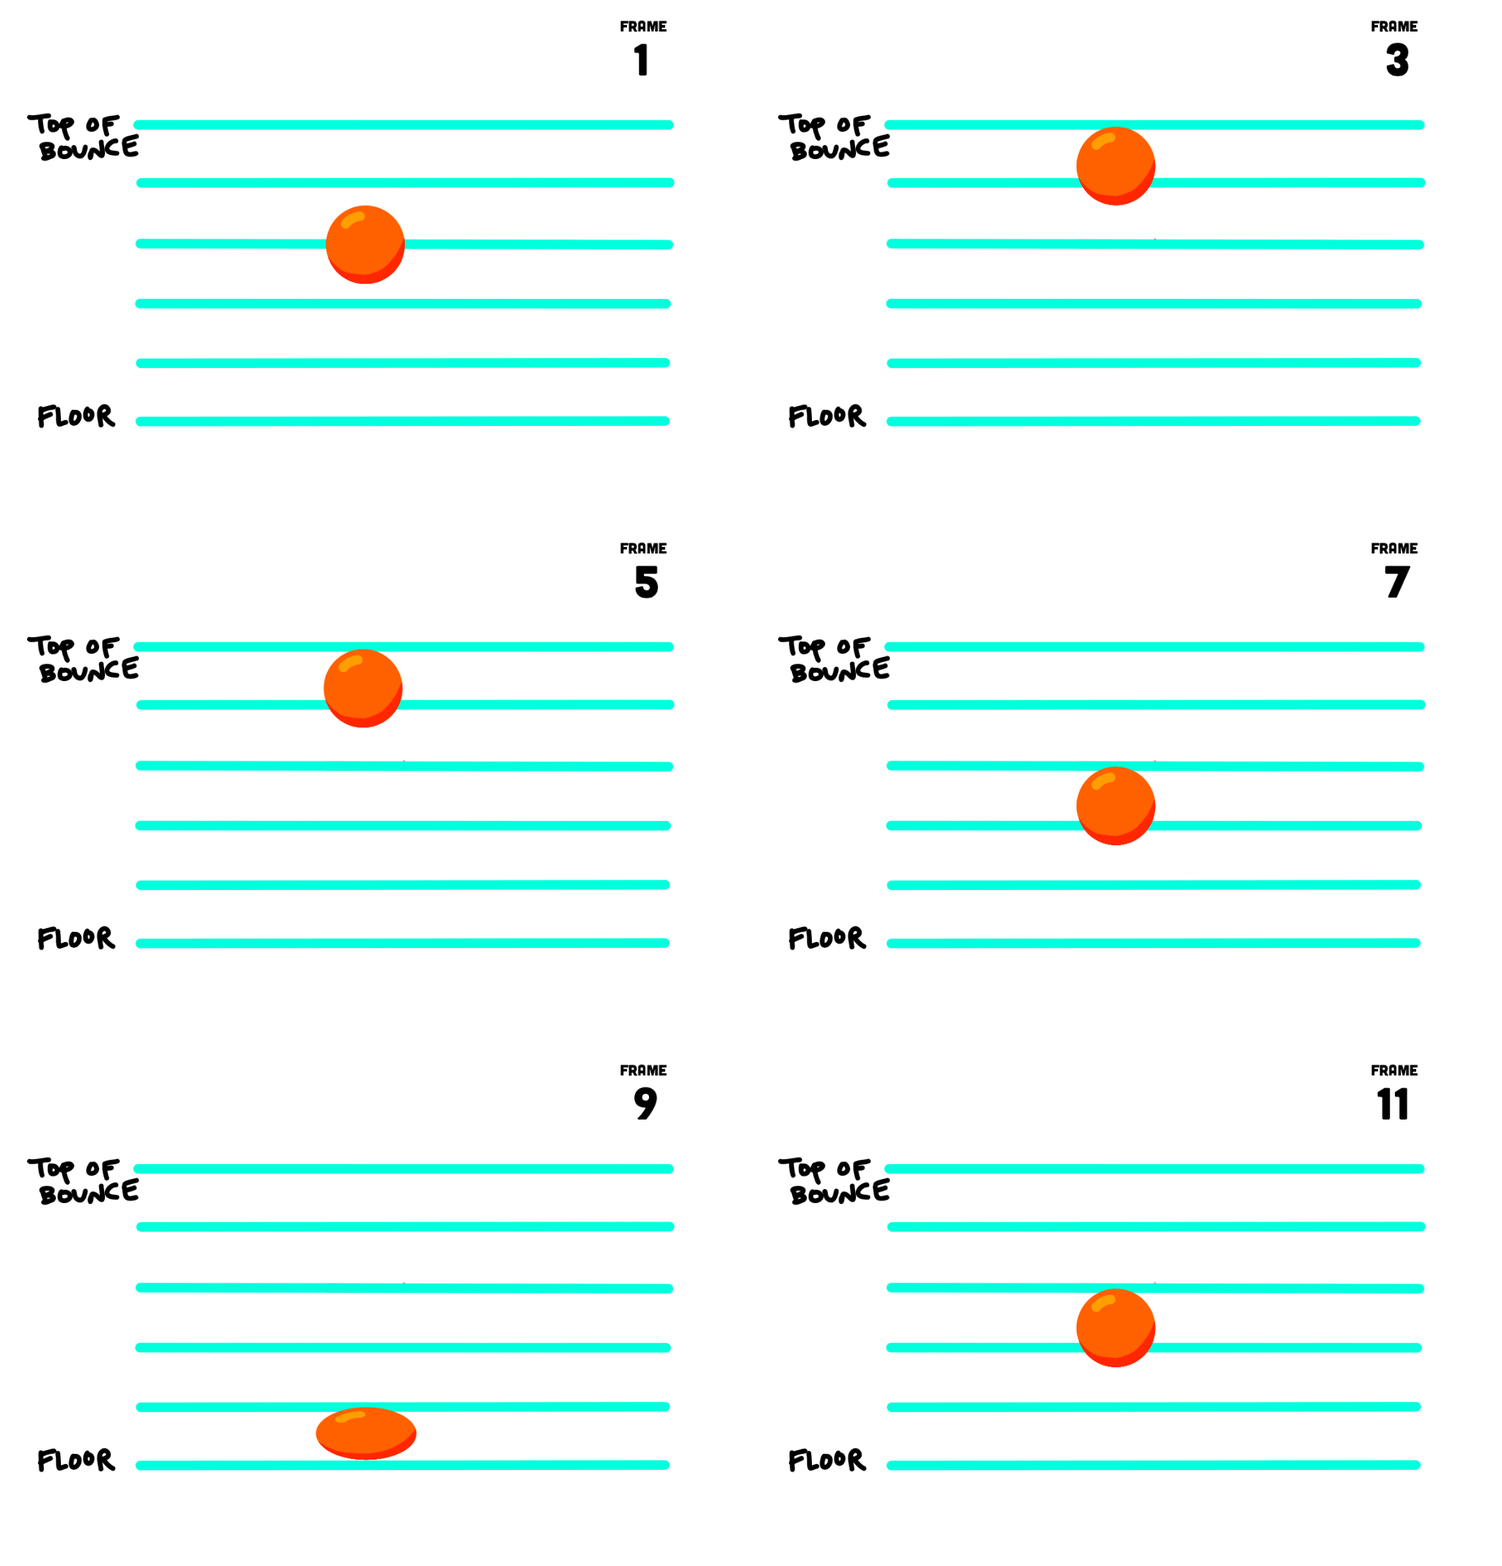
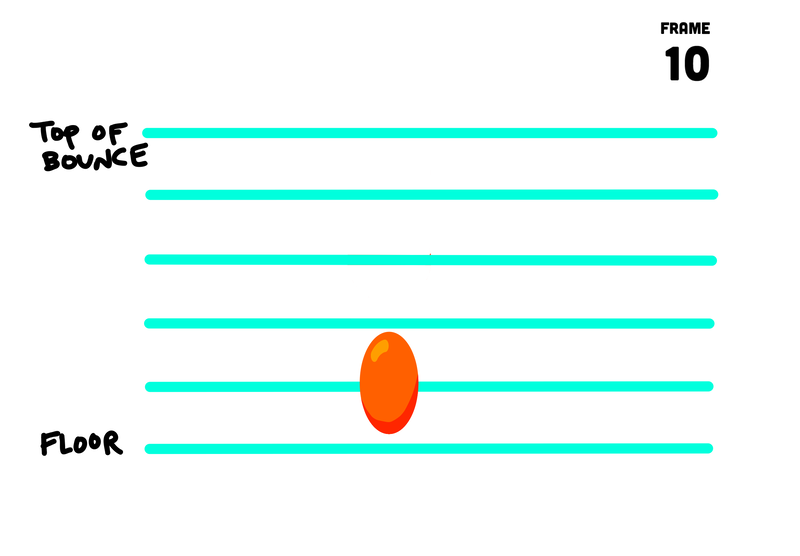
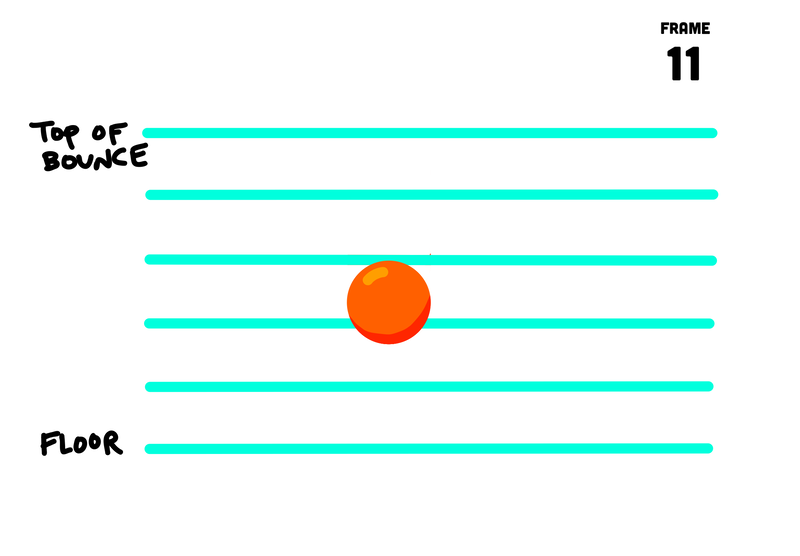
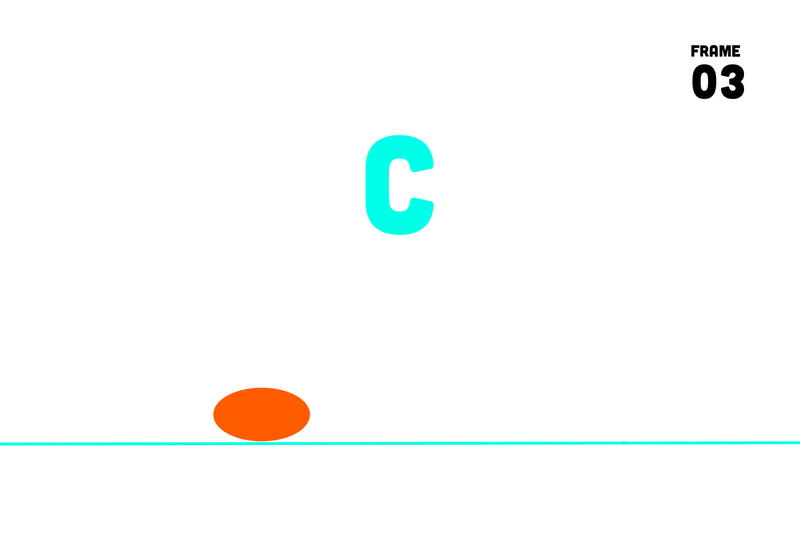
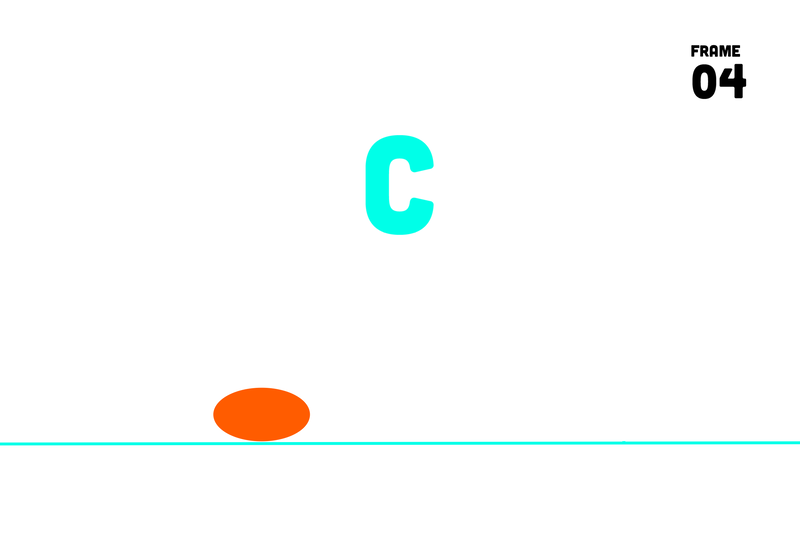
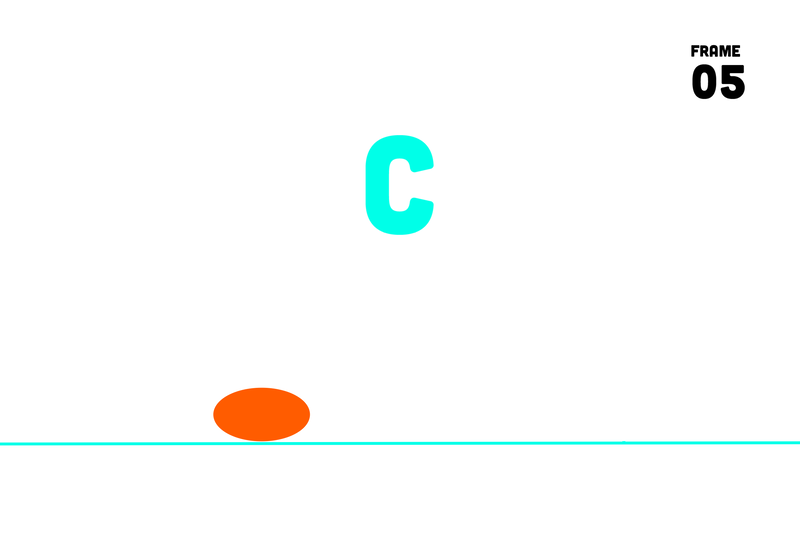
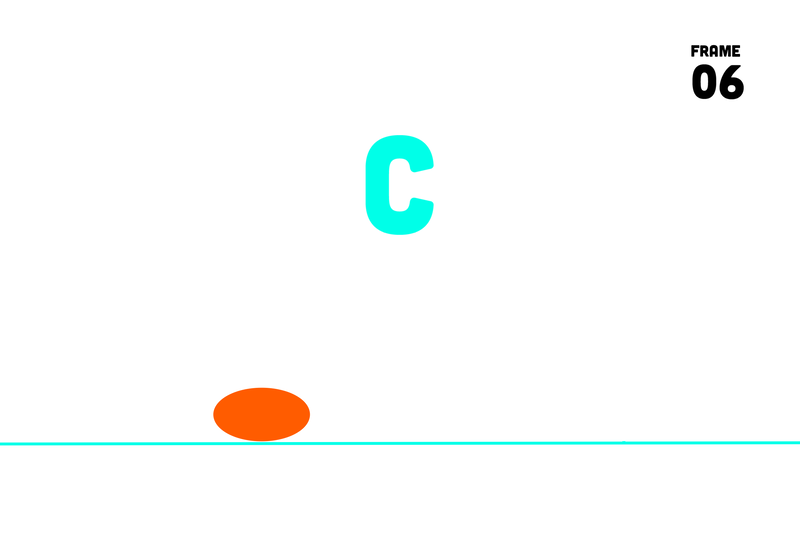
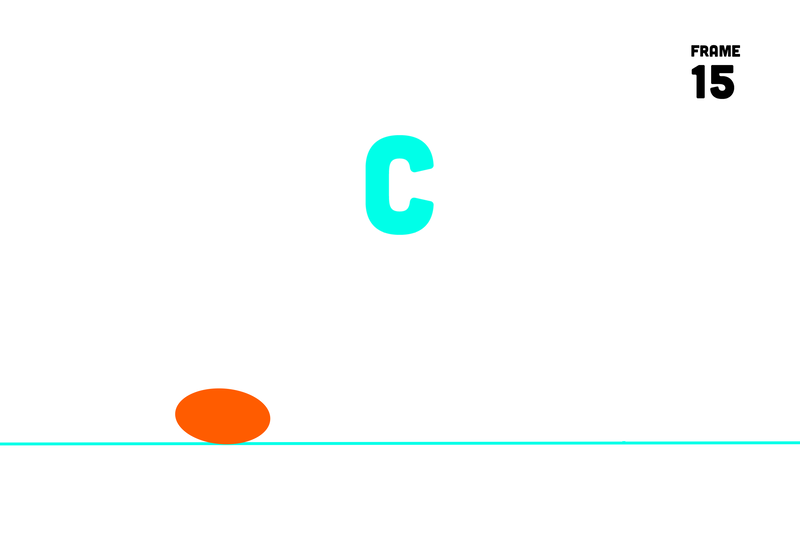
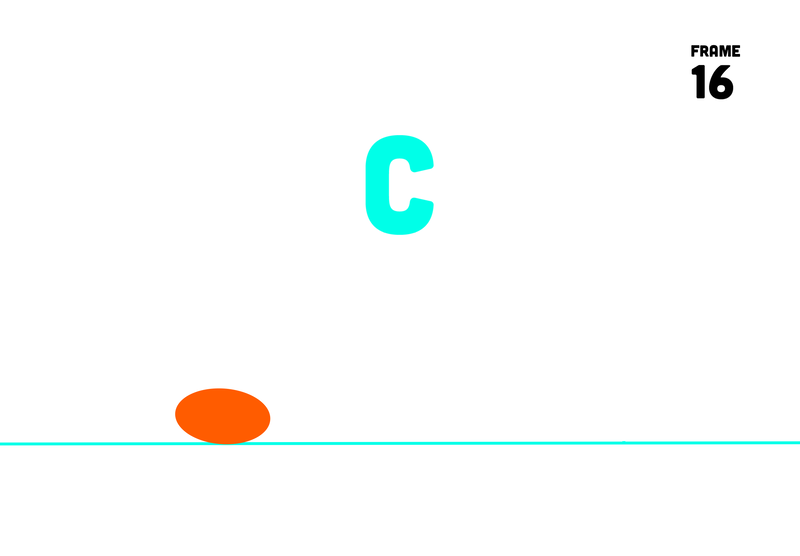
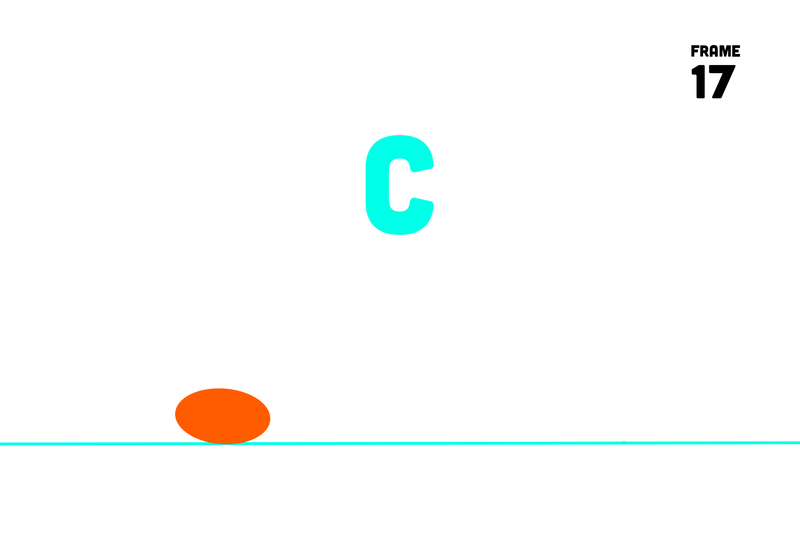
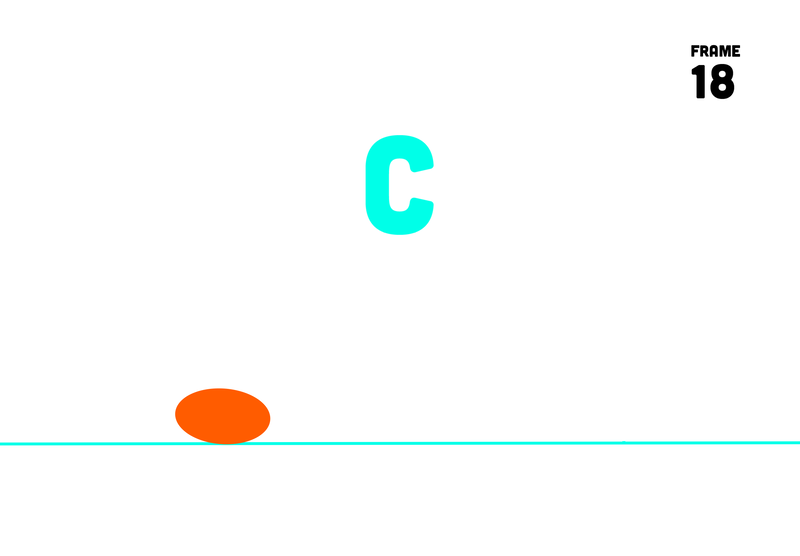
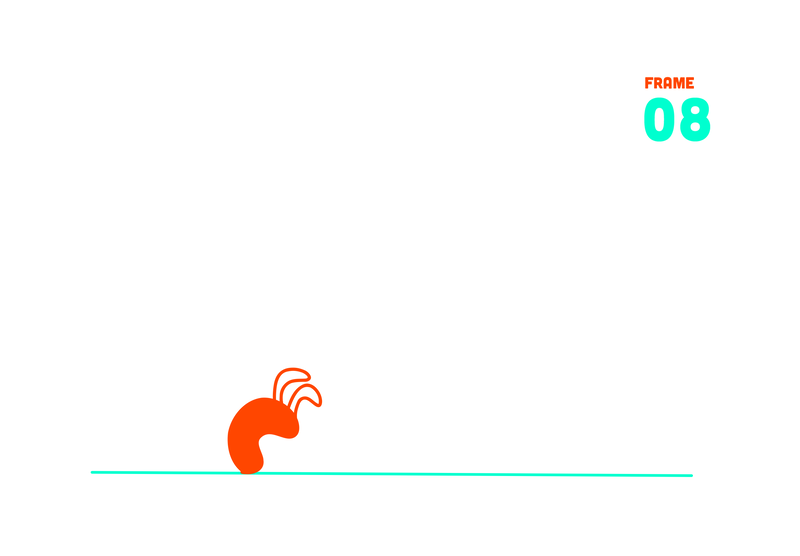
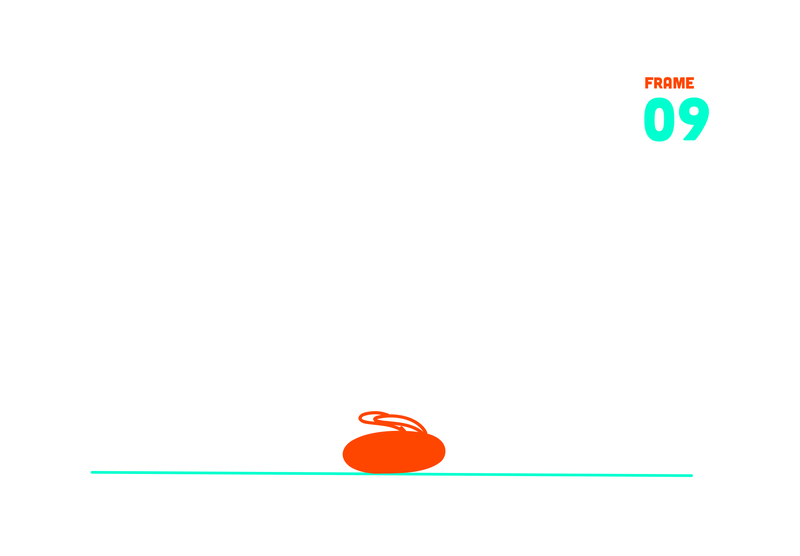
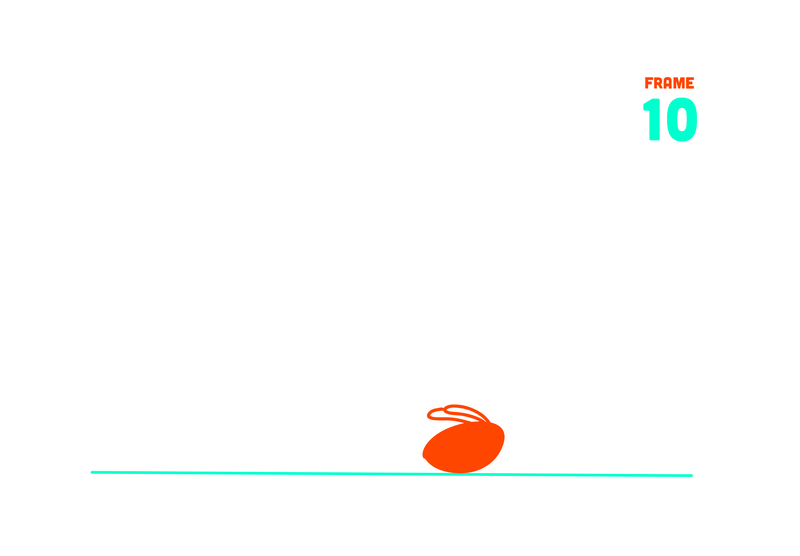
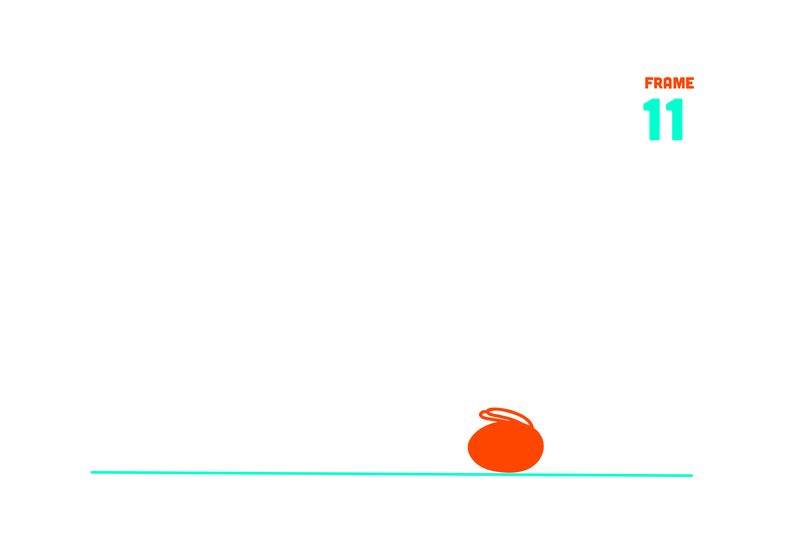
Here is an 11 frame simple animation of a ball bouncing using squash and stretch to show the impact of the ball hitting the ground and to give it the visual power it needs to bounce back up.

Squash & Stretch Bouncing Ball GIF

 Using WAX-BASED CLAY, make a bouncing ball animation.
​

  • Ball animation should loop (you animate it once and then repeat the frames endlessly)

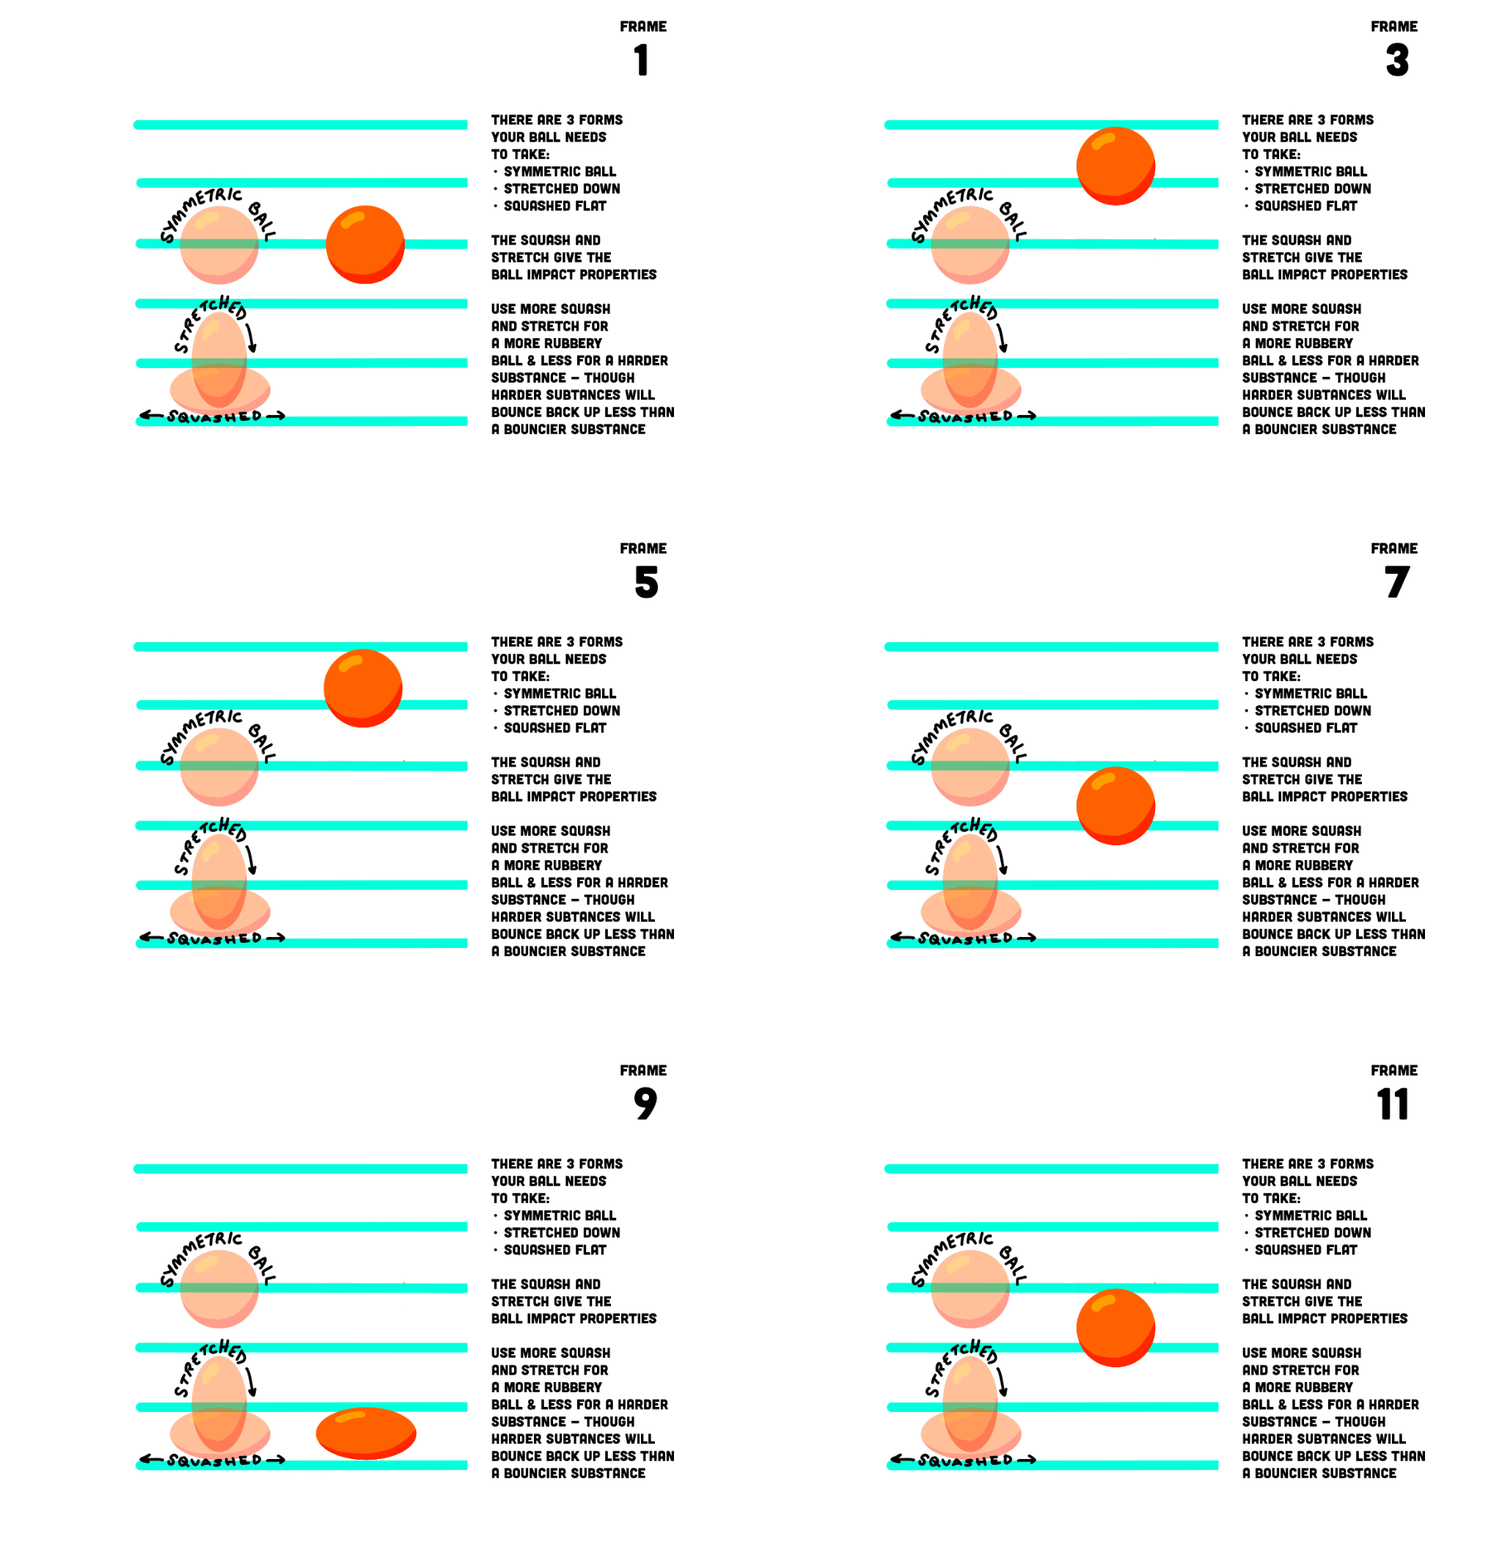
  • Use STRETCH to elongate the ball vertically to appear to zoom towards the ground
 
  • Use SQUASH to elongate the ball horizontally to appear to flatten on the ground at impact
​
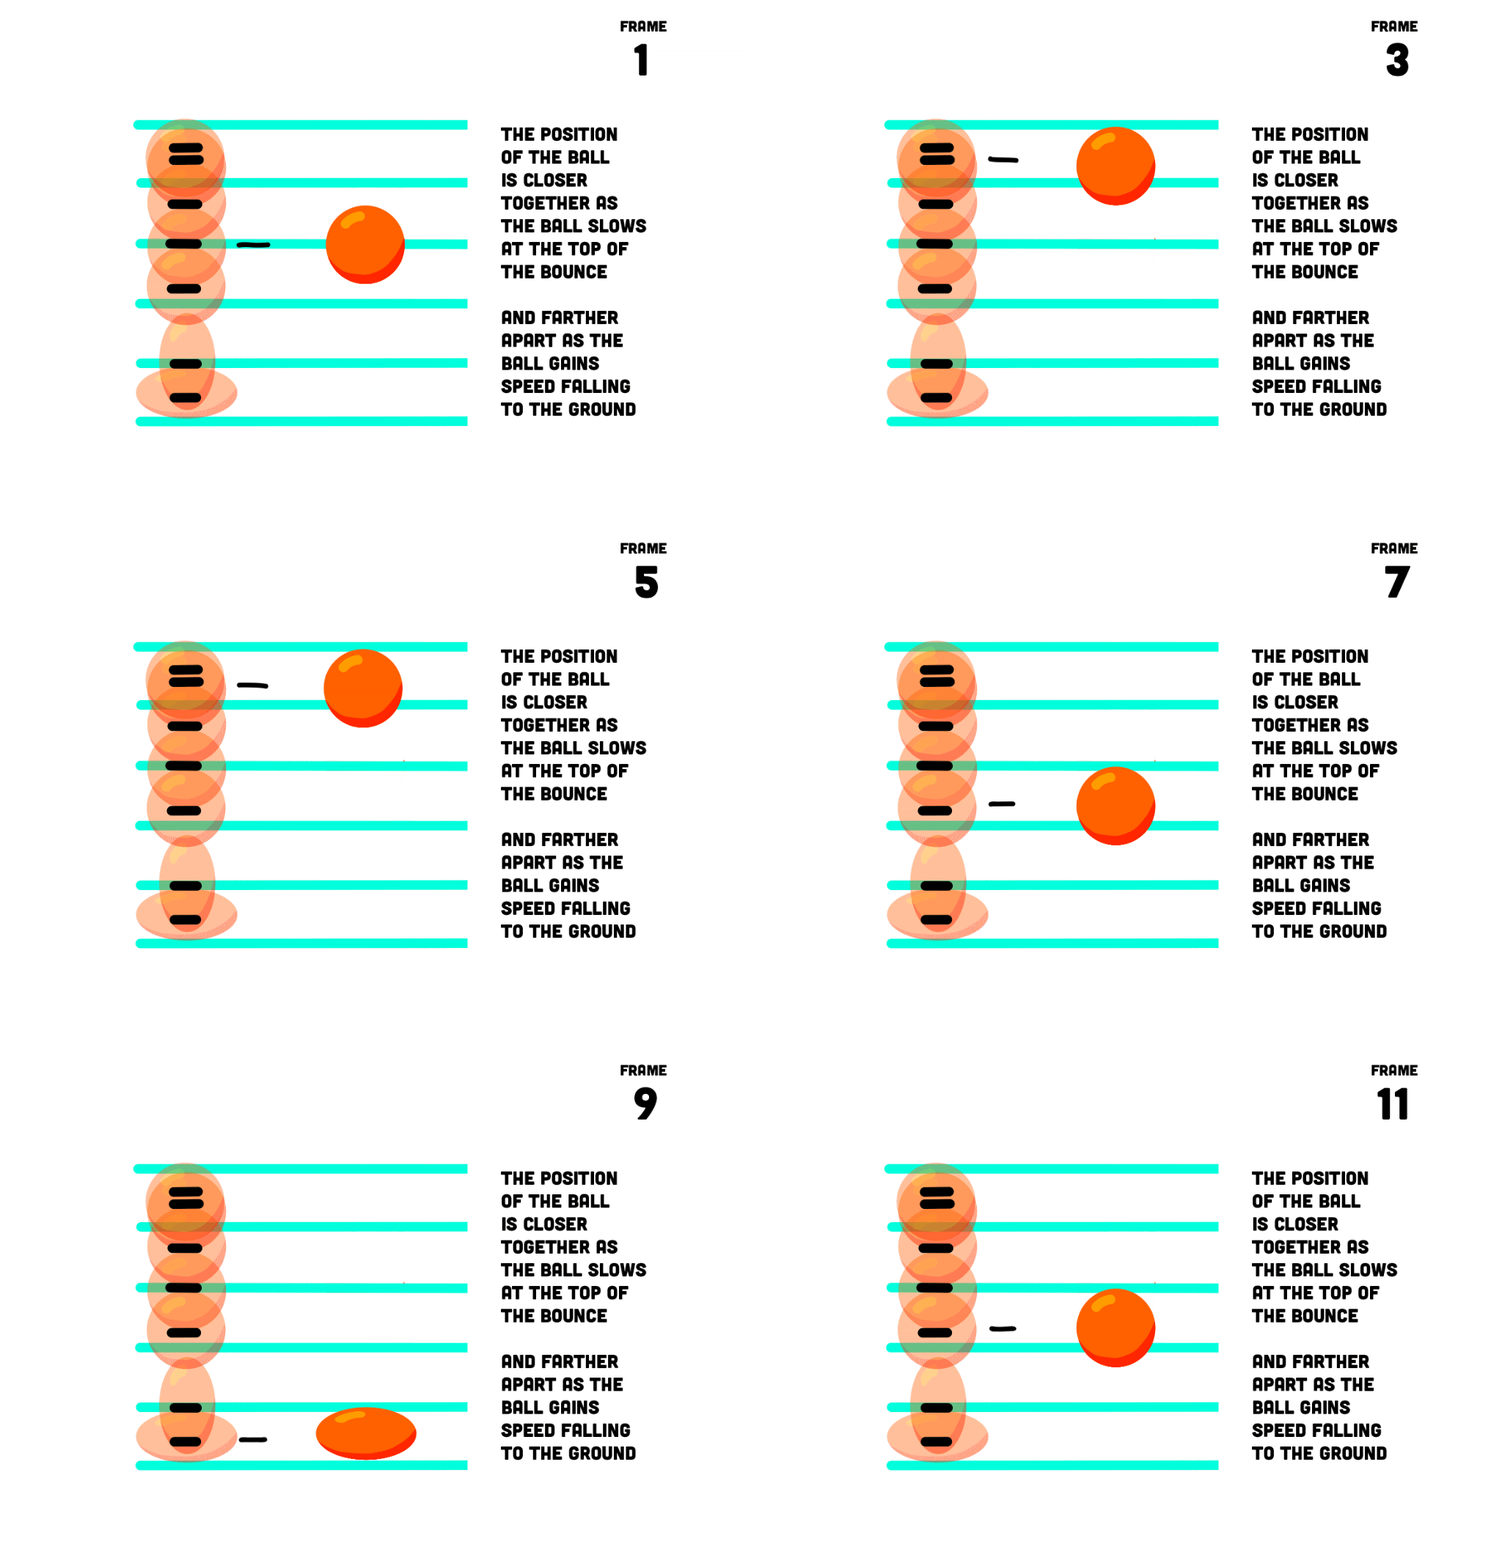
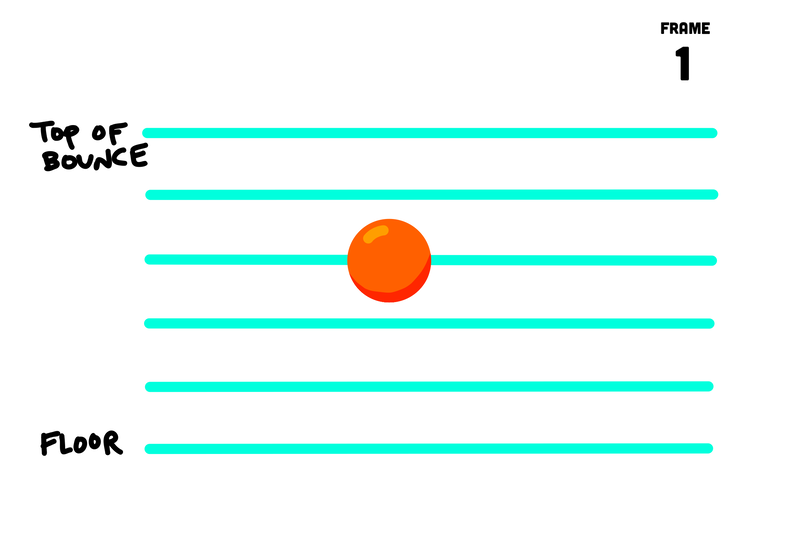
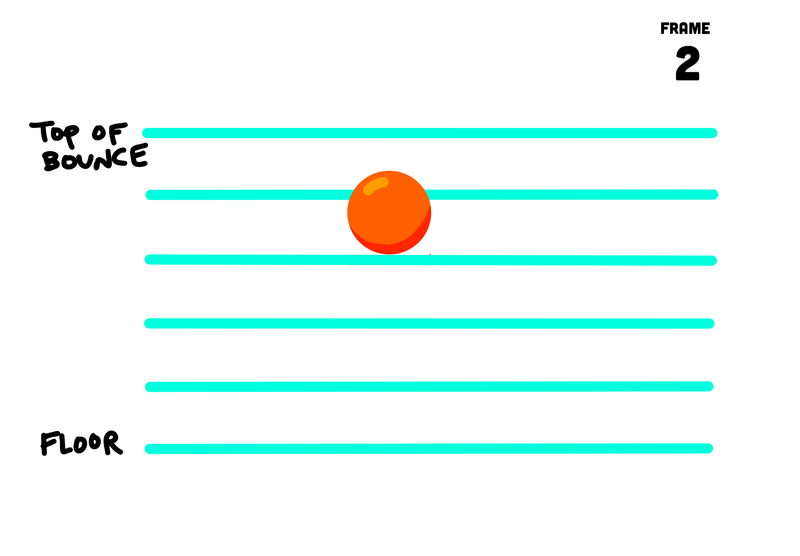
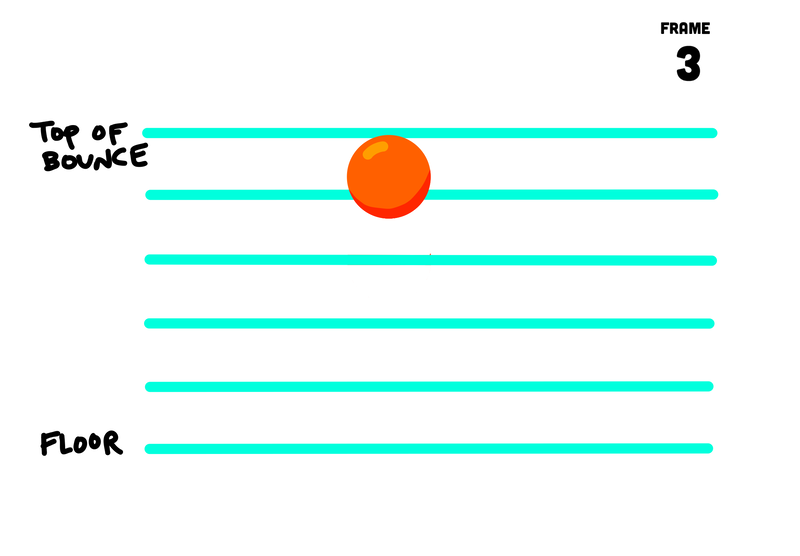
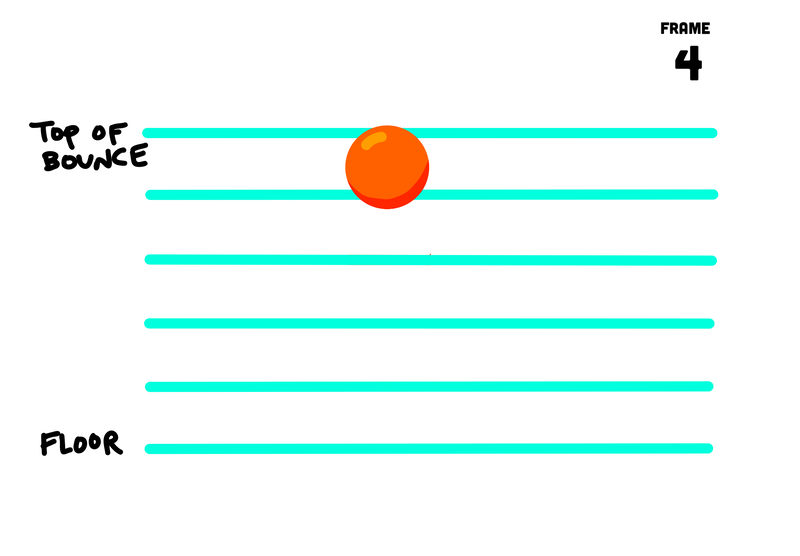
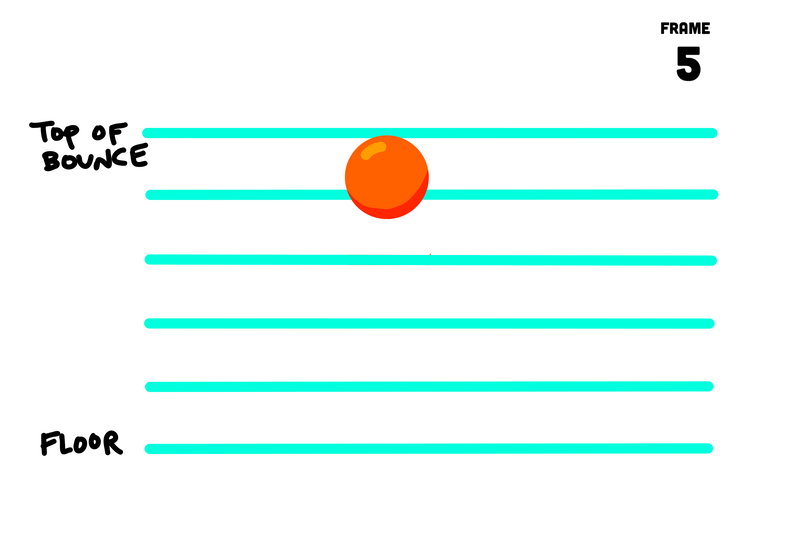
  • Use TIMING to slow the ball as it nears the peak of its bounce (use smaller spaces between the ball and the last frame near the top of the bounce on its way up and on its way down - space the ball further apart in the middle of the bounce)

Picture
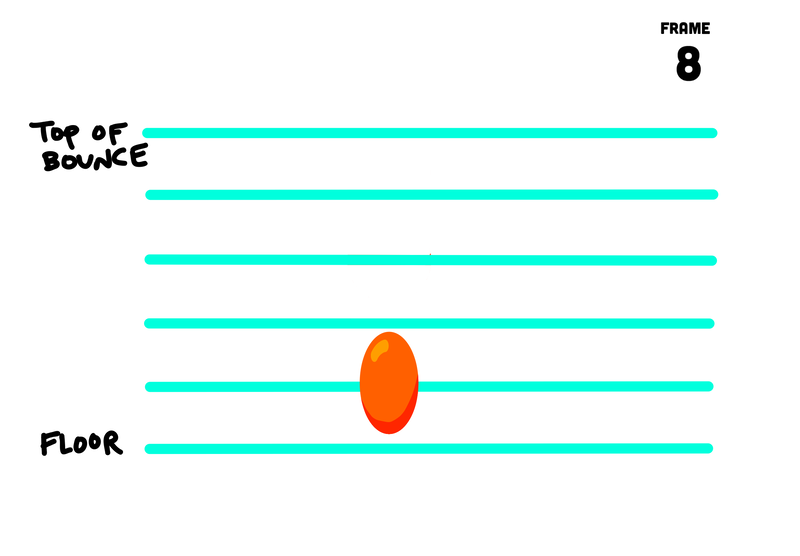
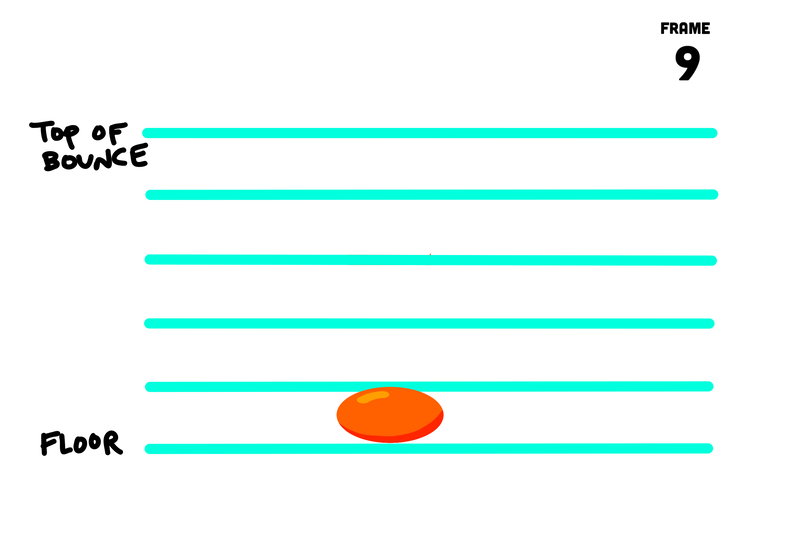
The stretched ball helps to exaggerate the speed of the ball as it nears the ground. The squashed ball exaggerated the impact of the ground on the ball. It is important for the ball to maintain the same volume - which is easy to do in clay - just change the shape of the ball without removing or adding any clay.
Picture
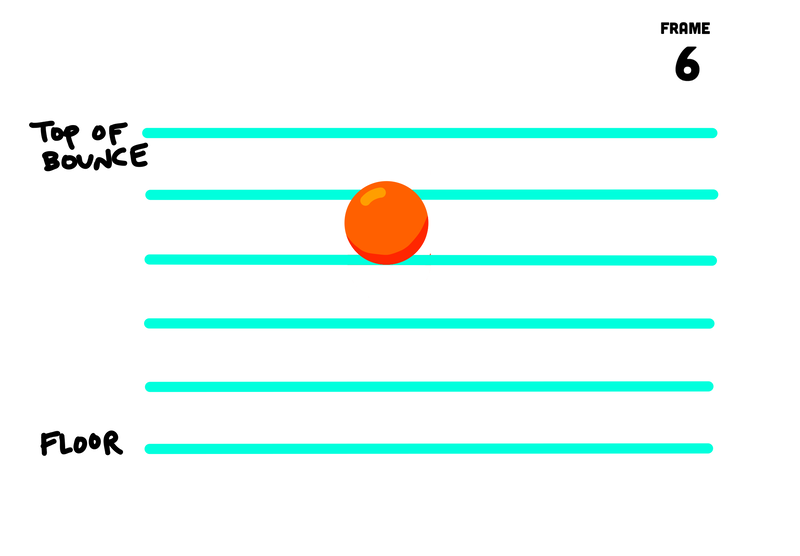
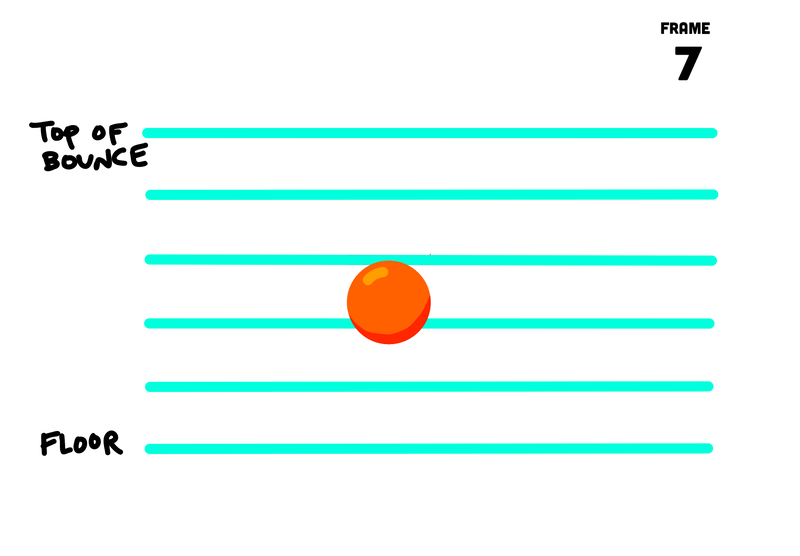
You will need your ball to slow down as it reaches the top of the bounce. Gravity will send it back down to earth with increasing speed. As it nears the ground the ball is moving faster. To show the change in speed, you need to place the ball closer to where it was in the last frame for slower movement and farther away for faster movement. 

SET UP STEPS

  • Make a ball out of wax-based clay - it should be about the size of a nickel, not bigger than a quarter
  • Set up your iPad or phone to take pictures using STOP MOTION STUDIO (you can download it through Self Service on your iPad or through the App Store on your phone)
Picture
Self Service
Picture
Stop Motion Studio
  • Your phone or iPad needs to be completely stationary - you need to have it stand on it's own - not be held in a hand. The camera should not move for the entire run of photos. Use the iPad cover stand, an iPad arm stand, or a cardboard phone stand to keep your device from moving at all.
  • Your photo should not have other distracting elements in it - just the ball and a solid colored background. You should not be able to see people or things that move. Just a colored background and your clay should be in the shot.
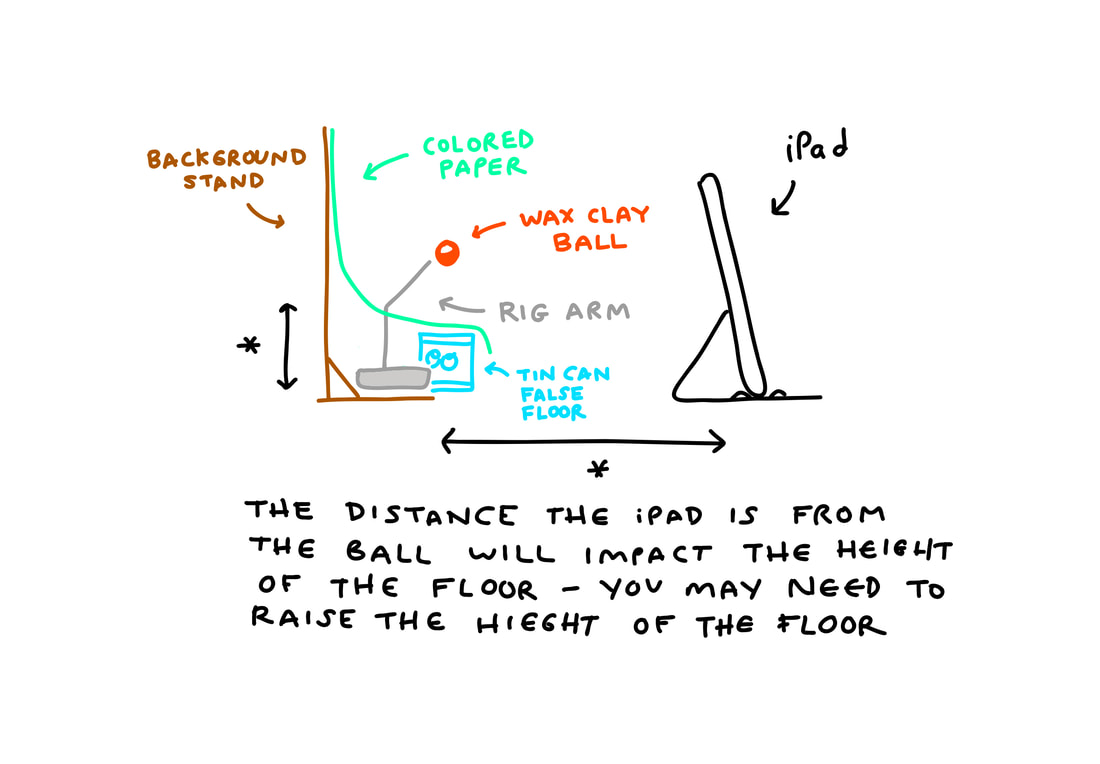
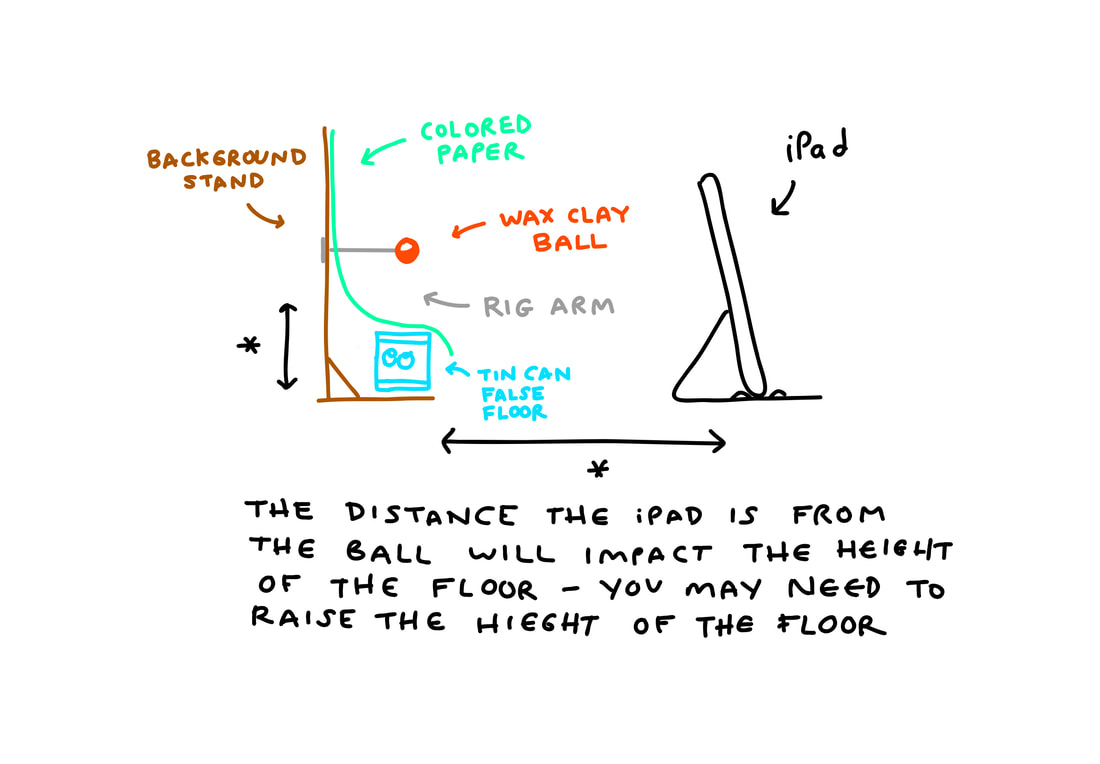
  • You can use a background and a rig arm to hold your ball in the air. Choose a solid color background that contrasts with your clay color so it is easy to see the ball.
Picture
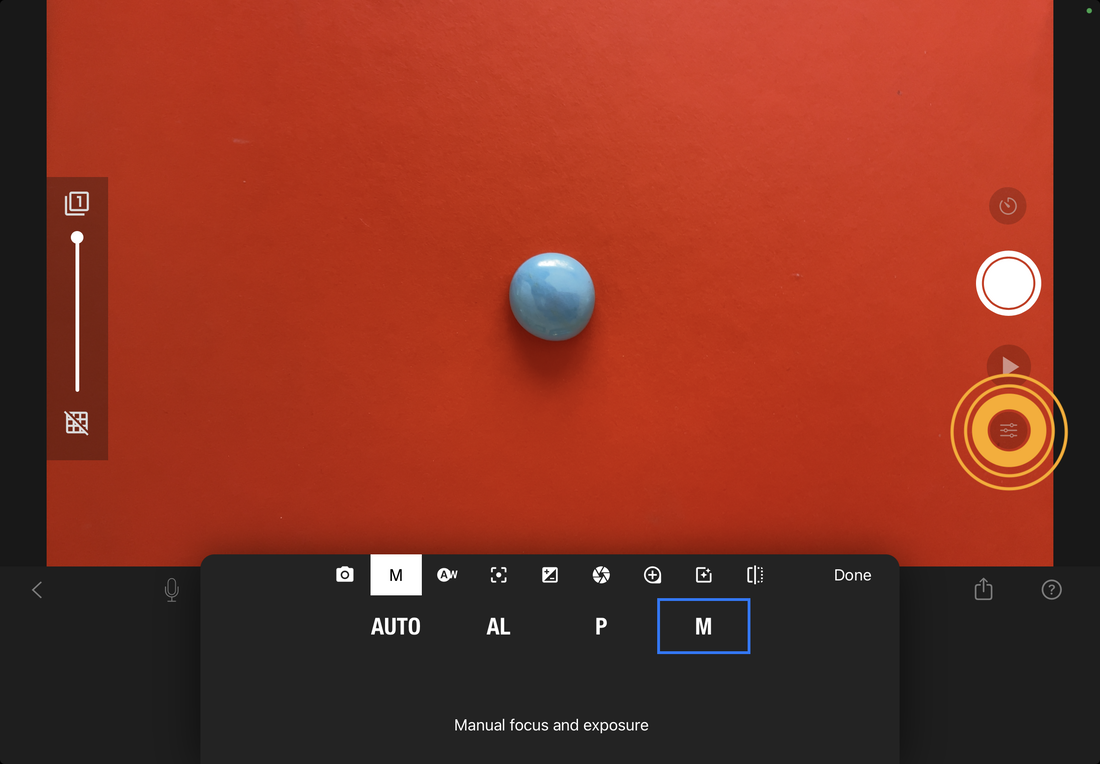
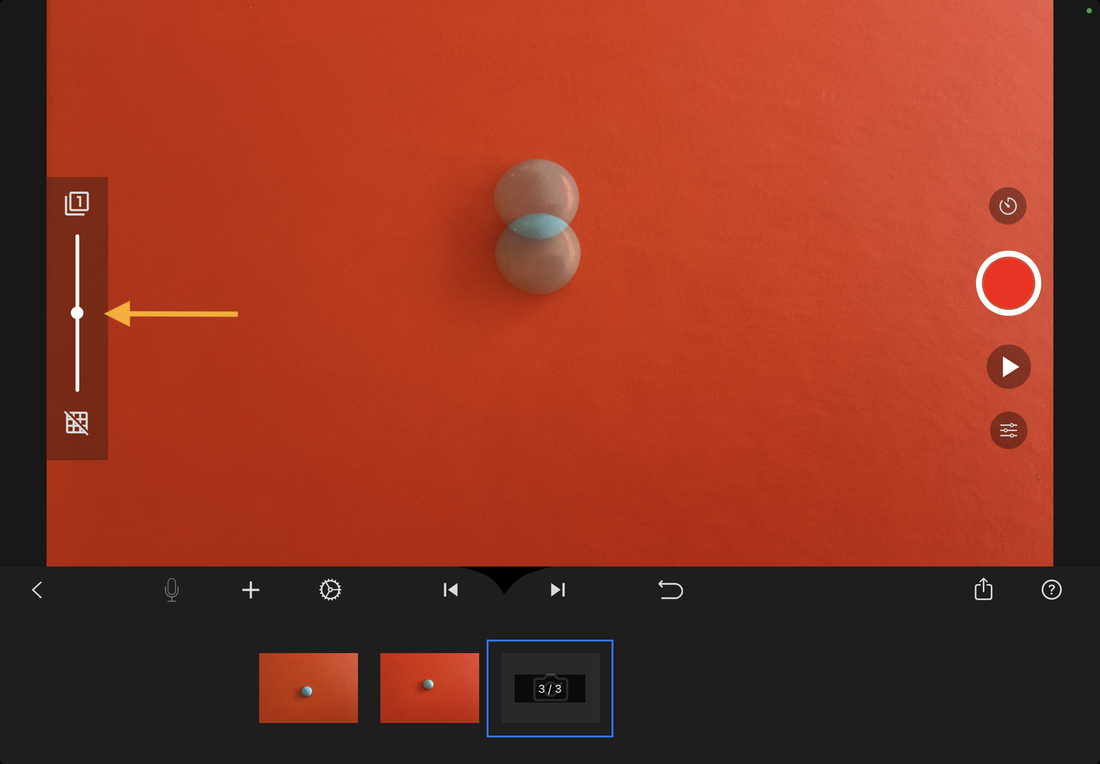
Manual Focus Setting (right slider)
Picture
Onion Skin (left slider)
  • Change the Stop Motion Studio camera settings (sliders on the right) so that your focus is on manual once you have focused on the ball
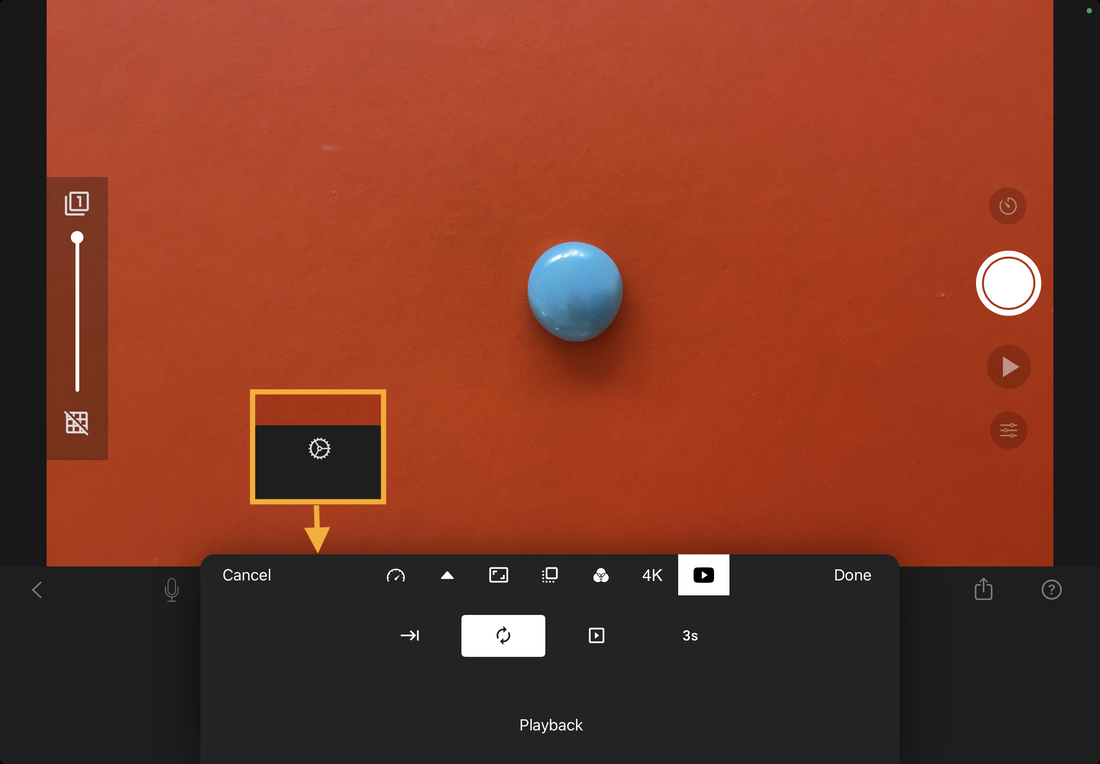
  • Change the Stop Motion Studio playback settings (gear at the bottom) so that your playback loops forever
Picture
Traditional Rig Art with floor base
Picture
Magnet and nickel wire Rig Arm

TAKING PHOTOS

  • Start in the middle of the bounce with a round ball
  • Using small movements, move the ball up towards the peak of the bounce - taking one photo for each small movement
  • As the ball peaks at the top, the distance moved between frames is VERY small. This adds TIMING to the bounce and give the illusion that gravity is pushing the ball back down.
  • As the ball falls back down, the distance the ball moves between frames grows further apart.
  • As the ball nears the ground, it should STRETCH - exaggerating its speed nearing the floor.
  • When the ball hits the ground, it should SQUASH - exaggerating the impact of the ball onto the floor.
  • Repeat the stretch on the way back up - exaggerating the force the ball needs to travel back up.
  • Return to a round ball on the way up, but stop taking photos before you reach your starting position. You do not need two frames in the same place at the beginning and end. Your last frame will be a distance below the first frame.
SQUASH & STRETCH FRAME BY FRAME
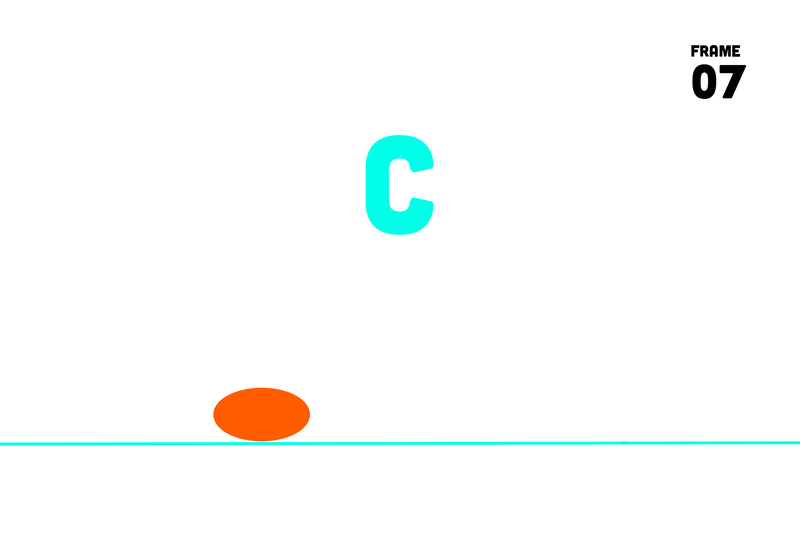
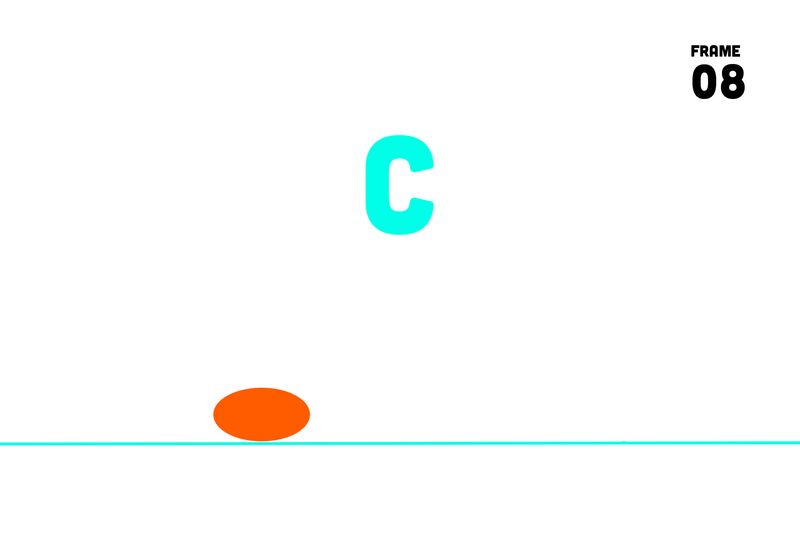
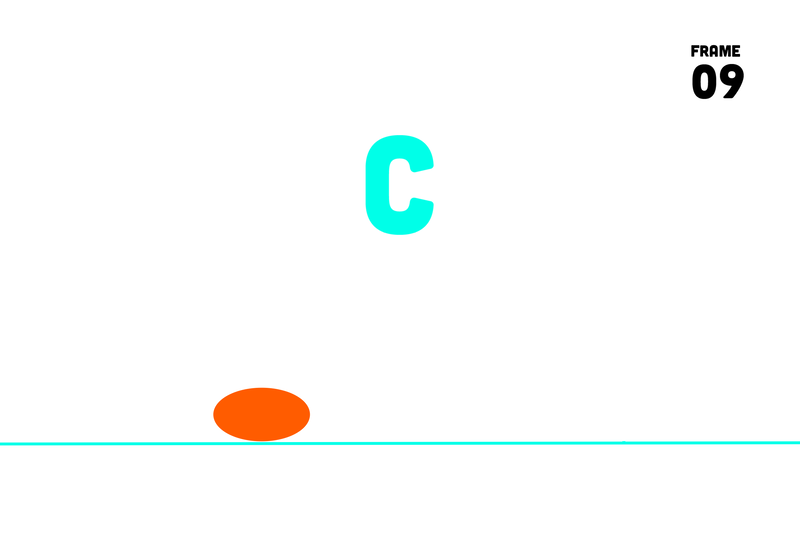
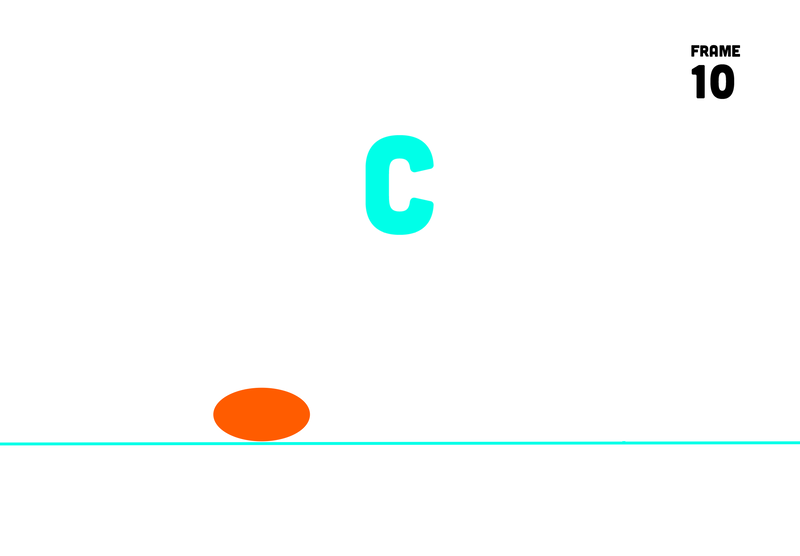
Here are all 11 frames, so you can see what is happening in each frame. You can use more frames to make the animation smoother or to exaggerate or emphasize the peak (top of bounce) or the squash (hitting the floor). 
Notice the stretch as Bo comes back down towards his body and the squash once his torso meets his lower body. You can see it especially well in the making of section around 1:40.
This person is practicing squash and stretch, but the stretch part adds too much volume to the block - it should have gotten skinnier as it stretched up - so it looks a little wonky. You can be sure to have the same amount of volume by reshaping one block of clay or by cutting equal sized pieces of clay for the different poses. If you have the same sized clay for each pose, you will retain the same volume.

EXPORTING YOUR FILE

Picture
Looping Playback Setting (bottom gear)
Picture
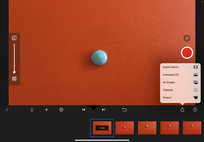
Export: Animated GIF
  • Make sure your playback settings are set to looping
  • To export your file, use the export button at the bottom right (it looks like a box with an arrow coming out of the top)
  • Select Animated GIF
  • You can save it in your drive folder or directly on your iPad
  • Once you have saved your file, you can turn it in from that location
  • Be sure to check it before you turn it in to make sure you are turning in a looping GIF that loops forever, and not an .mov file that only plays once

Anticipation

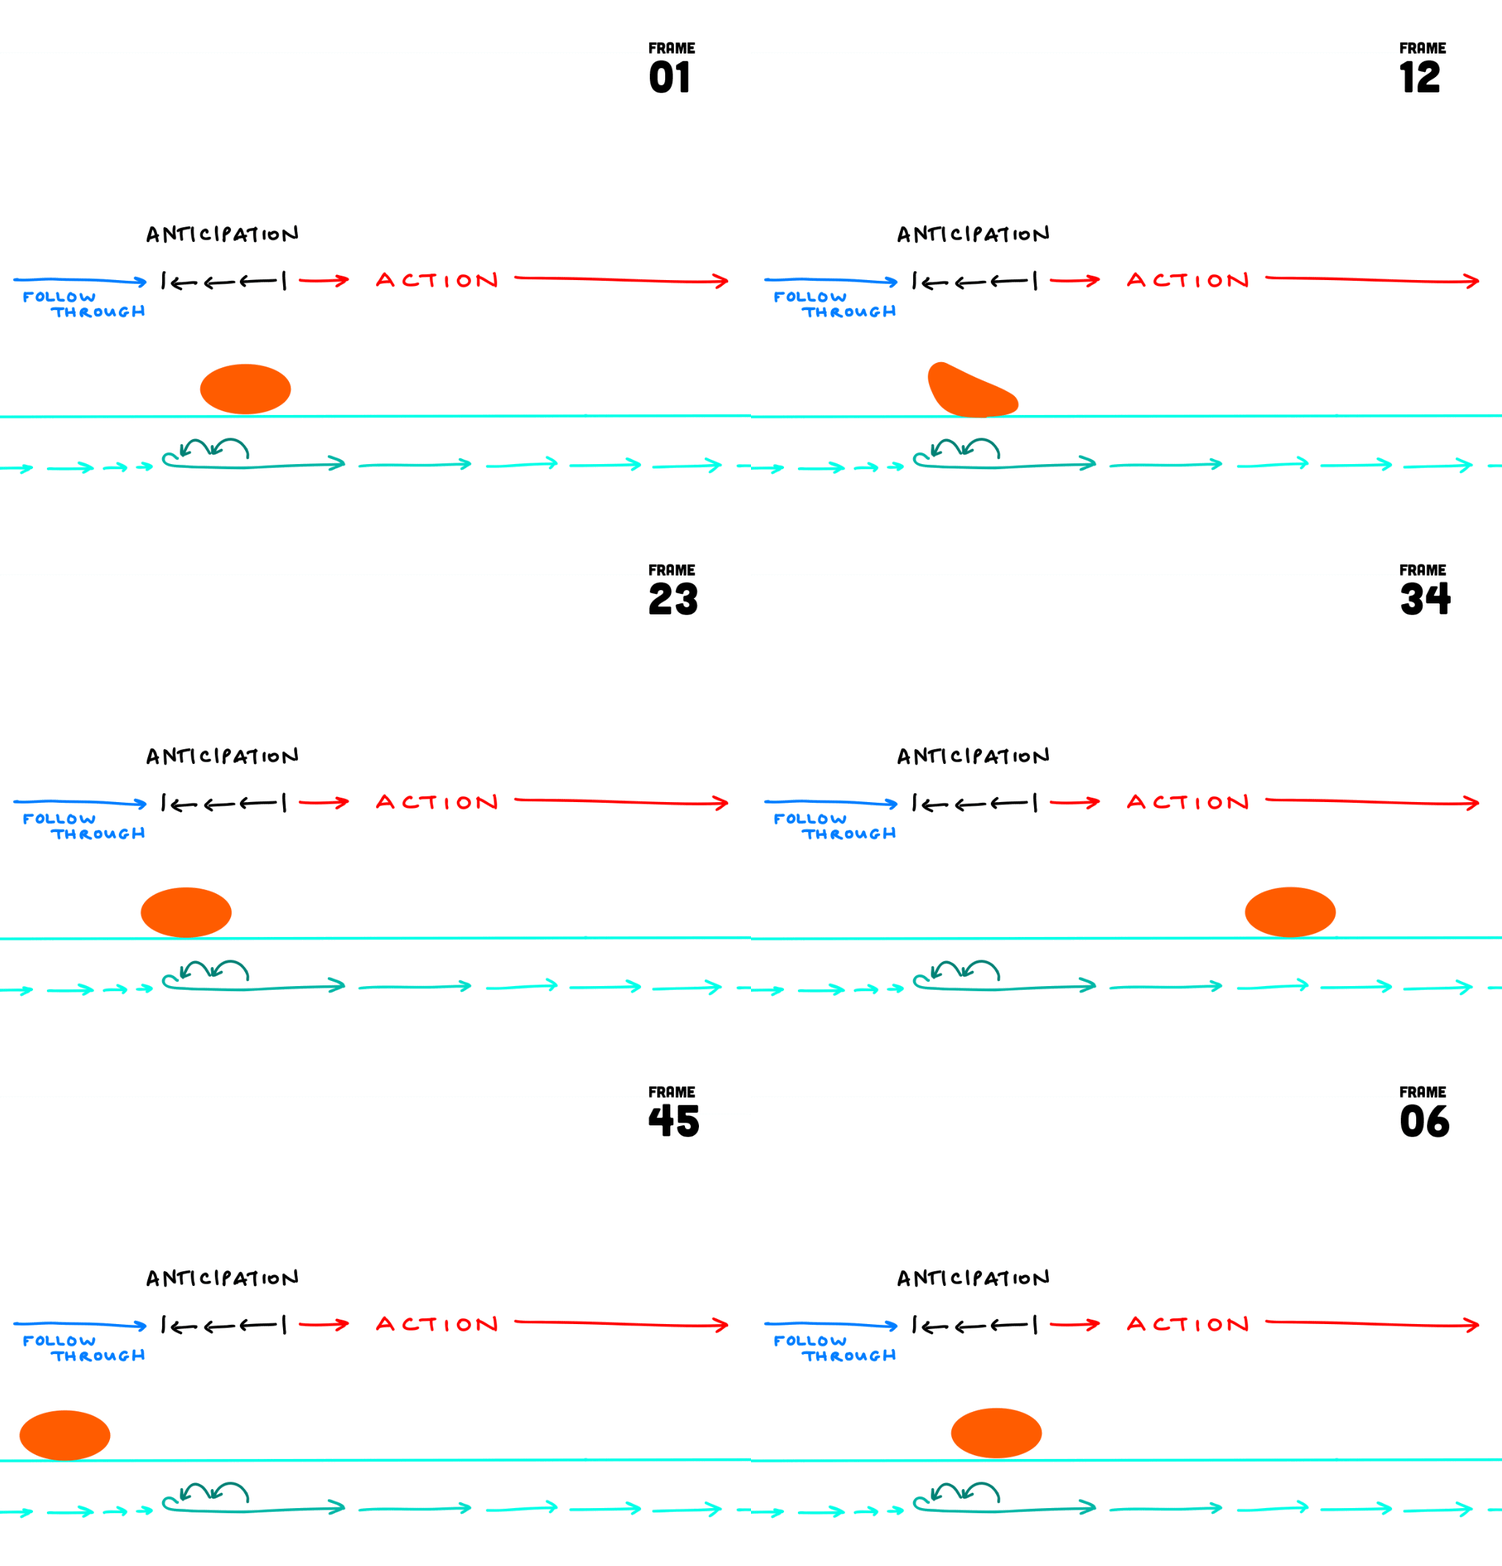
Anticipation is the second principle of animation. It helps viewers know what to expect from the character, so the viewer doesn't miss any of the action.
Anticipation helps the viewer know where to look and what to expect so it is easier to understand the motions in an animation.

Picture

Anticipation Looping GIF

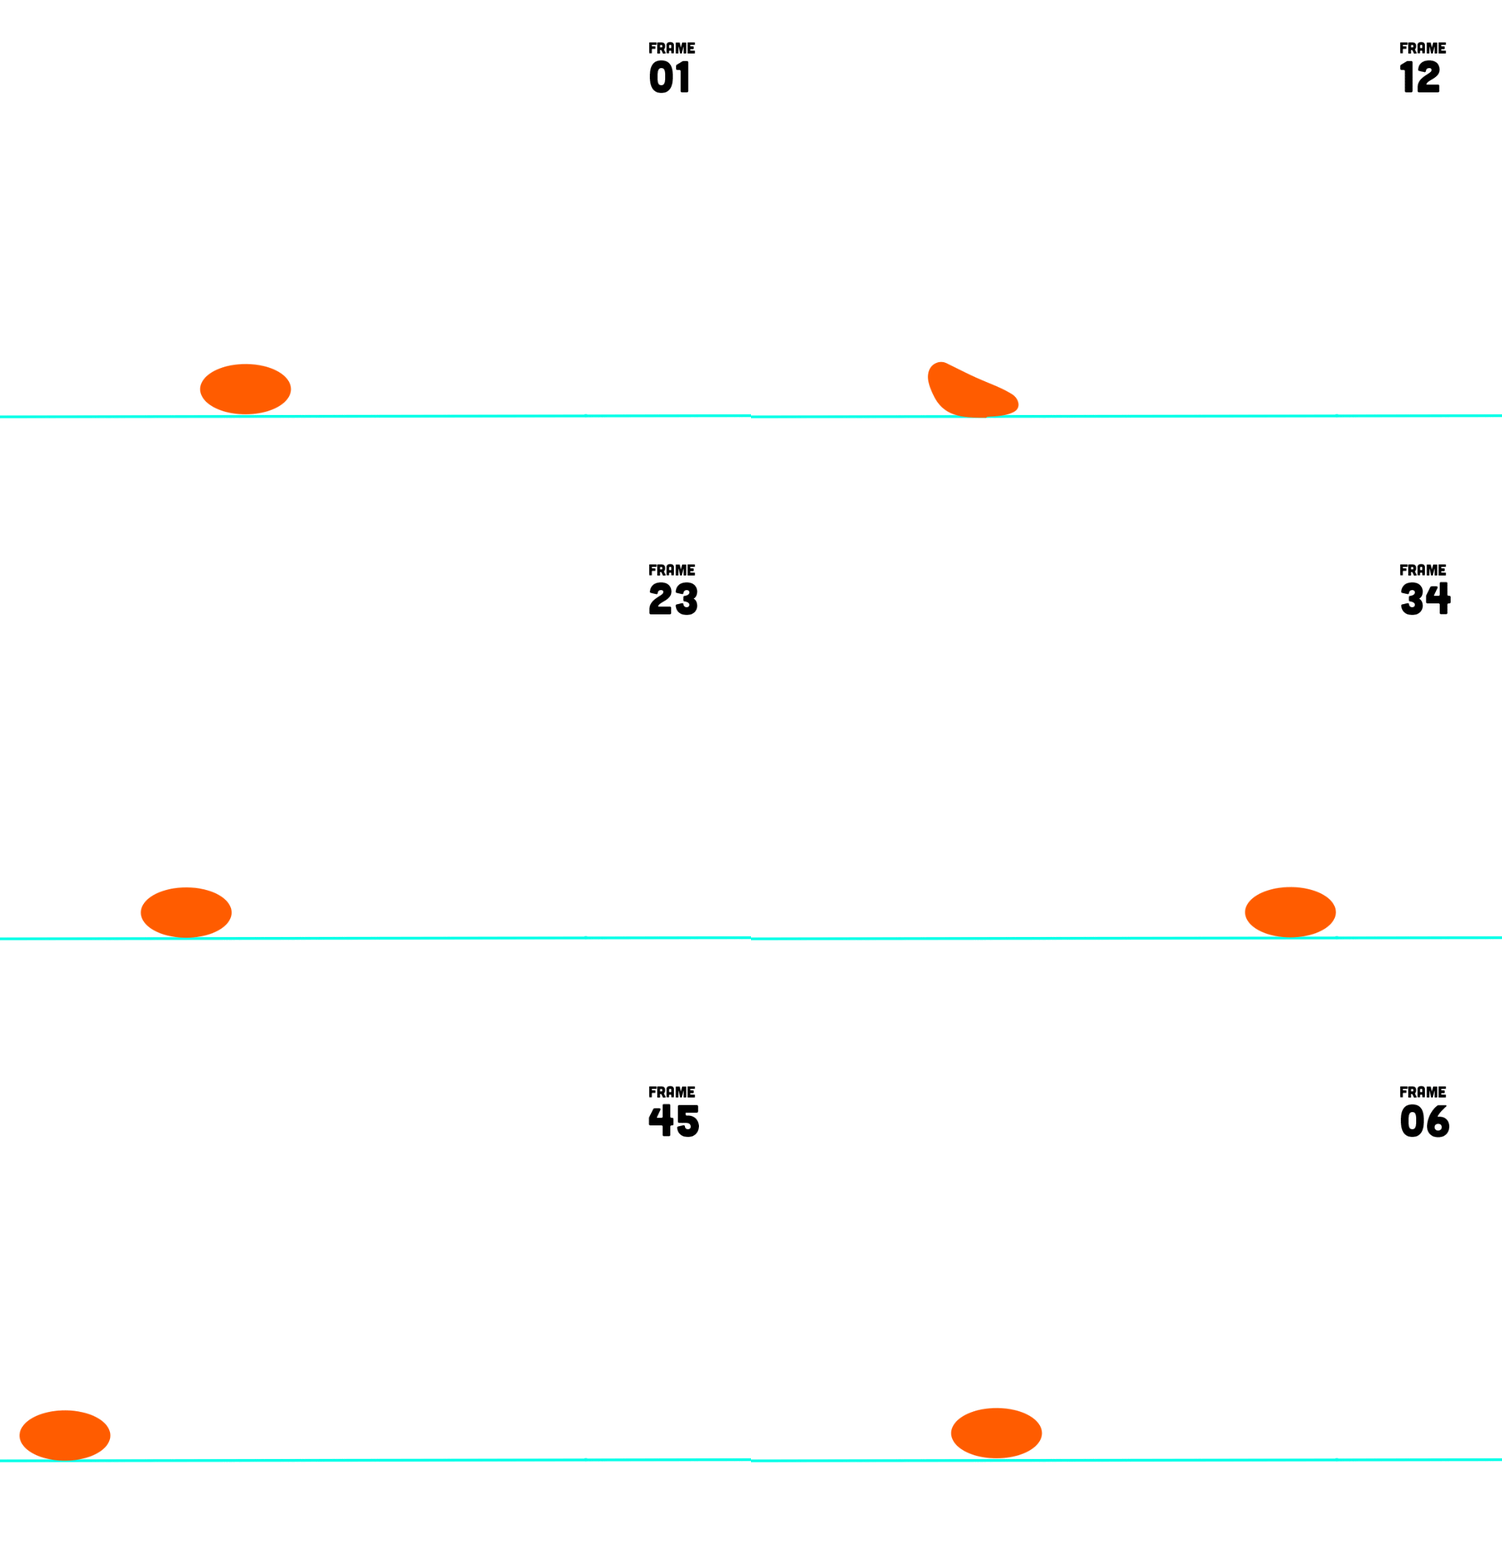
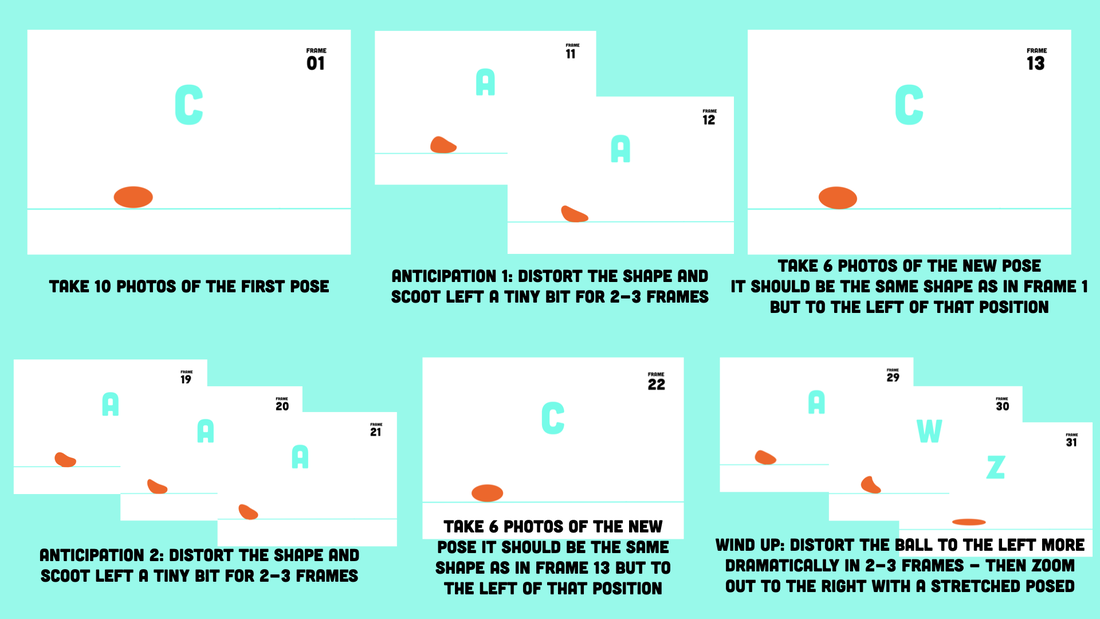
Using WAX-BASED CLAY, make a bean slide across the screen.

  • Use ANTICIPATION and TIMING to help the viewer know the clay is about to move
 
  • Your anticipation animation should loop with movement going across the screen
​
  • Your clay form can be any shape, but a bean-like amorphous form is easier than something that has lots of specific parts (like an animal with legs)

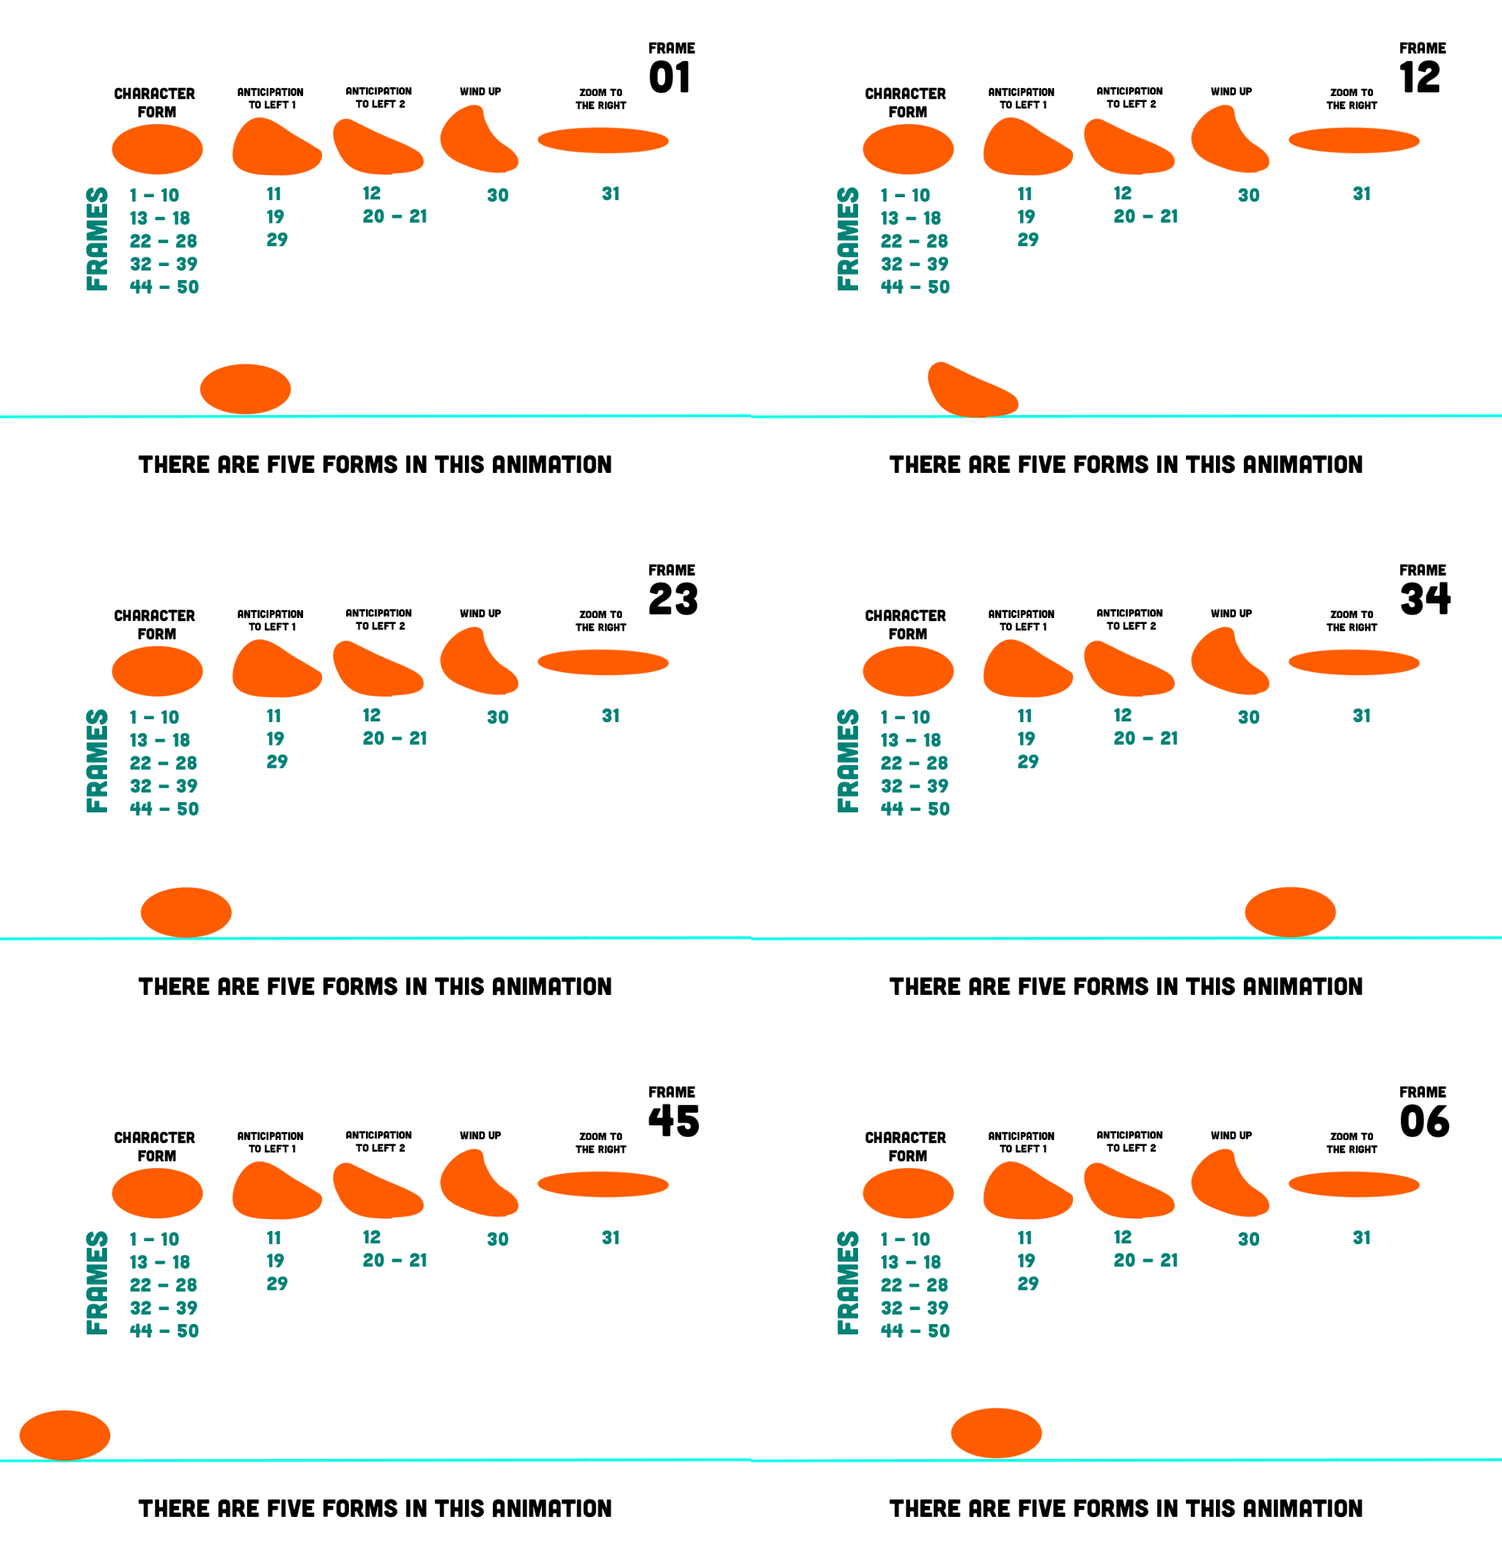
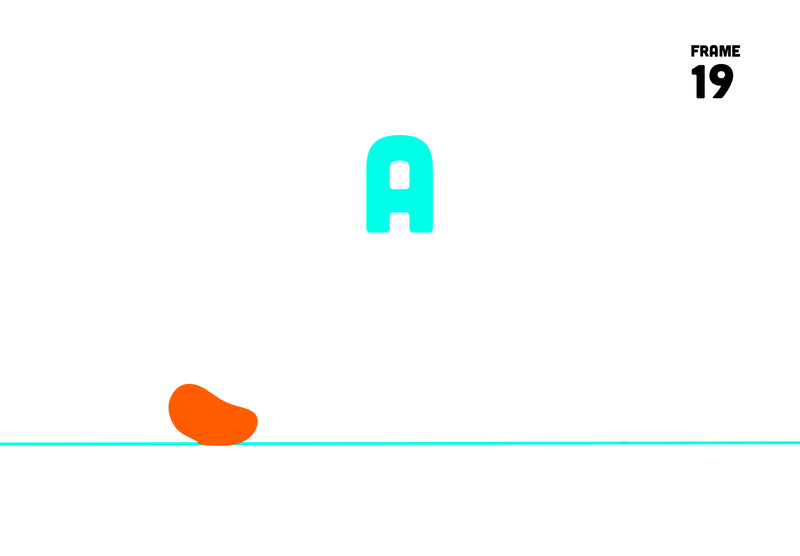
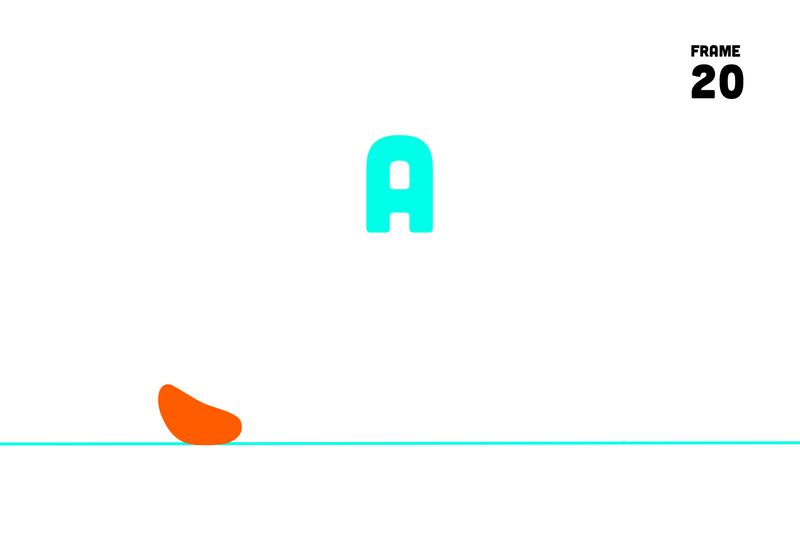
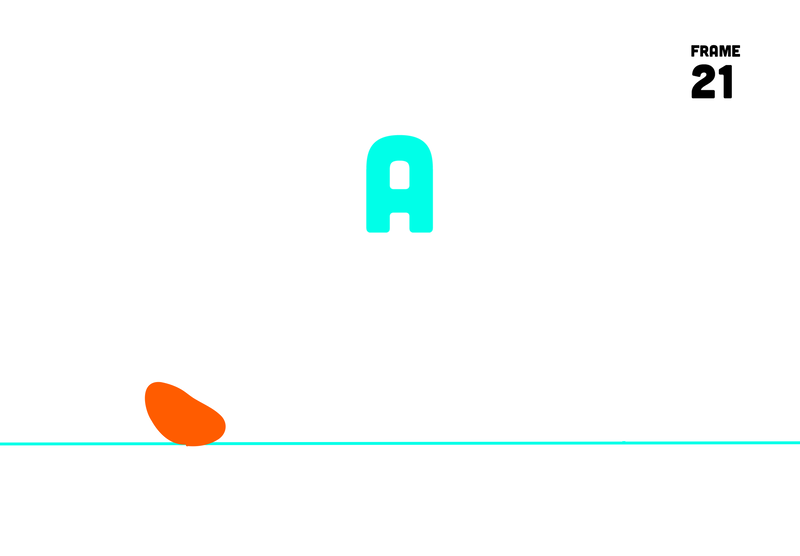
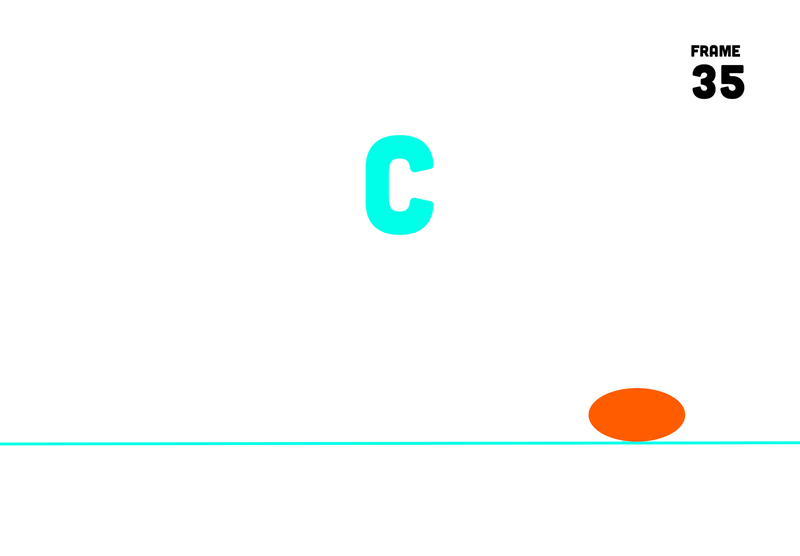
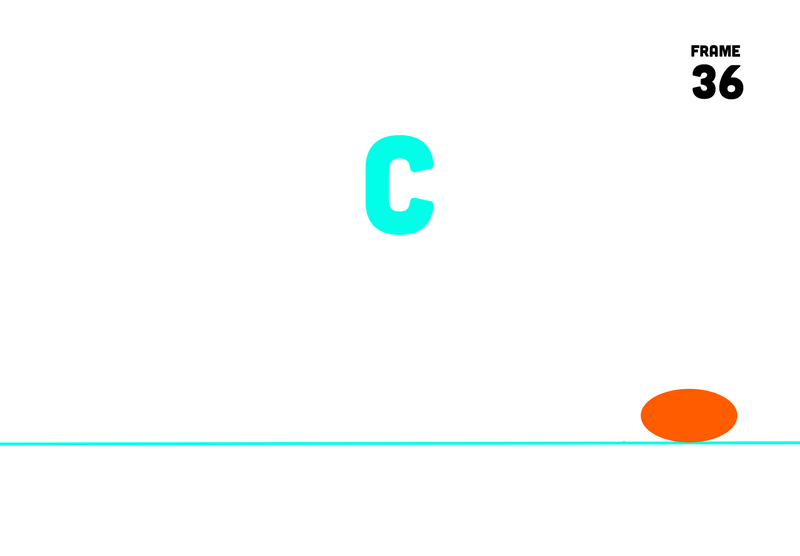
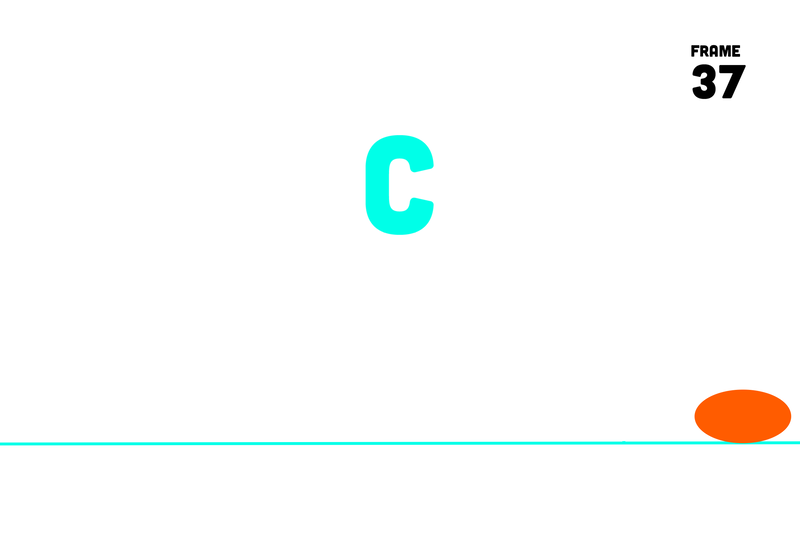
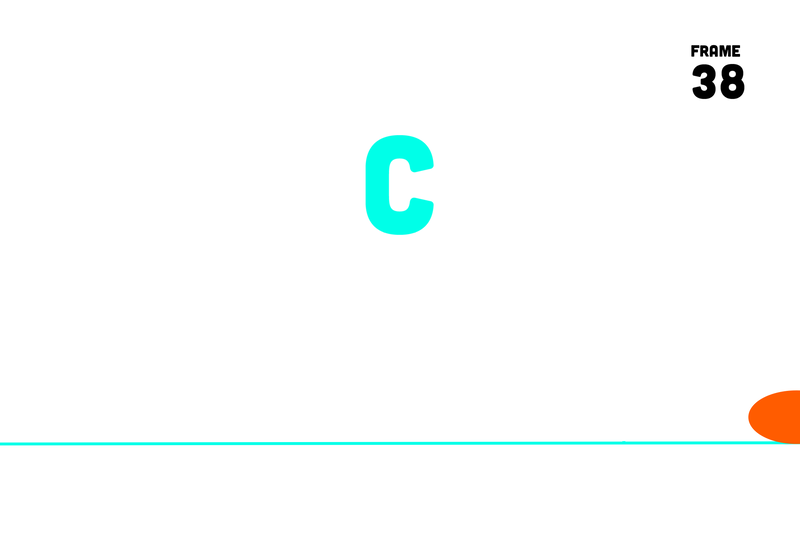
  • In the example on the left, the bean backs up twice before winding up to race to the right. That backing up and wind up to the left before moving to the right is the anticipation that give the bean the visual energy to move quickly to the right.

Picture
Picture

Picture
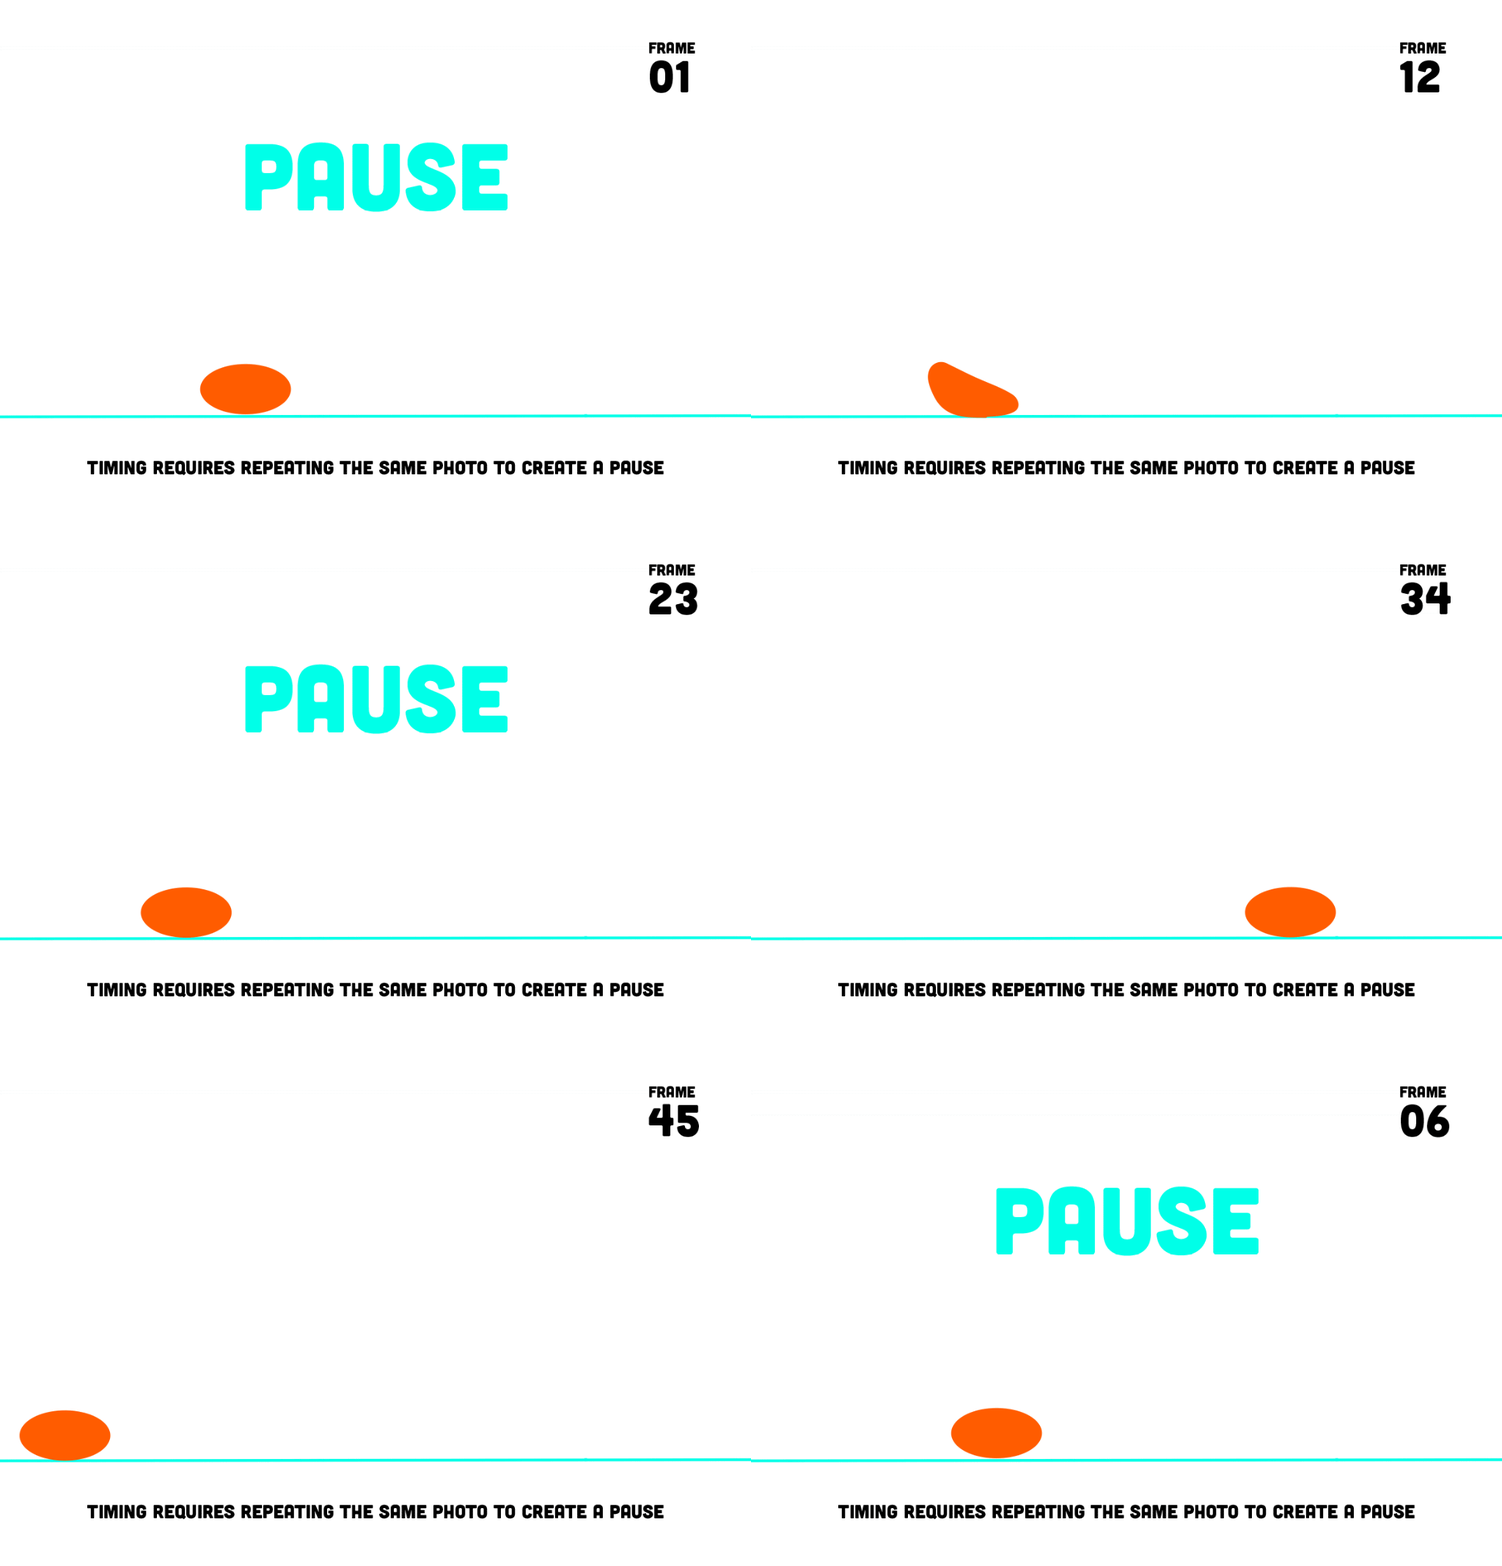
  • The pauses between actions help the viewer understand the anticipation action
  • To create a pause, take multiple photos of the same frame before making the next movement
  • You should have 2 anticipation movements prior to the wind up for the big action
  • Use the stretch technique in the zoom frame to give the illusion the clay is moving very quickly
Picture
Picture
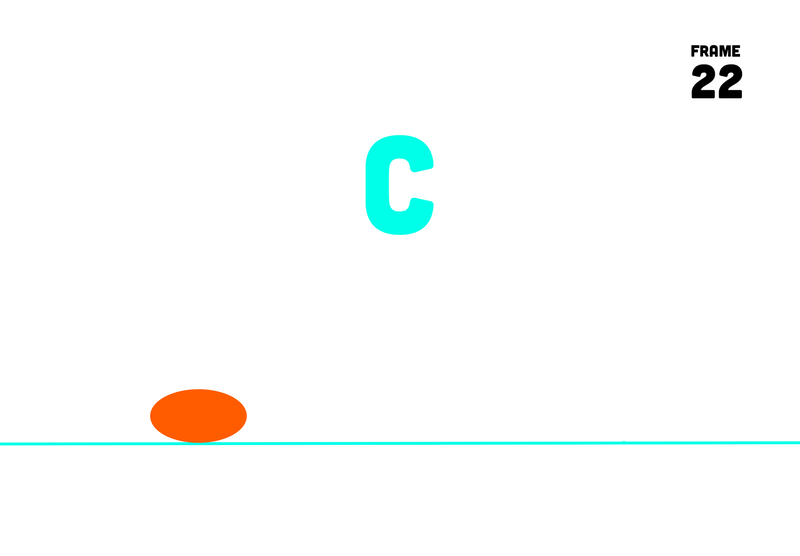
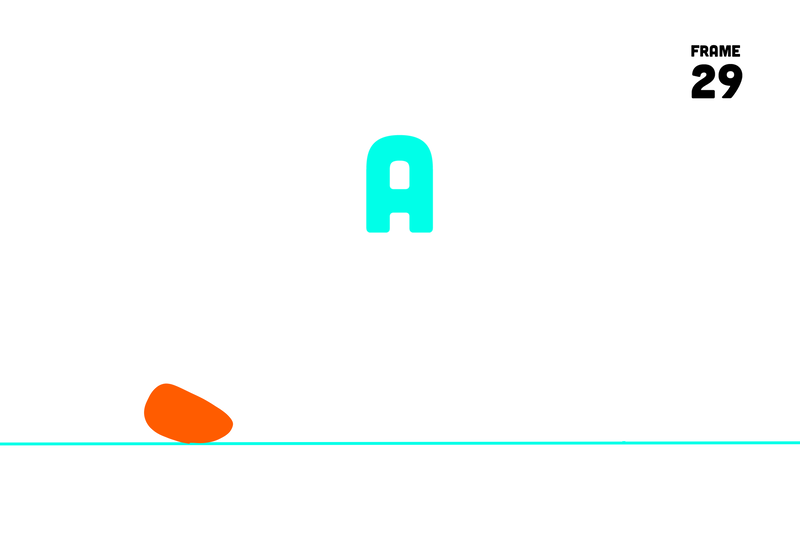
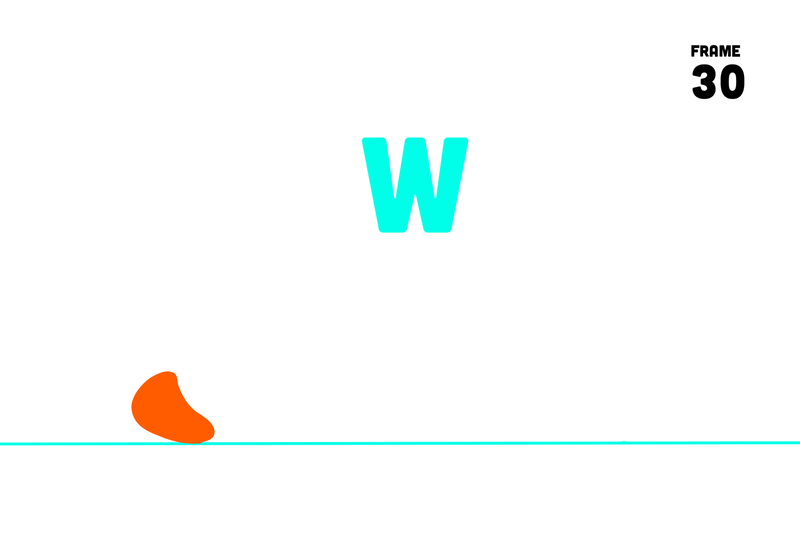
ANTICIPATION FRAME BY FRAME
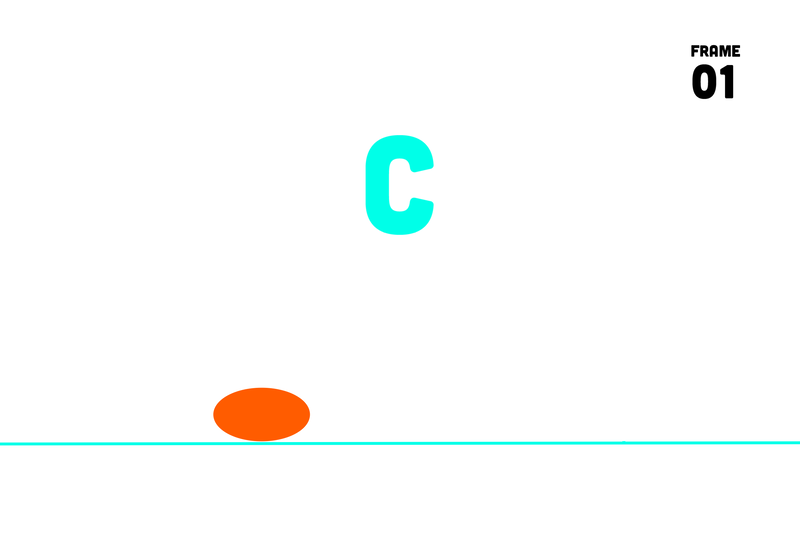
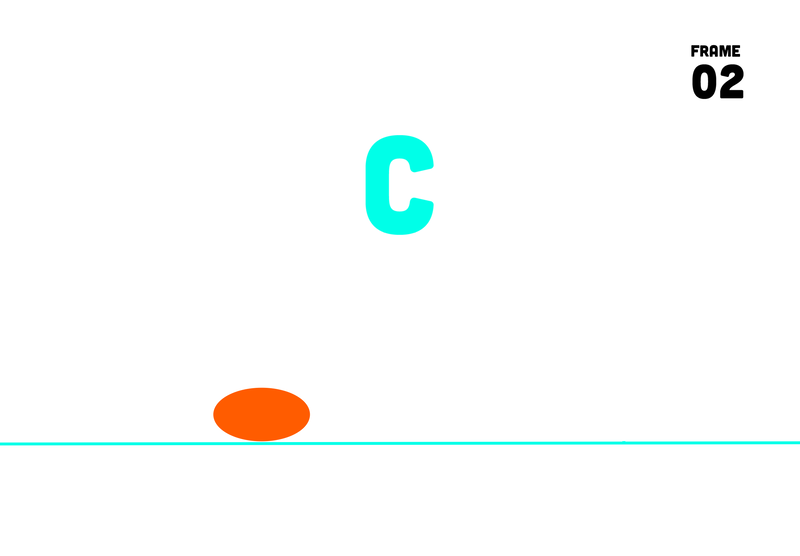
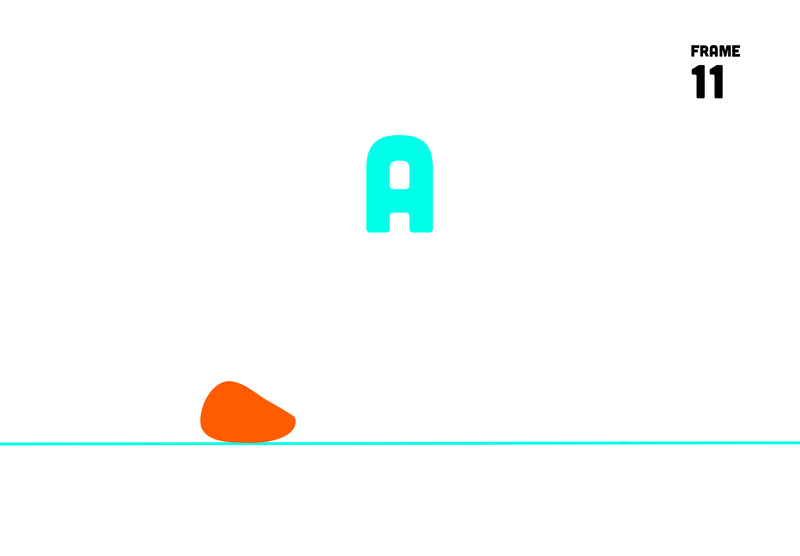
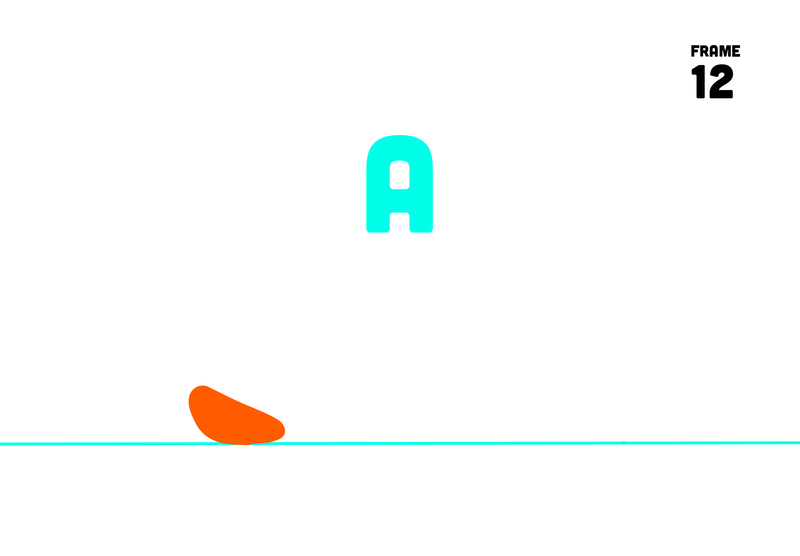
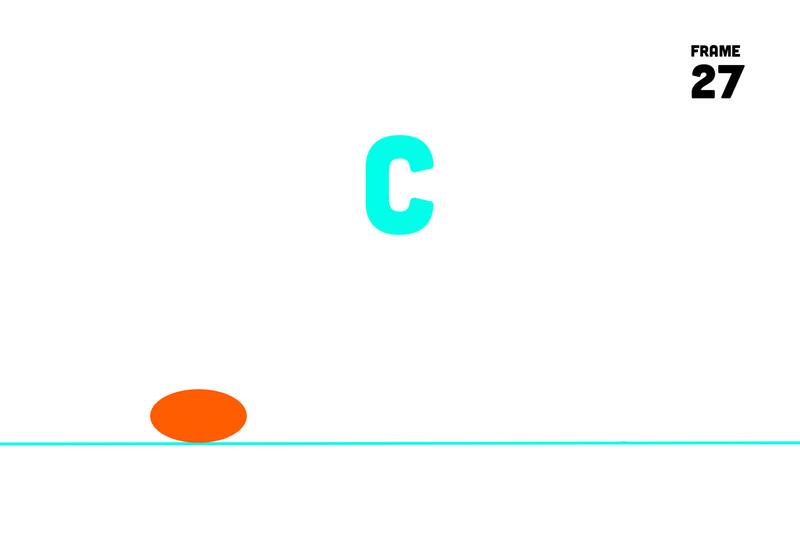
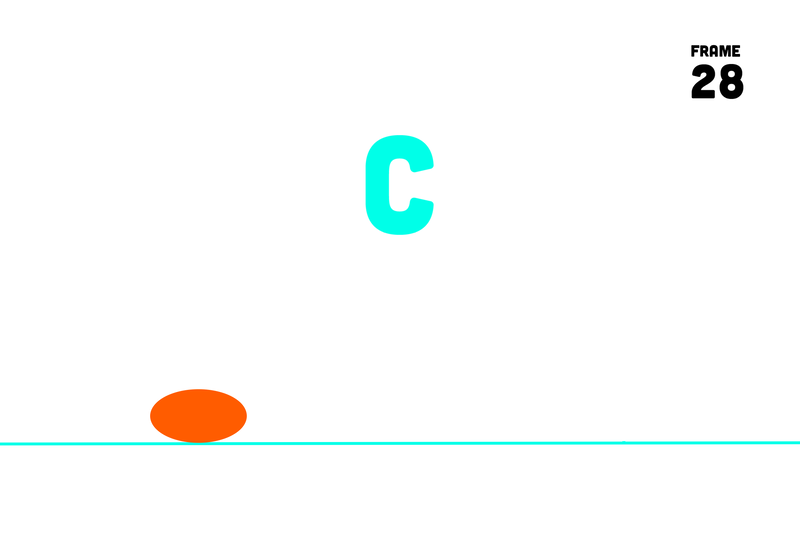
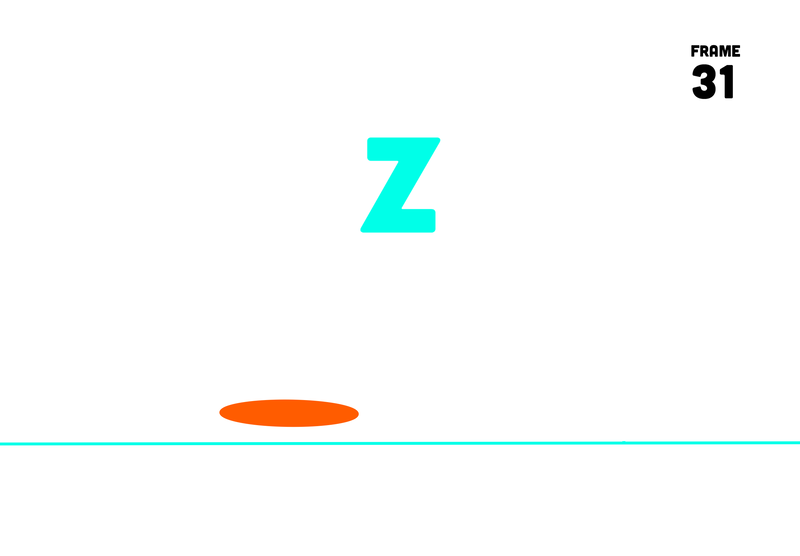
  • FRAME 1-10: Stationary position (starting position)
  • FRAME 11-12: Anticipation (changing shape and backing up)
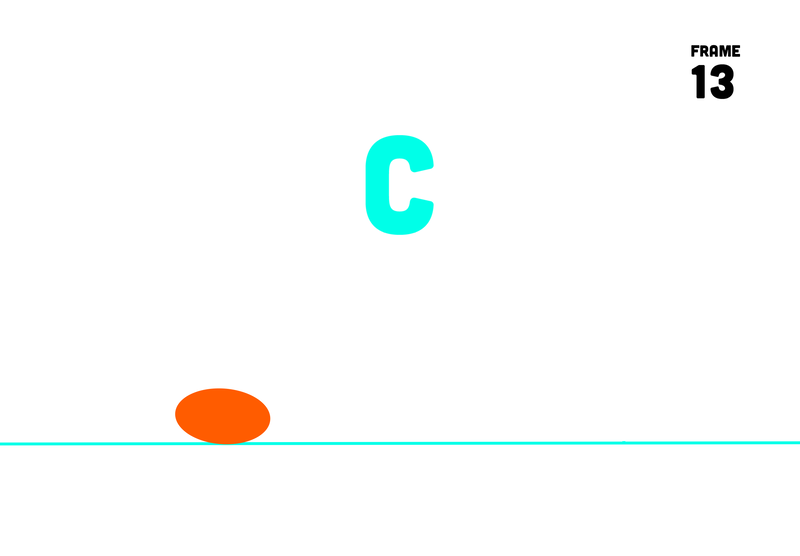
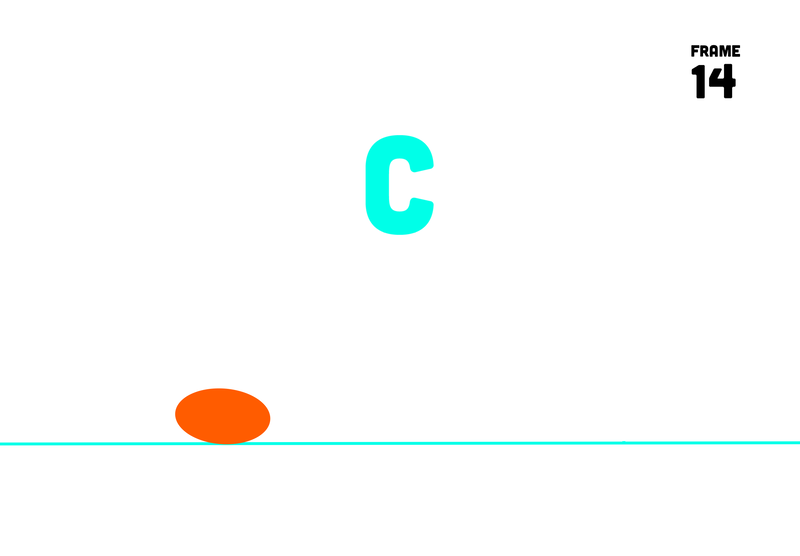
  • FRAME 13-18: Stationary position (left of starting position)
  • FRAME 19-21: Anticipation (changing shape and backing up)
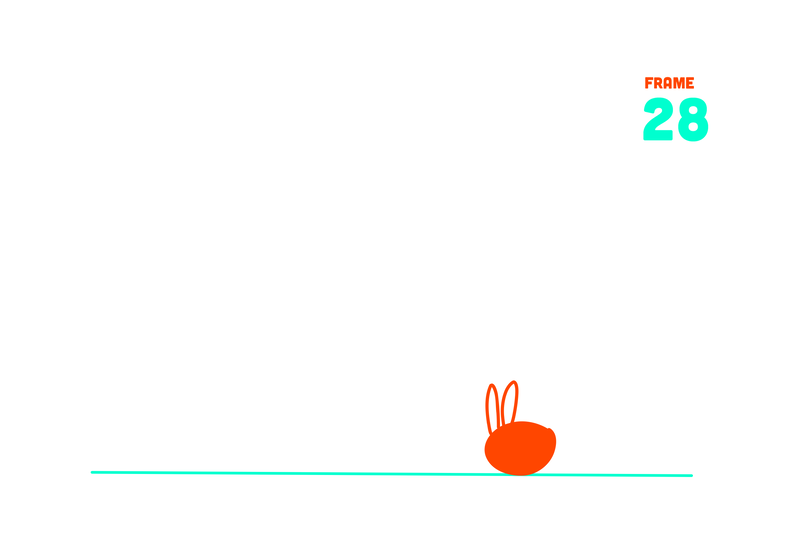
  • FRAME 22-28: Stationary (left of Frame 13)
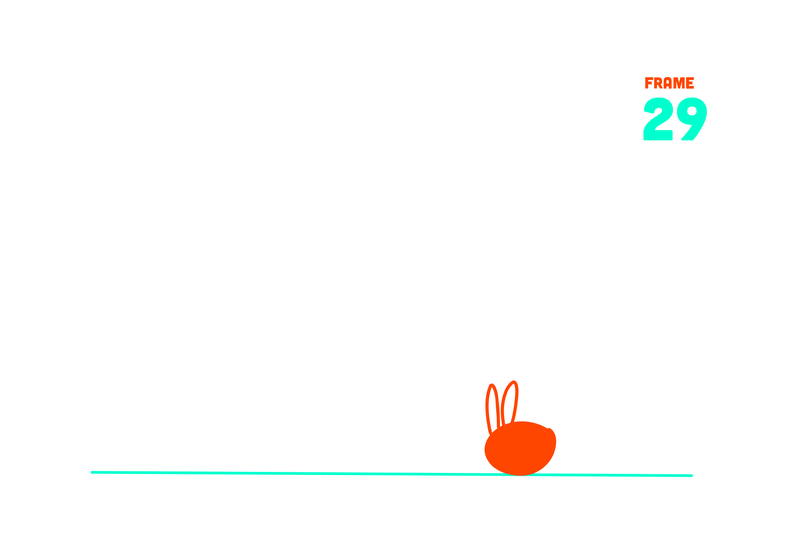
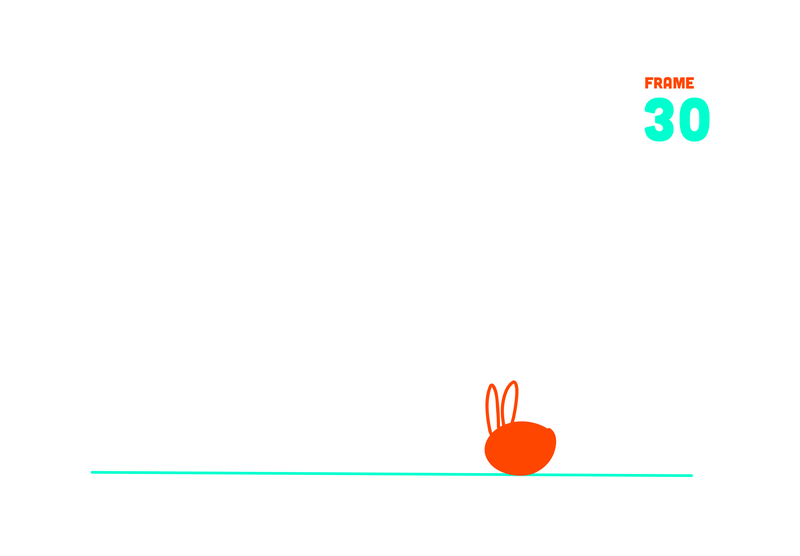
  • FRAME 29-30: Wind Up (changing shape and backing up - more dramatically)
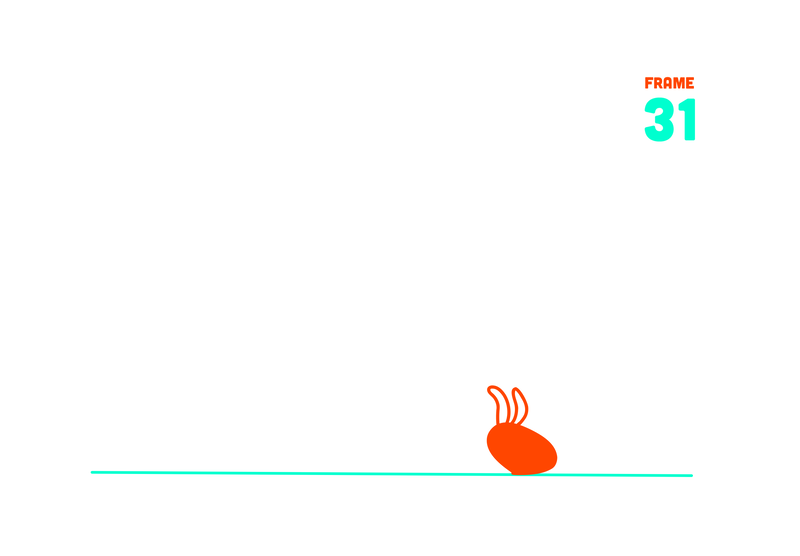
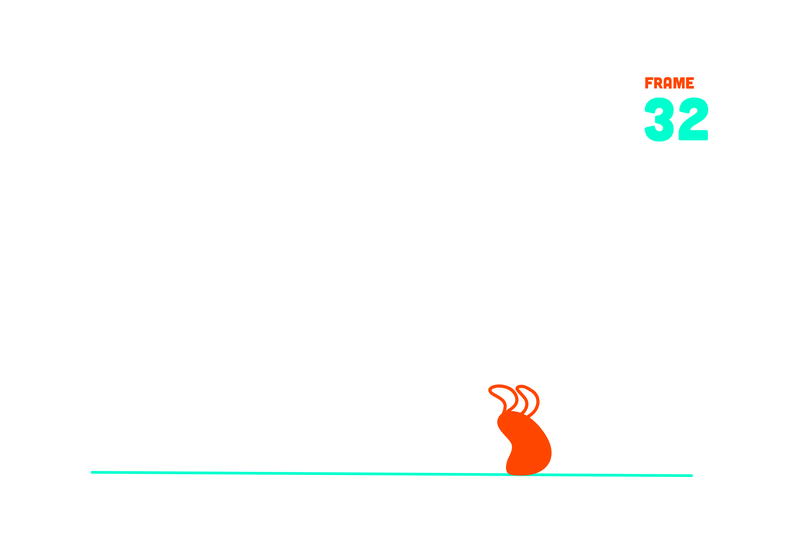
  • FRAME 31: Zoom (stretch shape to exaggerate speed moving right)
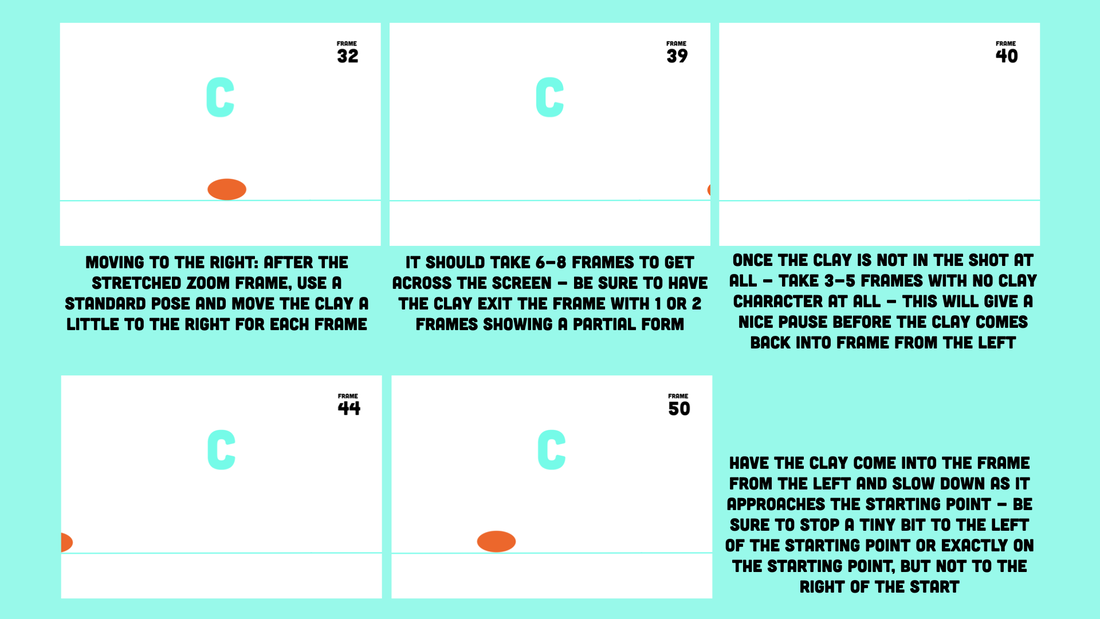
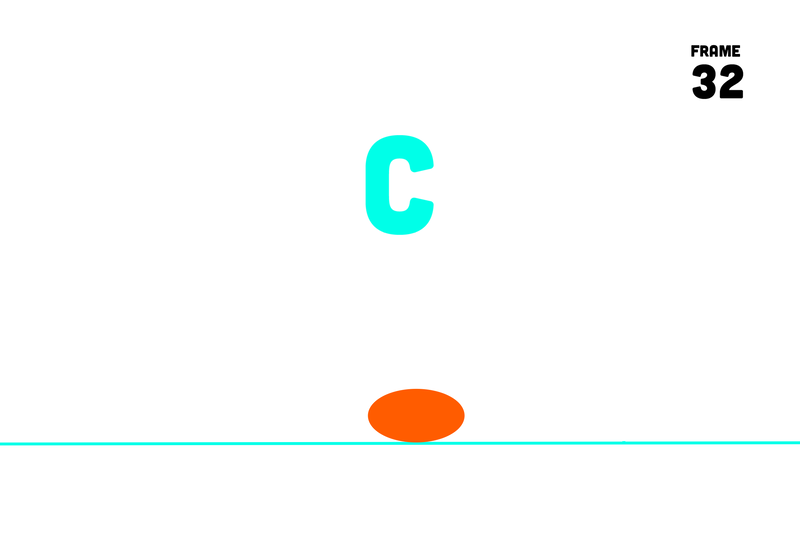
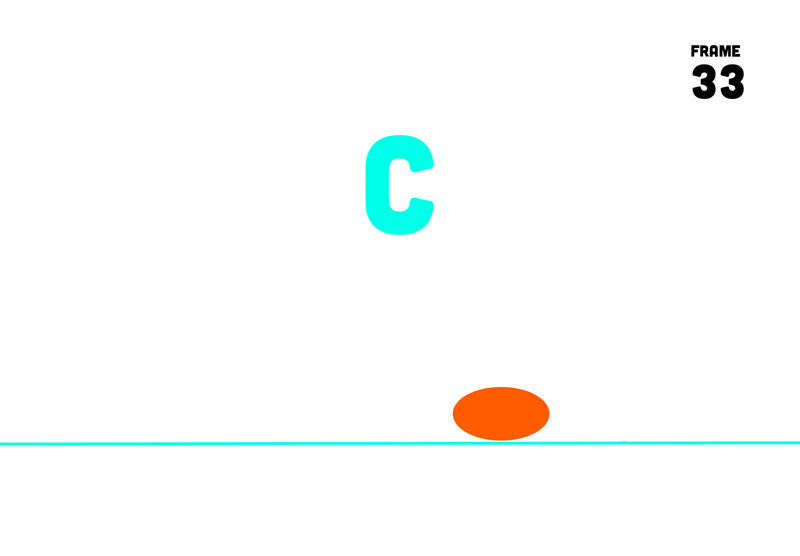
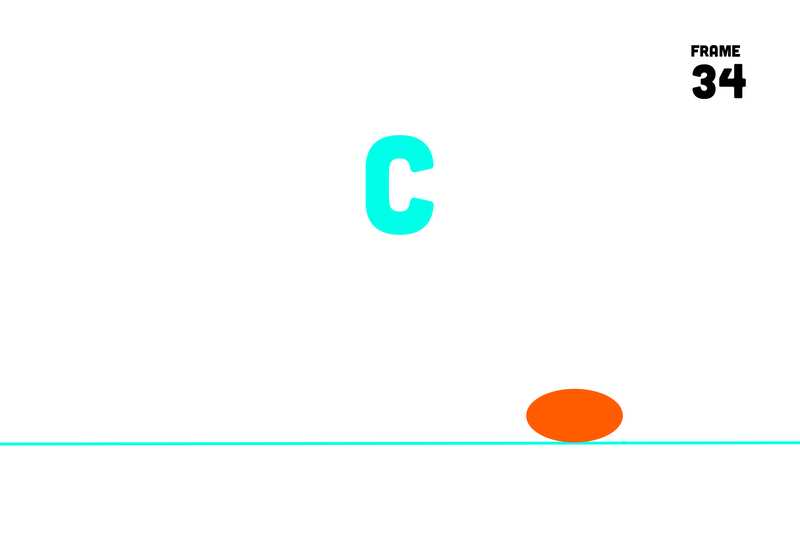
  • FRAME 32-38: Moving to the right (back to stationary shape, just moving)
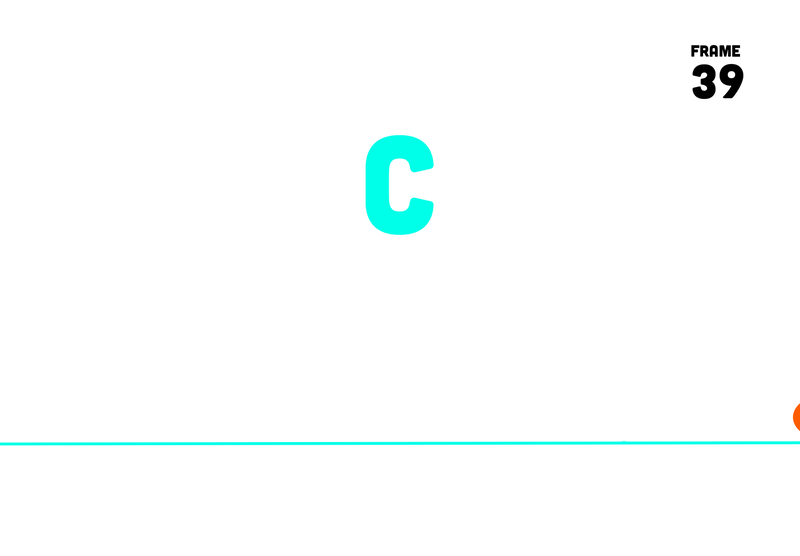
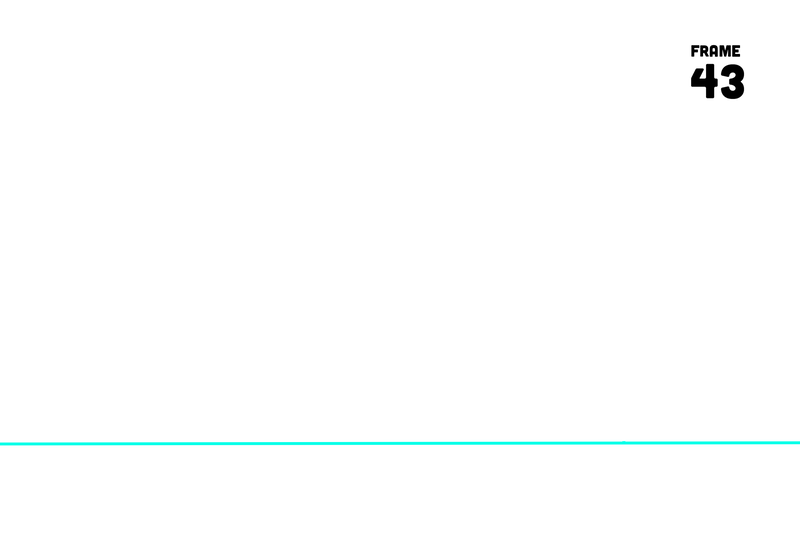
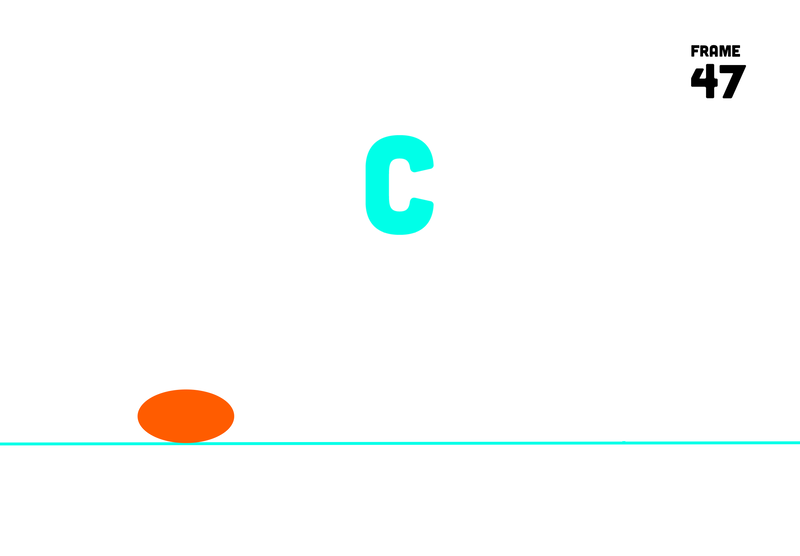
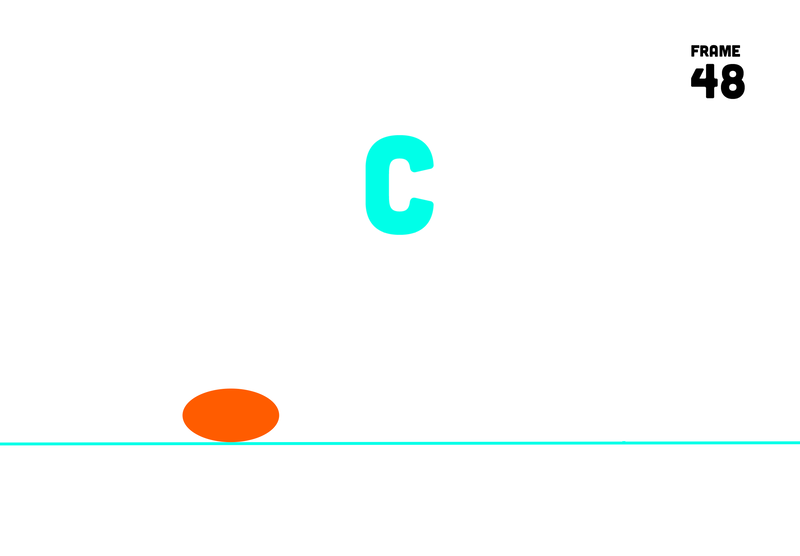
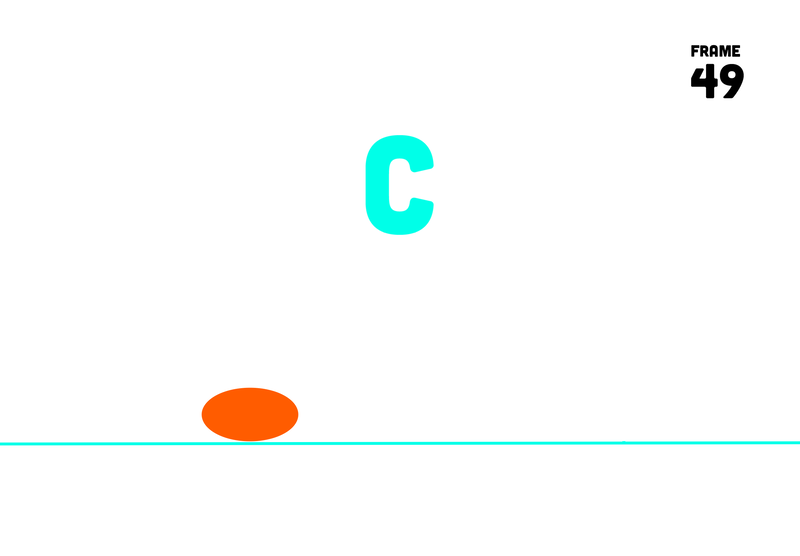
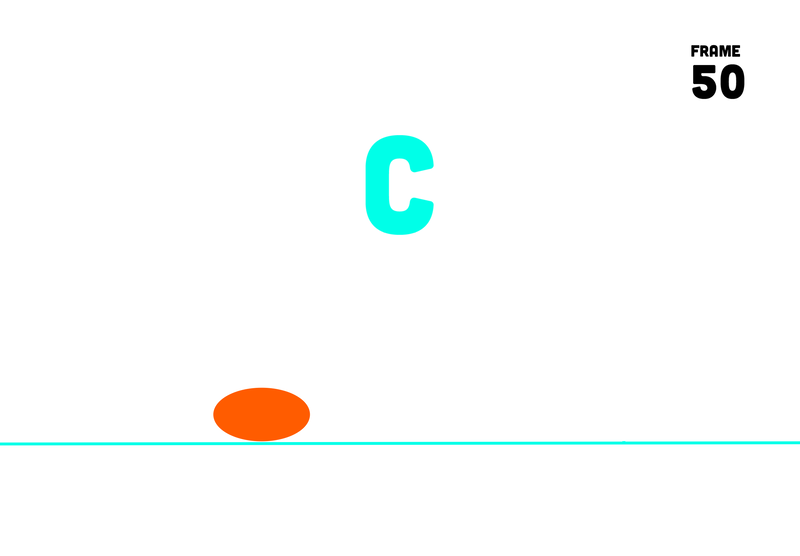
  • ​FRAME 39-43: Empty frames
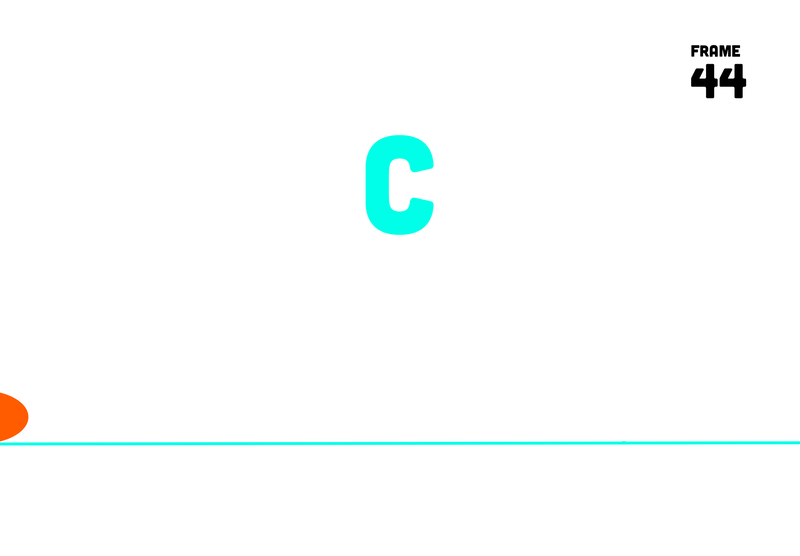
  • ​FRAME 44: Partially enter frame
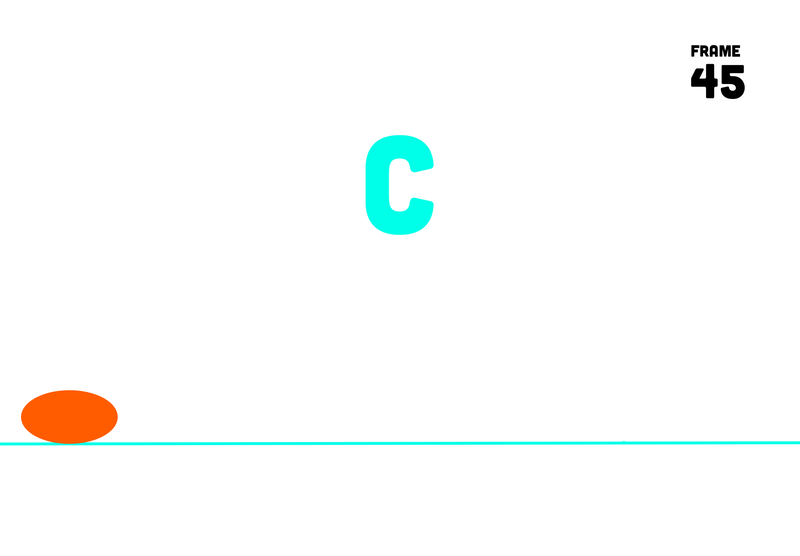
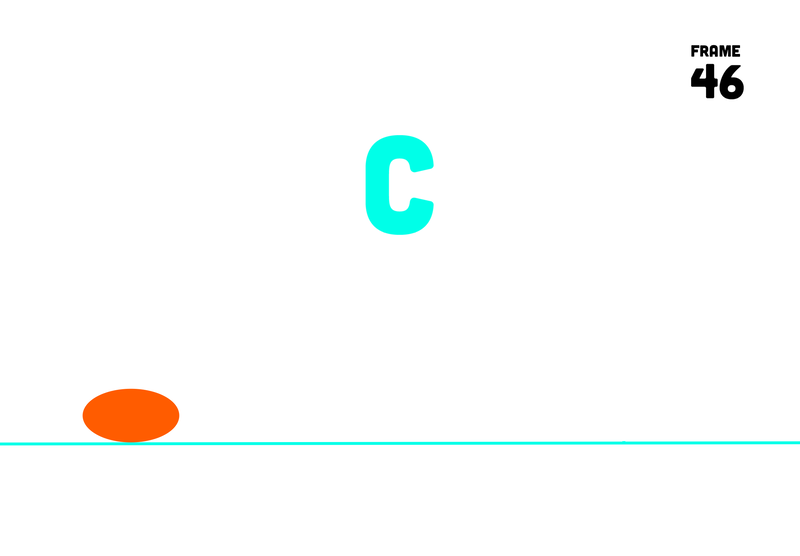
  • FRAME 45-50: Moving right toward frame 1 position.

Follow-Through

FOLLOW THROUGH
Using WAX-BASED CLAY, make a character move from left to right, stop, then back to the original starting point.
  • Your character should have some kind of appendage (like a tail or antenna or hair) that will display follow through.
  • Your character needs a part of its body with a heavier mass and an appendage with lighter mass.
  • The appendage should appear to keep moving for a frame or two past where the body stopped moving and then revert back to its stationary position.
  • Once everything is still, you can send your character back the other way. 
  • Include follow through in the second trip also.
Picture
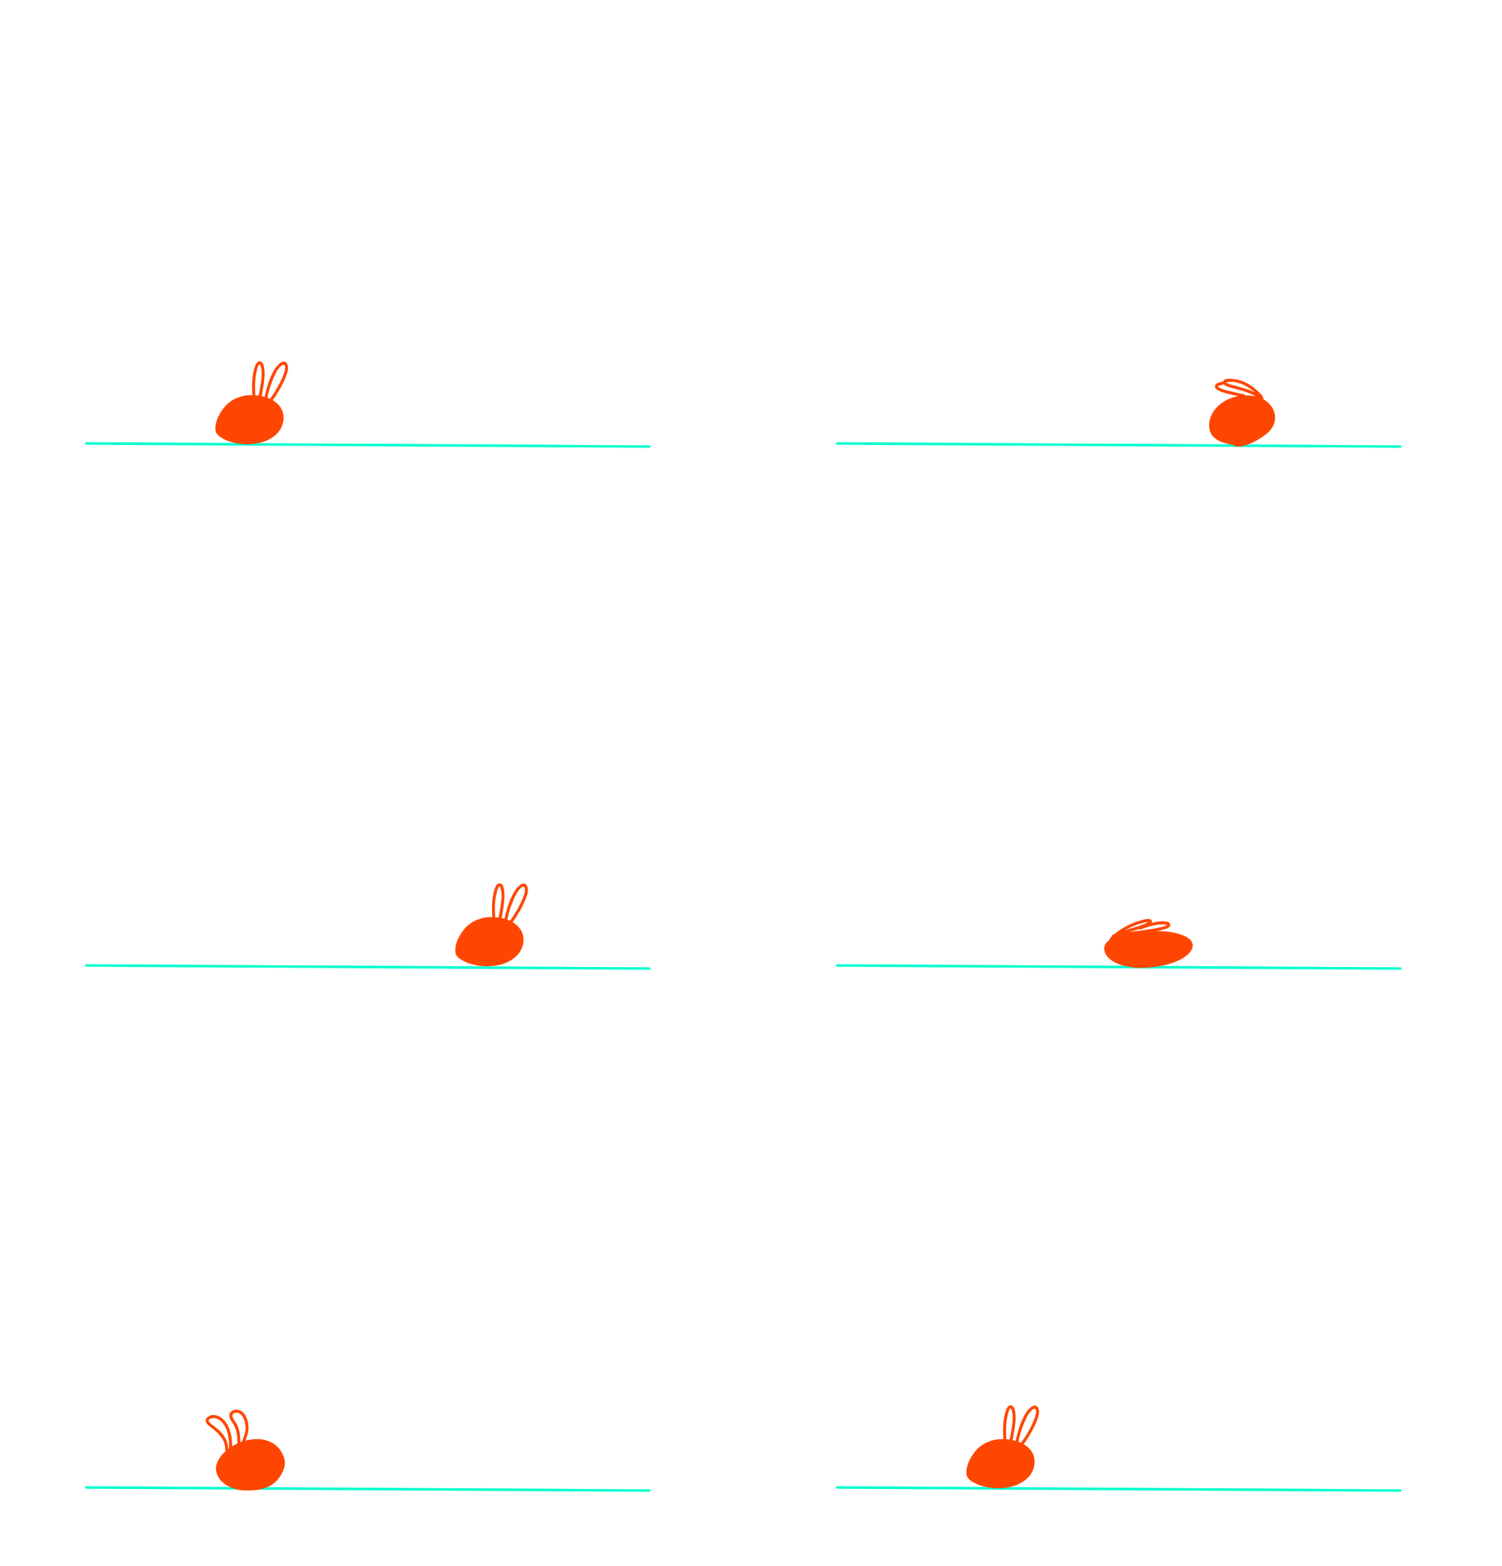
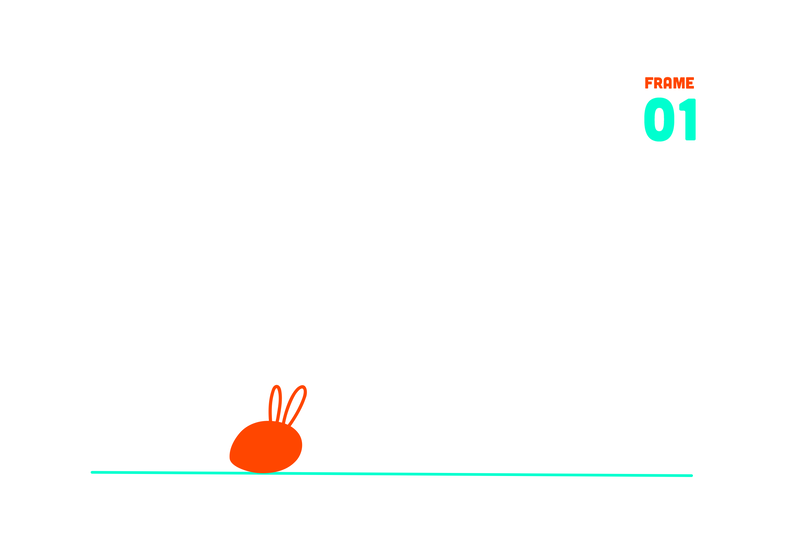
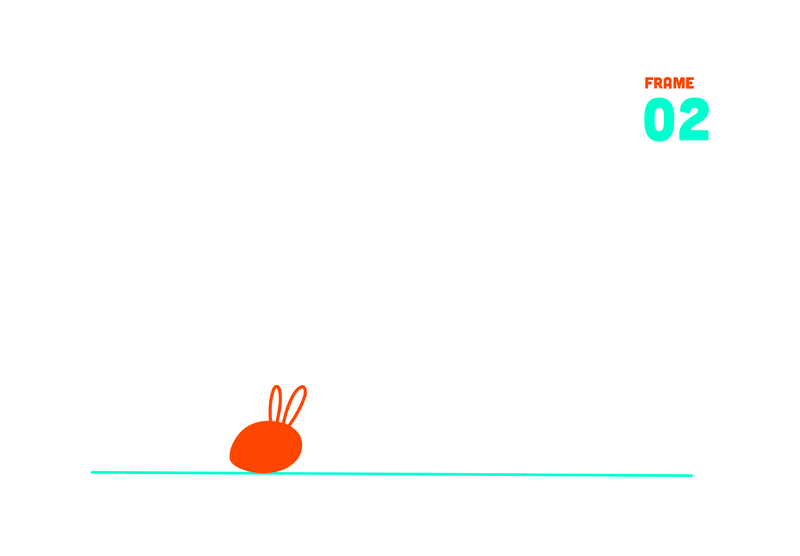
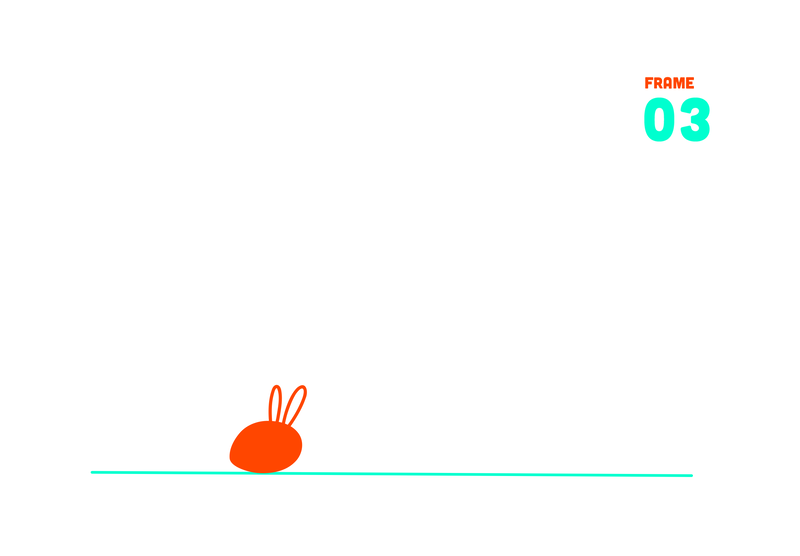
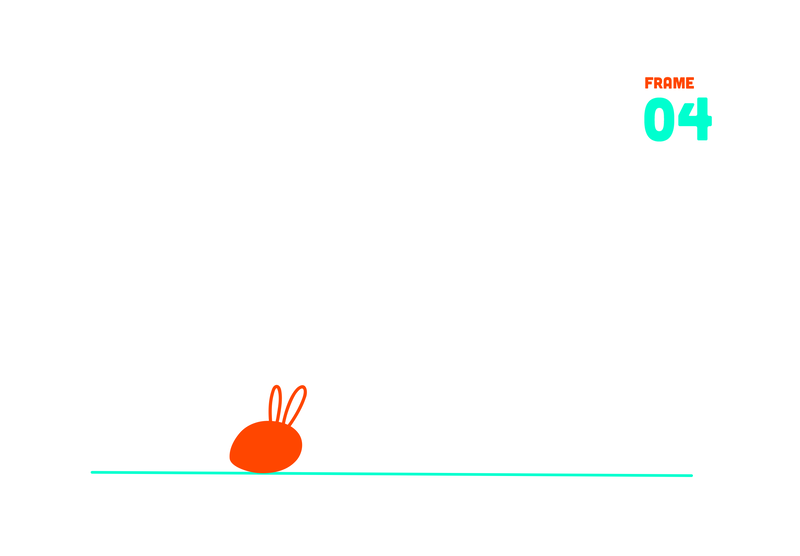
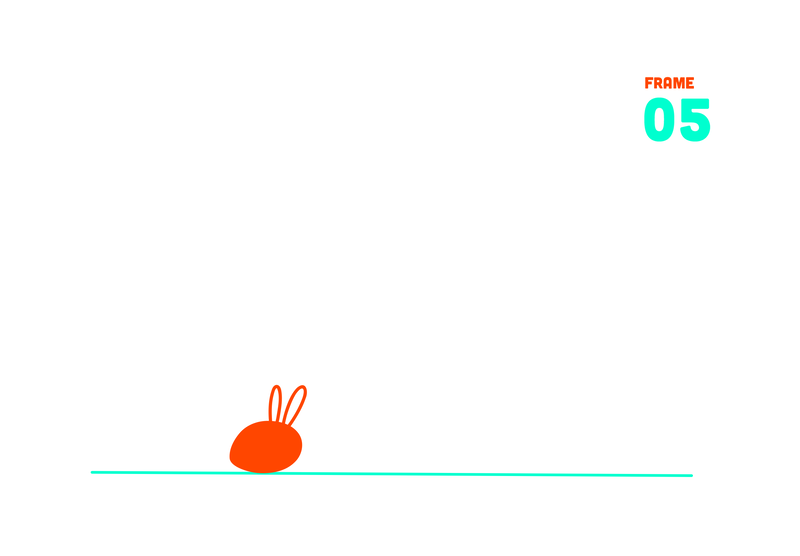
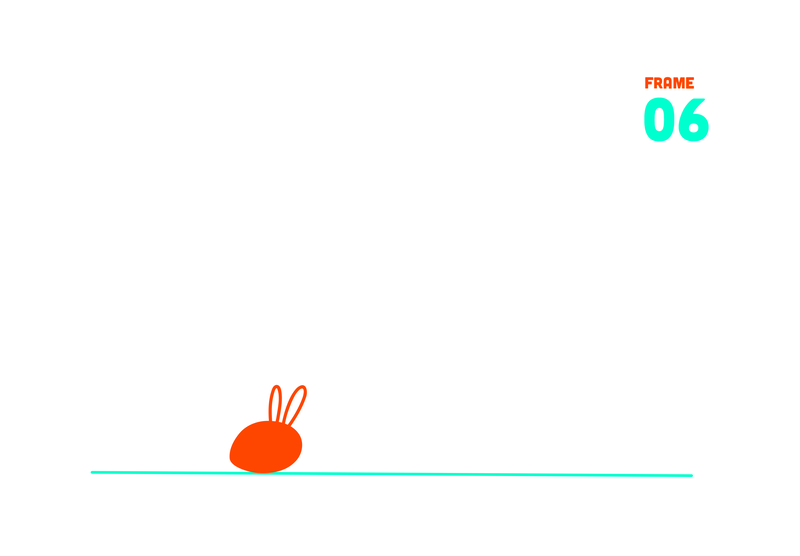
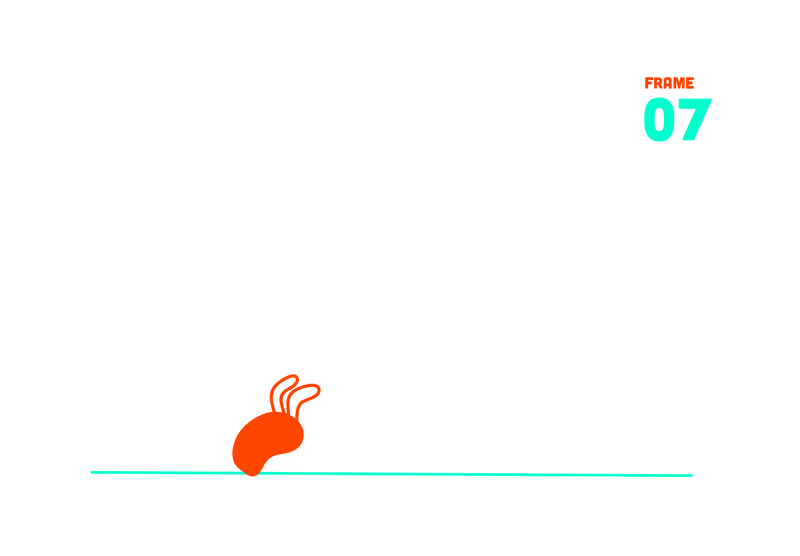
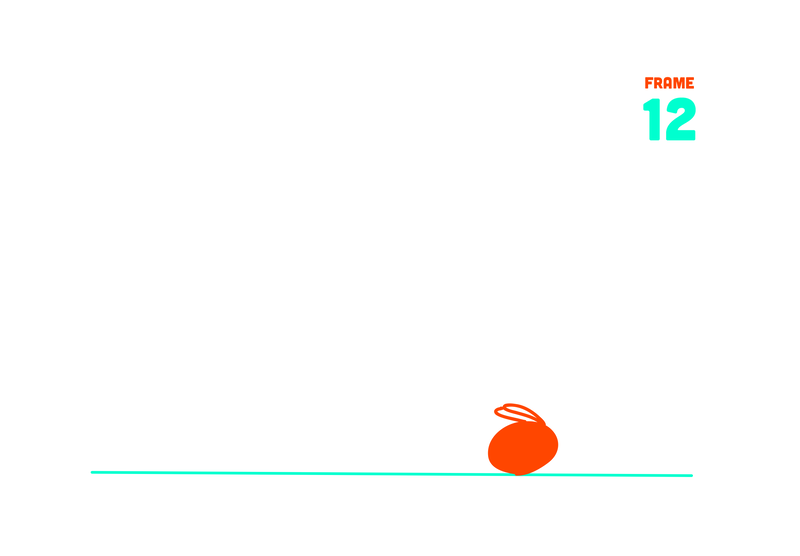
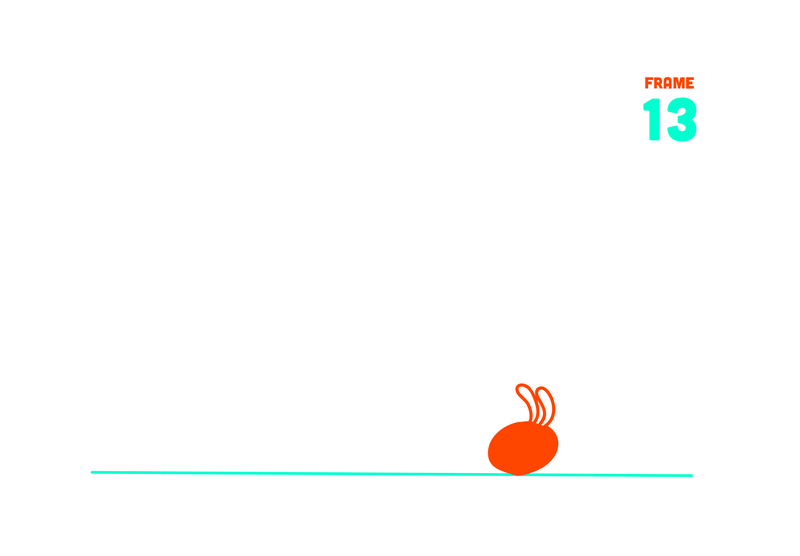
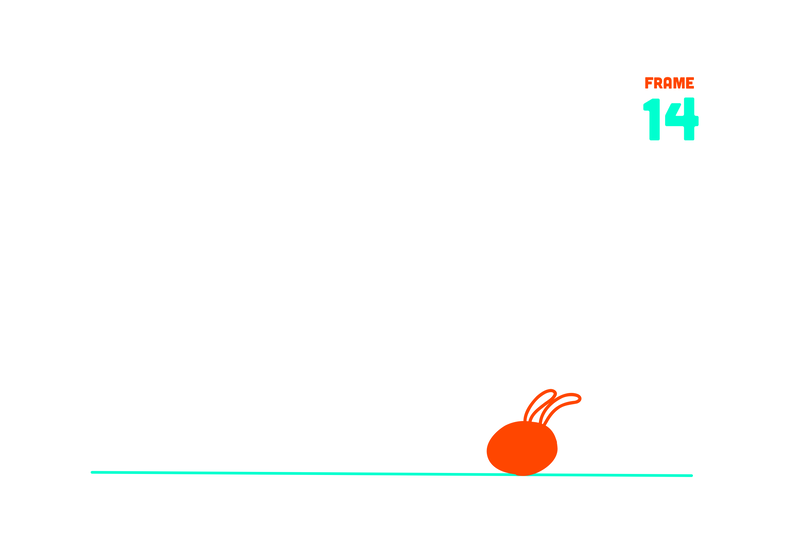
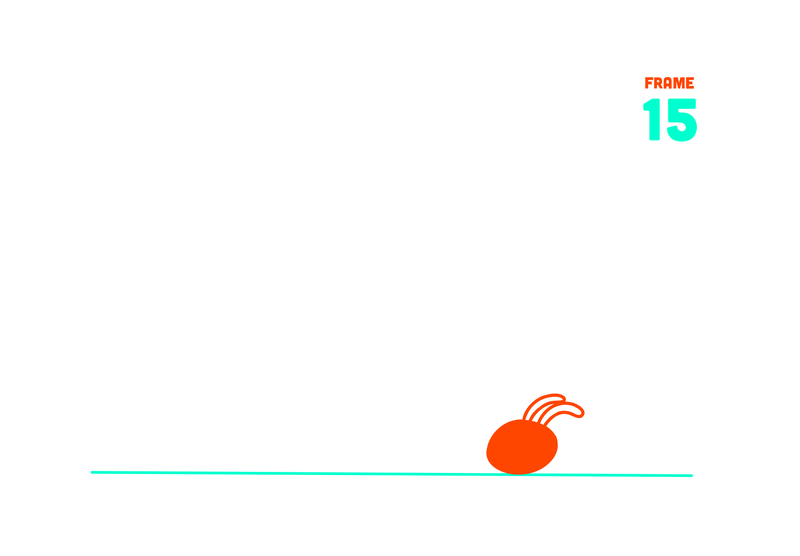
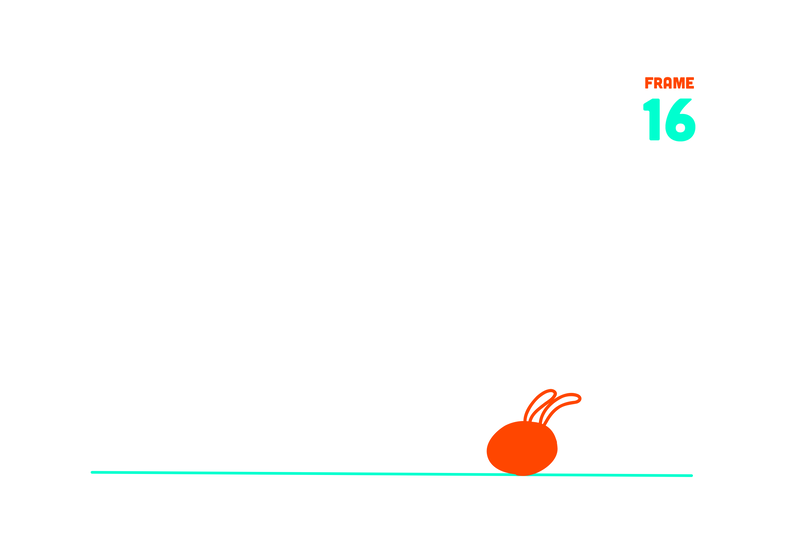
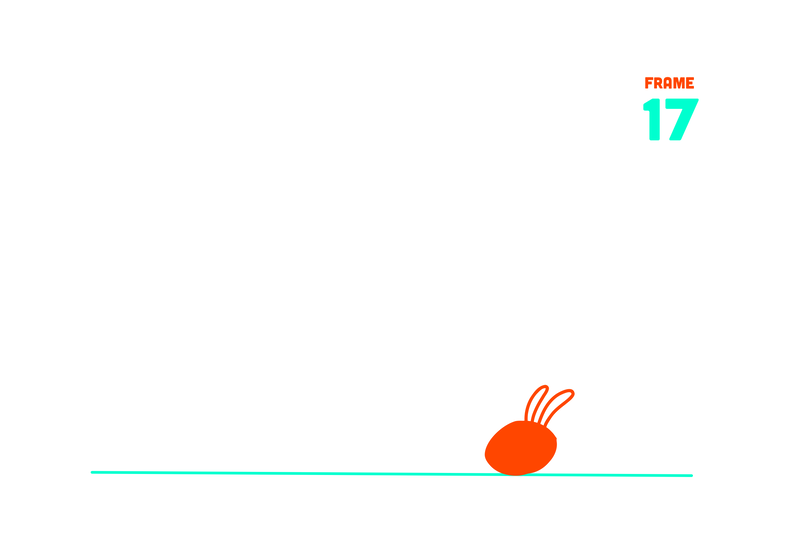
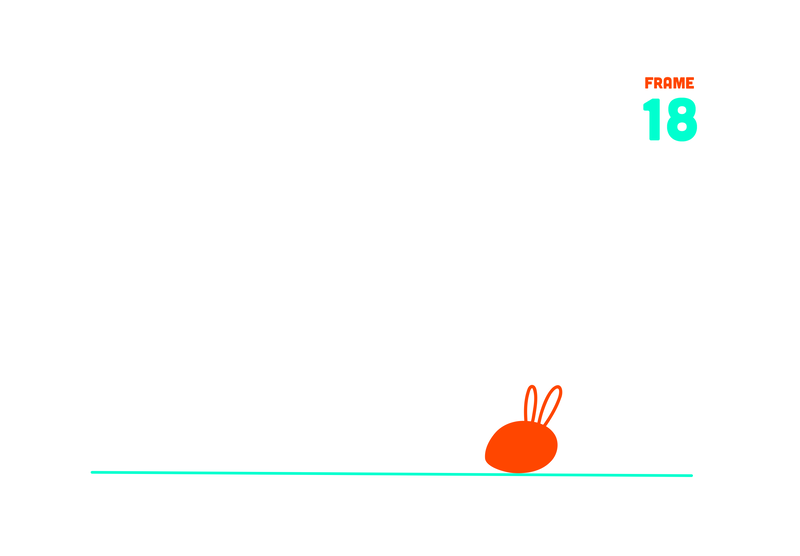
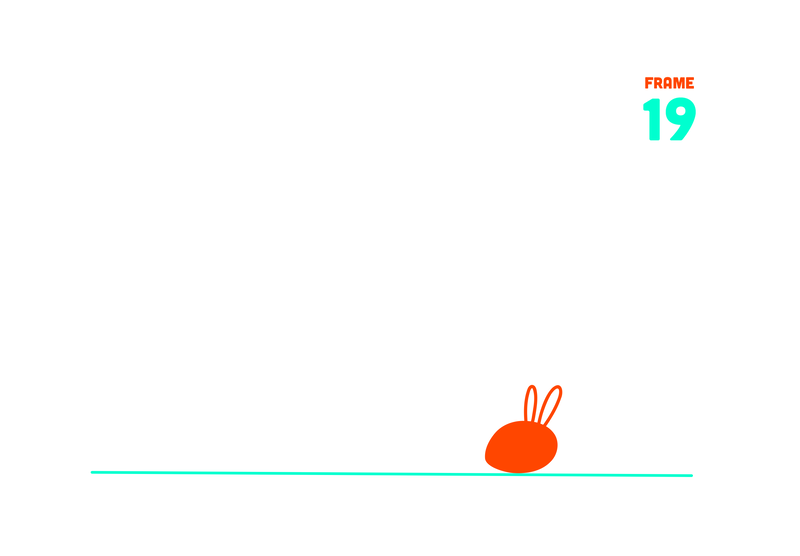
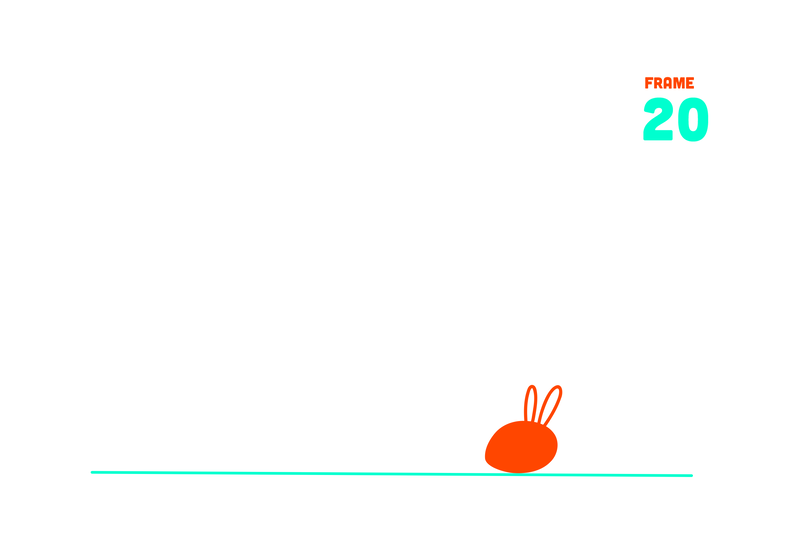
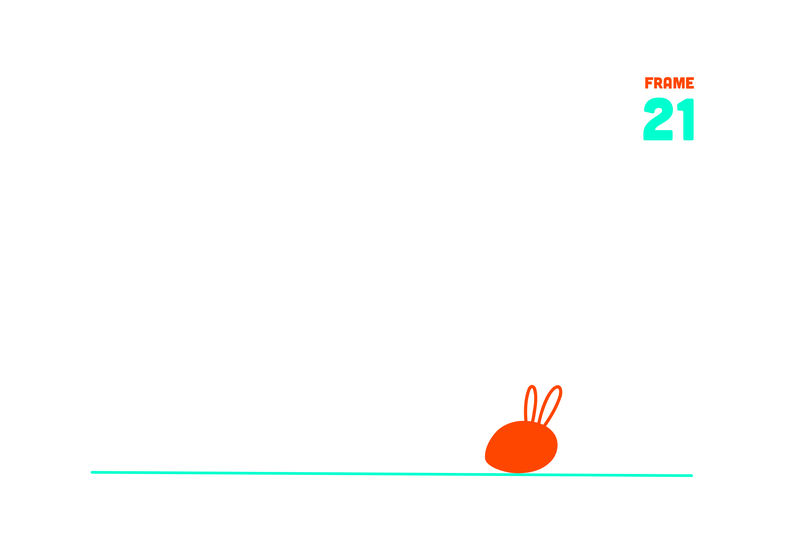
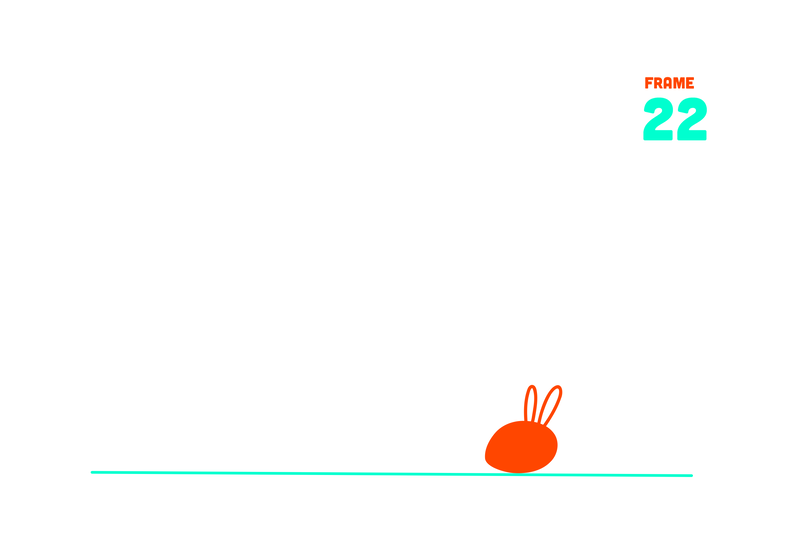
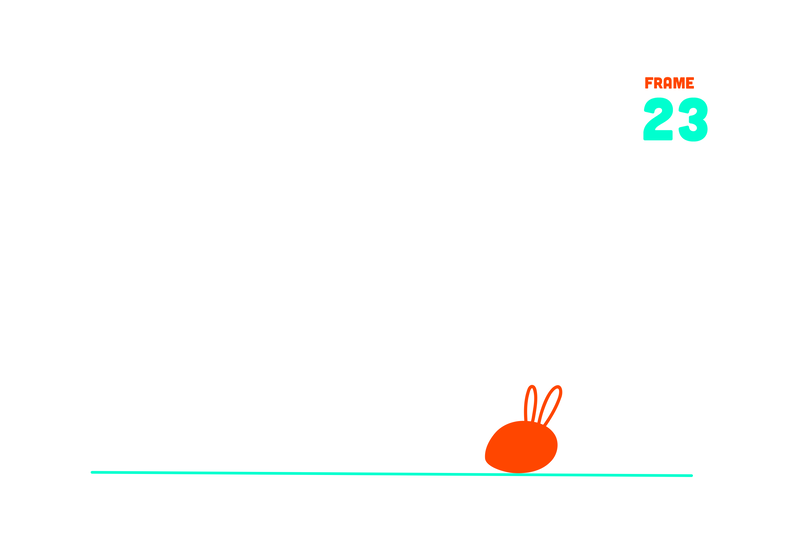
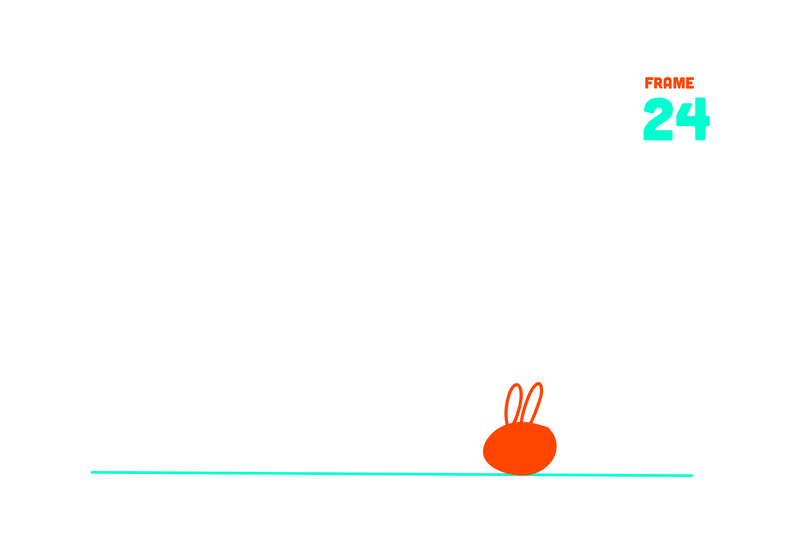
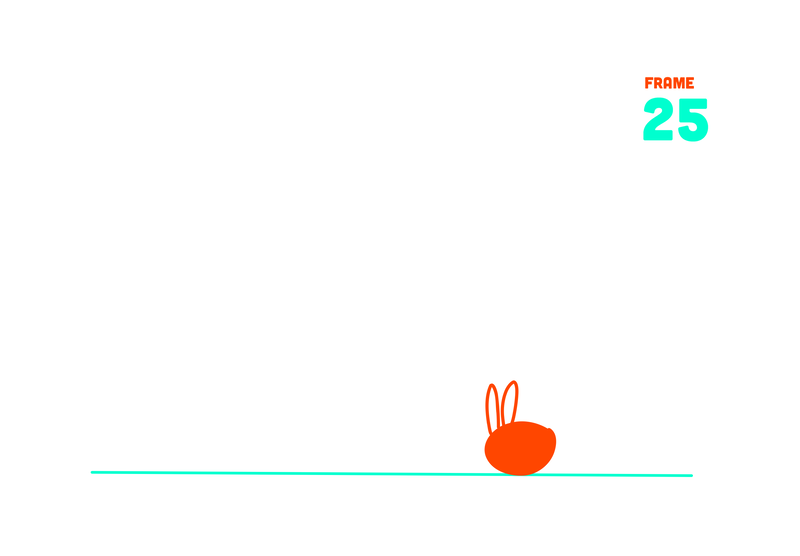
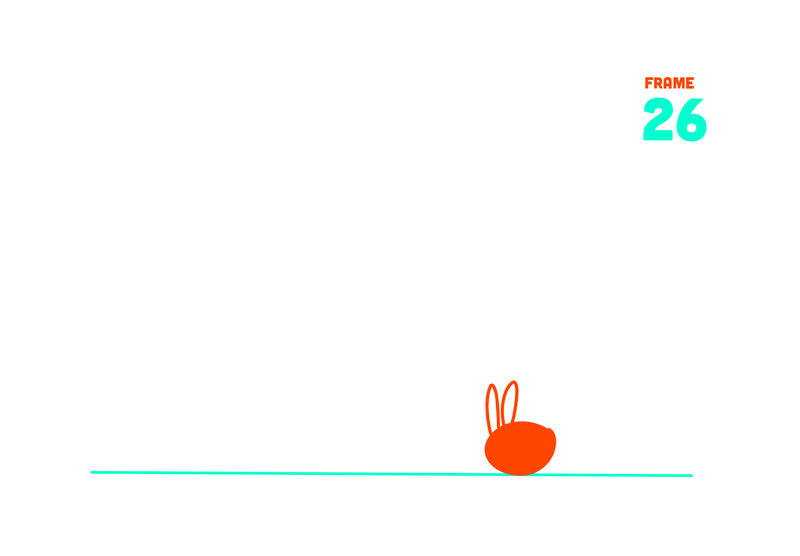
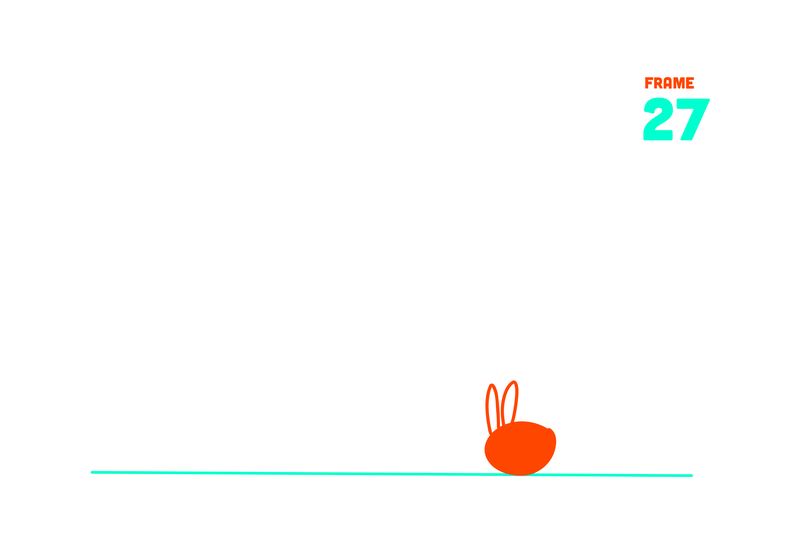
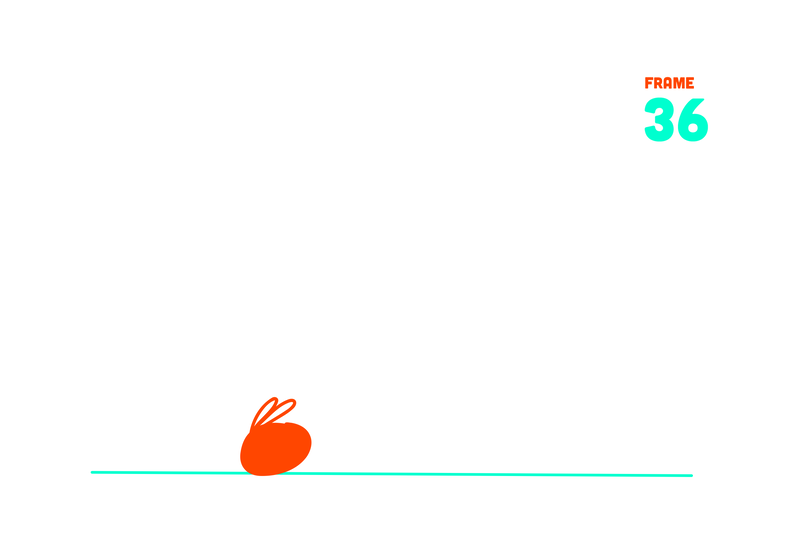
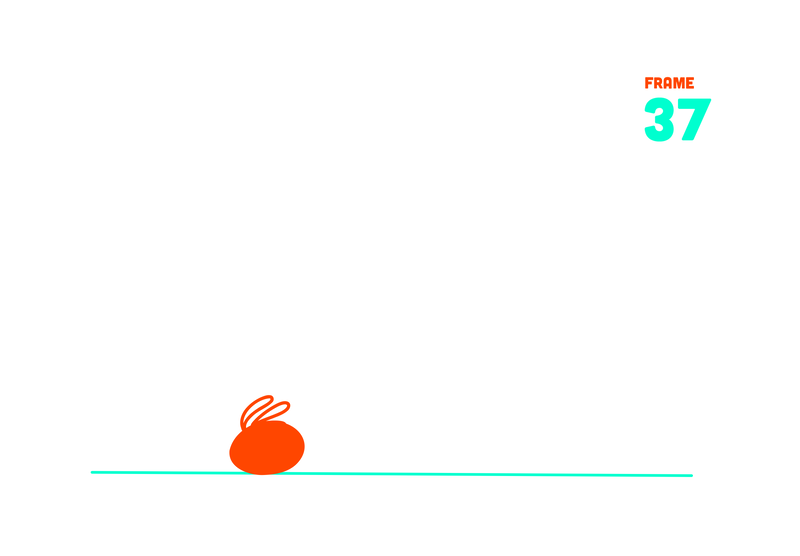
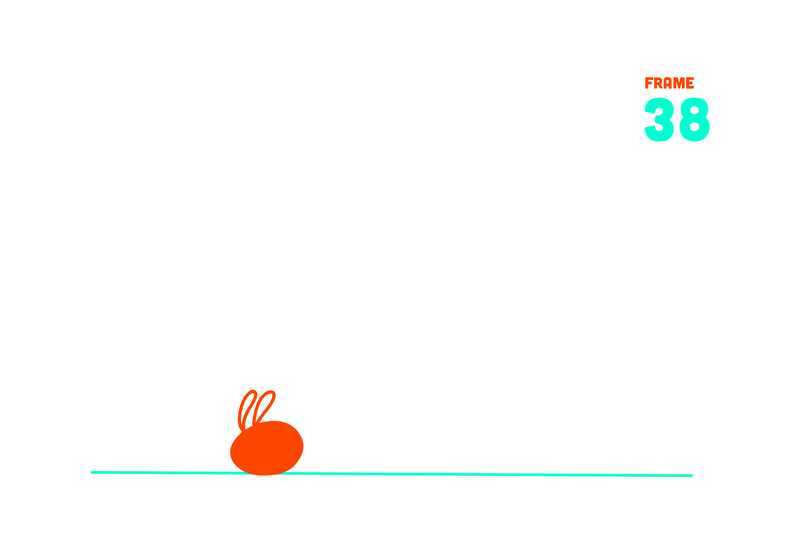
  • The follow through in the animation on the left is the bunny ears.
  • The body moves to the right and the ears flatten towards the body.
  • The ears bounce to the right after the body has stopped moving.
  • The ears come back to a resting position after 5 frames of follow through.
  • TIMING: Remember to pause at each important keyframe (stopped looking right, stopped looking left)
  • ANTICIPATION: Use anticipation to give the character some energy to move - here the bunny arches up and back before zooming forward
  • STRETCH: Use stretch as the character zooms away from its stationary position - there is one stretch frame going to the right, and one going to the left
FOLLOW THROUGH FRAME BY FRAME
There are 50 frames in this animation.
  • ​FRAME 1-6: stationary looking right (at left side of frame)
  • FRAME 7-8: wind up before zooming 
  • FRAME 9: stretch with appendage blowing in wind
  • FRAME 10-12: moving to the right
  • FRAME 13-17: follow through (body is stationary, ears continue moving to right and then back towards stationary position)
  • FRAME 18-23: stationary looking right (at right side of frame)
  • FRAME 24-25: turning body to look to left
  • FRAME 26-30: stationary looking left (at right side of frame)
  • FRAME 31-32: wind up before zooming
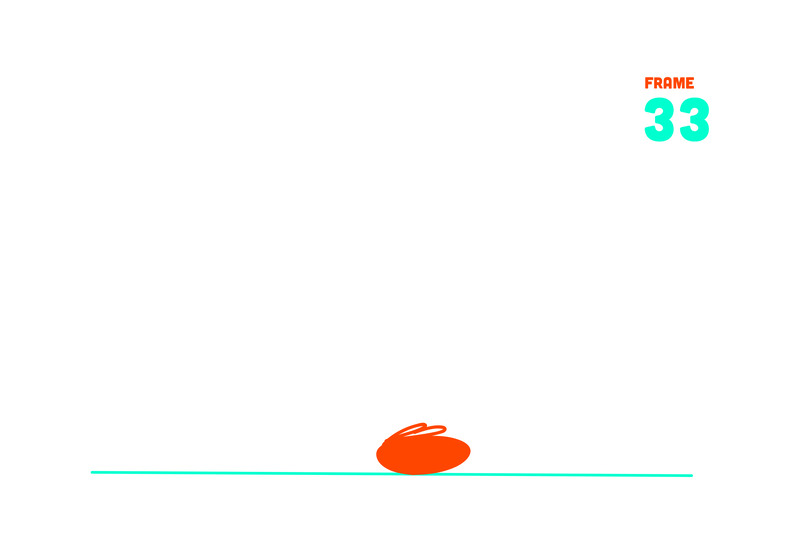
  • FRAME 33: stretch with appendage blowing in wind
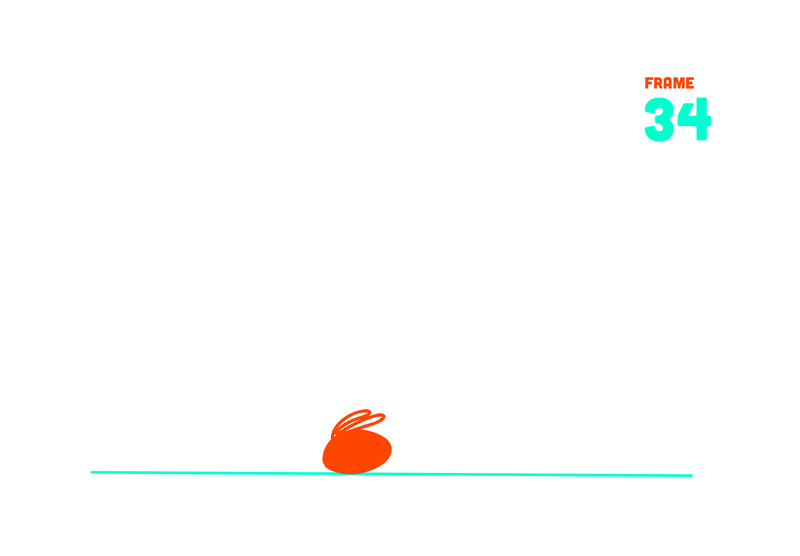
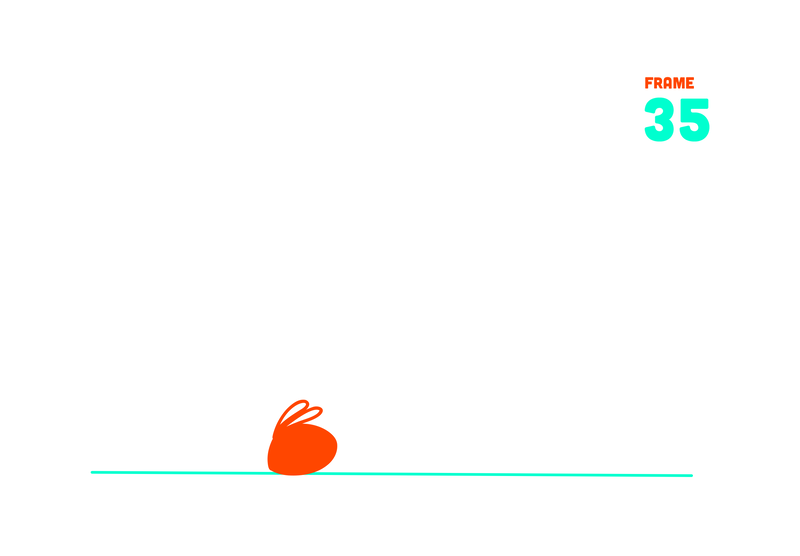
  • FRAME 34-36: moving to the left
  • FRAME 37-41: follow through (body is stationary, ears continue to move to the left and then back towards stationary position)
  • FRAME 42-47: stationary facing left
  • FRAME 48-49: turning to look to right
  • FRAME 50: matching frame 1 (stationary looking right)

Composition Concepts

  • Squash & Stretch
  • Anticipation
  • Follow Through
  • Timing

Technical Skills

  • Small incremental changes
  • Consistent lighting & background
  • Rig
  • Stage

Tools & Supplies

  • Background Stand
  • Rig
  • Wax-based clay
  • iPad (or phone camera & stand)

Technical Skill Videos

12 PRINCIPLES OF ANIMATION

Resource Book Page

Order of Work

Set Up
  • Background (Stand, Floor, Rig, Color)
    • Start with the background stand on your table and get out your iPad and open the Stop Motion Studio app
    • Set up the iPad using the iPad's own case stand so that the background stand completely fills the frame.
    • Move the clay ball with your hand to test where the ground would need to be so that the ball could be seen bouncing on the ground (it is likely higher than the actual table surface). Set up the height of the ground to match what you need to see in frame.
    • Place the rig and test it moving up and down as if the ball was bouncing up and down to make sure it stays within the frame well.
    • Cover the background stand and ground with a piece of colored paper. Choose a color that contrasts with your clay ball color.
  • Character
    • Use wax-based clay to make your character (this can be as simple as a ball)
    • Attach the ball in its resting state to the rig and place it centered in the frame
  • Settings in Stop Motion Studio
    • Once your iPad and clay ball are where they are going to be, you can choose to set the focal point for your shot, so that the camera doesn't go fuzzy when the ball is near the edges of the frame - use the settings button on the right to open the panel - touch the screen to focus on your ball while the setting is on Auto, then change to manual.
    • You also want to change the playback settings - use the setting gear at the bottom of the screen to open the playback settings panel - choose looping playback.
Squash & Stretch
  • Take 11 to 12 photos for the squash & stretch ball bounce
  • You should have the ball or character in its resting position for most of the frames
  • You should stretch the ball as it nears the floor and as it bounces up from the floor
  • You should use a squash for the frame where it hits the floor
  • Use more frames closer together at the top of the bounce and fewer frames further apart as it nears the floor
  • Once you have all of the frames in your animation, play it back for yourself
  • Make sure the beginning frame and ending frame line up well together (the ending ball position should be below the 1st frame ball position - so that the animation appears to loop seamlessly)
  • Export an Animated GIF that loops
Anticipation
  • You won't need the rig for this animation because your clay stays on the floor the entire time
  • Animate the clay inching left two times before a big leftward wind up and then a zoom to the right
  • Have the clay continue right until it is out of the frame (be sure to have a partial character cut off by the edge of the frame)
  • Take four empty frames 
  • Have the clay come in on the left side (be sure you get a partial character) and continue right moving more slowly until it stops just before where the animation started in frame one.
  • Playback the animation and fix anything that doesn't work by adding or deleting or retaking frames until your clay appears to prepare before zooming off to the right
  • Be sure to include the pause frames by duplicating a still frame if you forgot to take multiples
Follow Through
  • Make a character that has an appendage that is lighter in mass than the rest of the body (the simplest version is a bean with a tail)
  • Your character should start on the left, move to the right, stop, and then move back to the left starting position.
  • When it goes from moving to stopped, the body will stop first and the appendage will continue moving two frames before resettling in its resting position. That is the follow through - where the appendage moves at a different rate because of its mass.
  • You should have two instances of follow through - one when the character stops at the right and one where the character stops on the left.
  • Your animation should loop, so be sure to match up the last frame and first frames.
Documenting
  • Turn in your looping GIFs to the drive folder - the file name should include your name and the animation title: ex. Ross_Squash.gif
    • Squash & Stretch
    • Anticipation
    • Follow Through
  • Fill out the REFLECTION
  • PRESENT your work to the class - or - Record a FLIP VIDEO
  • EMAIL an important adult about your work (follow the instructions on the email instructions page - it really goes into detail about what you need to write!)

3 Looping GIFs

  • Turn in 3 looping GIFS
  • Your files should play automatically (not need to push a button, like you do for a .mov file)
  • Your files should loop forever (it should keep going after the first playback - playing again and again)
  • You should name your files with your name and the animation title

Email the GIFs of Your Project

  • Follow the email instructions to make sure you get full credit for your email.

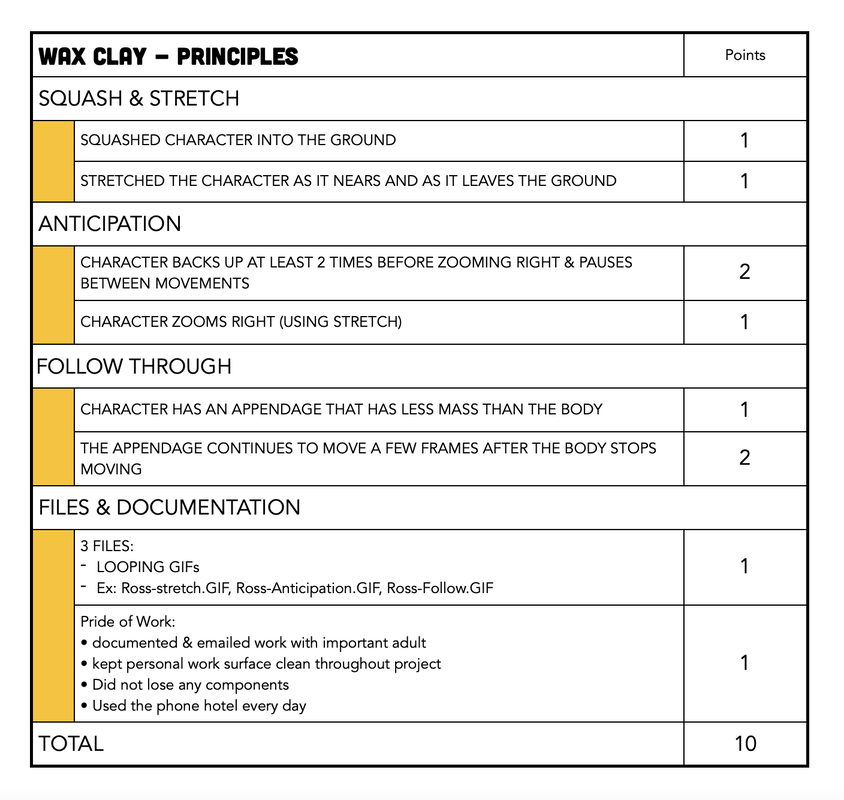
Grading Criteria

Picture
Powered by Create your own unique website with customizable templates.