|
|
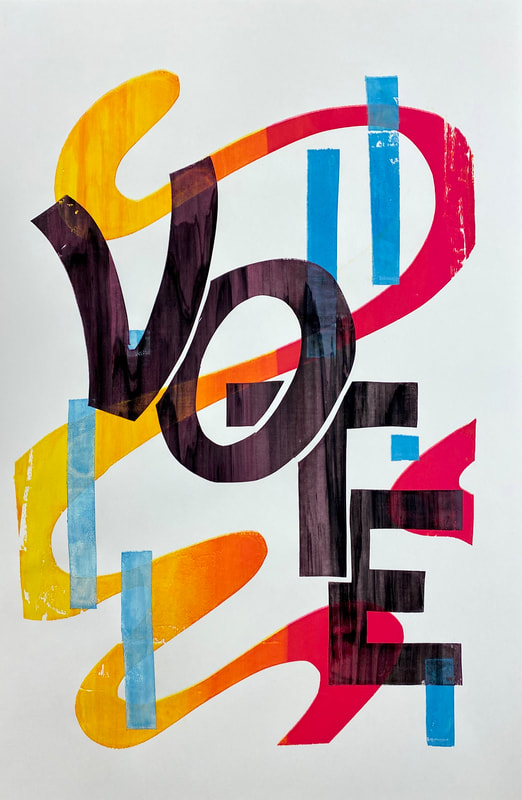
ScreenprintingSCREENPRINTING is a printmaking process by which you push ink through a fine mesh screen. Blocking off some areas and allowing ink through other areas will create a sharp, graphic screenprinted image.
MATERIALS
Video Demonstration |
Cutting your screens
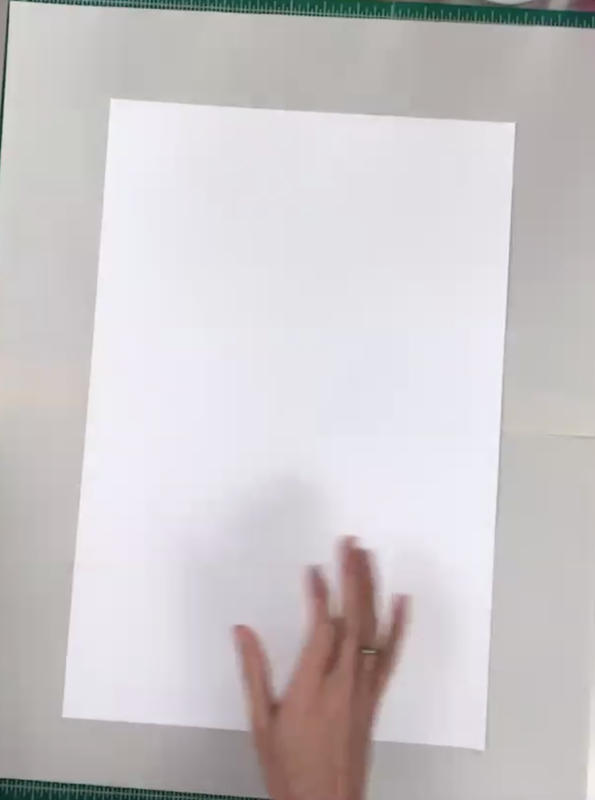
You will need a sheet of freezer paper for each layer of color you want to apply to your print. It is easiest when the freezer paper is at least as big as the dimensions of the screen. Draw on the matte side, not the glossy size of the freezer paper. The glossy side will not stick to the screen.
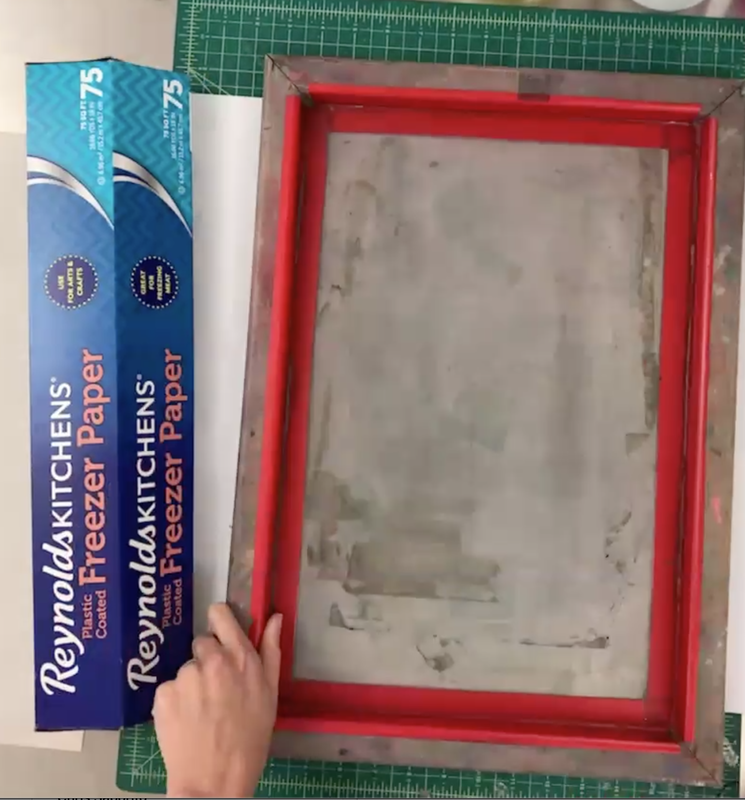
Measure the freezer paper to match the screen size
|
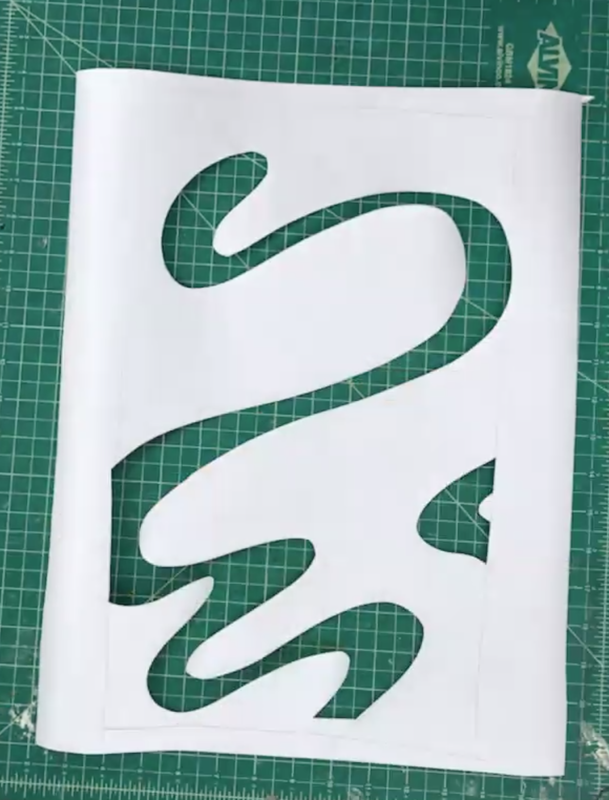
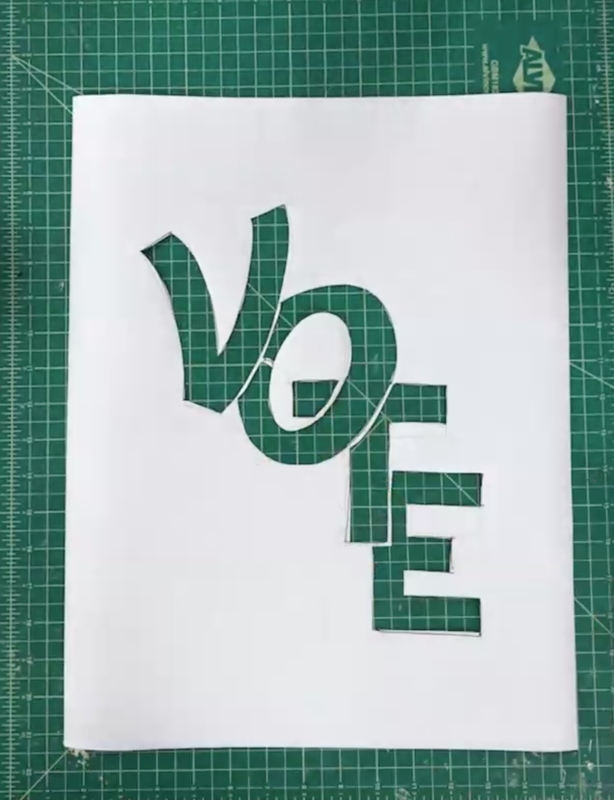
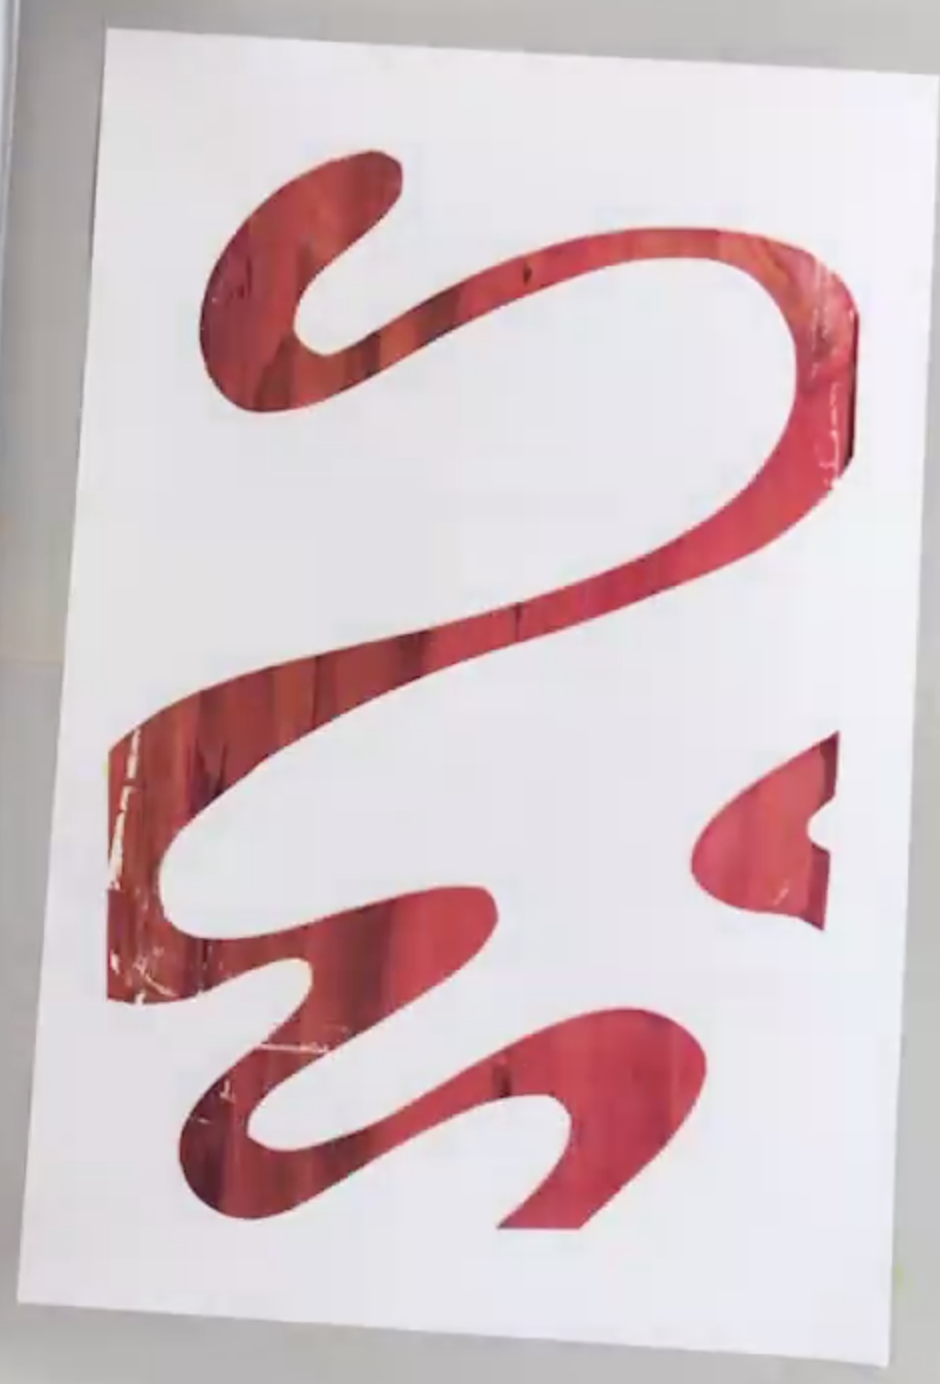
Cut out the image area for the first color
|
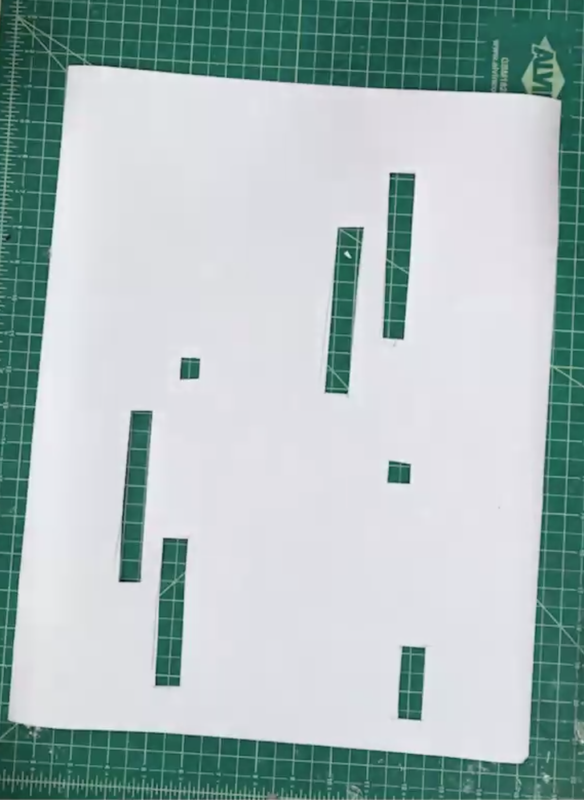
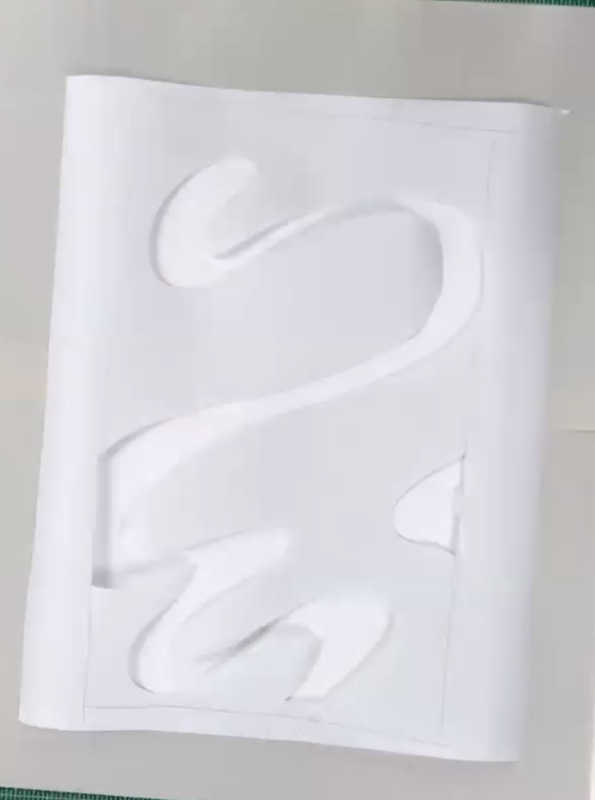
Cut out the image area for the second color
|
Cut out the image area for the third color
|
Screenprinting Set Up
LAYER: 1.NEWSPRINT 2. PAPER YOU WANT TO PRINT 3. FREEZER PAPER STENCIL 4. SCREEN
Use newsprint to keep your work area clean. Then, place the paper you want to print on.
|
On top of the paper, place the freezer paper stencil
|

The screen goes on top of the freezer paper
|
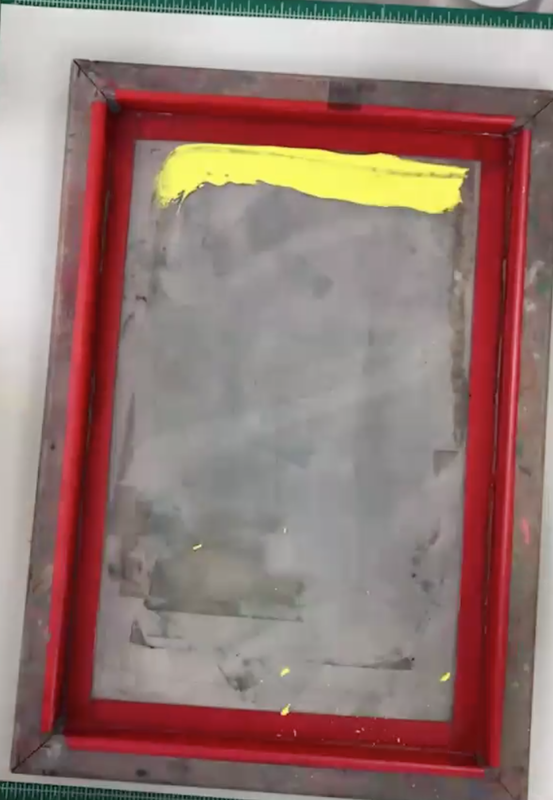
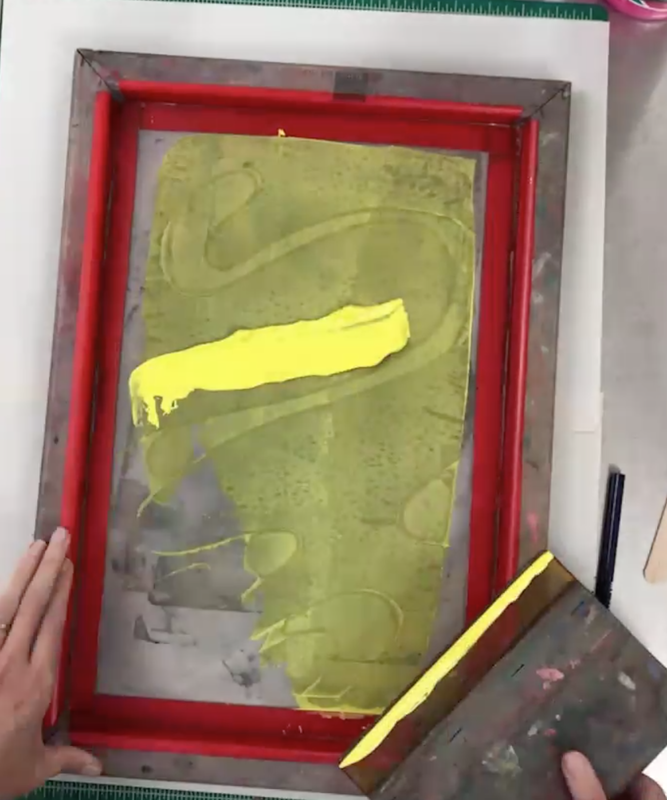
Apply ink in a line at the top of the screen. The ink should not be applied directly over an open area (hole in the freezer paper), so if your image area goes to the top, add your ink on the tape.
|
Pulling the Ink - Firm, Consistent Pressure (It should be a work out)
USE FIRM PRESSURE TO PULL THE INK DOWN THE SCREEN. HOLD THE SCREEN IN PLACE WITH ONE HAND, WHILE YOU HOLD THE SQUEEGEE IN THE OTHER HAND. TRY TO WIPE UP ALL OF THE INK WITH THE SQUEEGEE, USING VERY FIRM PRESSURE, BEFORE YOU LIFT UP THE SCREEN.
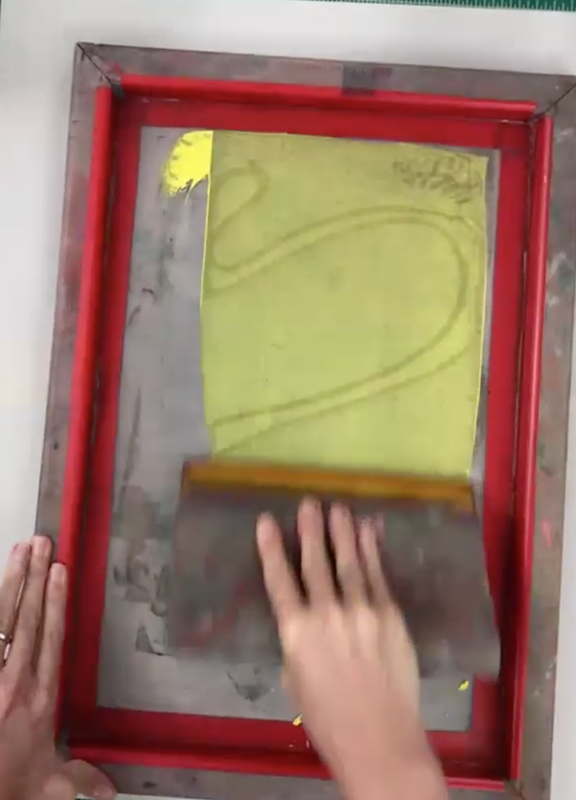
Use the squeegee at a 45 degree angle to pull the ink down the screen.
|
If you need to, add more ink down the screen and pull the ink again to make sure all of the image has transferred through to the paper underneath.
|
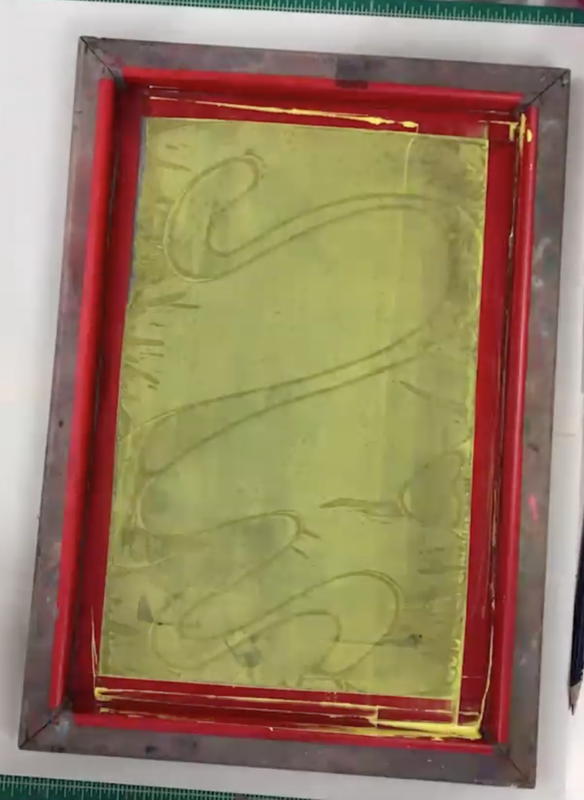
Pull the ink in the same direction each time, making sure to hold the screen steady with your other hand. You should remove all of the excess ink from the screen.
|
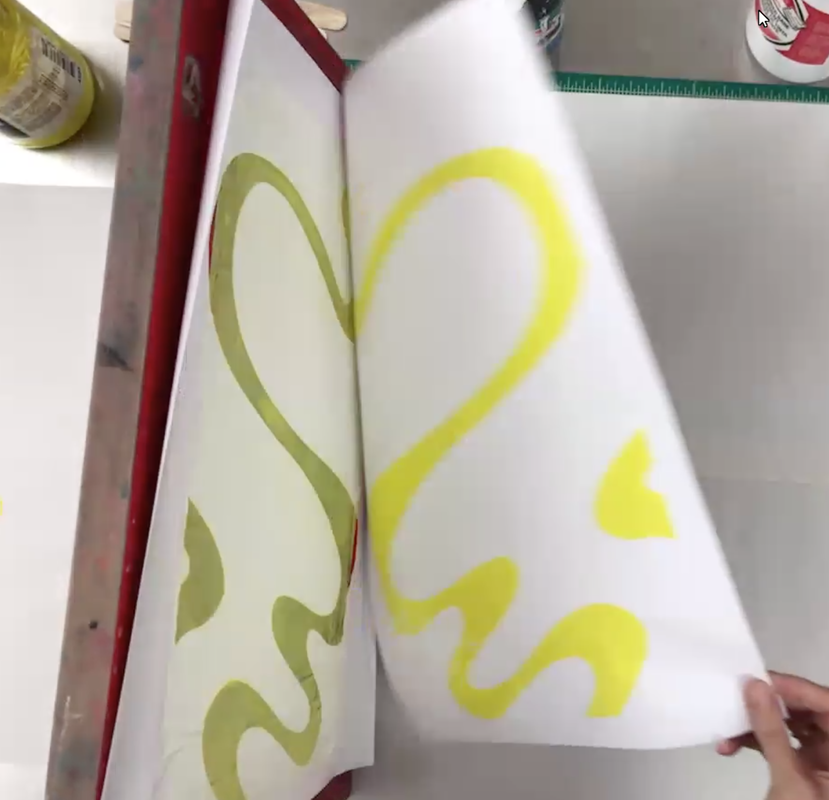
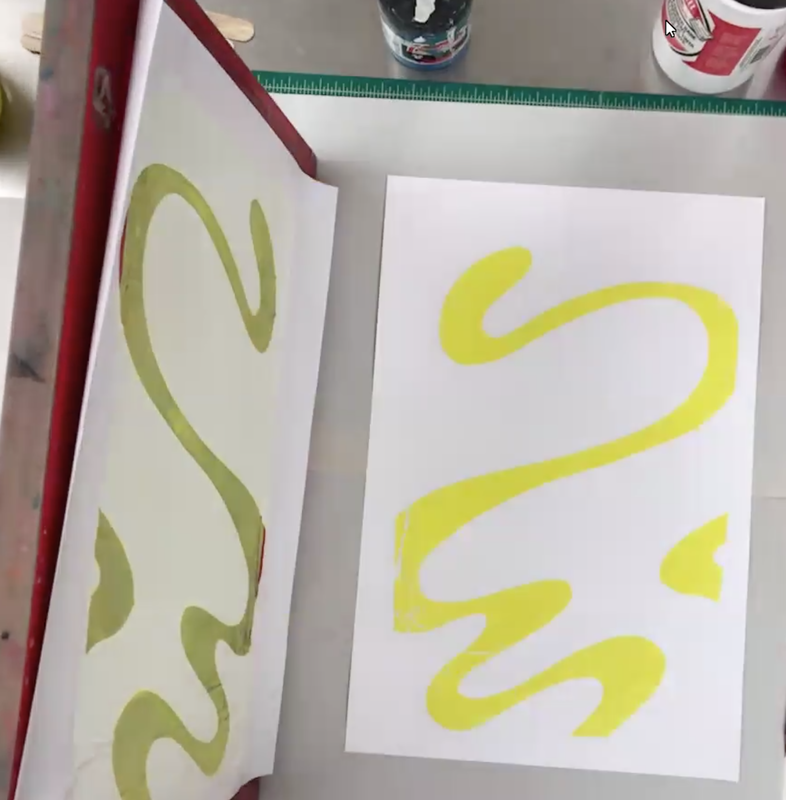
When you lift the screen, make sure the freezer paper stays attached to the screen. Carefully peel the artwork away from the screen. Do this slowly while paying attention to the freezer paper - making sure it doesn't stick to the paper, or rip.
|
WASH YOUR SCREEN BETWEEN RUNS (when you change freezer paper, wash)
WASH AND DRY YOUR SCREEN IF YOU ARE GOING TO PAUSE PRINTING FOR LONGER THAN FIVE MINUTES. THE INK WILL DRY IN THE SCREEN AND RUIN THE SCREEN IF YOU ARE NOT CAREFUL. DO NOT LEAVE THE SCREEN WITH INK ON IT FOR LONGER THAN 15 MINUTES WITHOUT CONTINUOUS PRINTING.
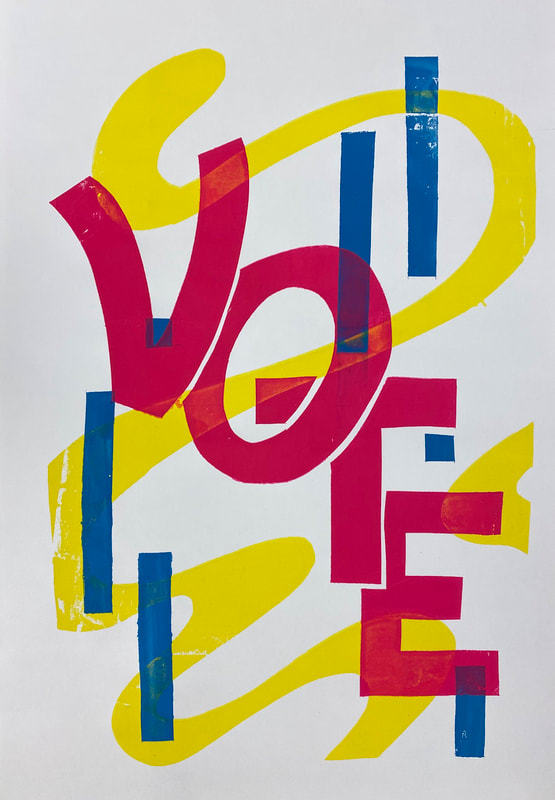
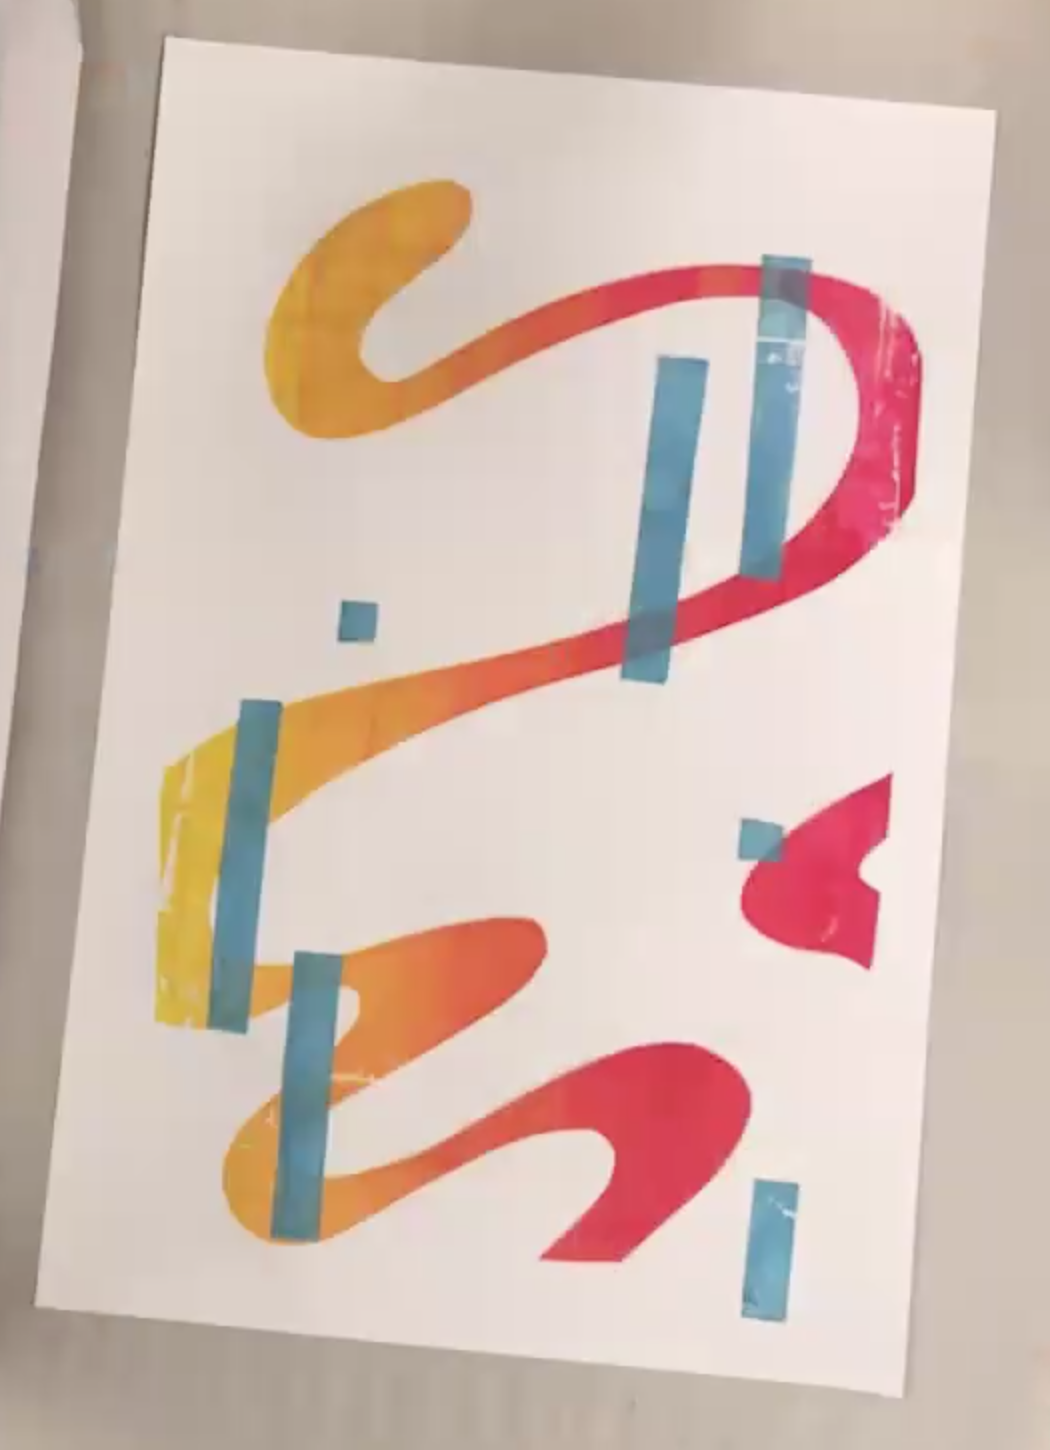
Make different color decisions and adjustments in your suite of prints for each stencil
TRY ONE COLOR, SPLIT FOUNTAIN, TRANSPARENCY, MIXED COLORS, ETC. It is more fun if your runs are not all the same exact print each time.

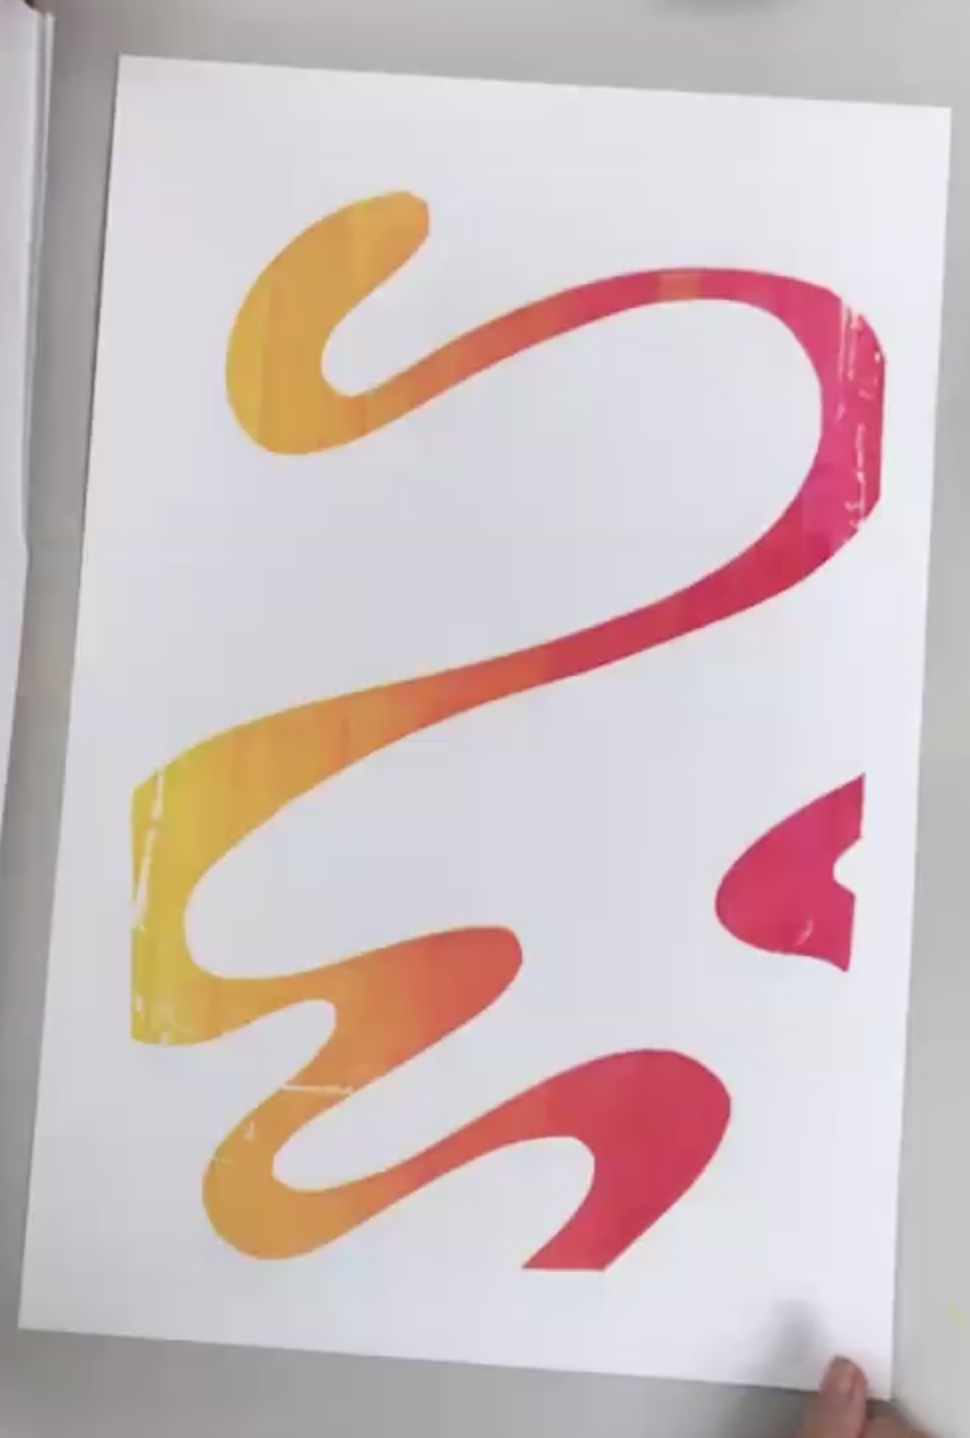

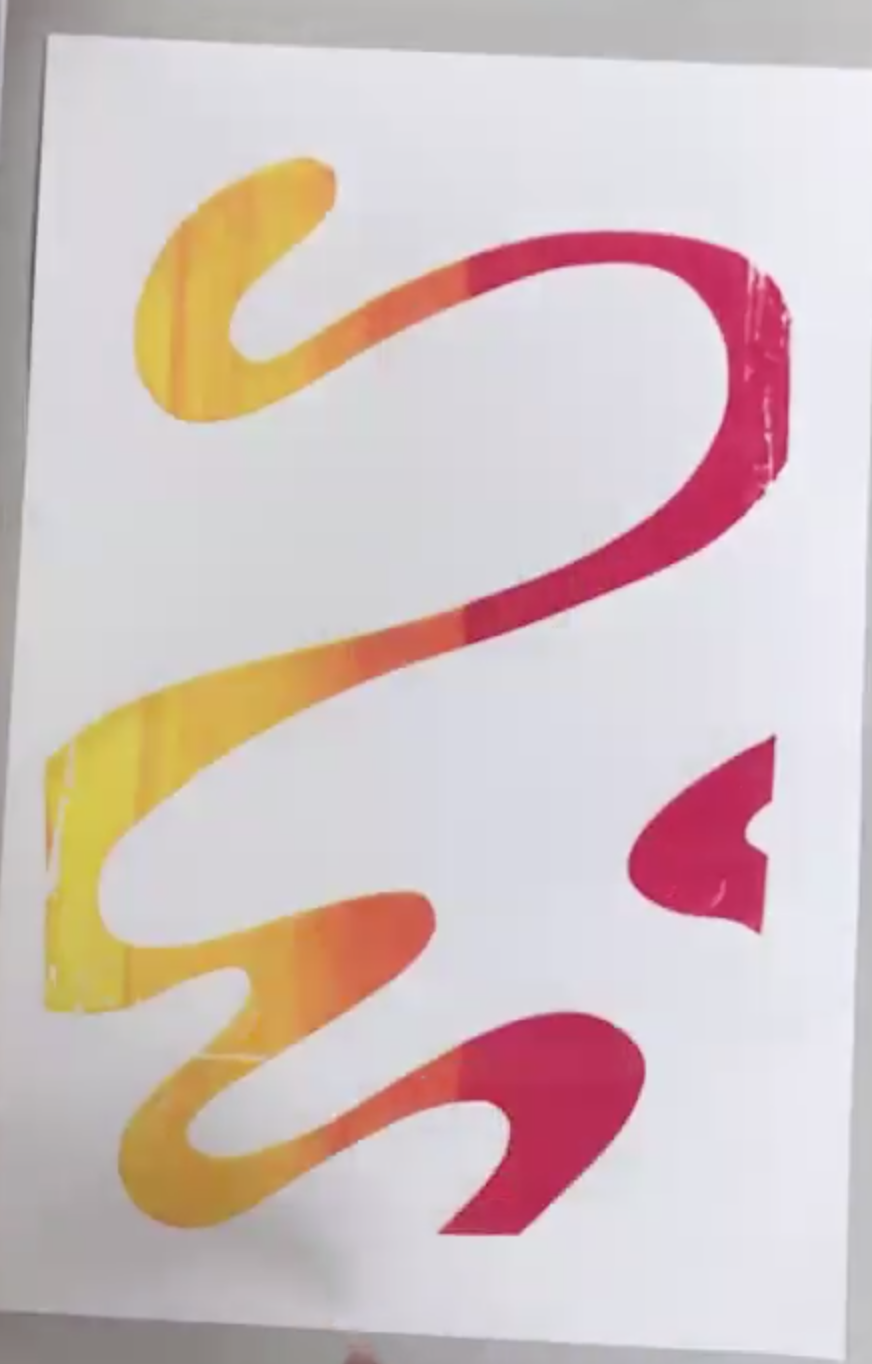
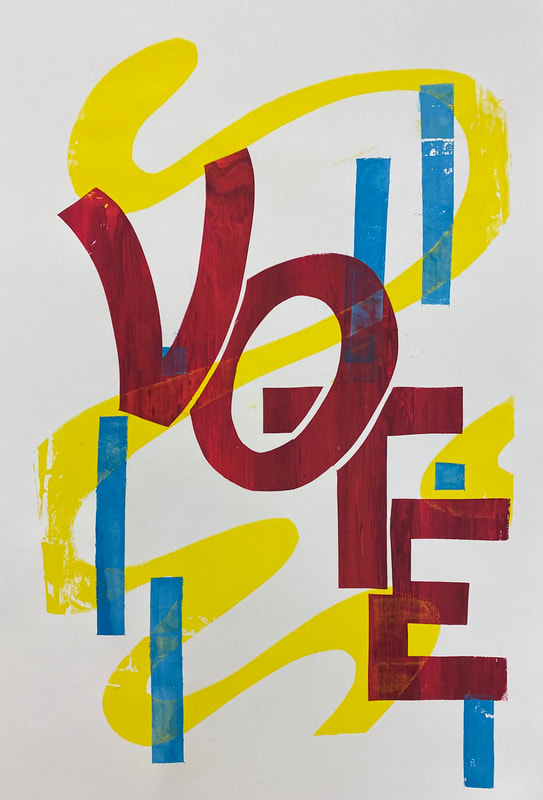
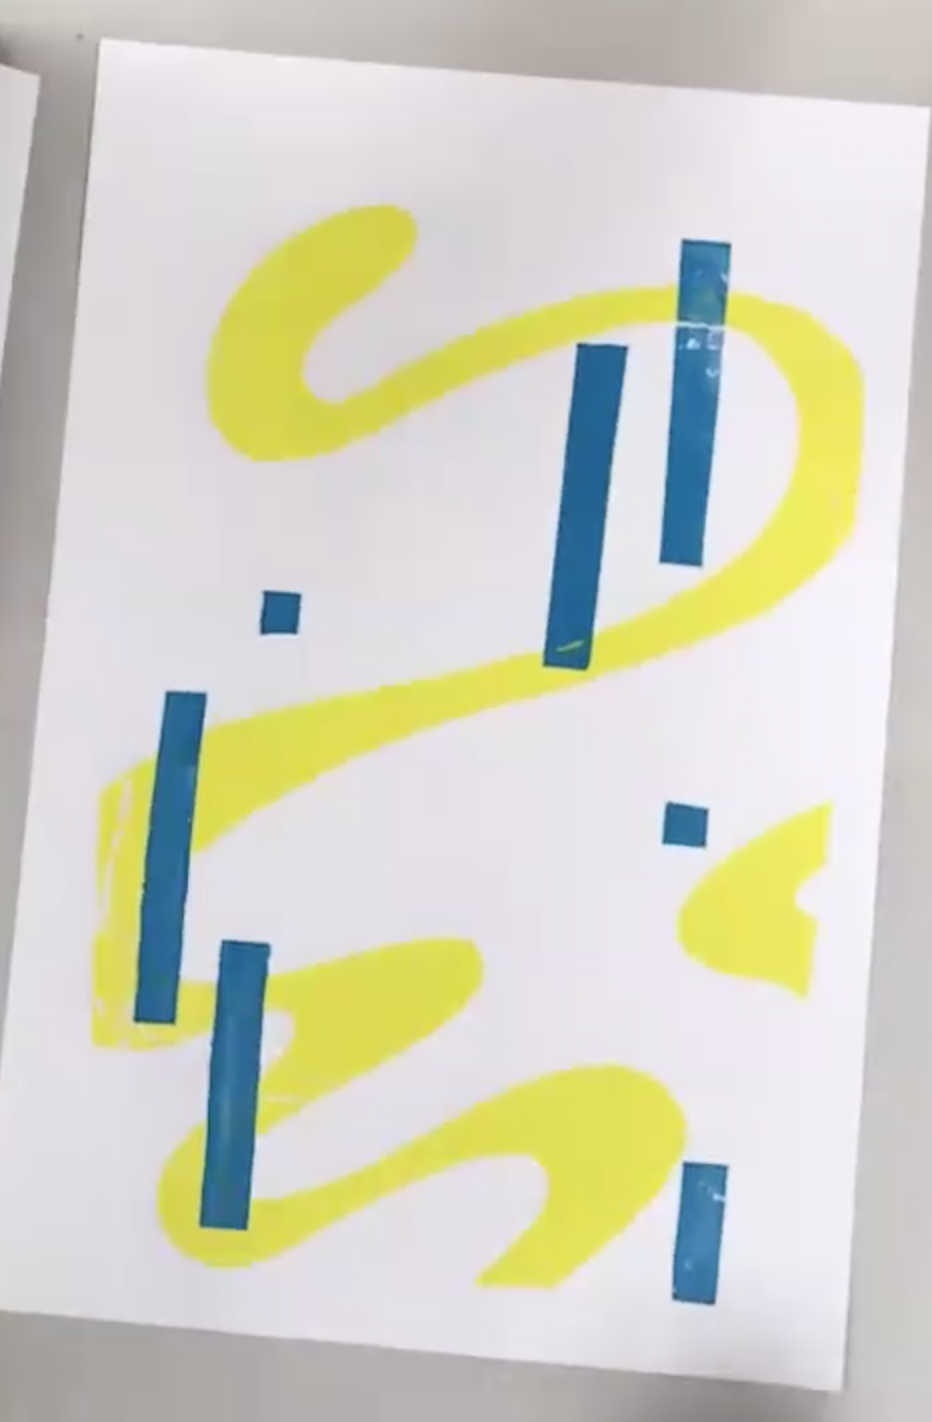
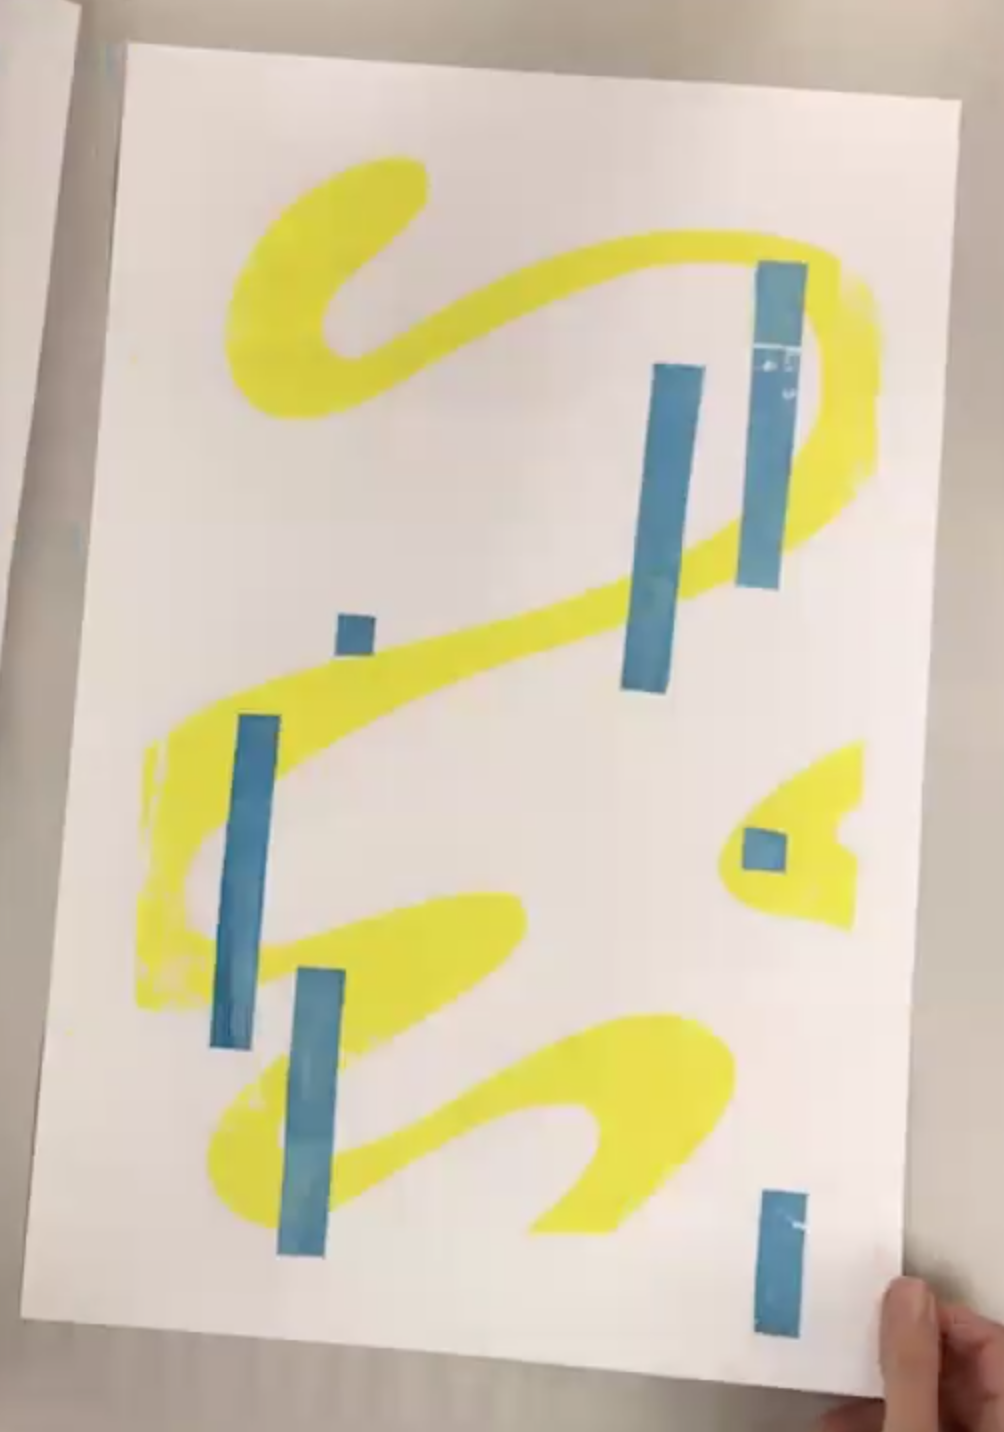
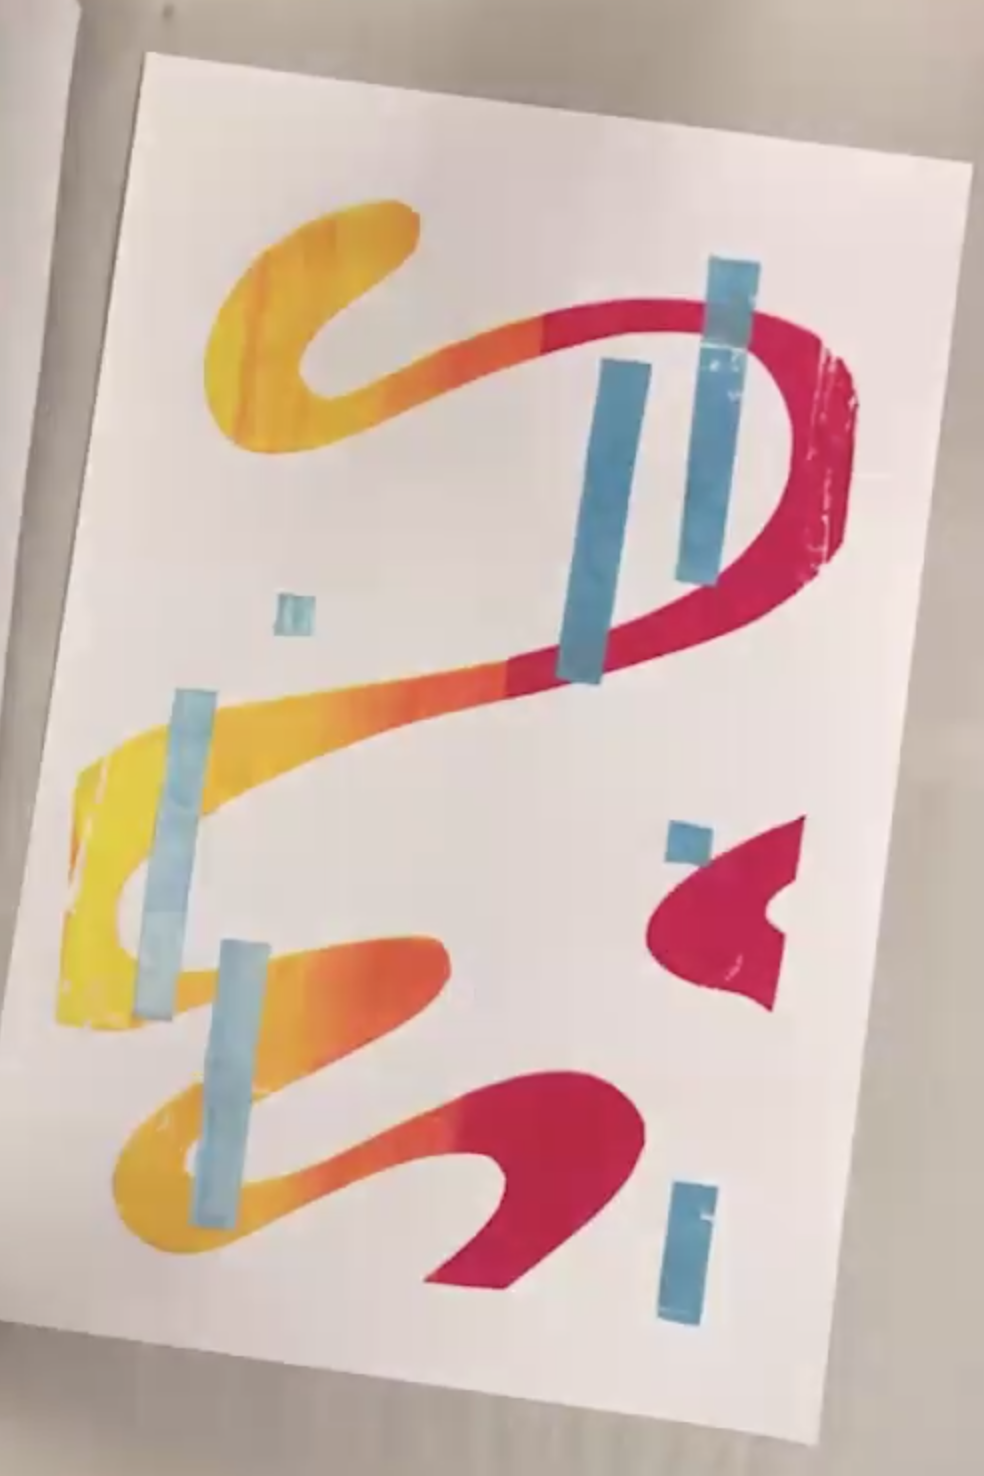
Printing a Second Color on top of the First
If registration is important (the layers need to line up precisely) then you will want to start each layer with a registration guide and a registration board. This example does not need accurate registration, so all of those decisions are made by sight.
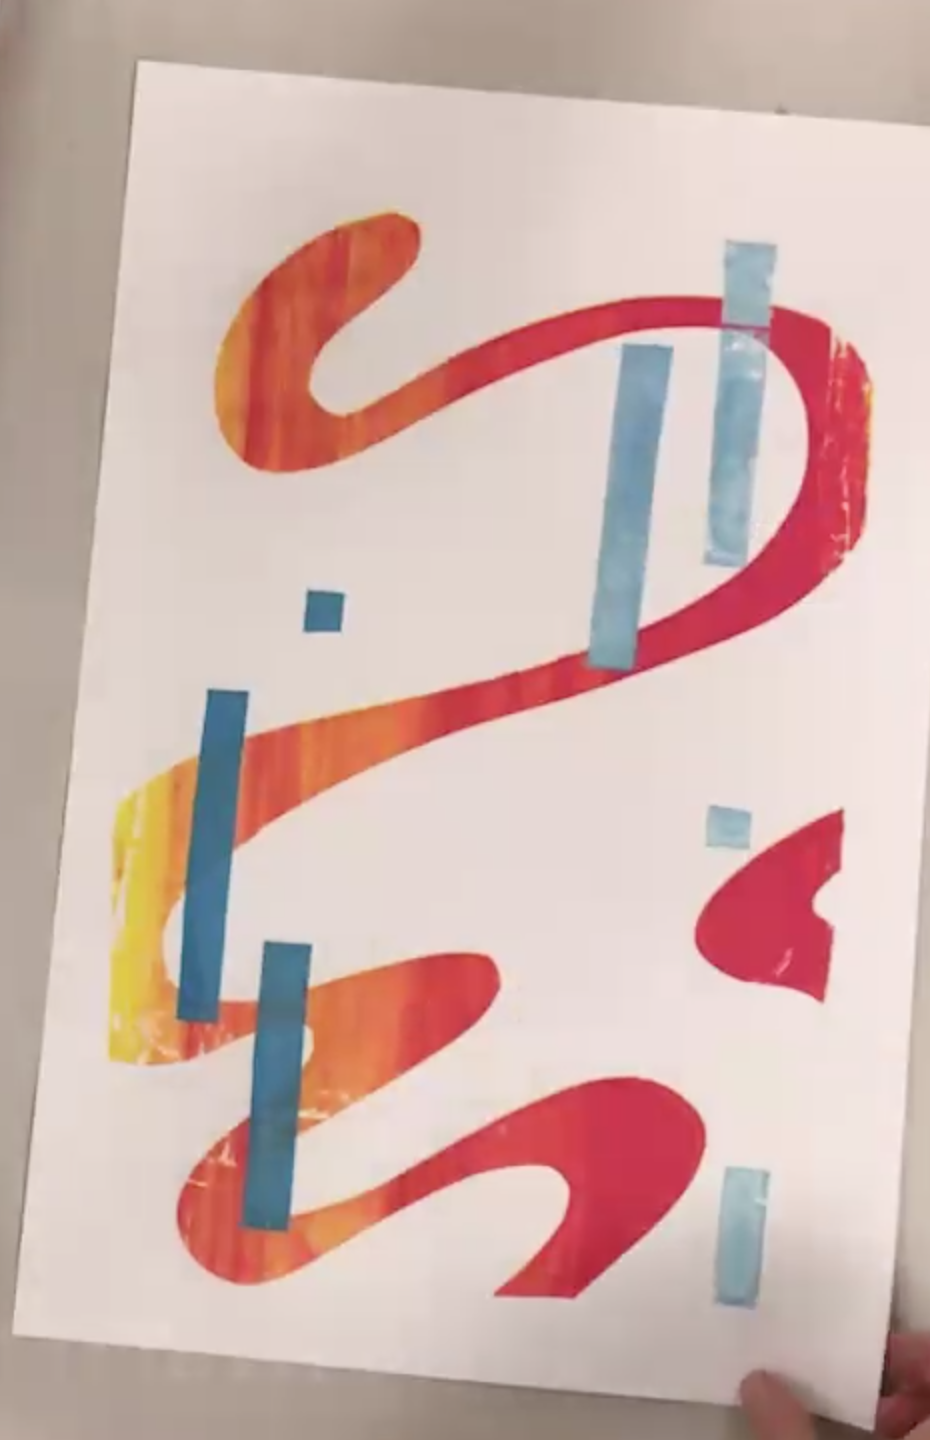
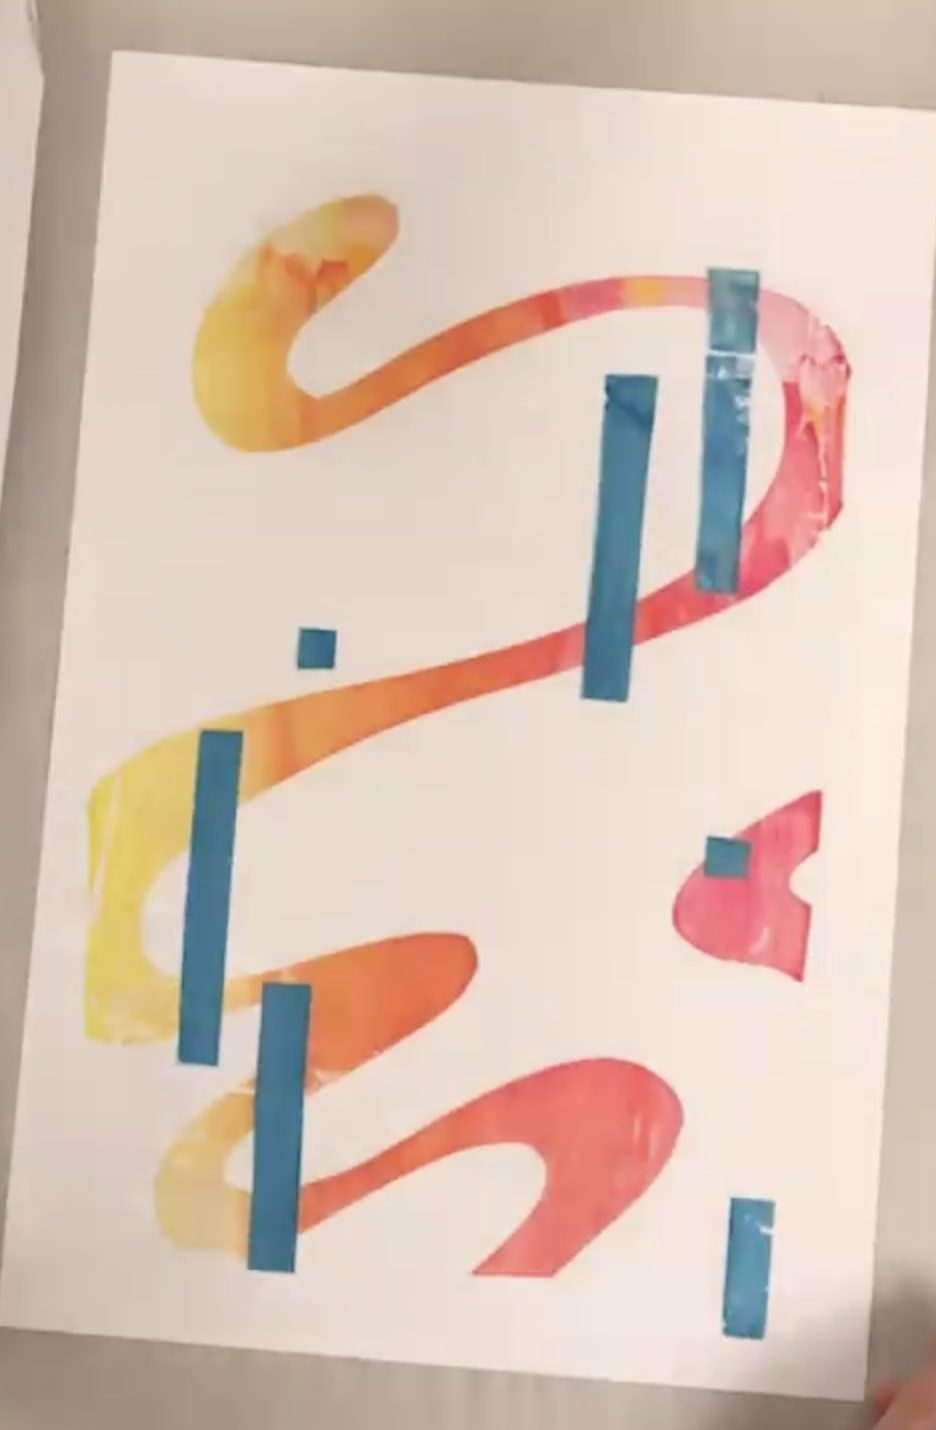

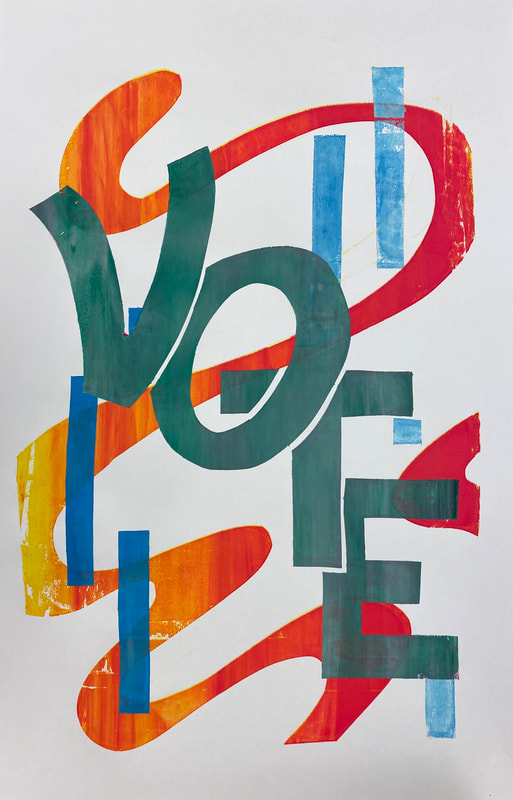
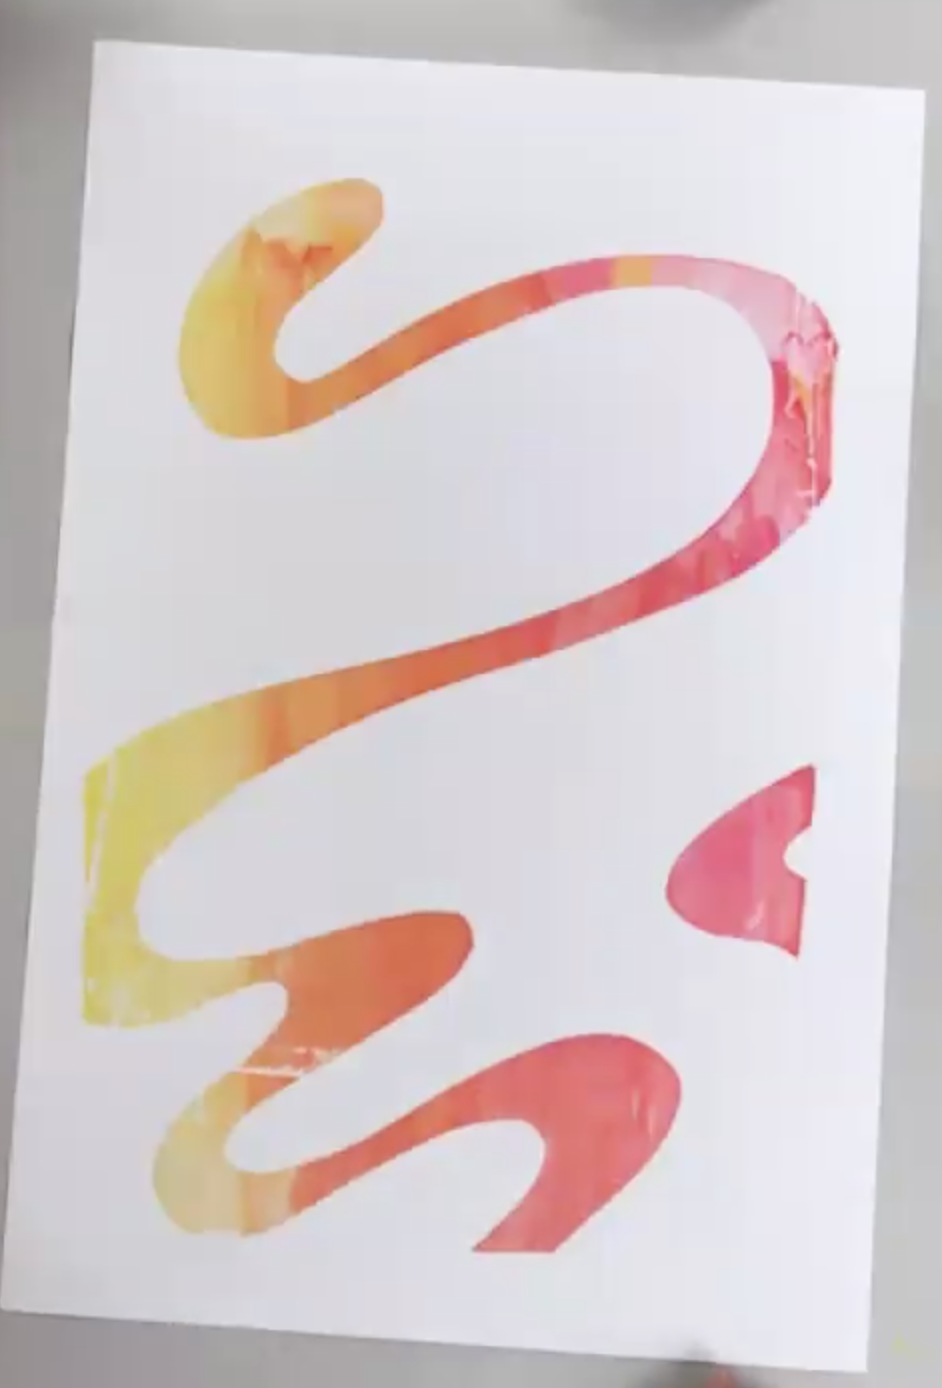
Printing a Third Color on top of the Second
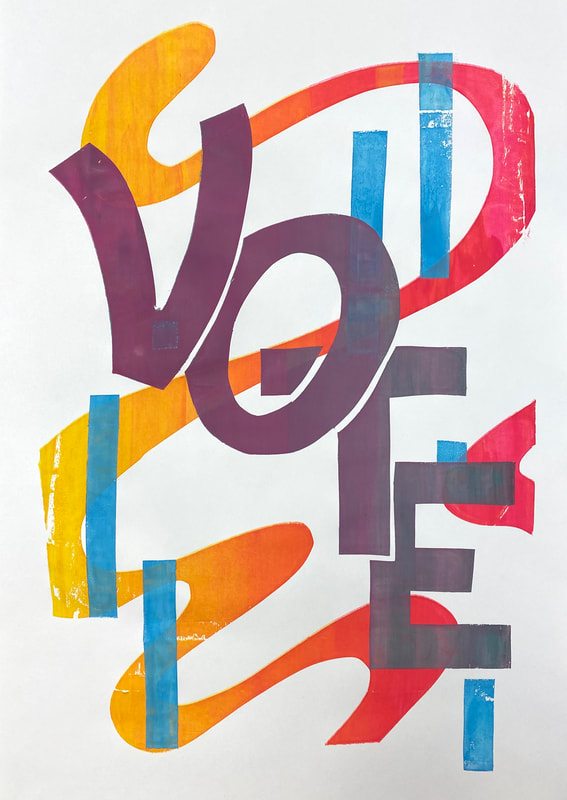
You can draw the design for the next color using the previous colors as guide. Put the freezer paper on top of a two-layer print. Think about the overall color palette of each composition, and also about having enough contrast between layers.