
|
|
Reduction Prints
|
Step-by-step Instructions
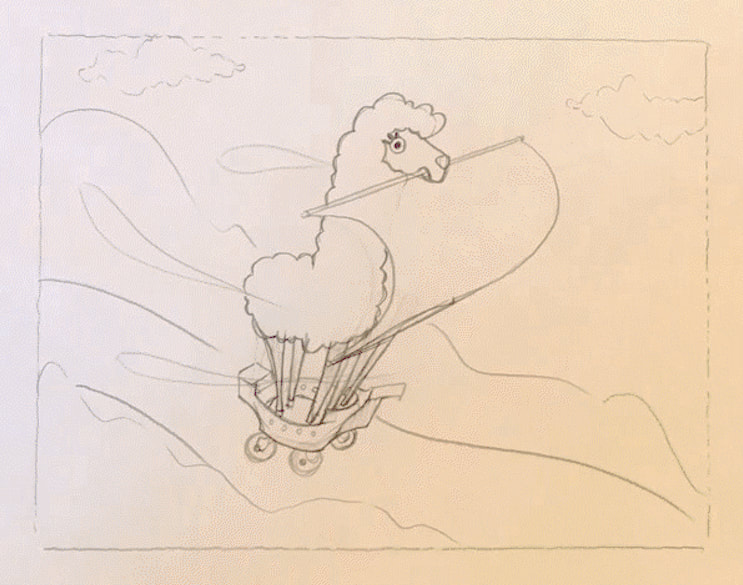
Design the Image
|
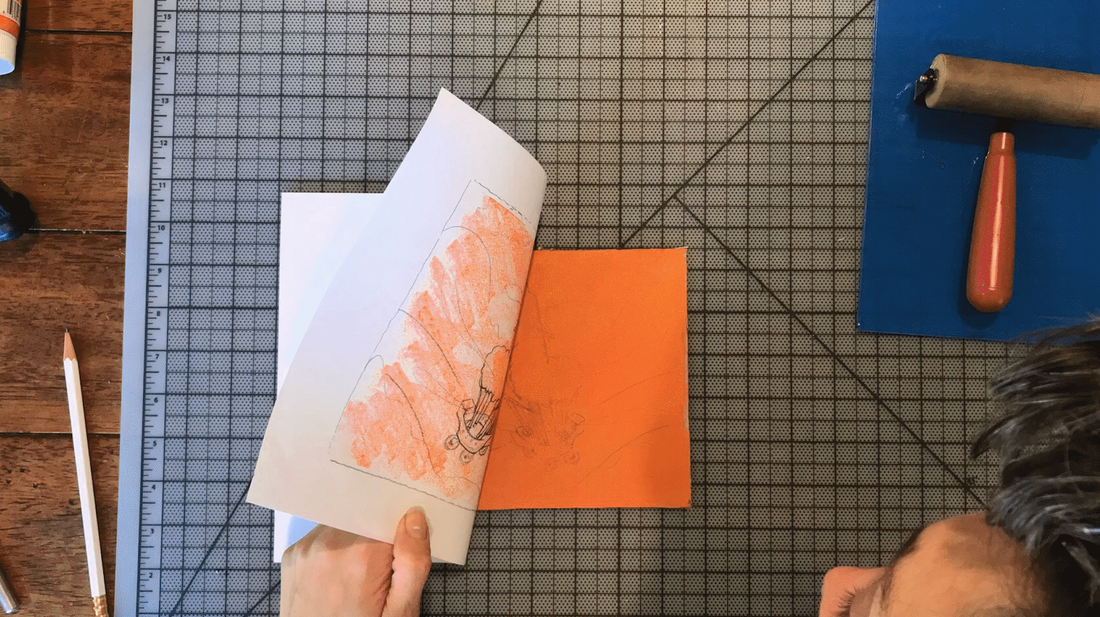
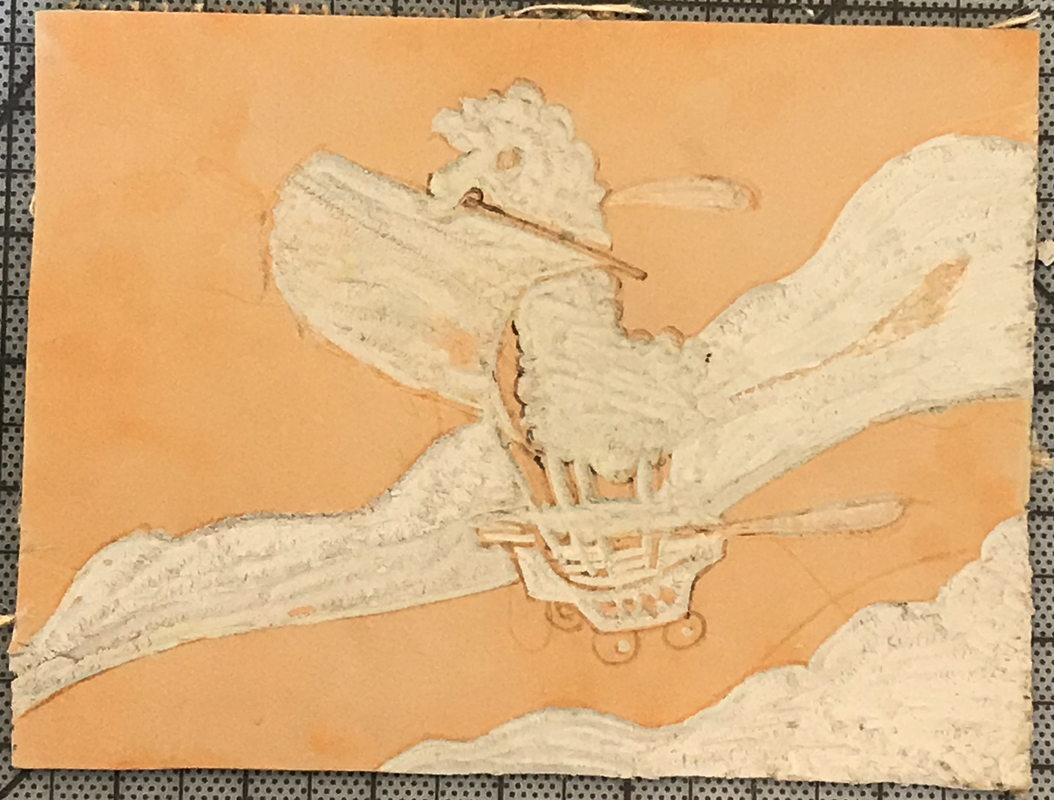
Trace the outline of the block on a piece of paper. Design the image you want to carve into the block.
Consider an image that will work well with different values (at minimum light, medium, and dark).
|
|


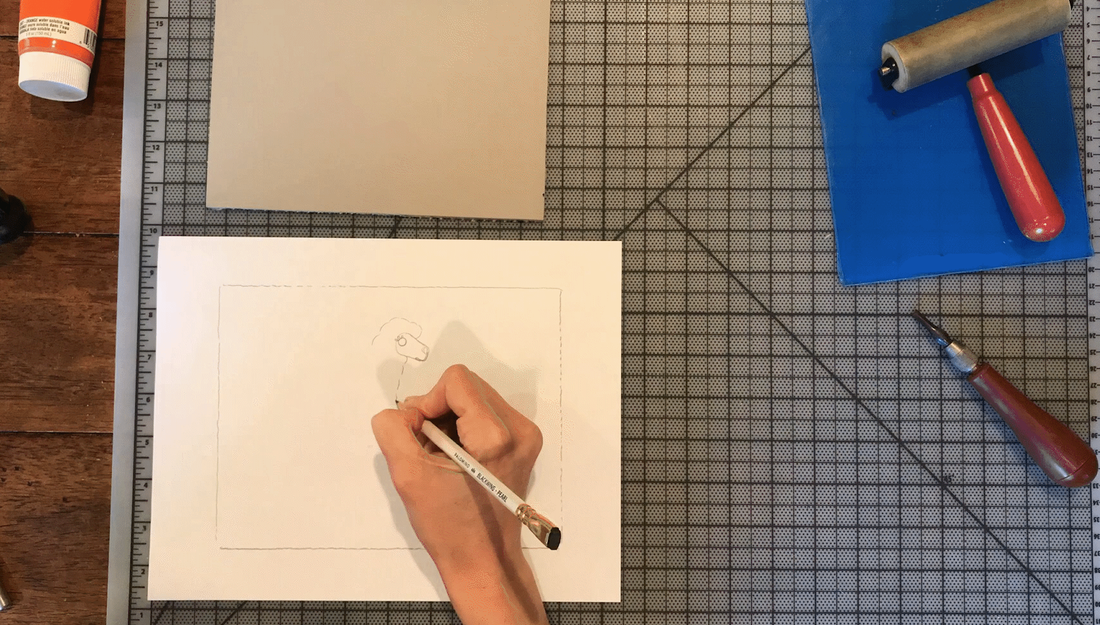
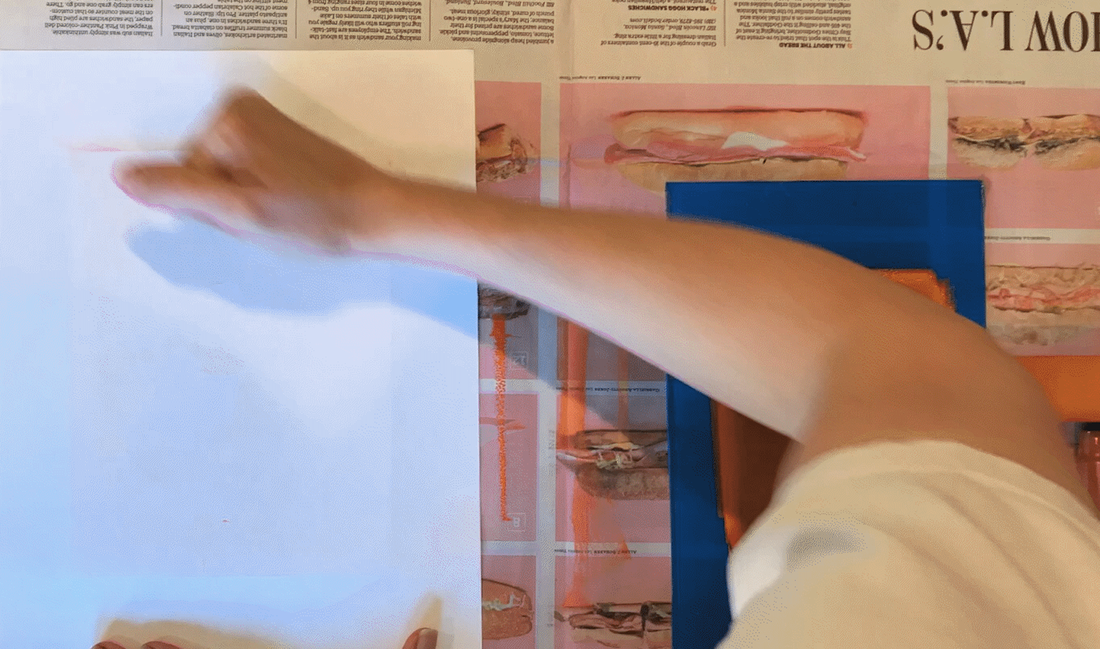
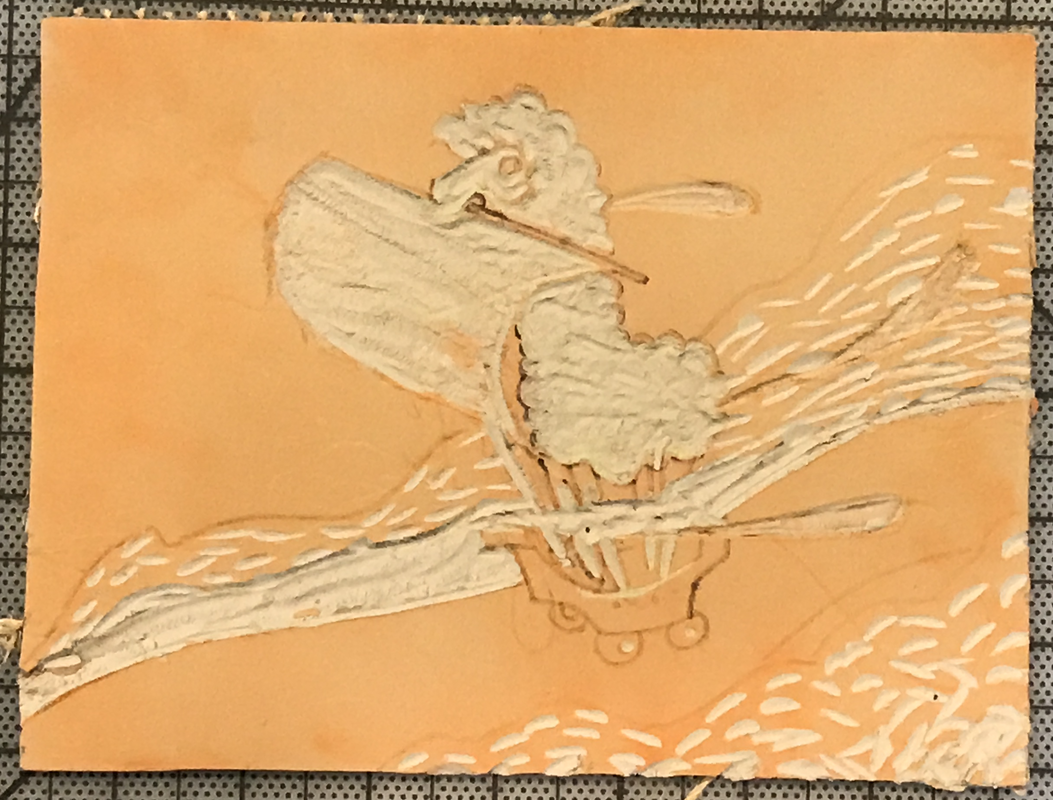
Transfer the Image onto the Linoleum block
Also, consider adding a border. This example does not use one, but it can be useful to have a border if you end up with minimal linework at the end.
|

|
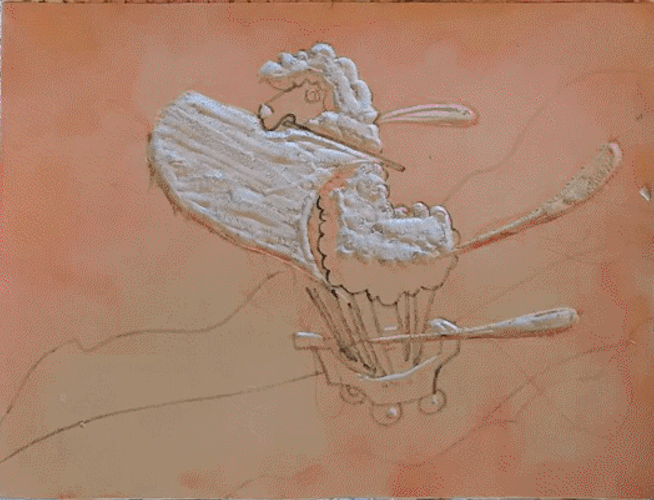
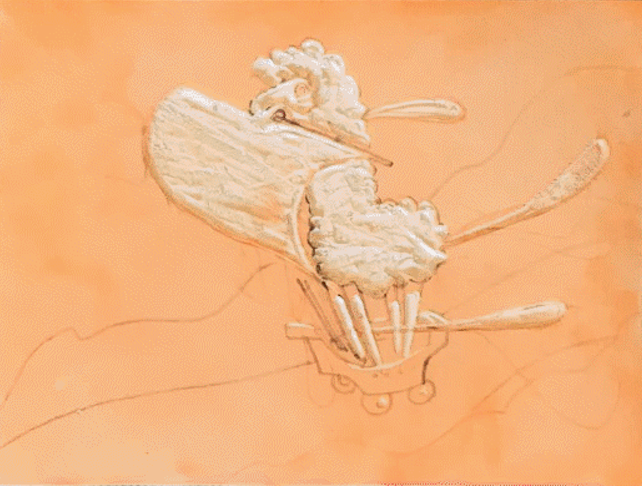
Carve the Whites
|
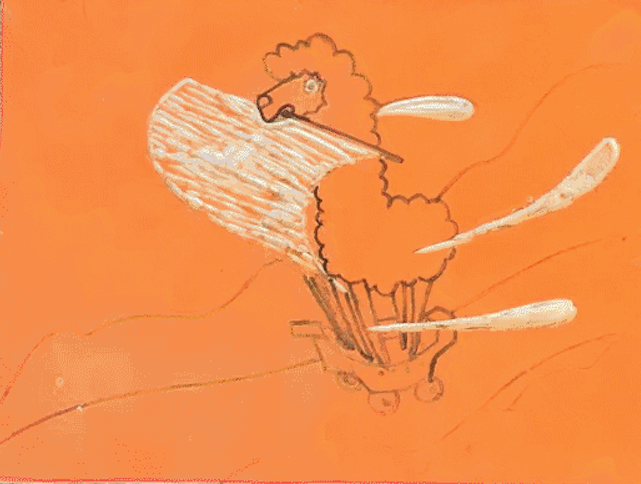
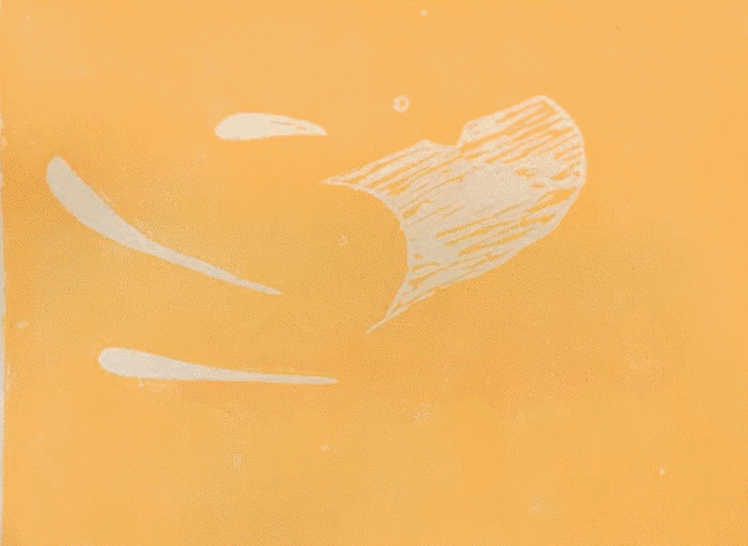
For the first layer, carve everything you want the color of the paper.
This is your lightest value. In the example, the sail has some shadow lines left in for the next layer.
|
|
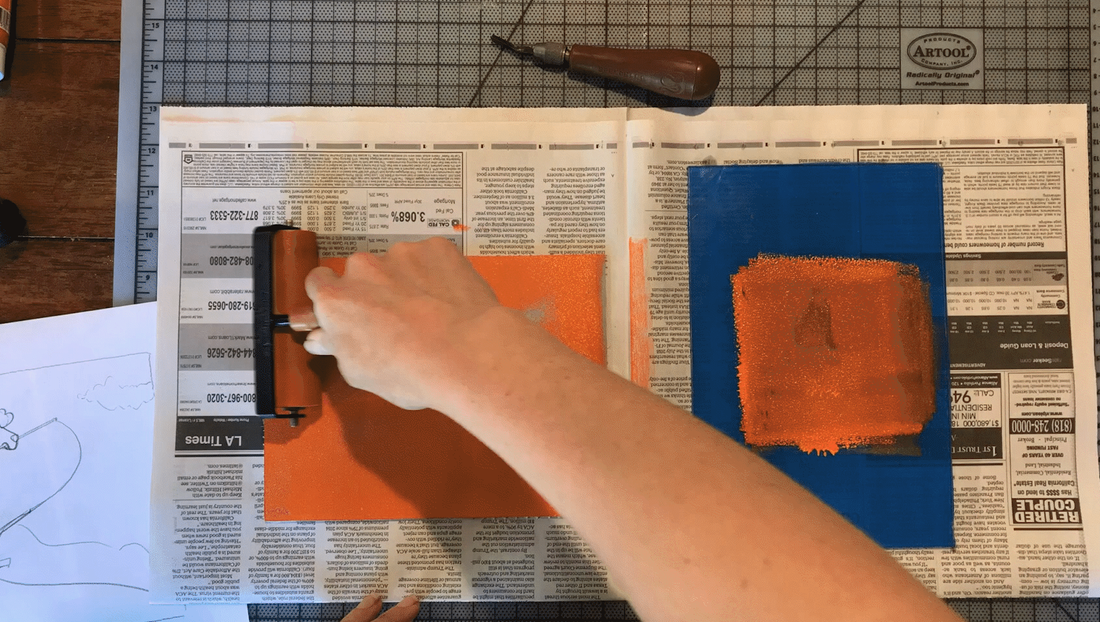
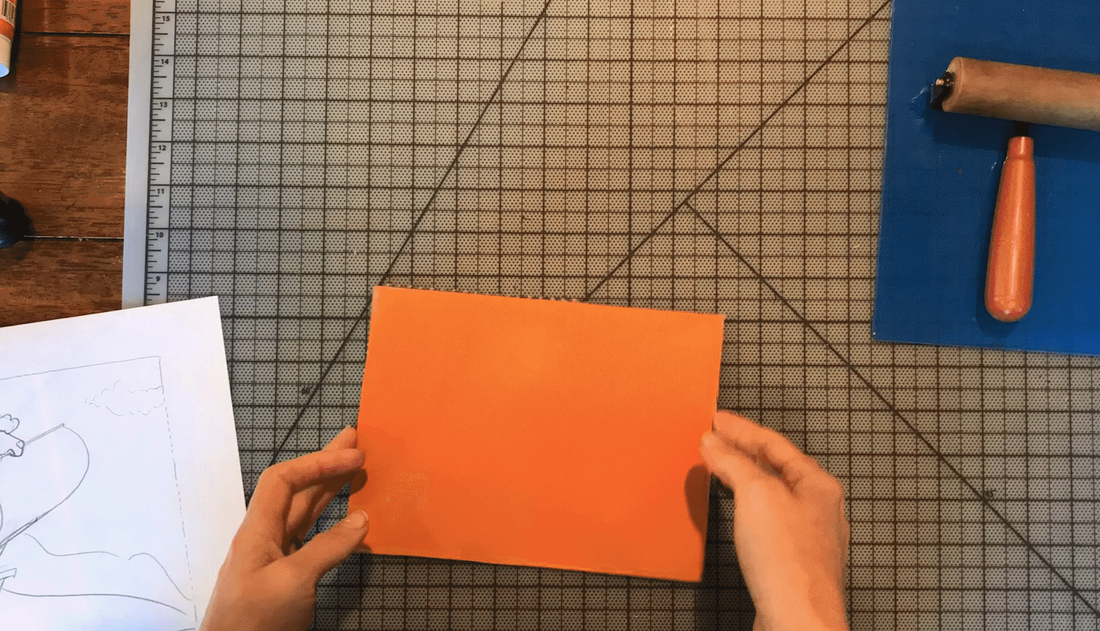
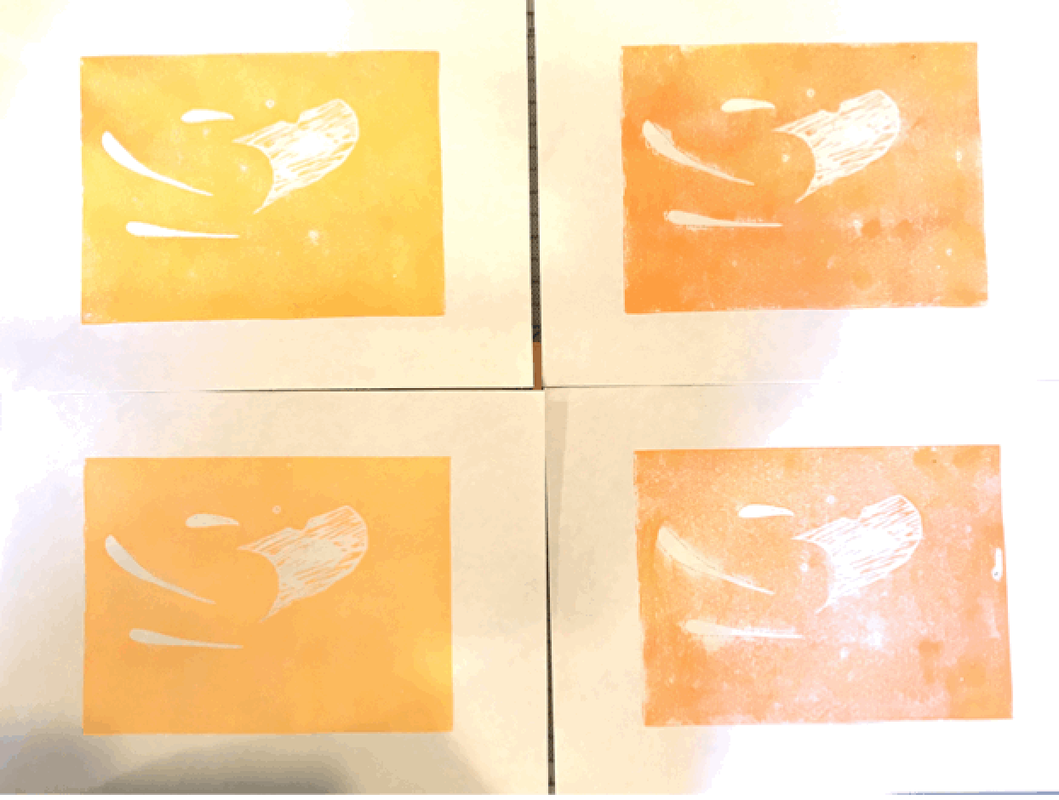
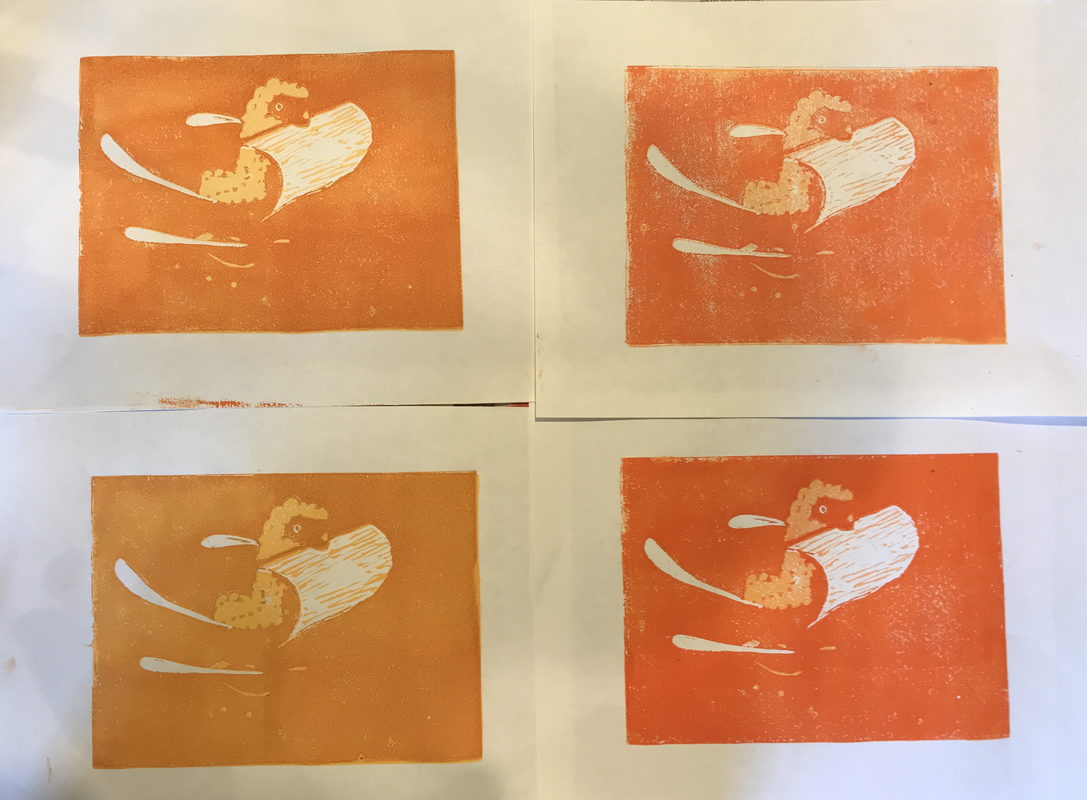
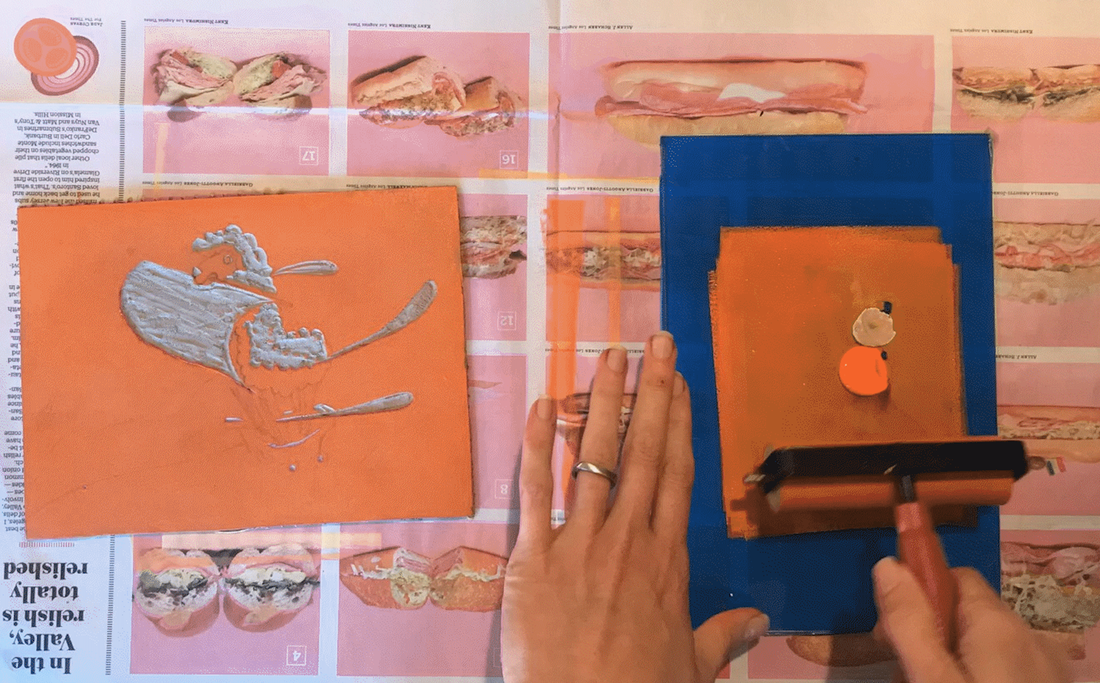
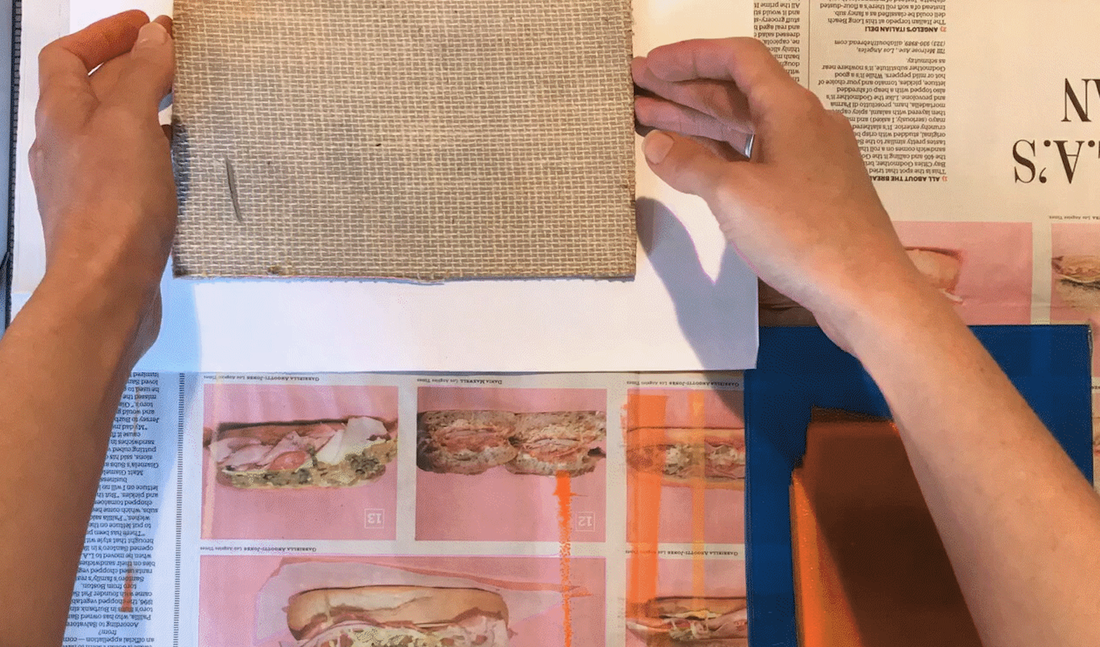
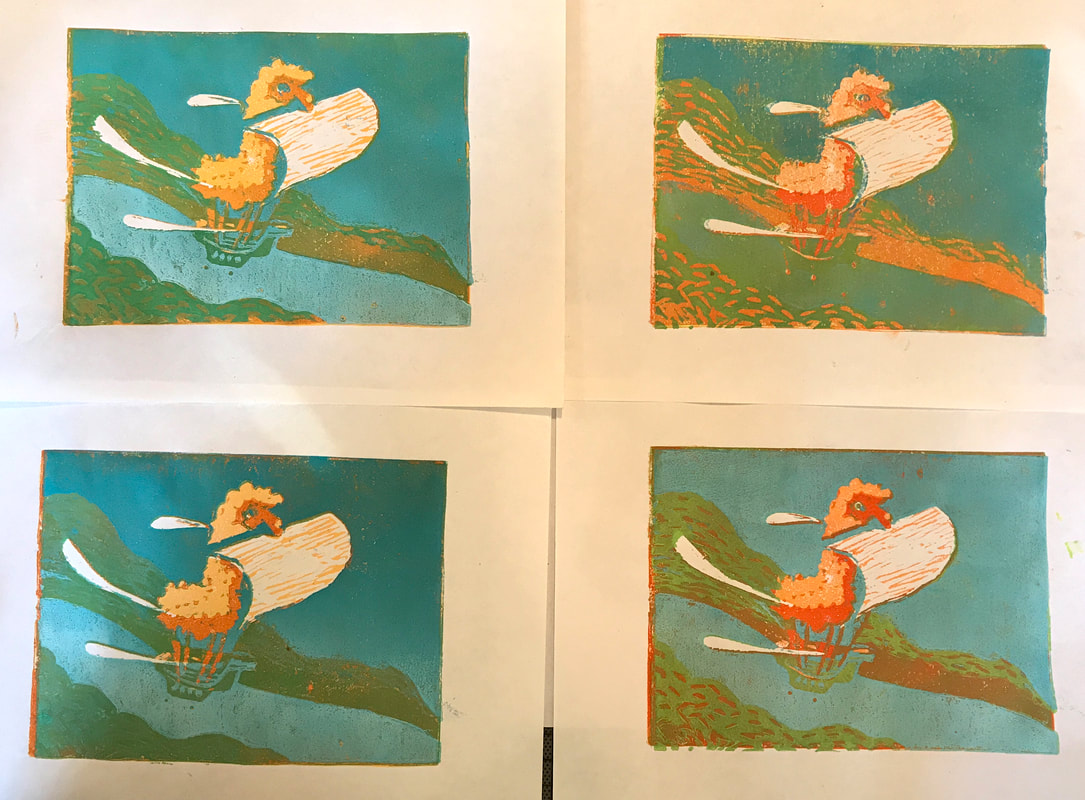
Print the first Color
|
Choose a color for the lightest areas that are not white.
After this, you will carve the areas you want this color, so choose the lightest color you will print first. Be careful to leave any shadows for those areas you want to print next.
Remember to print at least four prints from this block before moving on.
|
|


Carve Color 1
|
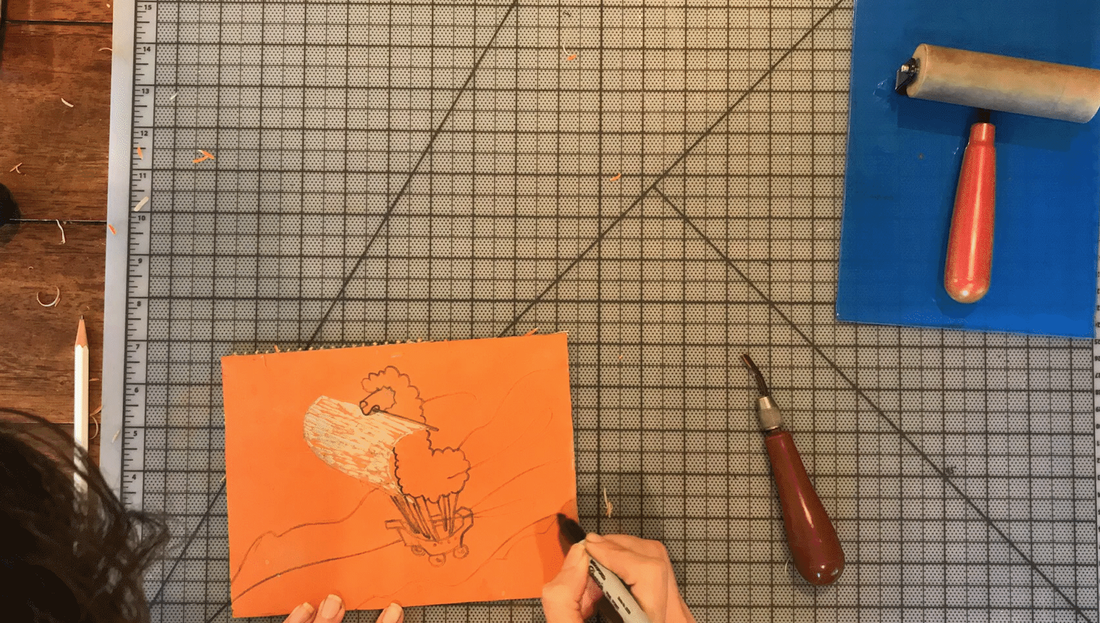
Carve the area you want to remain the color you just printed. These are the areas of your lightest printed values.
Remember to carve away from your hands in case the tool slips. In this example, the llama fur is the lightest value, but some was left uncarved. The lower fur parts will become shadows in the next color print. The second print color in this example is a medium value of the first color. Using a two-tone approach gives you a more sophisticated print in the end. Highlights in the boat and the complete sail are also carved in this step. |
|
Print Color 2
|
Print the second color. This color is likely to be the shadows for the first color. It is likely a medium value of the fist color.
If you would rather, it could be a completely new color, but they you will have to carve more between prints. Remember that you can get nice color variations by mixing block printing ink. If you have a limited color palette to begin with, experiment with mixing a second or third color into your primary color to produce a duller version of the first.
|
|
Carve Color 2
|
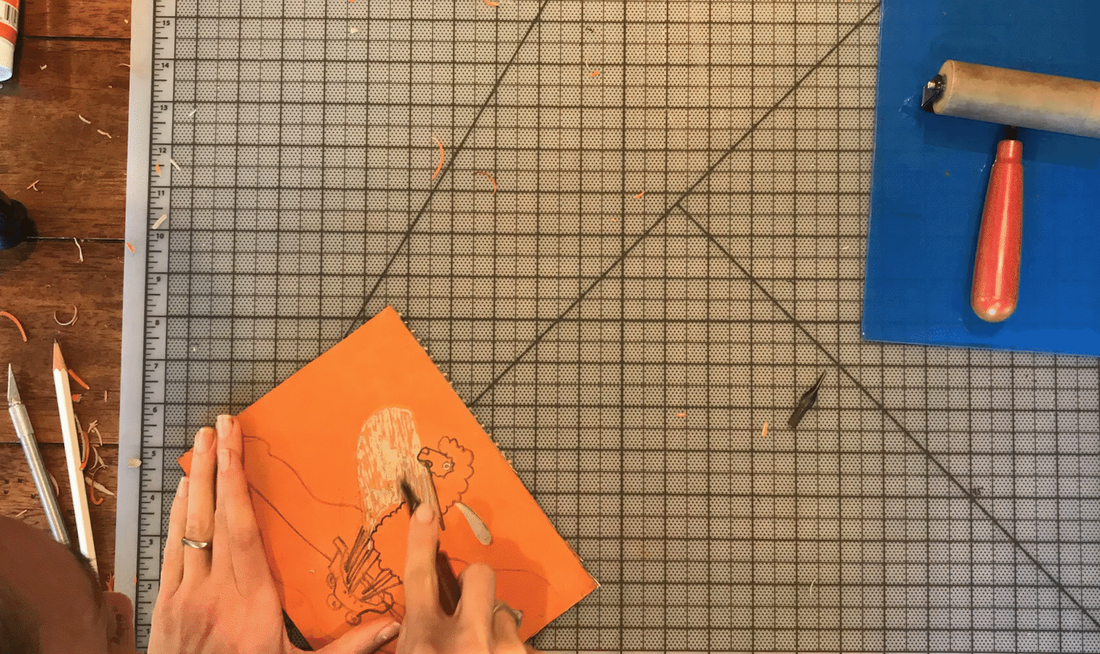
Carve the areas you want to remain color 2.
In this example, these areas are the shadows for color 1. The remainder of the llama fur is carved, the face, and most of the legs. A small area between the fur and the legs and between the face and the head fur is left for a darker shadow color during print color 3. Be thinking about what area of color you will print next. |
|
Print Color 3
|
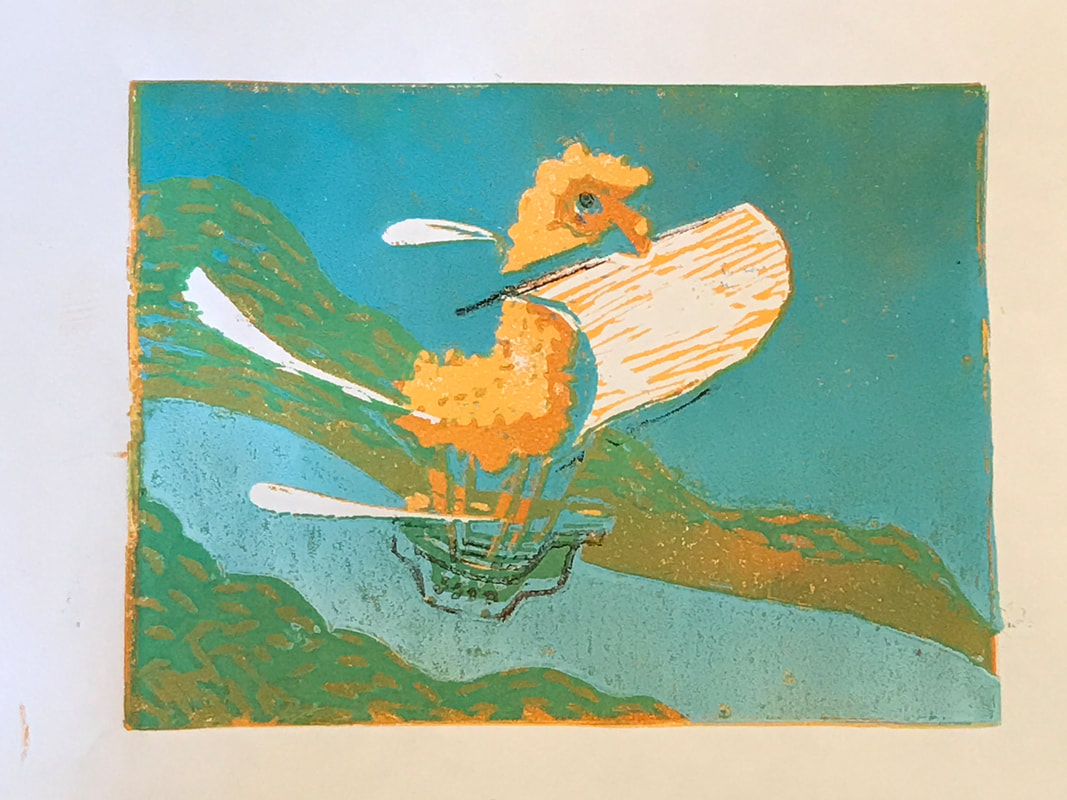
Print the third color.
This is often a new color being introduced to the composition. In this example, it is the first background color. The swishy plant matter lines in front of and behind the llama will be this color.
|
|
Carve Color 3
|
Carve the area you want to remain color 3.
In this example, these are the plants in front and behind the llama's path. The lines create a visual movement that makes the llama feel like it is moving faster. Adding the dashed lines help to create texture in the plants and provide an opportunity to use the two-tone approach to each color used. |
|
Print Color 4
|
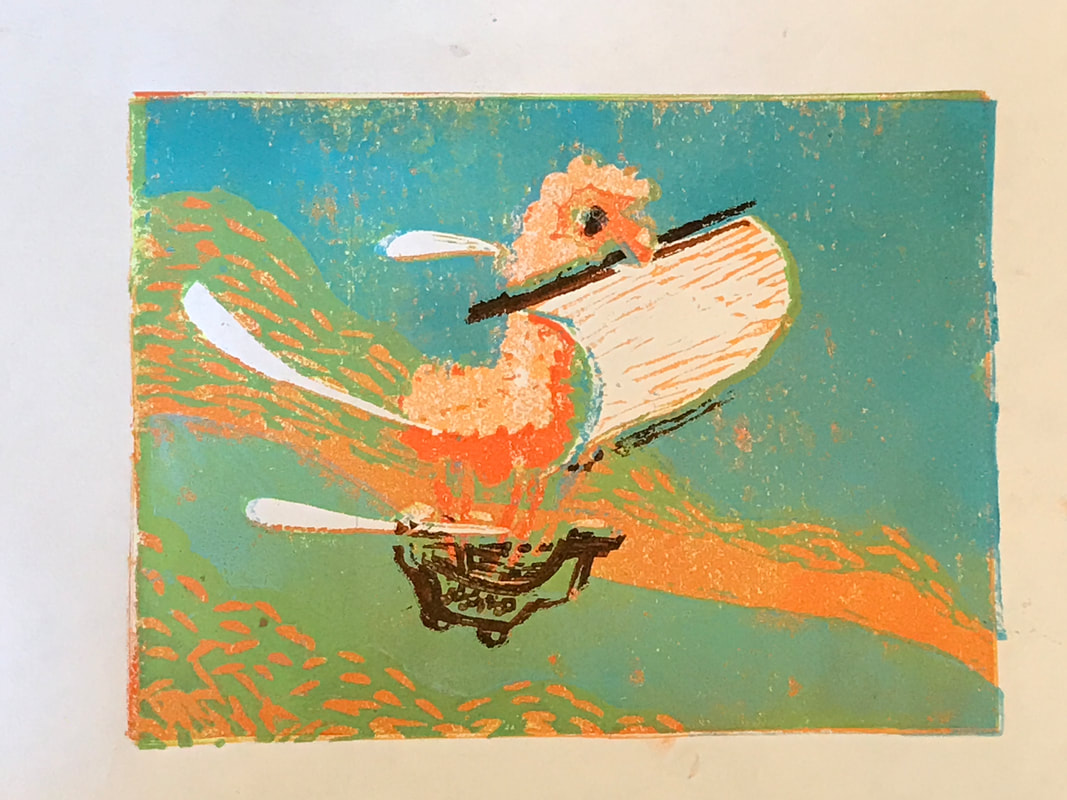
Print the color you want for your fourth color.
This color can be a medium value of the third color, or new color introduced. In this example, the lighter green was used to give the plants highlights and keep the lower parts of the plants in shadow. At this point, this print could be finished, because it has four colors and a cohesive use of color and rhythm. You could save out one of your prints at this stage if you wish and then continue on with the other three.
|

|
Carve Color 4
|
Carve the area you want to remain color 4.
In this example, the next color will be the background color. There will be more contrast between the ground and the plants and the sky with the addition of a fourth color. All of the plants were carved as well as the boat. Some boat details were left to create a line between the plants and the boat. |
|
Print Color 5
|
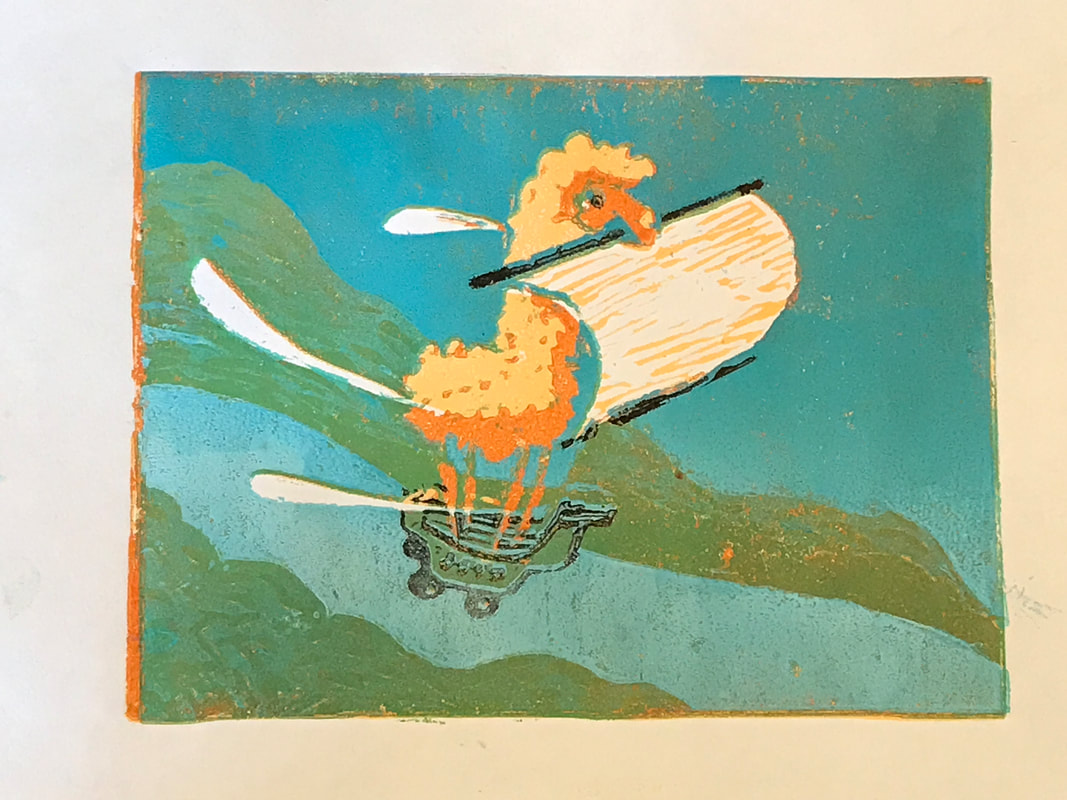
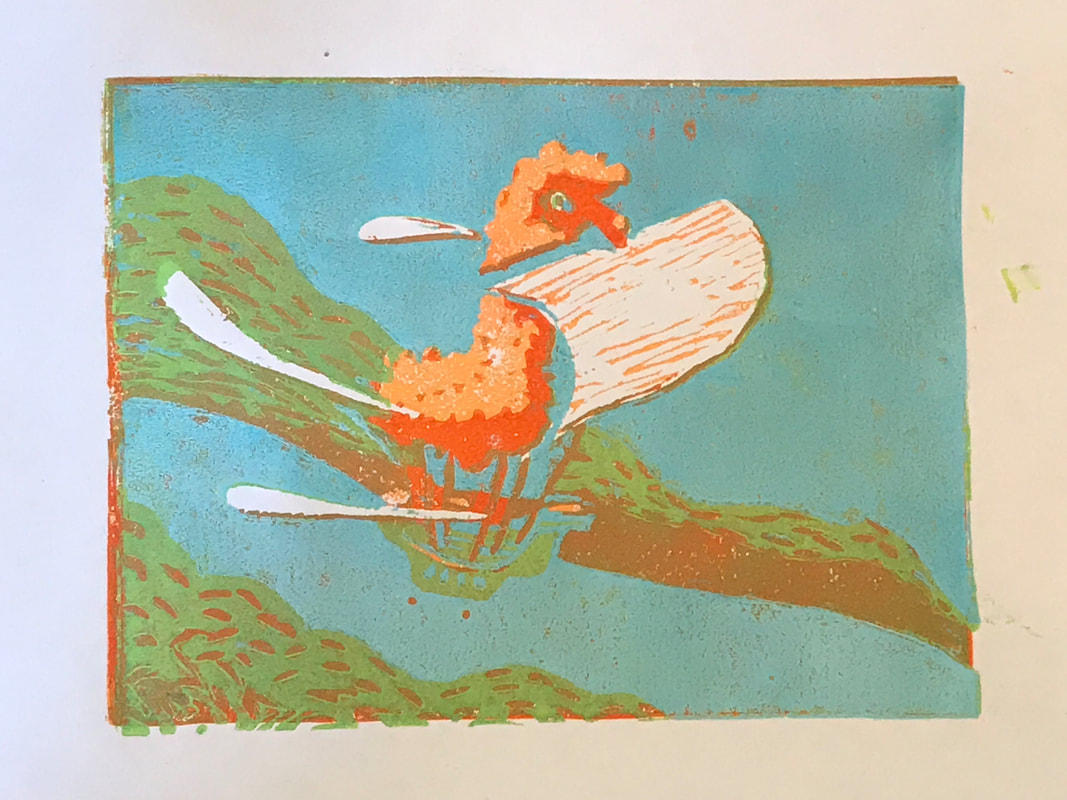
Print the fifth color.
In this example, the blue sky is printed at the same time as the llama's path. This results in the path seeming more like water than land. A split fountain was used to make the path lighter in value than the sky with a white/turquoise split. |
|
Other Options
|
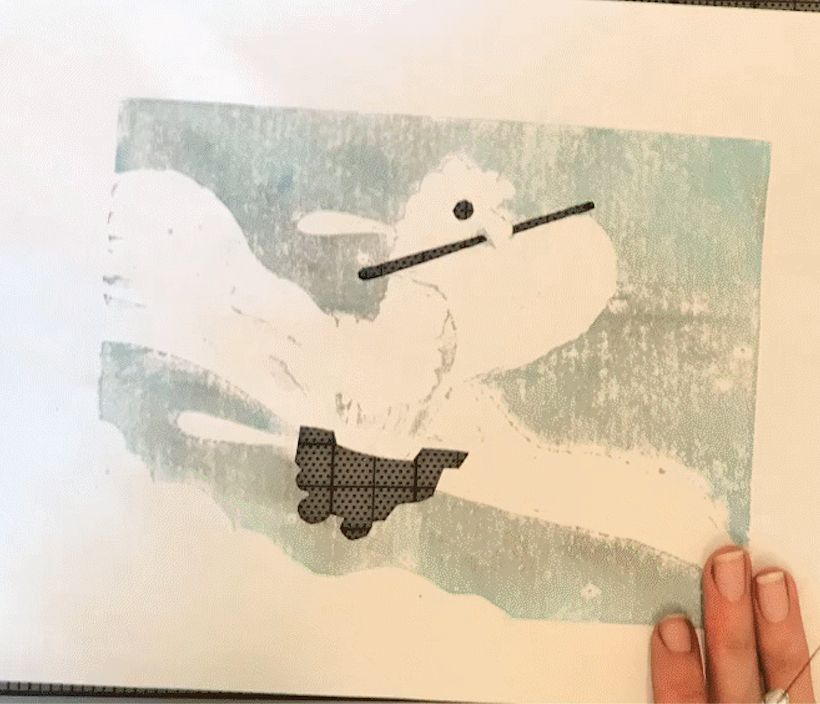
If you need additional color, you can keep repeating this process or you can create a mask for just a few areas.
In this example, a mask was used to add outlines to the boat, sail supports, and eye.
|

|


End Result
|
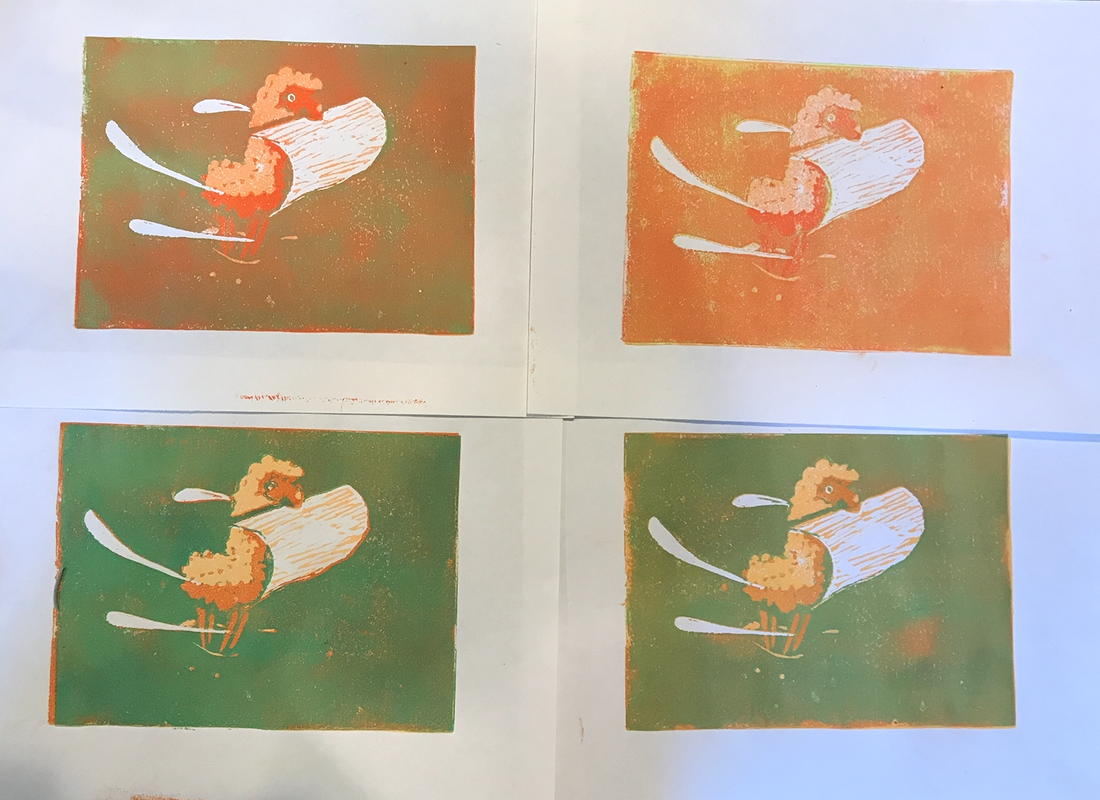
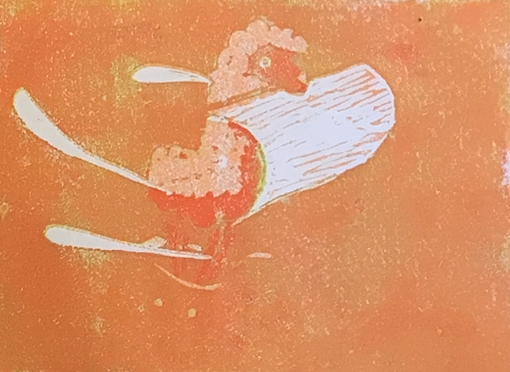
At the end you will have a multi-color print from a reduction linoleum plate.
You won't ever be able to reproduce new prints from that plate, so make sure you print enough copies at the outset to have a few good ones by the time you get to the end. Start printing at least four pieces of paper. If you want to leave one or two without the last one or two layers, you will have enough compositions to try out different combinations of layers. Turing in WorkTurn in your work in Google Classroom as well as your folder in Google Drive.
In Classroom, use the comments to write about your work.
|
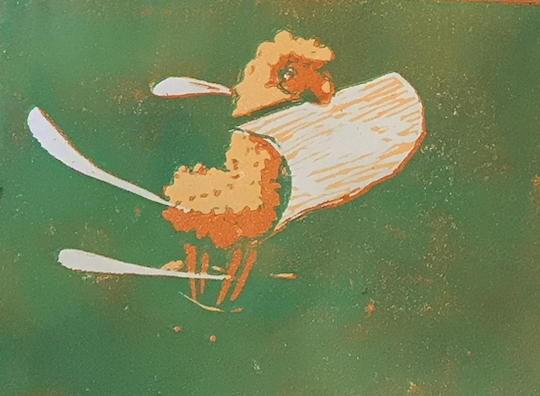
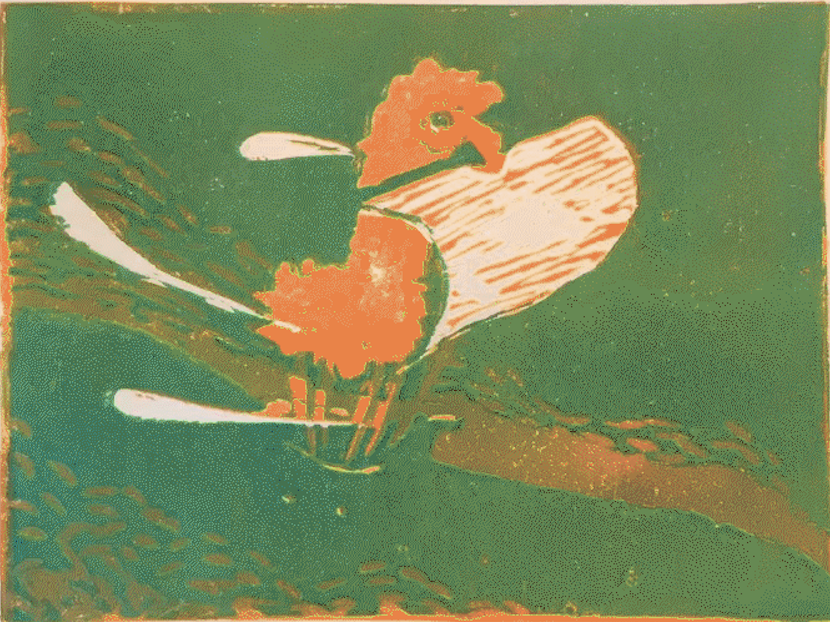
Original Idea
Oops! Double Registration
|
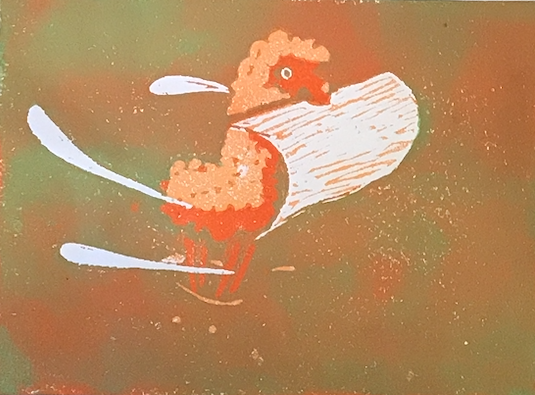
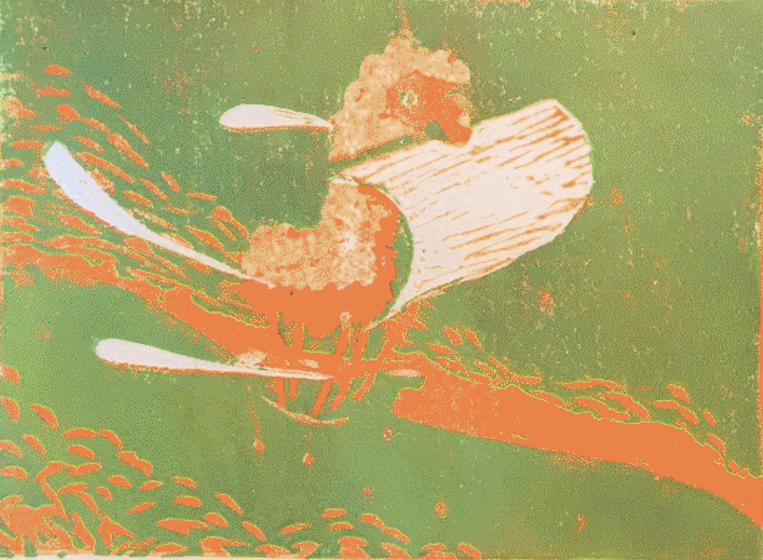
Boat (No Wheels)
Skip Black Layer
|
