
|
|
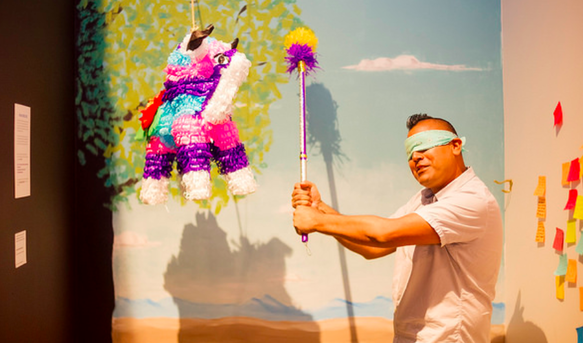
PiñatasStudents will work in a group of up to four students to create a paper mache piñata sculpture.
This unit has five parts: research and design (designing a project, measuring for materials), prototype (paper sculpture), final design in cardboard, paper mache, paint, and tissue paper, documentation of the finished work (photos, looping GIF, email, reflection, and critique), and destruction (group demolition of piñatas). |
Overview Unit Goal
Composition Concepts
|
|
Technical Skill Videos |
Order of WorkDetermine Your Design
|
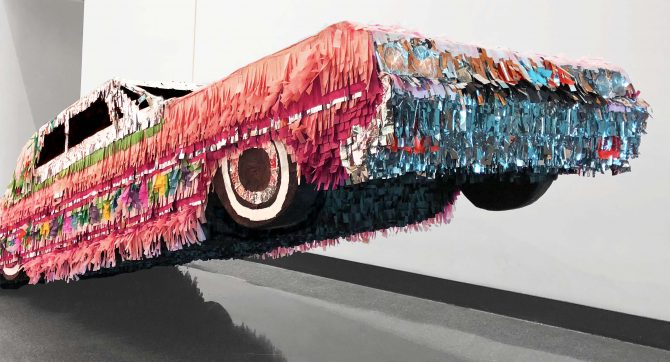
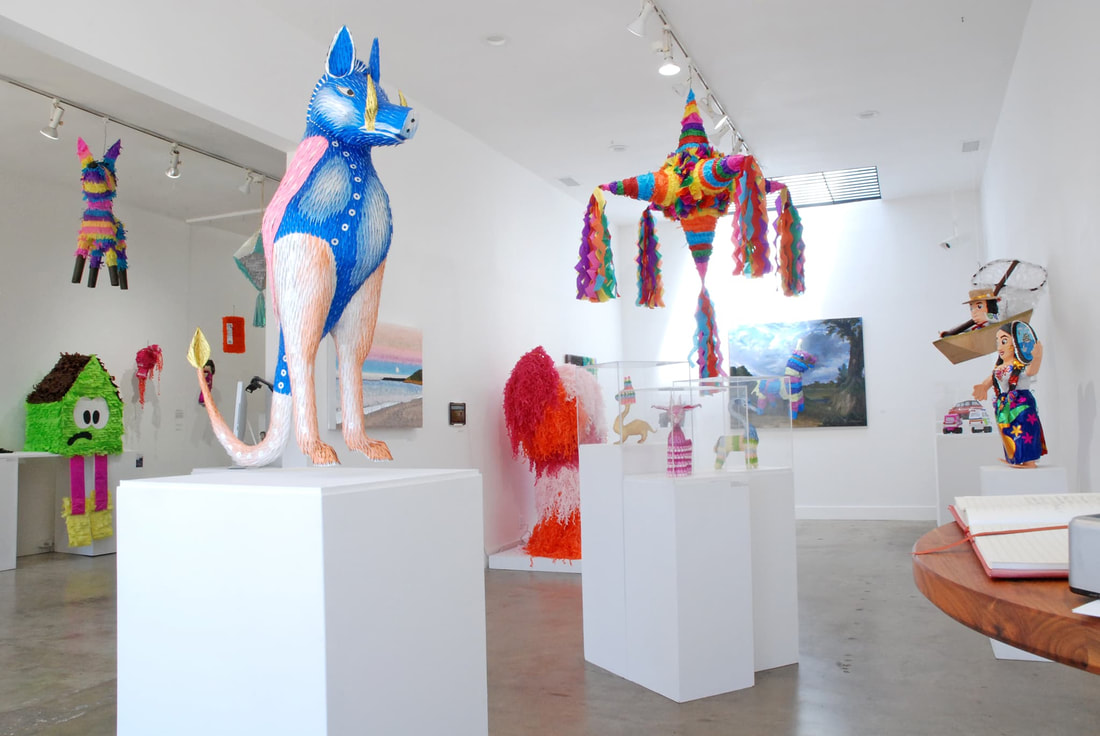
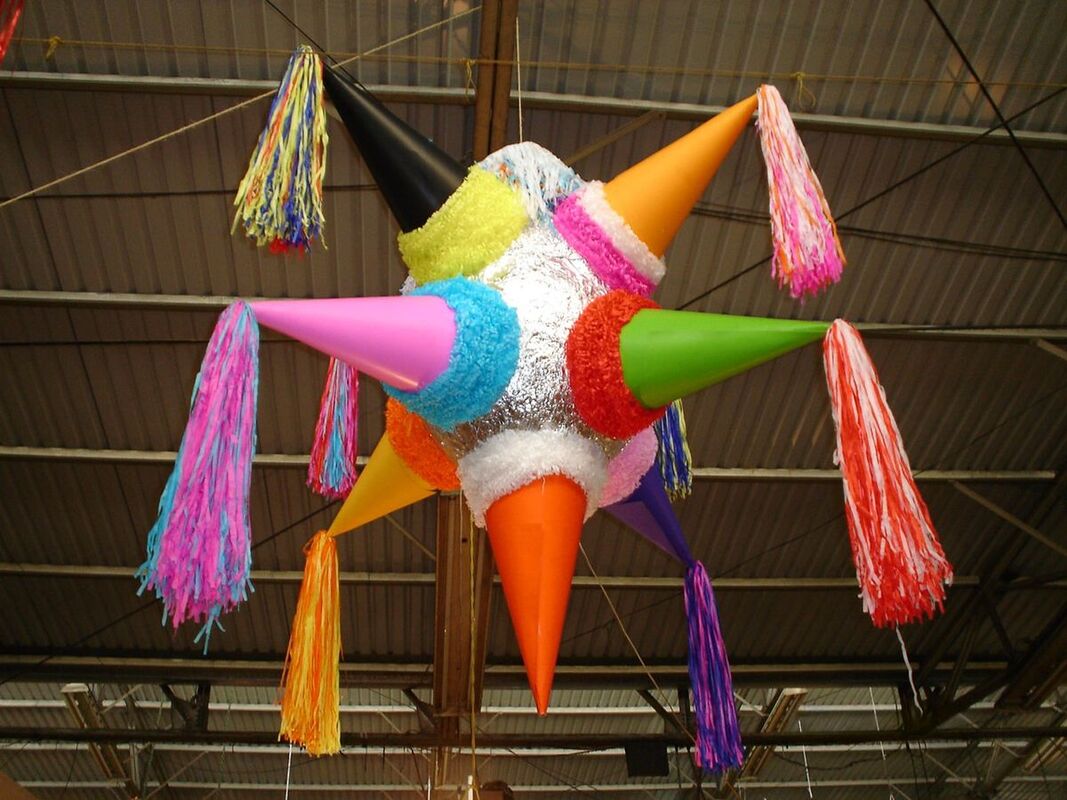
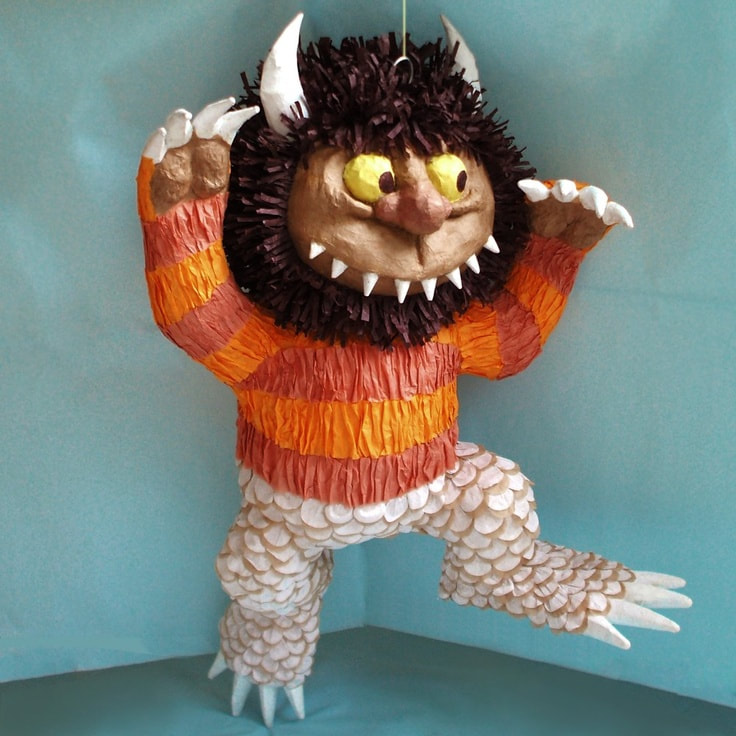
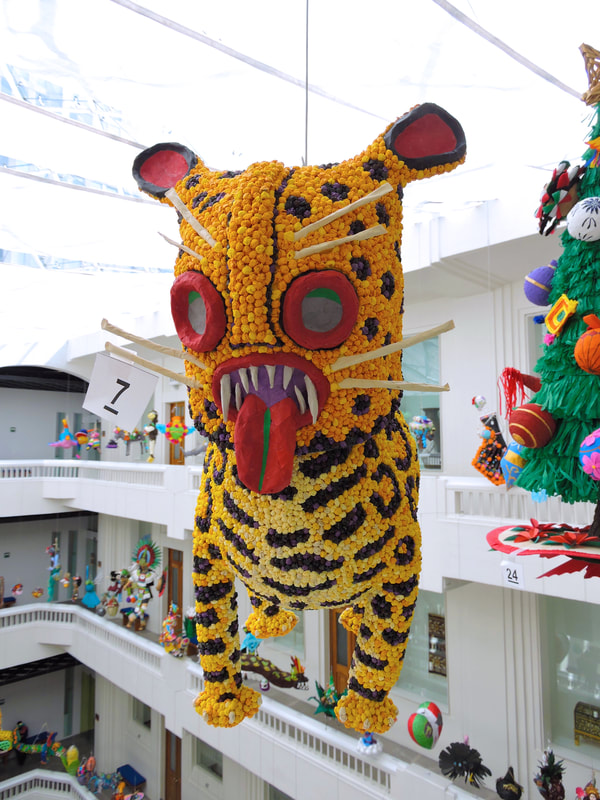
Art History - Artists who make Piñatas
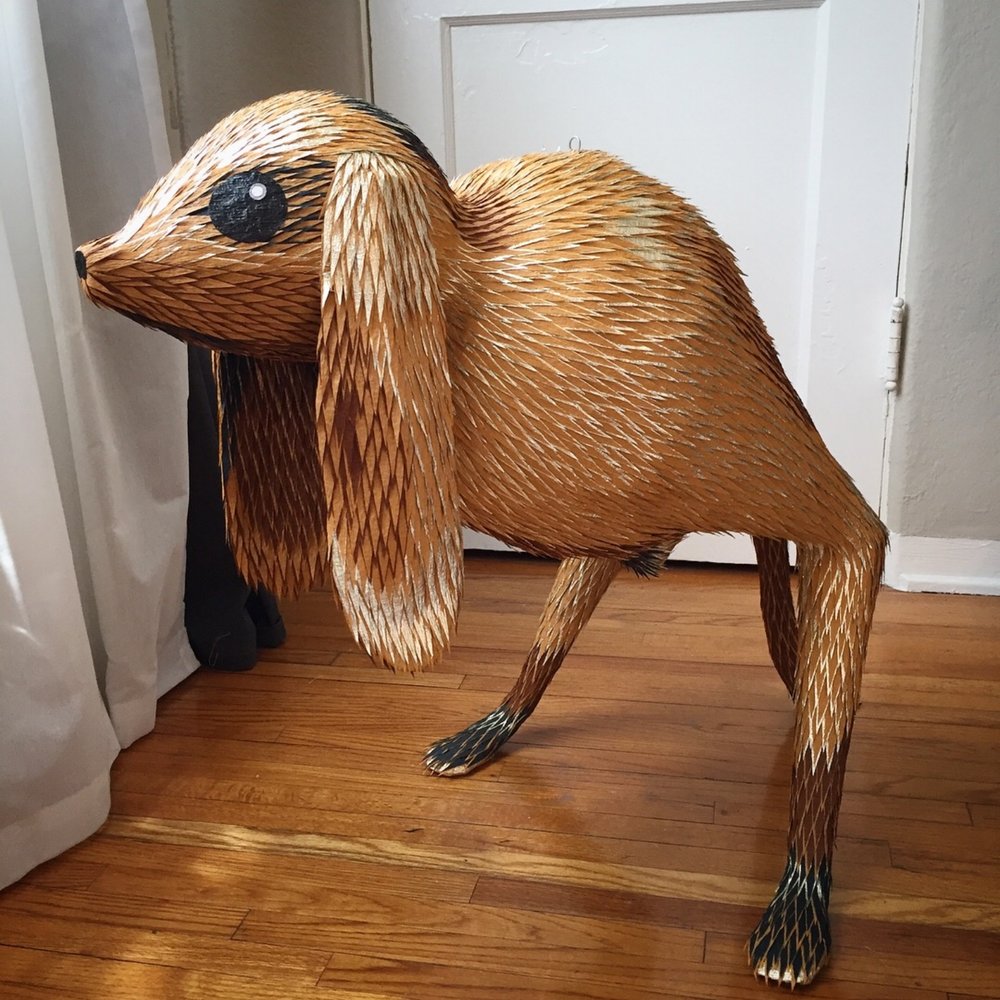
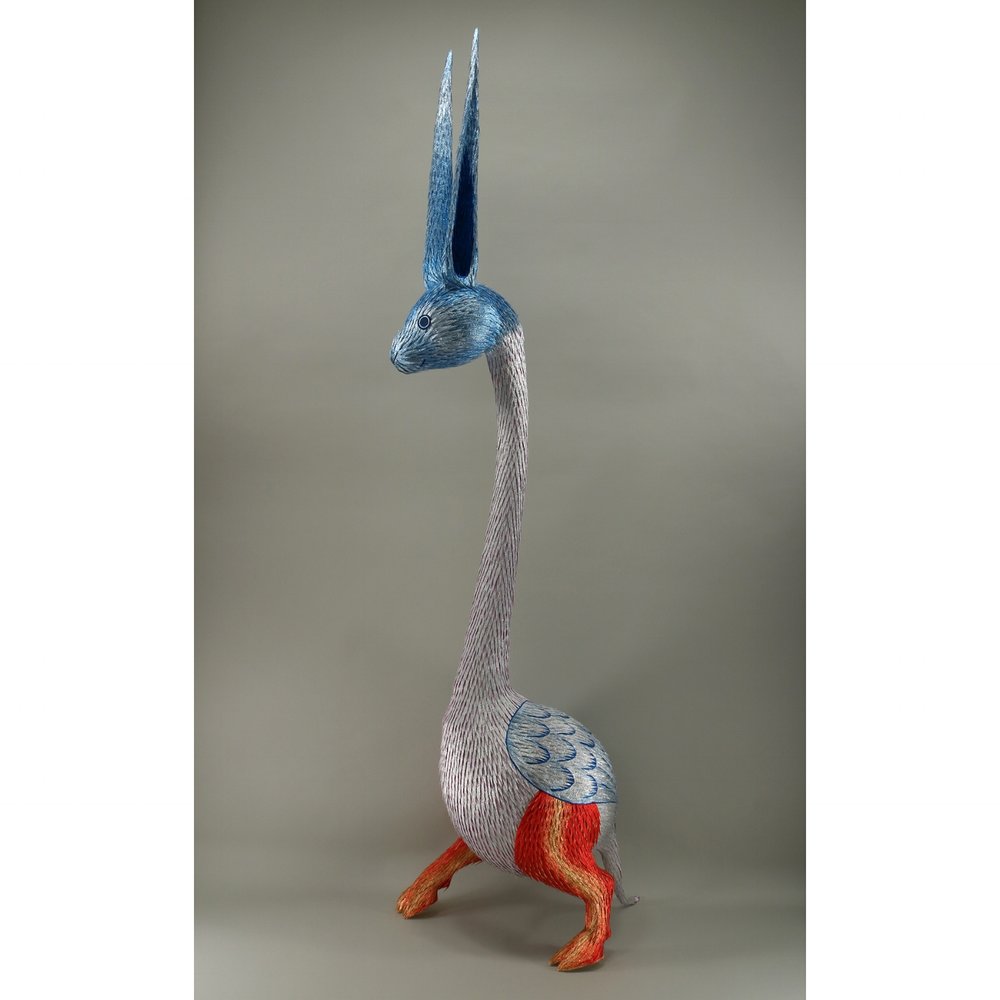
Roberto Benavidez, Justin Favela, Josue Ramirez, Diana Benavidez

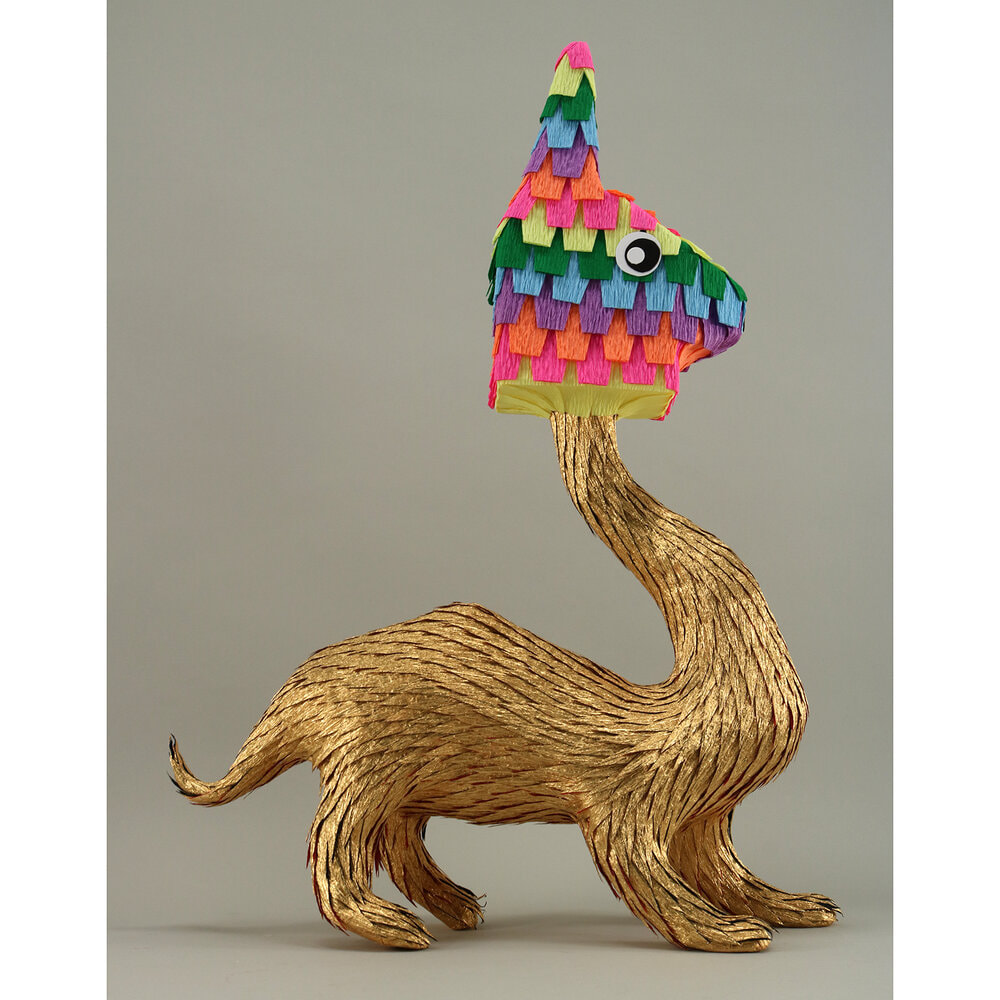
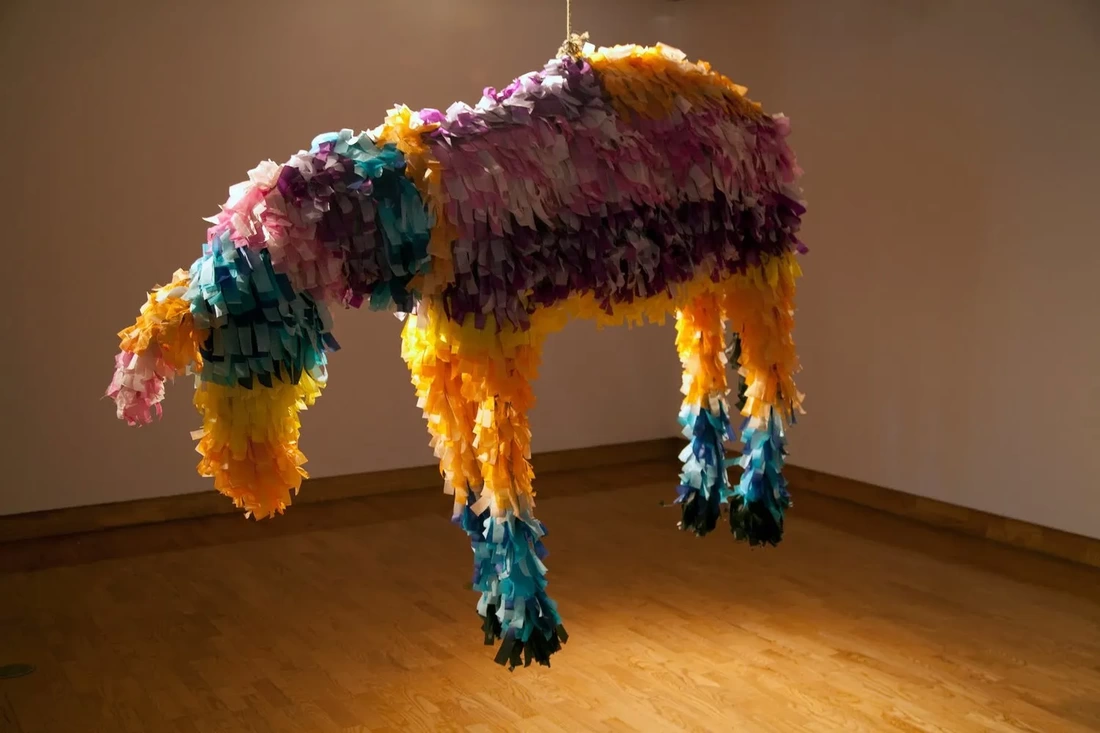

Designing your Piñata


Things to Consider
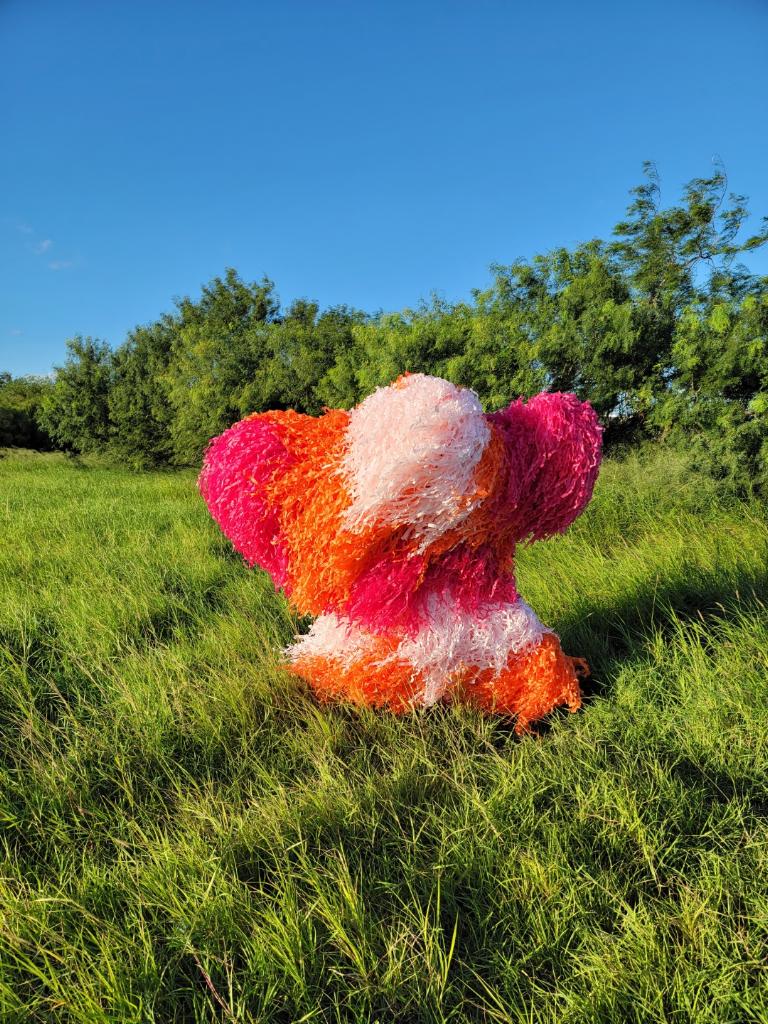
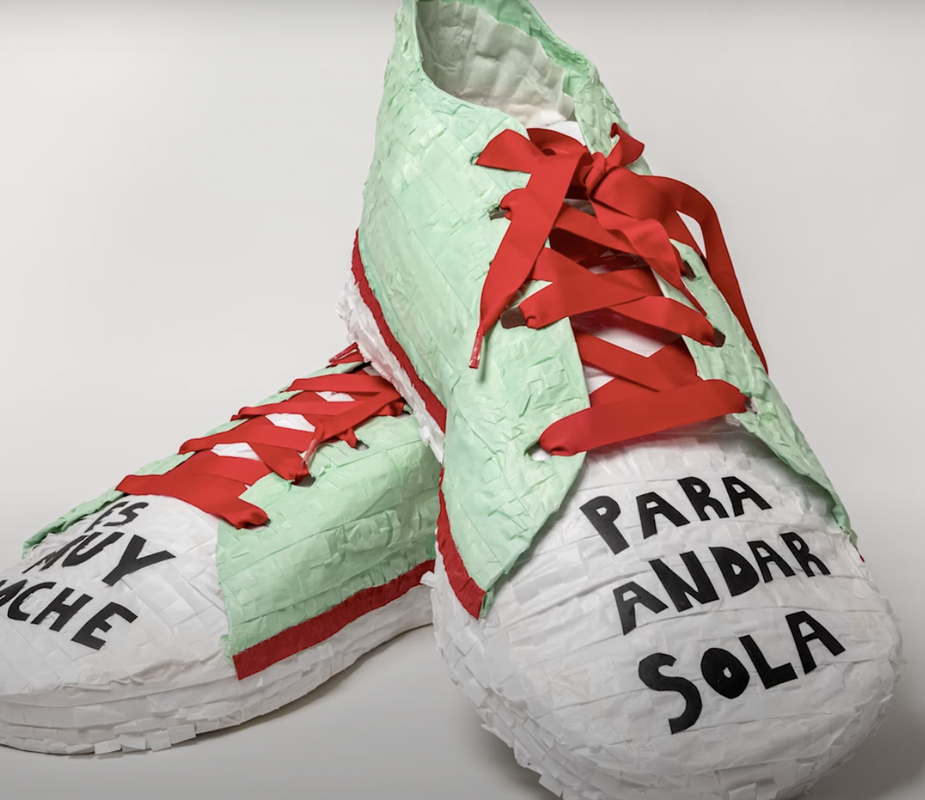
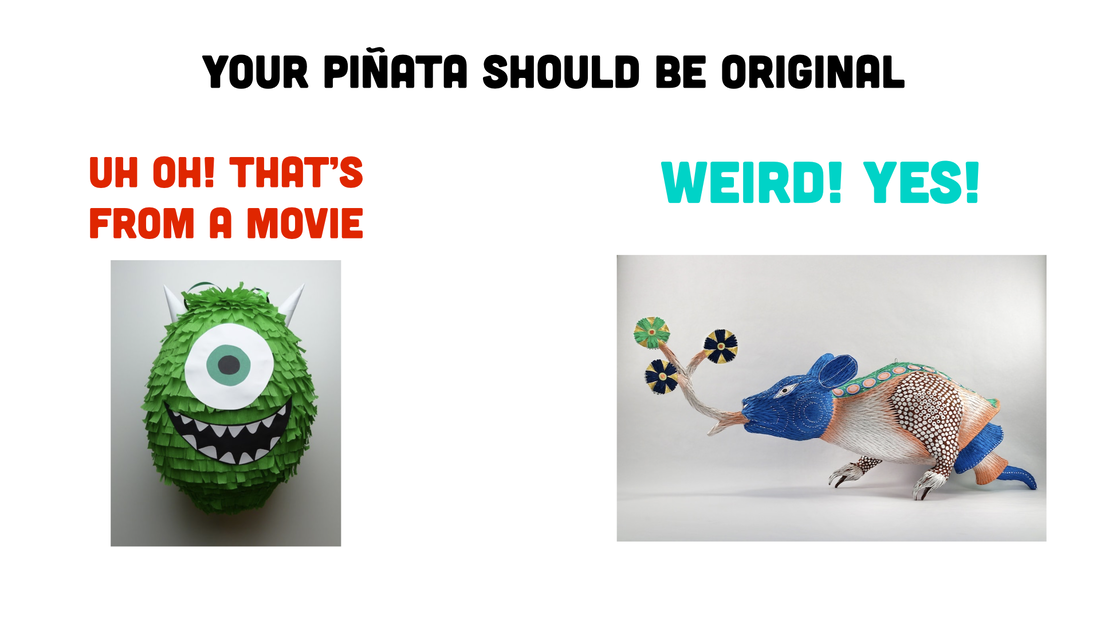
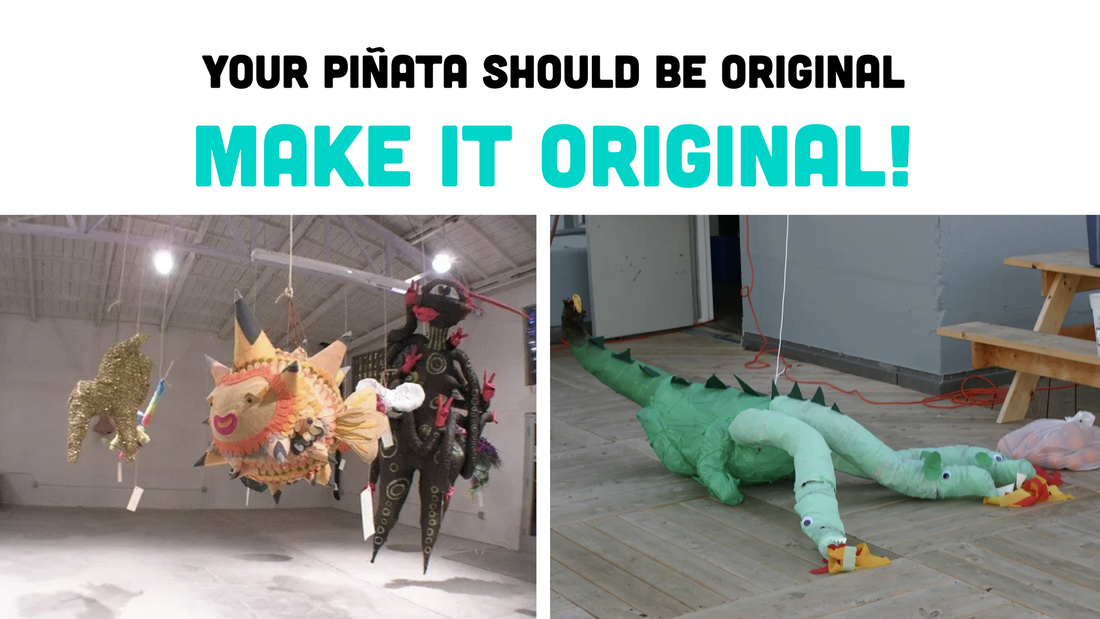
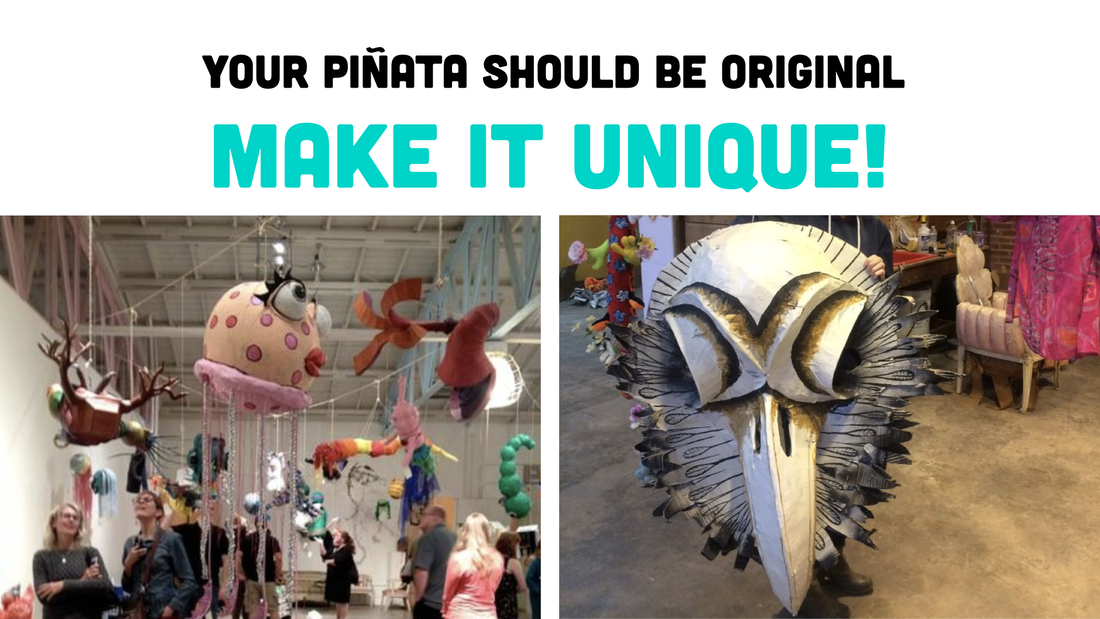
- Your piñata should be original & unique (not able to be purchased)
- You want to make a strong structure inside, so that it doesn't break easily on the first whack.
- Some shapes are stronger than other shapes (a tube is stronger than a rectangular leg).
- Consider layering cardboard to make a form stronger, especially in areas that hold weight or extend away from the main form
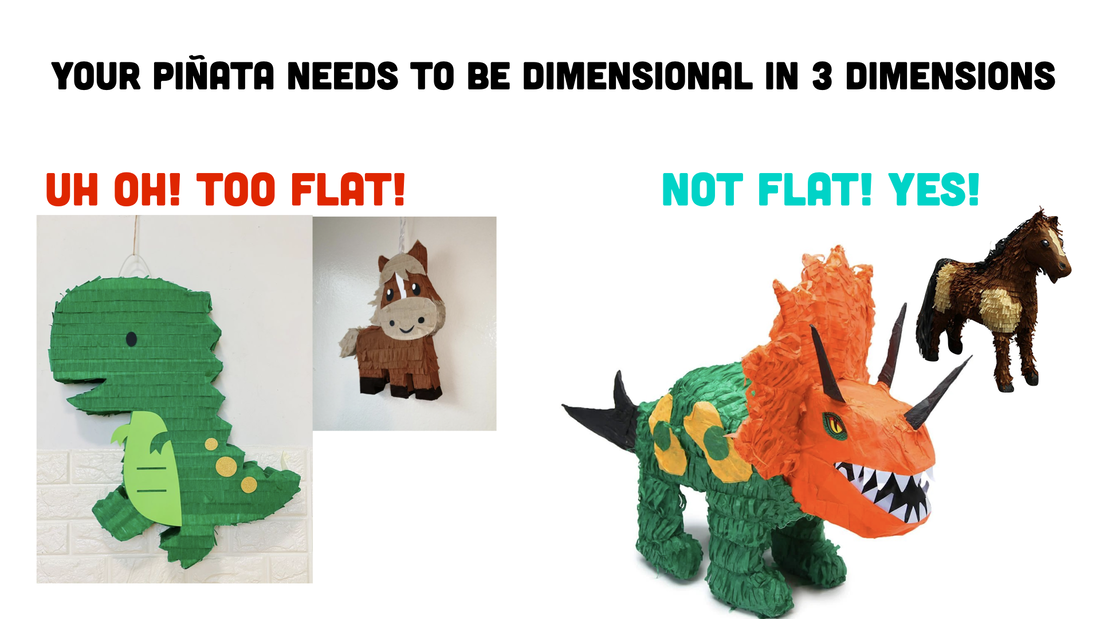
- You need it to be an irregular width from the front and the side views (not flat from the side)
- You need to layer your paper mache strips so they overlap, otherwise you are not creating a secure surface
- You need several layers of paper mache to create a strong structure that won't easily be destroyed by your team
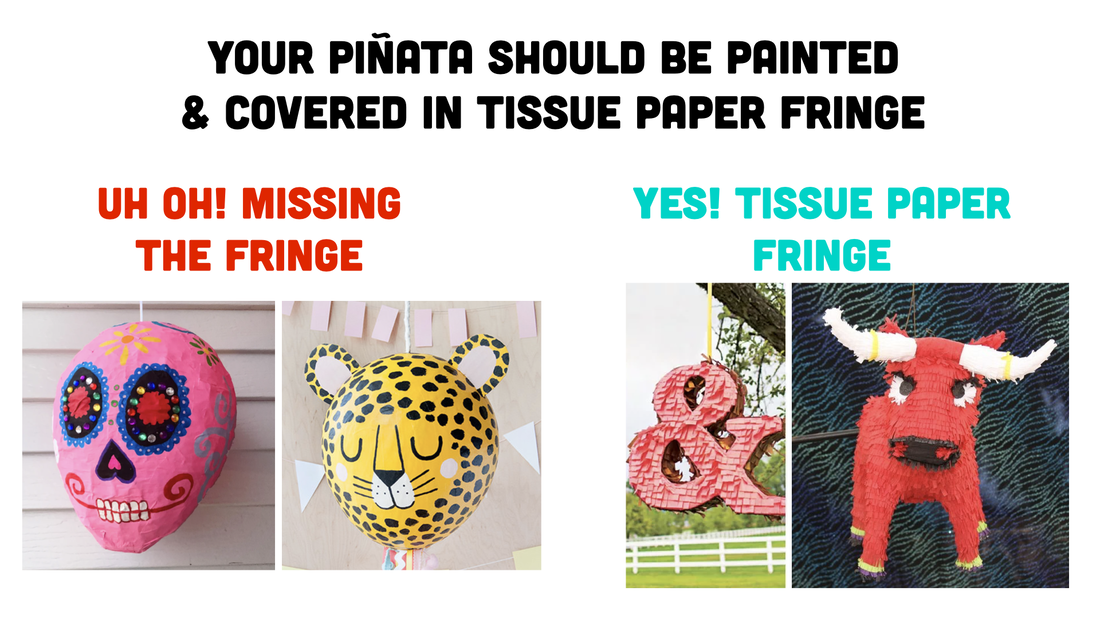
- You want a smooth surface to paint and then add fringe to
Piñata Ideas

Documenting your Piñata
Email an Image of Your Project
|
Grading Criteria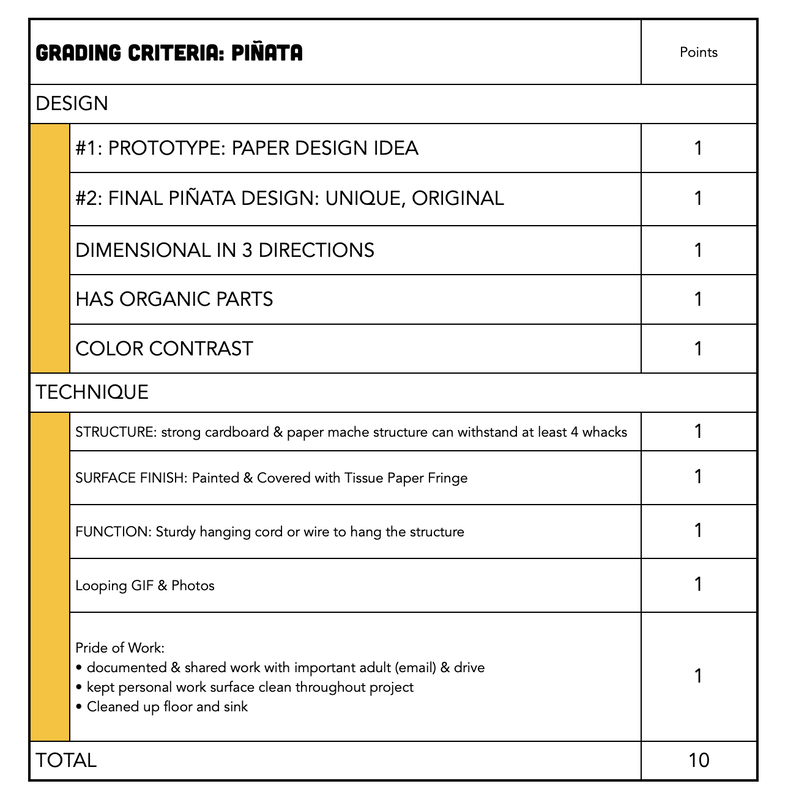
|
