
|
|
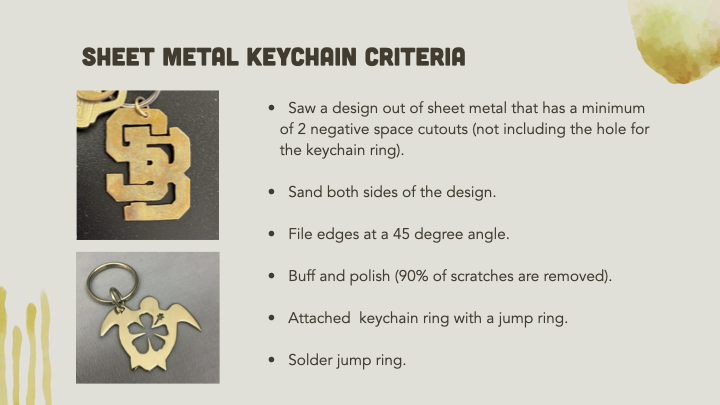
KeychainStudents will create a sheet metal keychain using at least two negative space cut outs. Students will use the jewelry saw, sandpaper, hand files, drill press, buffer, and polisher to make the sheet metal keychain. Afterwards, students solder the jump ring as an introduction to the soldering torches, pickle pot, and ultrasonic machines.
This unit has six parts: research, drawing to scale, sawing practice, sheet metal keychain (cutting, drilling, sanding, filing, buffing, polishing), jump ring (soldering), and documentation of the finished work. |
Overview Unit Goal
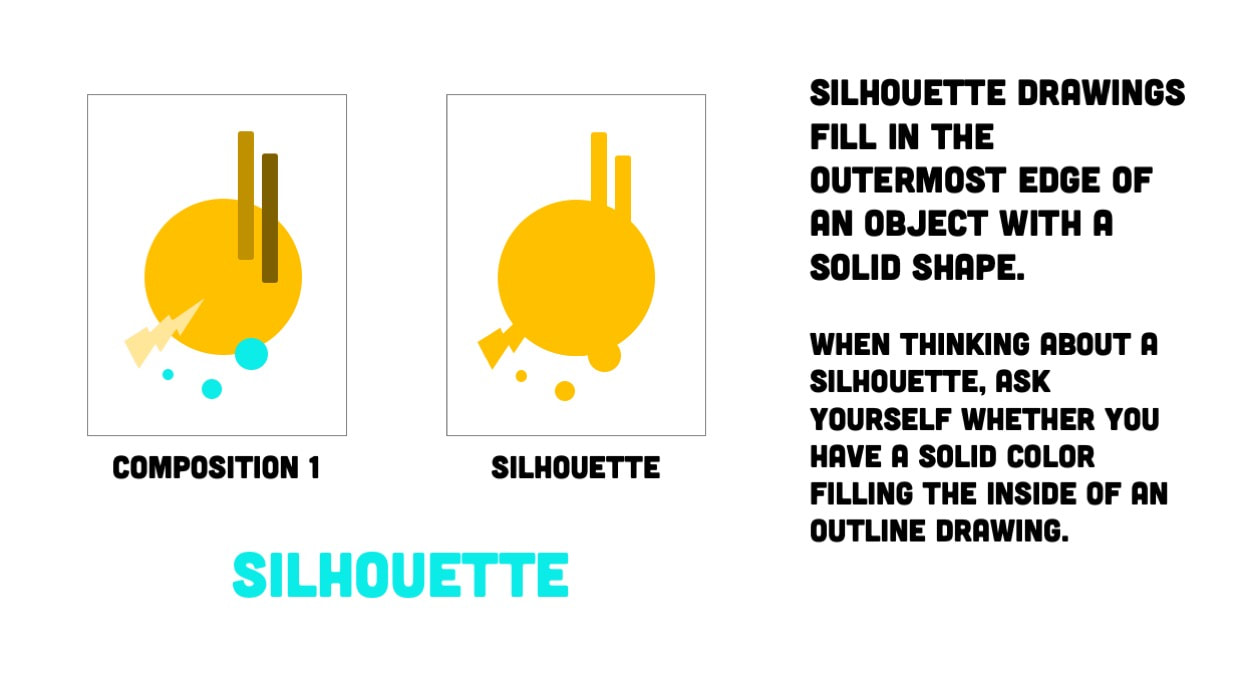
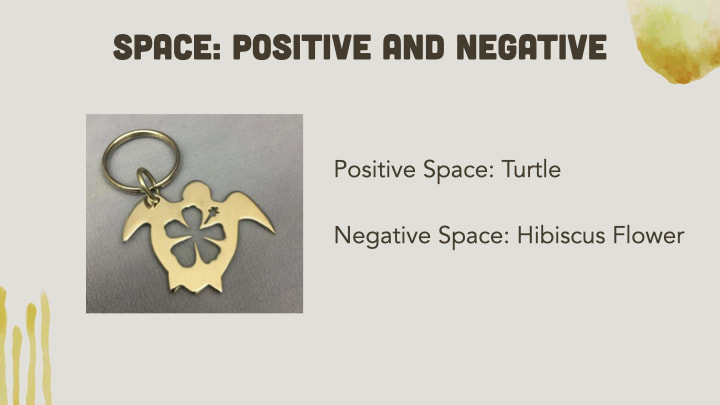
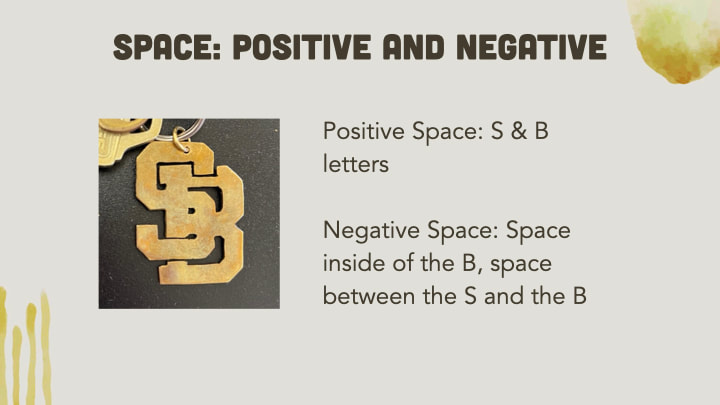
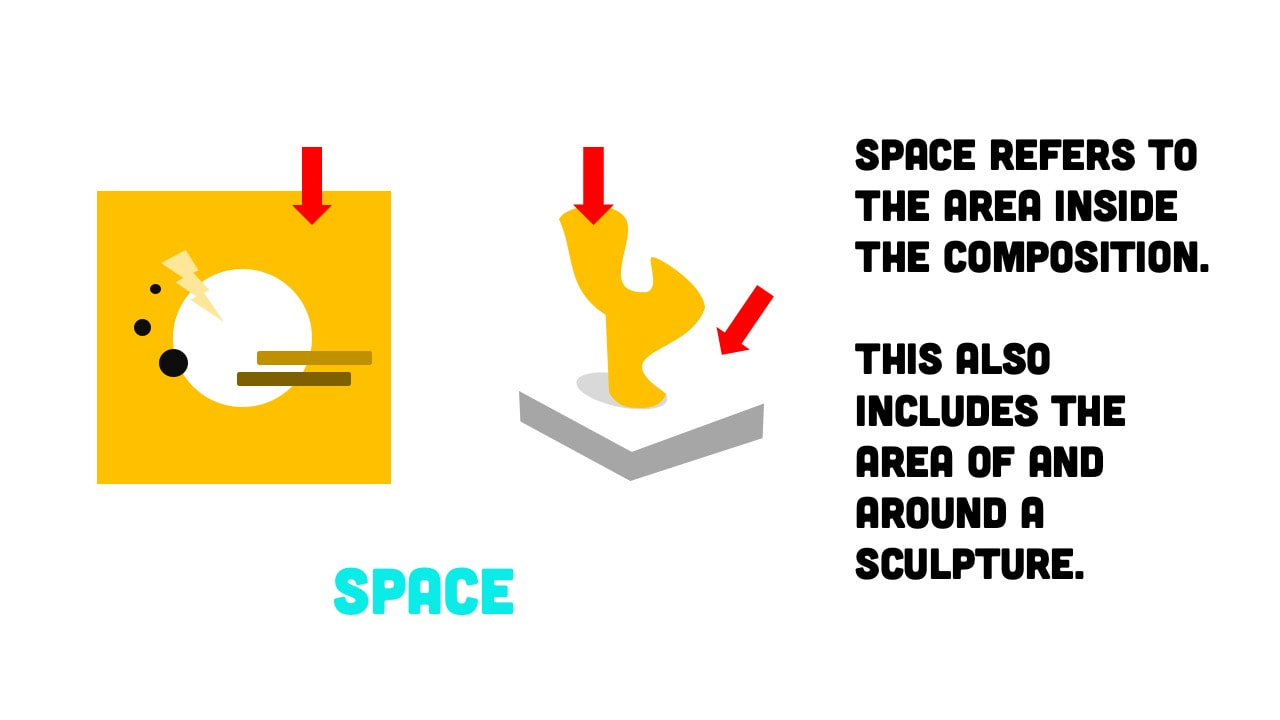
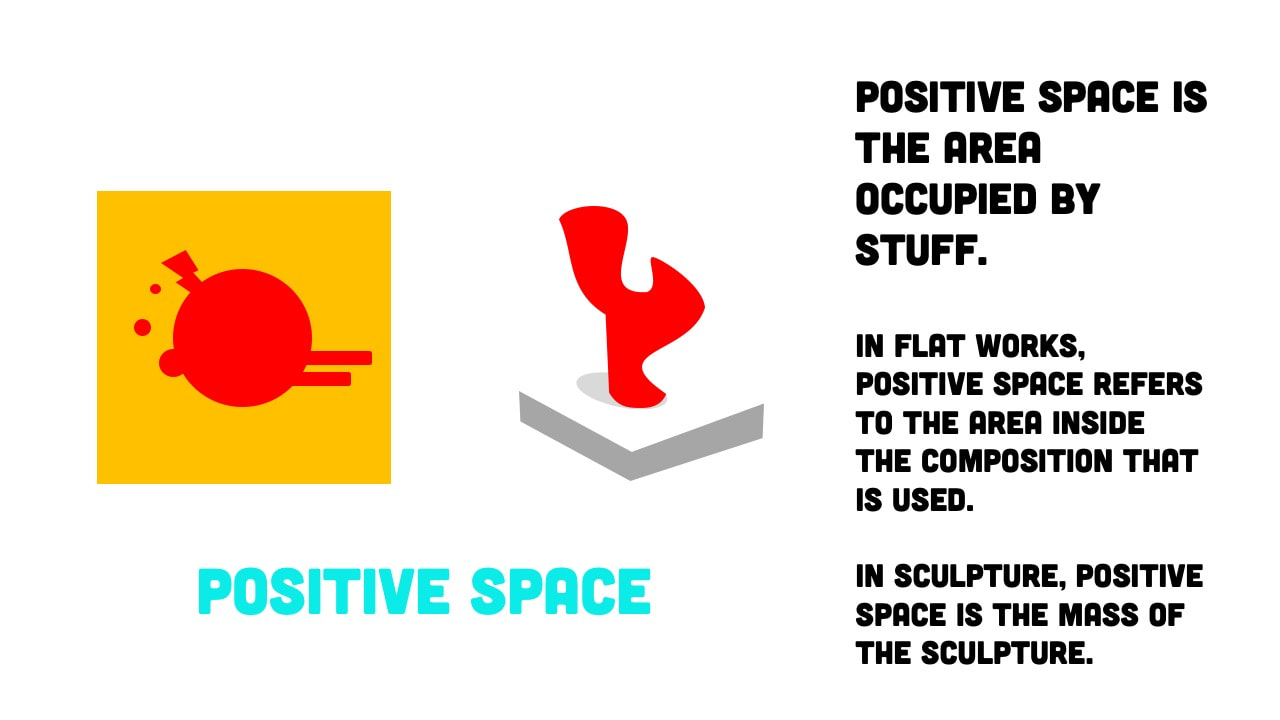
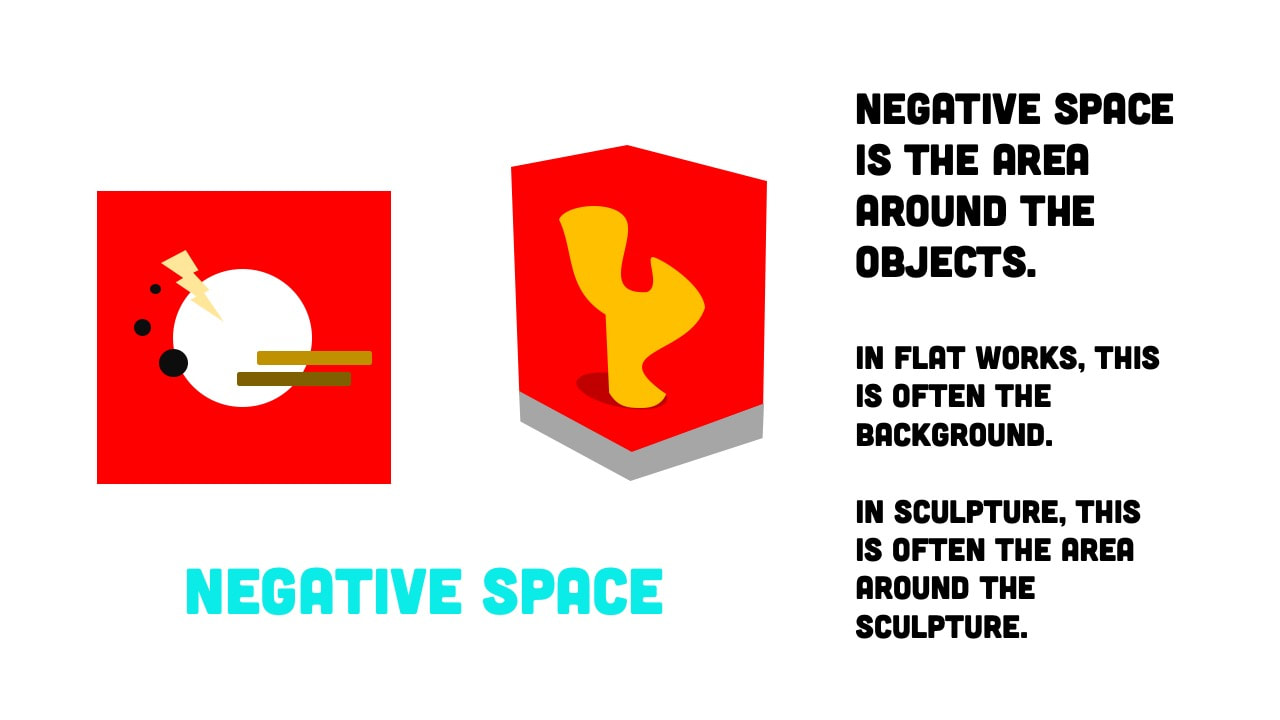
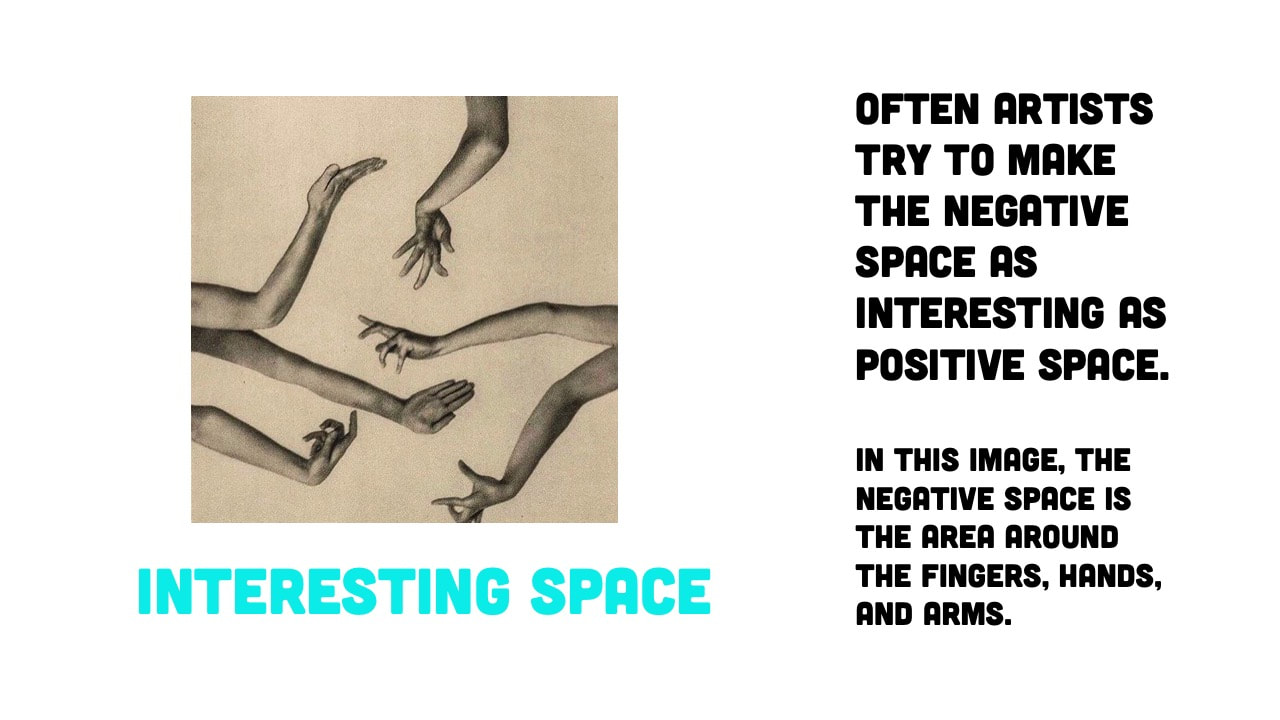
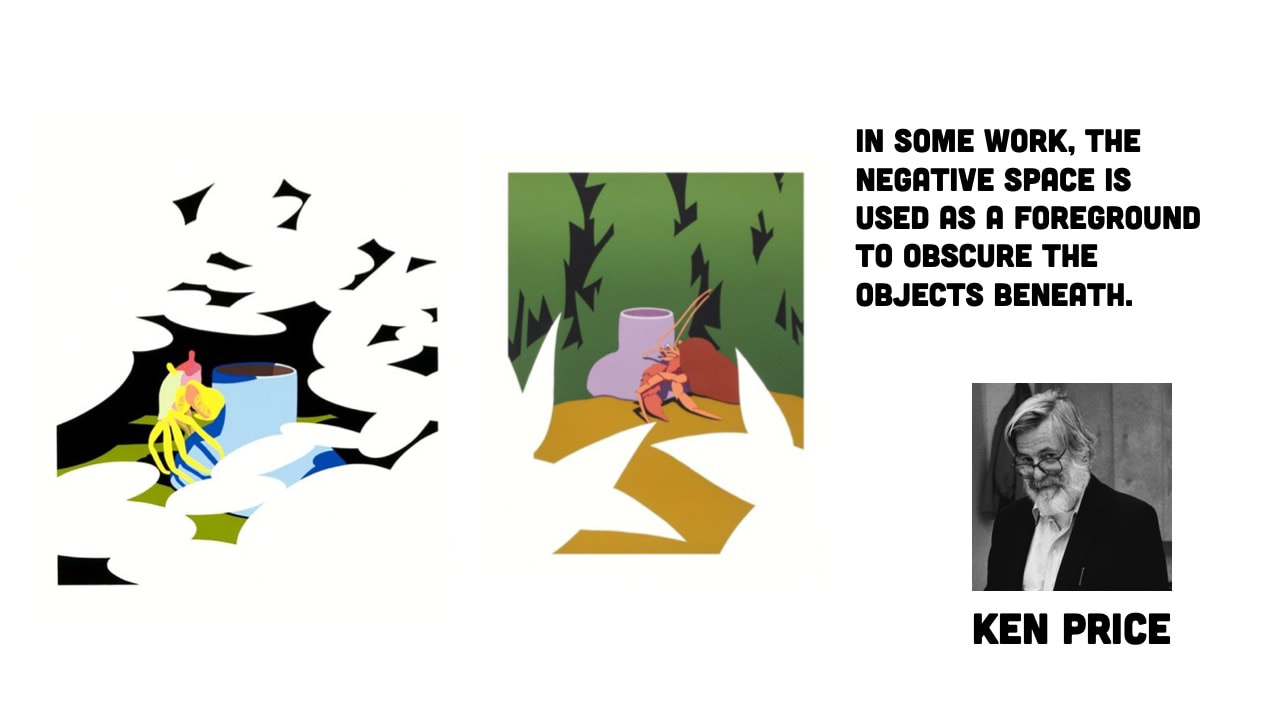
Composition Concepts
|
|
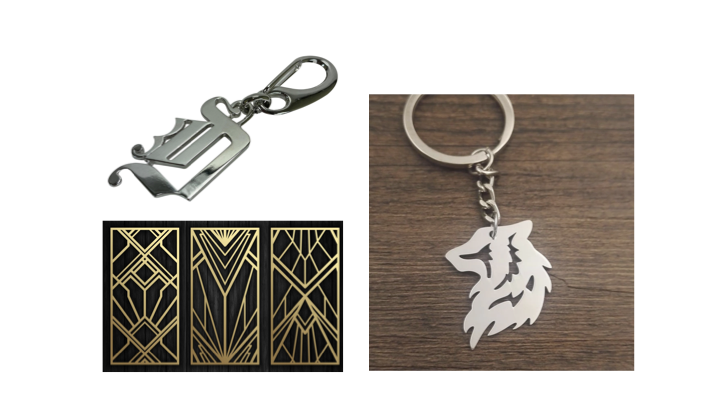
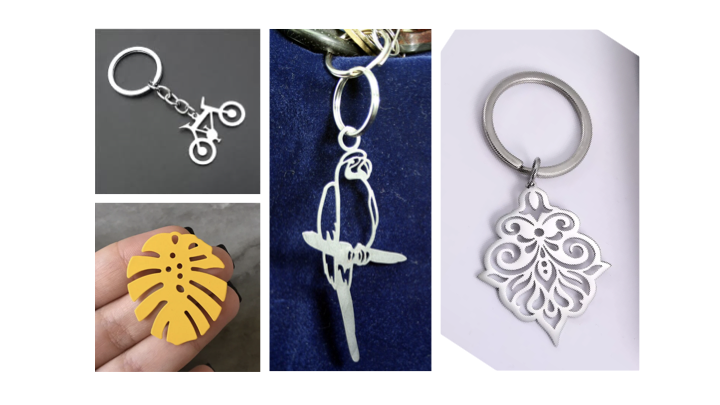
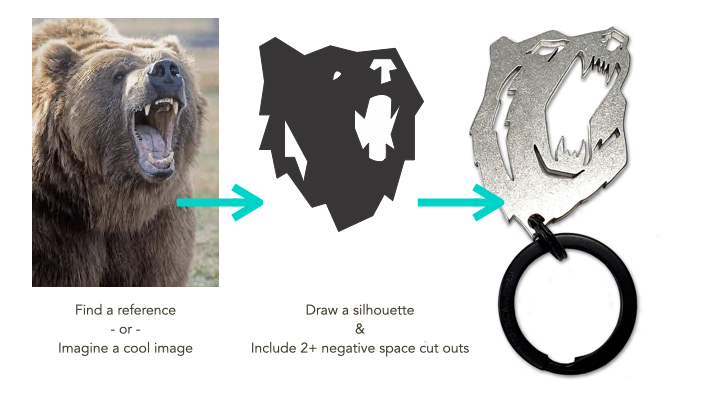
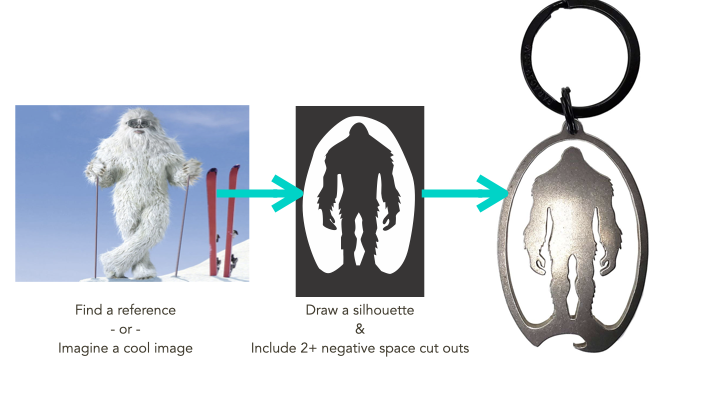
Keychain Design Ideas: Use a Silhouette with 2+ Negative Space Cut-outs

Composition Concepts
|
|
|
|


Technical Skills Videos |
Tools & SuppliesSawing Practice
|
Unit Components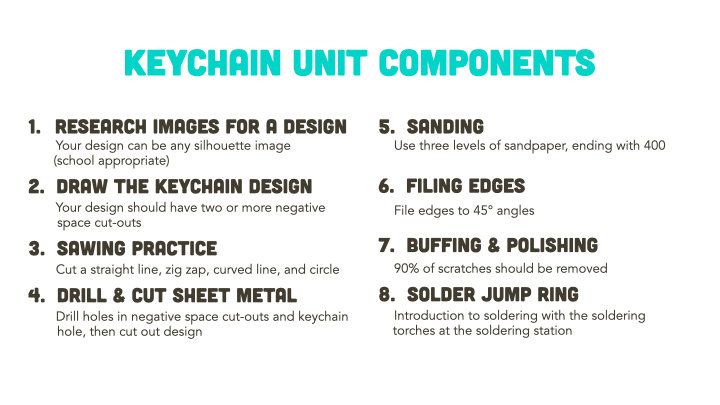
|
Research
Spend a few minutes thinking before you search the internet for ideas. Sometimes your ideas are better than the ones that come up in a google search.
When searching, you don't need to search for a silhouette. You can make any image a silhouette yourself! Just draw the outline of the image and skip all the details inside. Make sure you end up with at least two negative space cut-outs in your design. |
Drawing |
Sawing Practice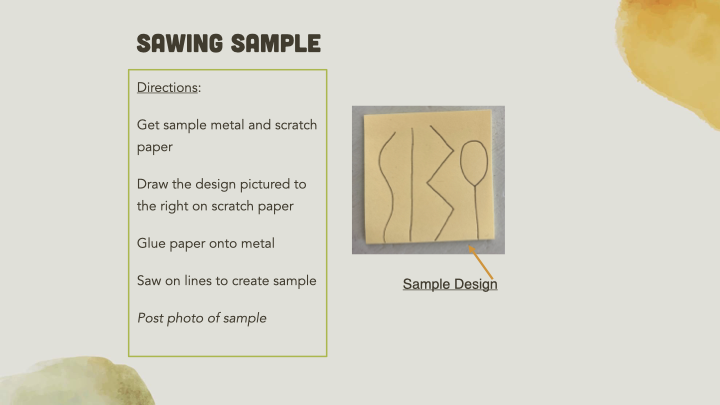
|
Drilling Sheet Metal |
Cutting Sheet Metal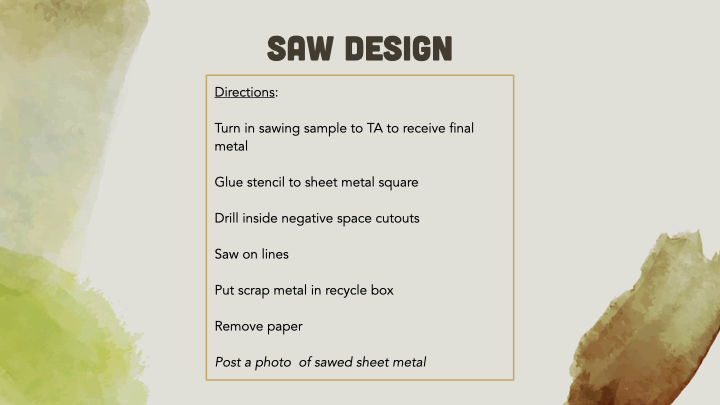
|
Sanding
|
Filing
|
Buffing & Polishing Stations
|
Soldering Station Introduction
|
Documenting your Keychain
|
Email an image of your Keychain
|
