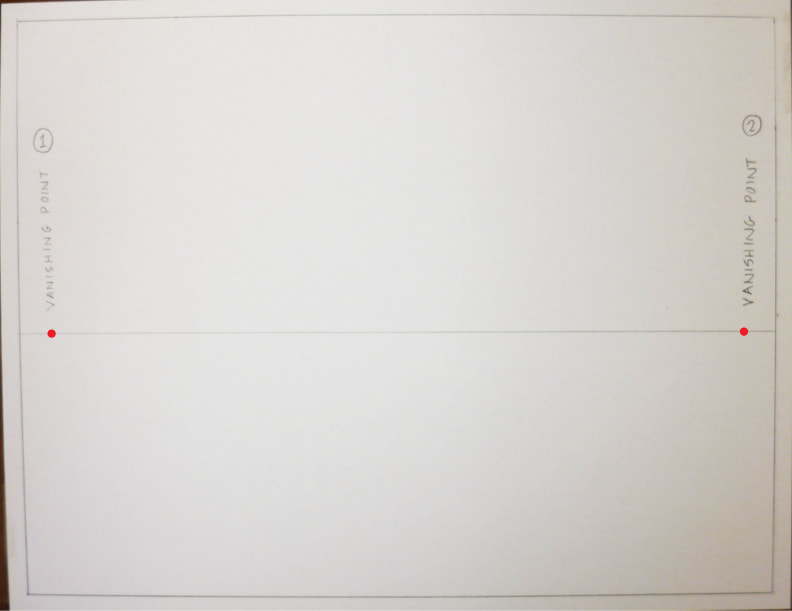
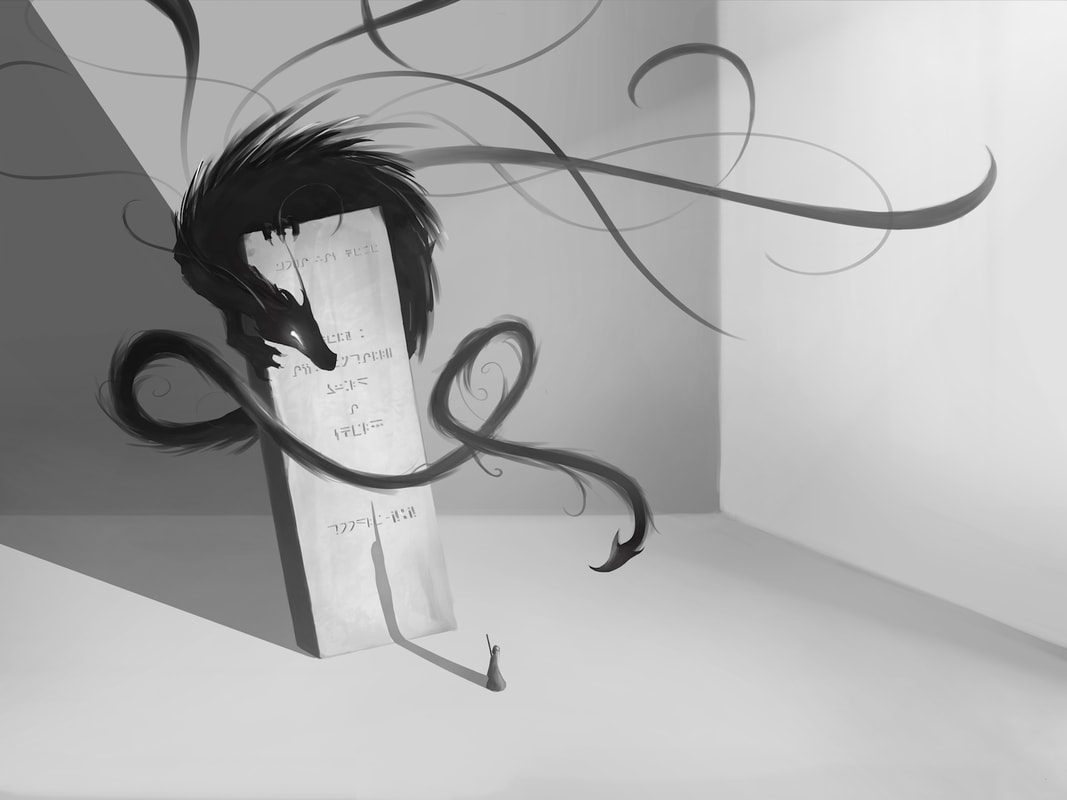
Ink Value Drawing
|
Exercise One:
|

|
You'll need:
|
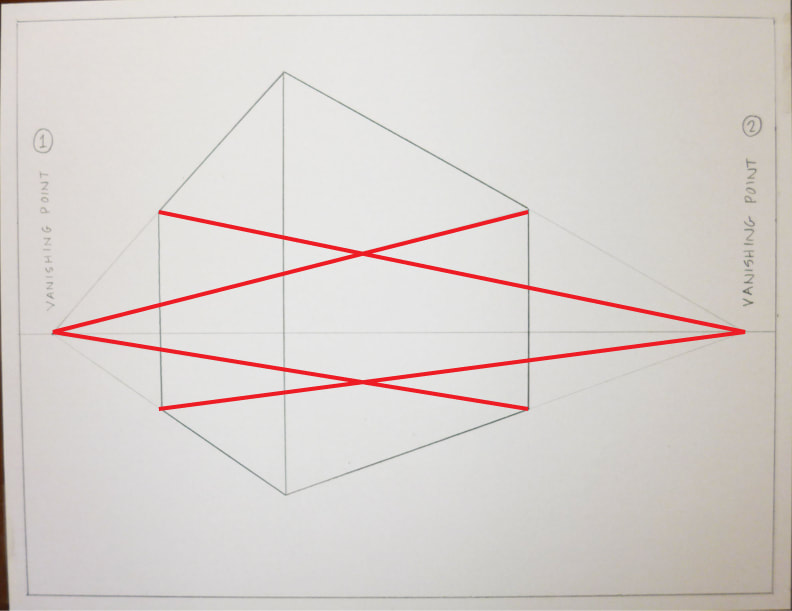
Step by Step InstructionsStep One
Step Three
Step Five
Step Seven
Step Nine
Step Eleven
Step Thirteen
Step Fifteen
Step Seventeen
Step Ninteen
Step Twenty-one
|
Step Two
Step Four
Step Six
Step Eight
Step Ten
Step Twelve
Step Fourteen
Step Sixteen
Step Eighteen
Step Twenty
Step Twenty-two
|


Step Twenty-three
|
Step Twenty-four
|
Step Twenty-five
|
Step Twenty-Six
|
Step Twenty-Seven
|
Step Twenty-Eight
|
Step Twenty-nine
|
Step Thirty
|
Step Thrity-one
|
Step Thrity-two
|
Step Thrity-three
|
Step Thrity-four
|
Step Thirty-five
|
Step Thirty-six
|
Step Thrity-seven
|
Finished Drawing.
|