
|
|
CHAIN WEAVINGStudents will learn how to create a chain with wire, practice tooling techniques with wire, pliers, and snips, make a clasp, and document their work using commercial photography techniques.
This unit has four parts: design, prototype, chain weaving and clasp for final project, and documentation of the finished work. |
Overview Unit Goal
Composition Concepts
|
|
Composition Concepts
|
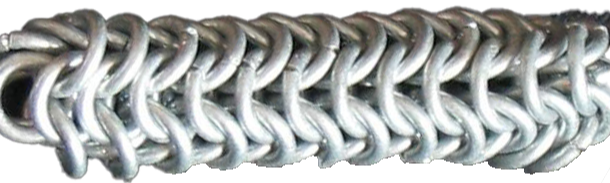
Introduction to Weaving Chains |
Technical Skills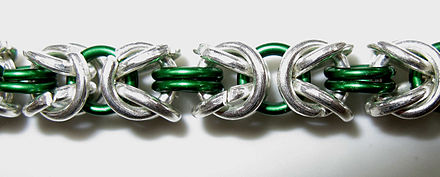
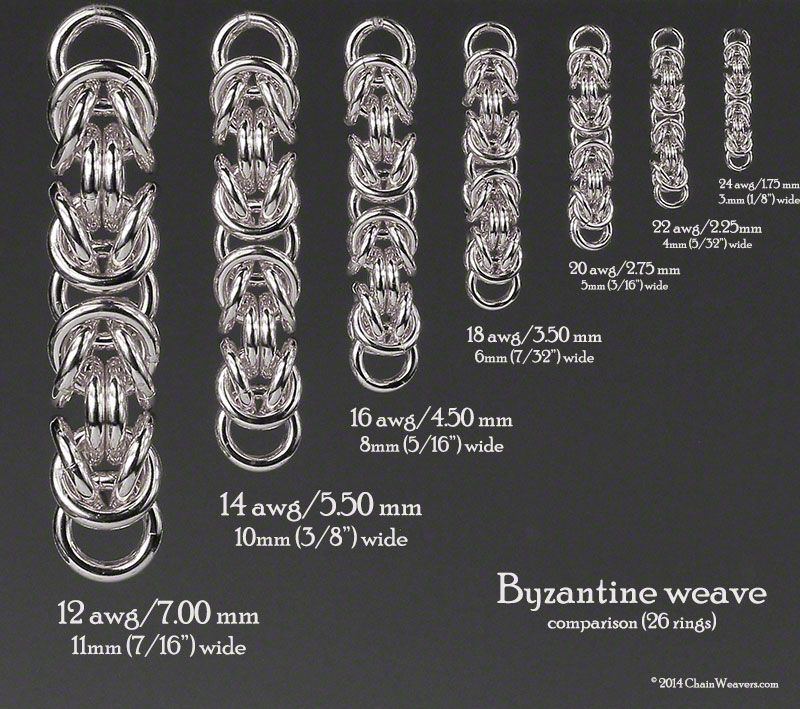
BYZANTINE CHAIN - AR 3.5
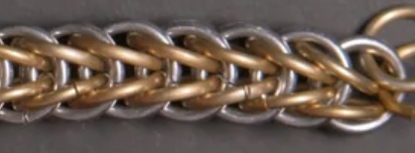
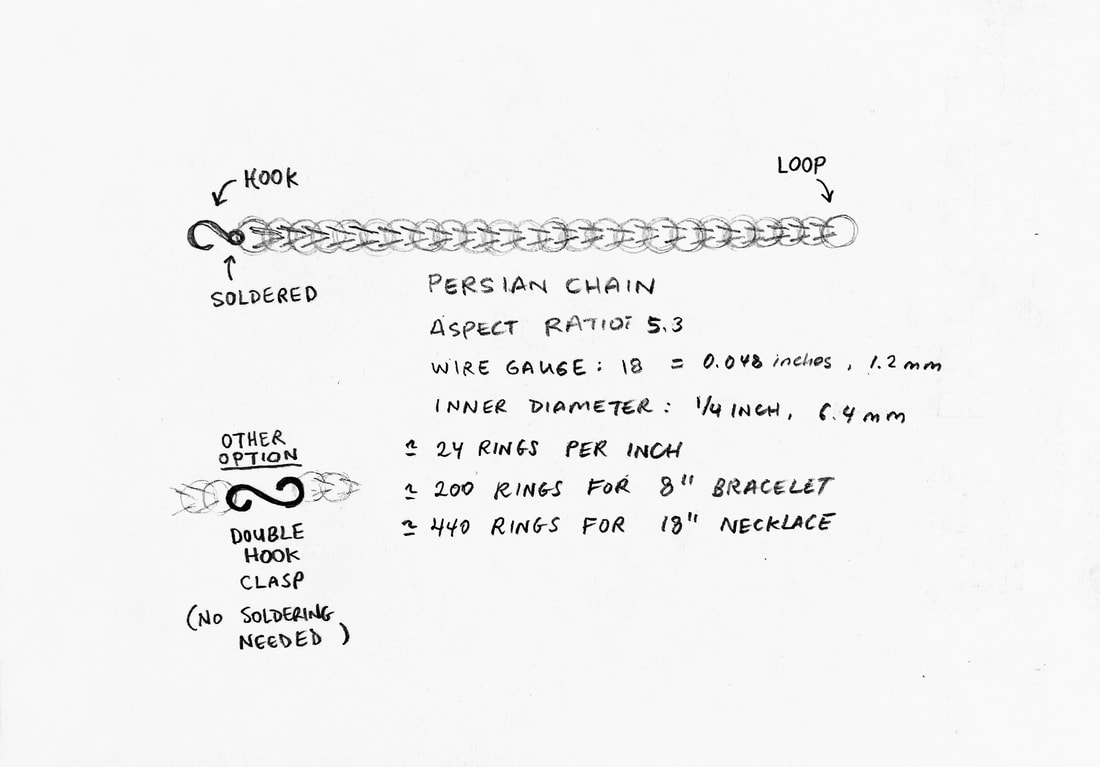
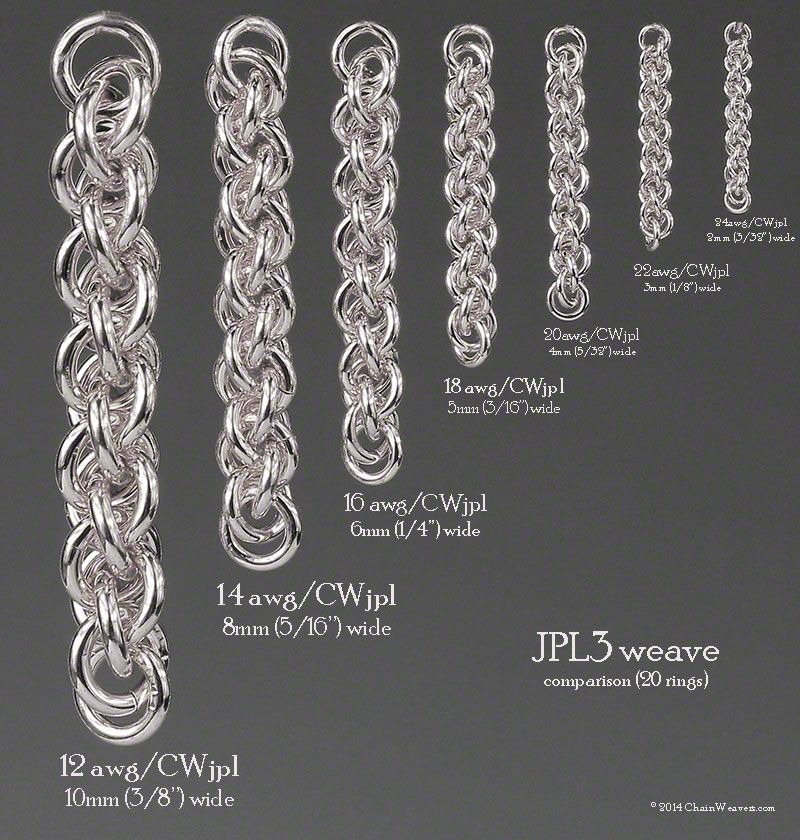
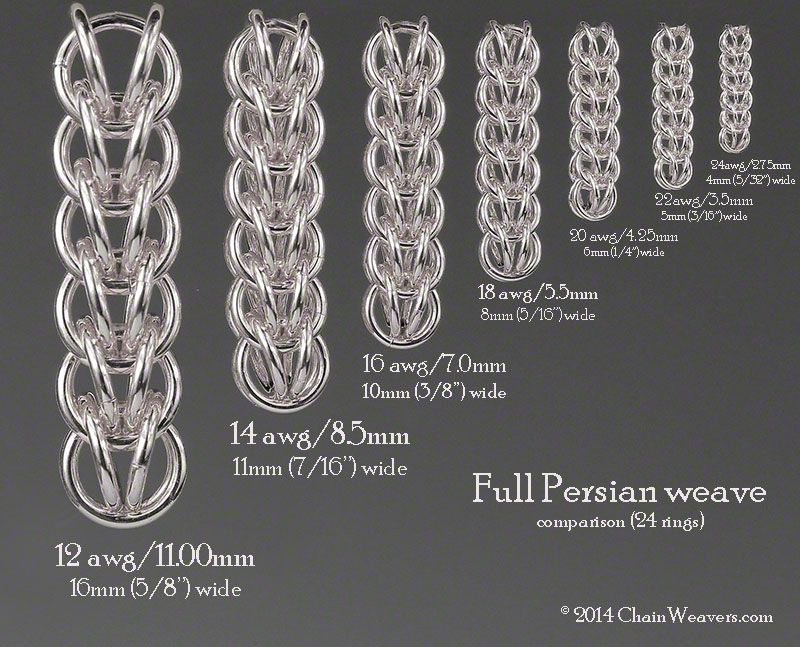
PERSIAN CHAIN - AR 5.5
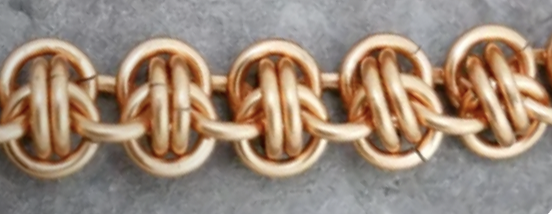
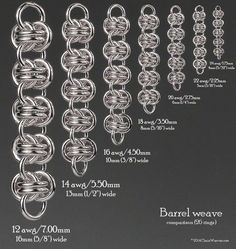
BARREL WEAVE - AR 4
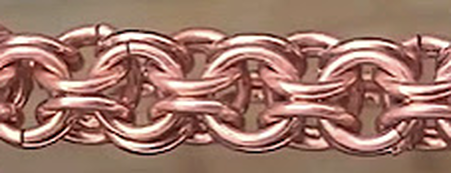
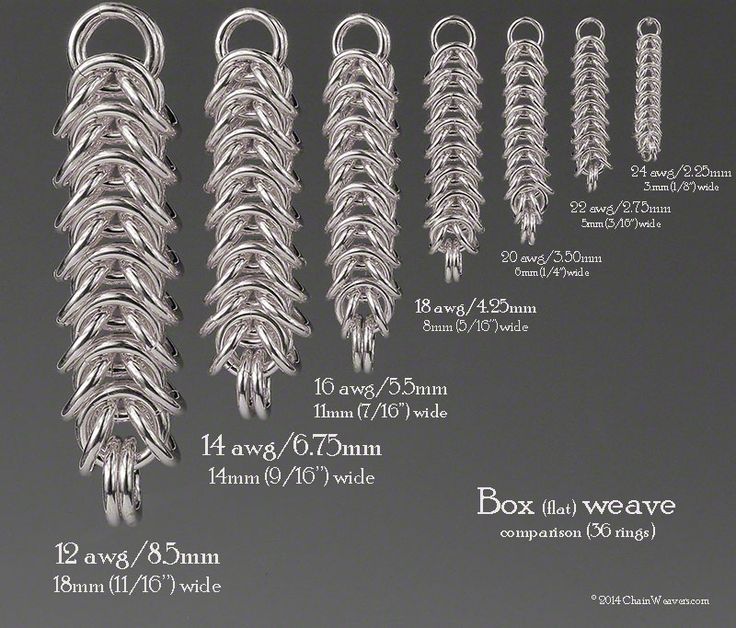
ROUND MAIL - AR 4
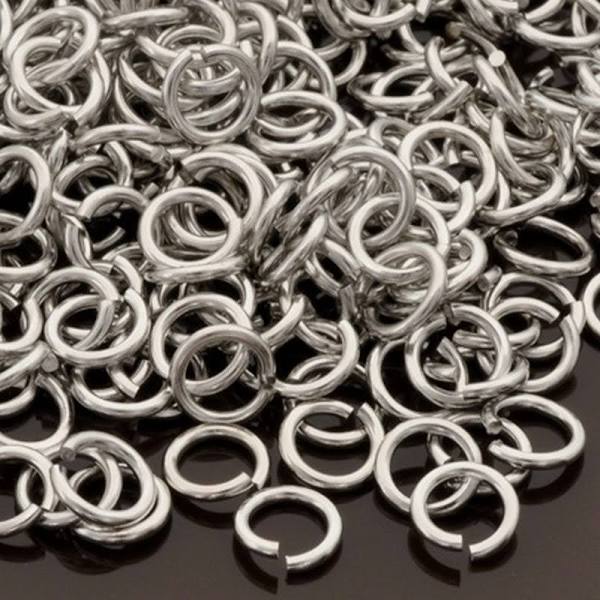
Open & Close a Jump Ring
Use two pliers to open a jump ring by twisting the ends apart. Do not pull them away from each other. Twist the ring ends back together by pushing the ends slightly past close.
|
Tools & SuppliesResearch
Chain
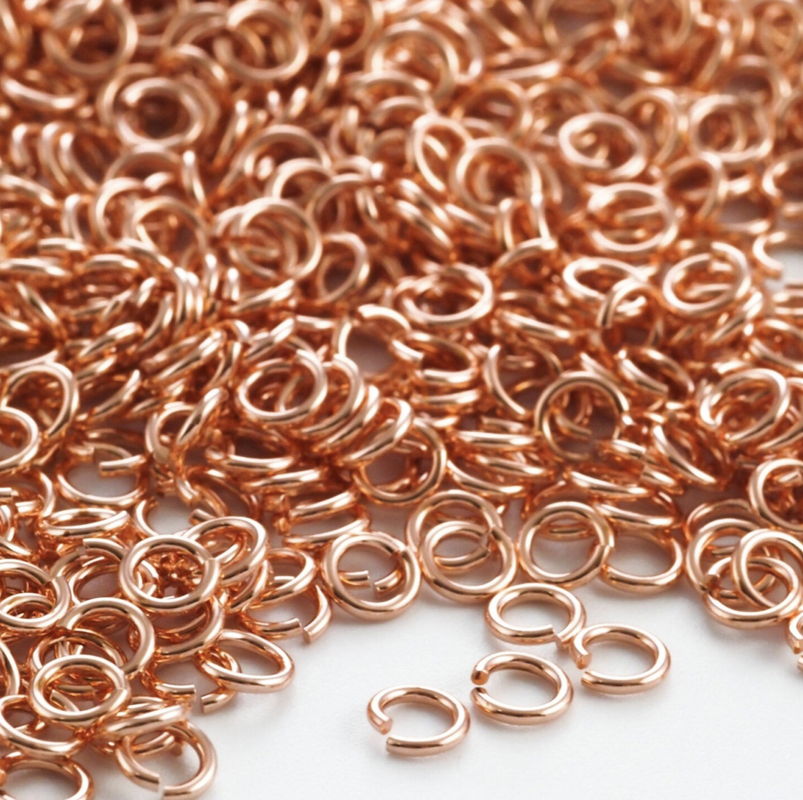
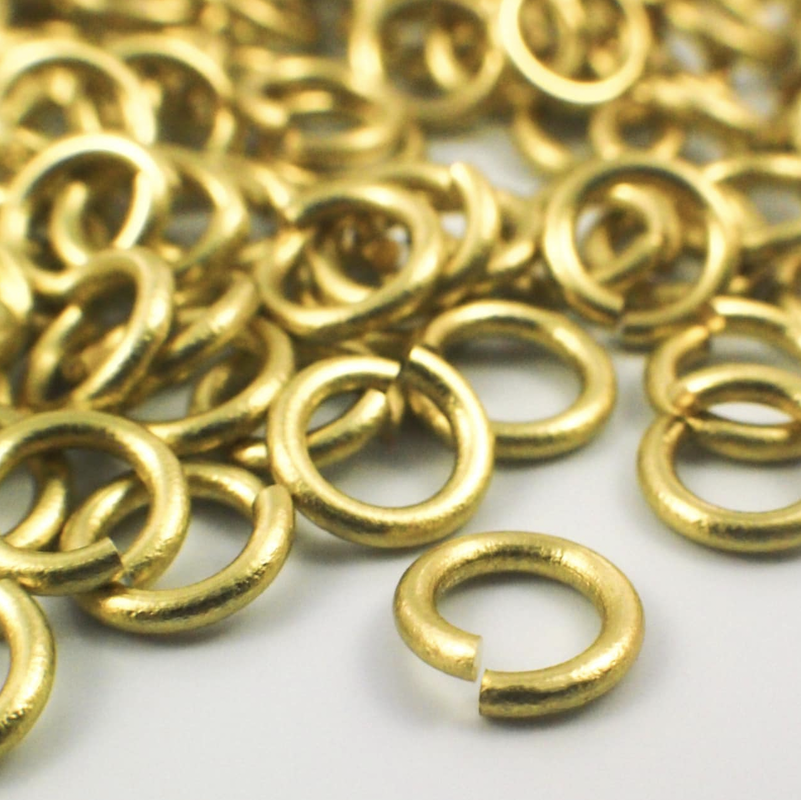
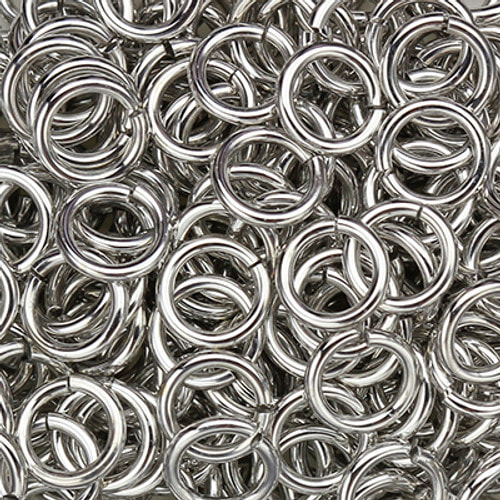
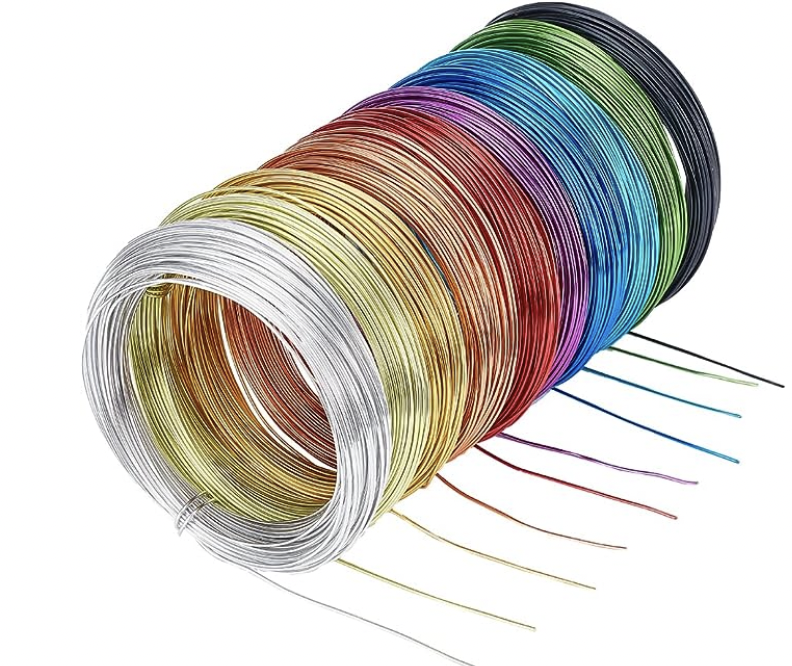
Metal Types
If a person wanted to anodize metal (because they want it to be a non-metal color), they would use titanium, niobium, or aluminum wire to make the jump rings. Anodizing titanium is a one step process, whereas aluminum anodizing is two steps (anodizing and then dying). It does take a few steps to complete the anodizing/dying process, so if you choose that route, make sure you give yourself enough time to complete it. There are also some pre-anodized aluminum rings and wire available in a few colors.
How Much Does Metal Cost?Metal prices are set on the metals market and prices fluctuate, but here are some examples. For this project students will need about 7 feet of wire to make one 8" chain and two 2" prototypes. You buy wire in spools based on the gauge - the list below is for 18 gauge round wire by metal type.
Aluminum - 300 ft spool - $23 : 55¢ per student Copper - 200 ft spool - $23 : 80¢ per student Brass - 200 ft spool - $36 : $1.26 per student Nickel - 200 ft spool - $48 : $1.68 per student Titanium - 20 ft spool - $14 : $5 per chain (yikes! out of our school budget) Sterling Silver - 10 ft - $26 : $18 per chain Niobium - 10 ft spool - $27 : $19 per chain Gold - 10 ft spool - $938 : $657 per chain Platinum - 10 ft spool - $1901: $1331 per chain |
Unit Components1. RESEARCH - bracelet techniques
2. DRAW DESIGN - plan your bracelet design 3. PROTOTYPE - practice making two different chain types 4. CHAIN - make the chain long enough for a bracelet or necklace 4. CLASP - make the chain functional by creating a clasp 5. DOCUMENTING - photos, reflection, email, & flip video |
ResearchResearch these chain types (Technical skills videos can be found above):
|
Drawing
|
|
Prototype
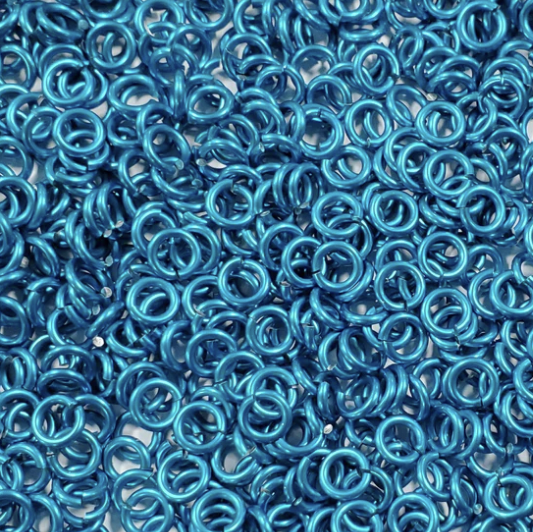
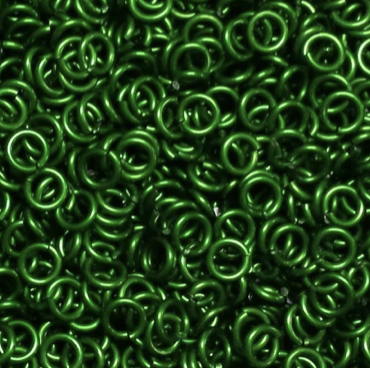
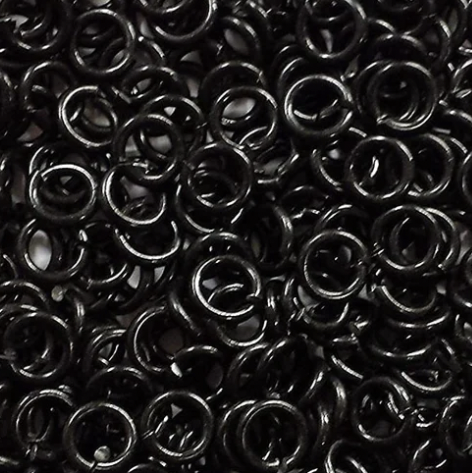
Optional: Anodizing MetalMetal is anodized in a solution of distilled water and baking soda. A black wire (-) is clipped to a metal plate at one end of the solution (the clips stay out of the water) and to the (-) larger battery terminal. A red wire (+) is clipped to scrap wire attached to your chain and to the smaller (+) battery terminal. If you have niobium or titanium metal, adding batteries will change the color. One battery is a bronze color. Two batteries is purple. Three is blue. Four is lighter blue. Five is a dull olive yellow. Six is bold yellow. Seven is dull rose pink. Eight is pinkish purple. Nine is blue. Ten is teal. Eleven is green. Twelve is chartreuse. If you have aluminum, you can dye the metal with a colored dye after anodizing to open the pores of the metal.
|
Chain
Clasp

FinishingYour project should be polished when you are finished with the chain and the clasp. You can use a polishing rag to shine the clasp and any rings that got tarnished. If you use the soldering station, you will need to pickle the project and then buff and polish the area that was heated by hand. Chains are dangerous at the buffing and polishing machines, especially when the links are not soldered together. Do not use the buffing and polishing machines for chains made with unsoldered links.
|


TURNING IN YOUR WORK - 4 STEPS
Documenting your Project
Written ReflectionFill out the grading criteria form and answer the written reflection questions. Once you are finished with your email and flip video, turn in your written reflection with your project to the turn in box for your period.
Email InstructionsClick here for the email instructions - be sure you use your personal email and cc Mx. Ross to get credit for the email.
Flip Video Presentation AlternativeYou can choose to present your work to the class, in person, or record a video of your work in advance of presentation day. Follow the flip instructions on the class Flip page. Use a photo or video of your work with audio narration of you talking about your work. Be sure to have your written reflection filled out so that you are ready to narrate your video. Your video will not have your face featured, but should have the artwork visually featured and audio of you speaking.
|
Grading Criteria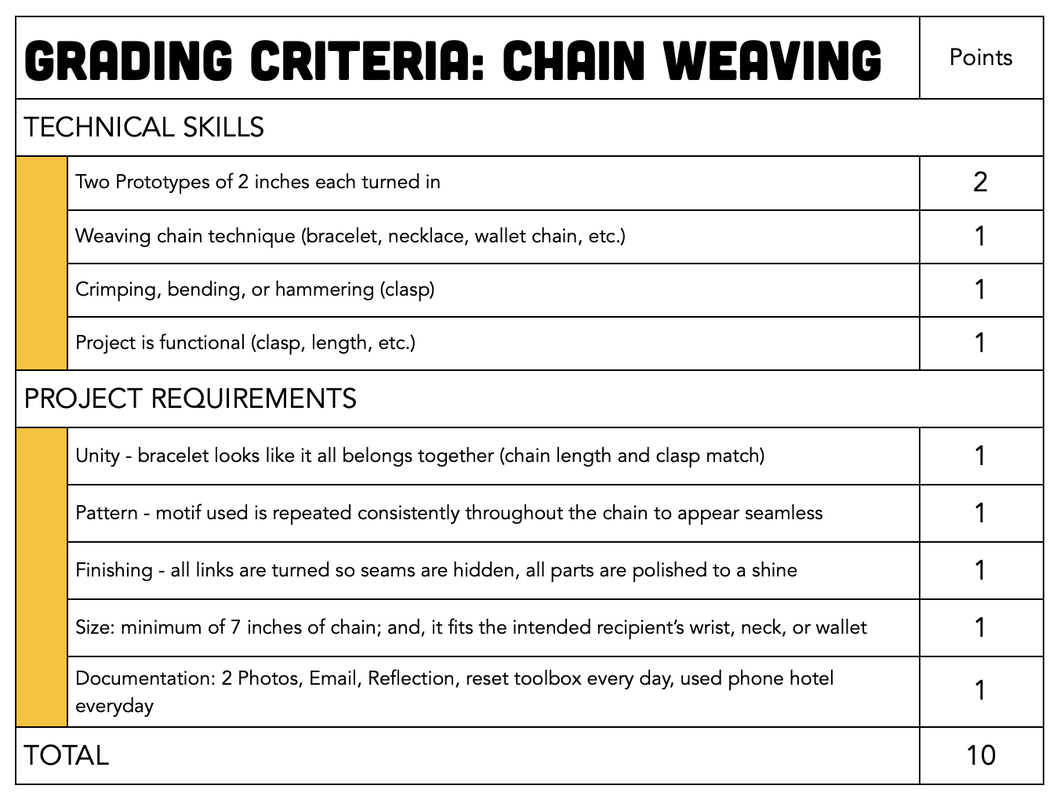
|
