
|
|
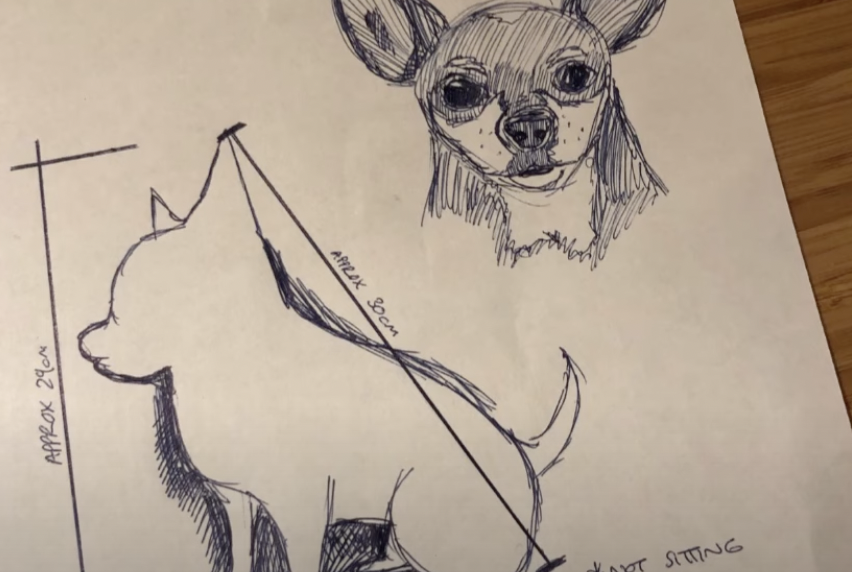
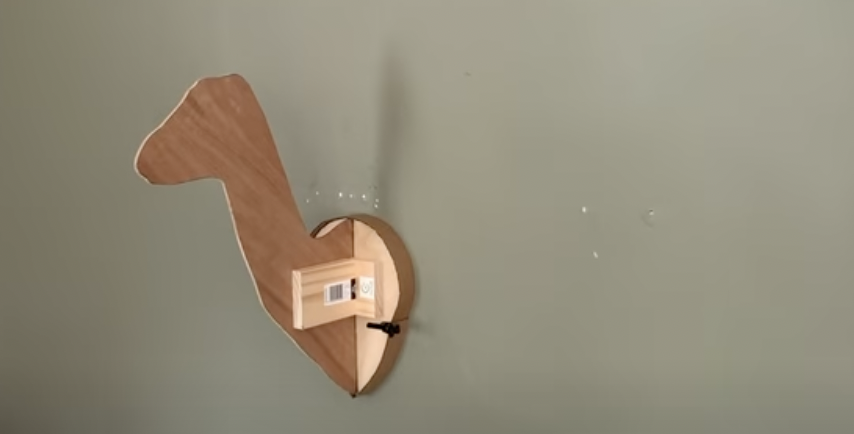
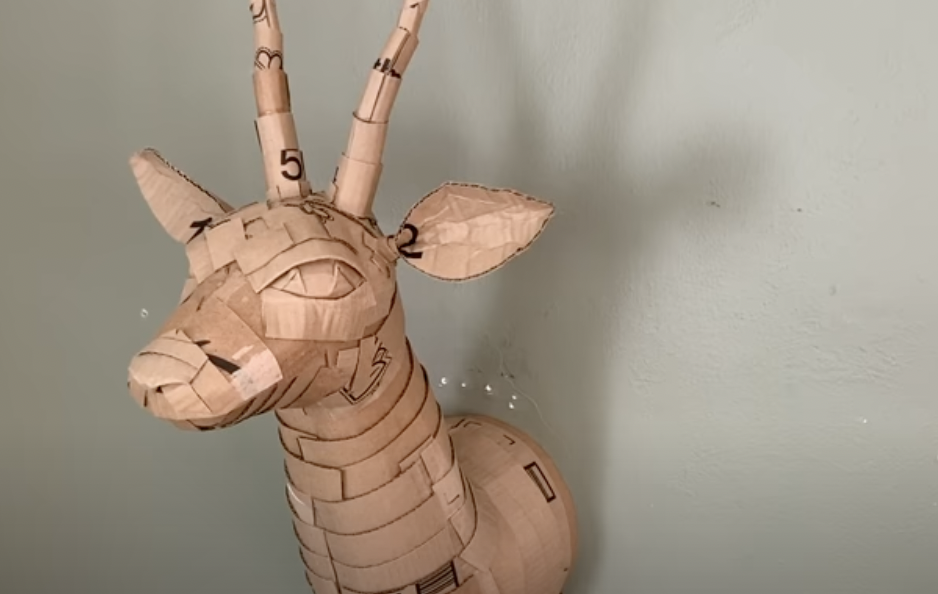
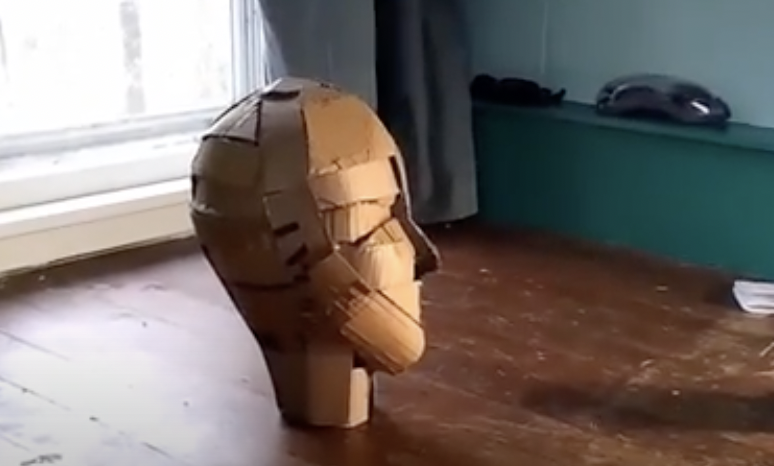
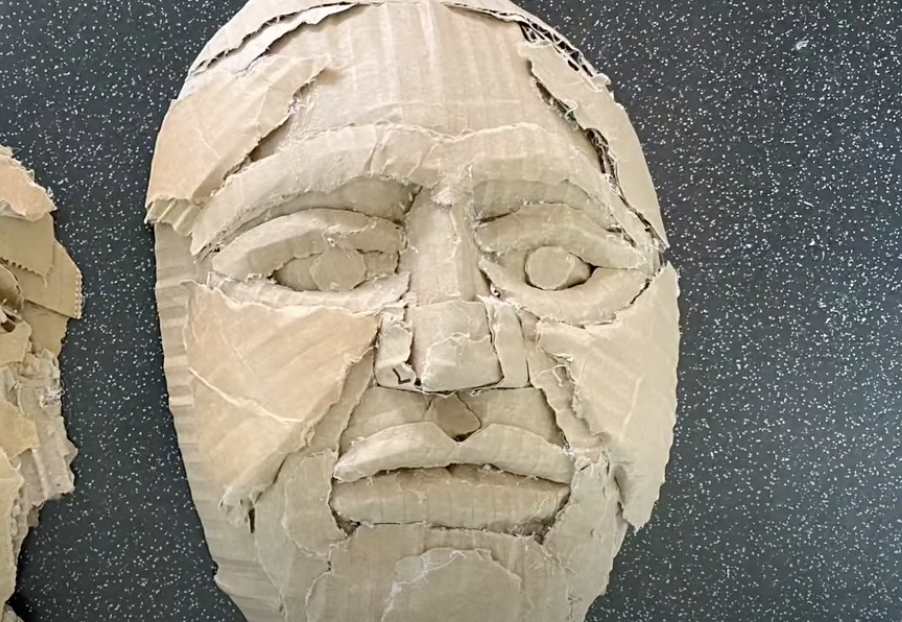
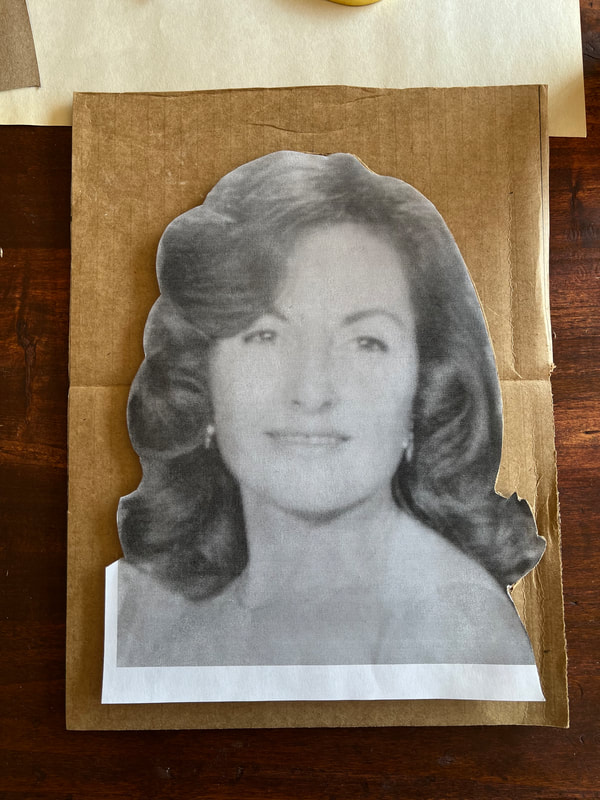
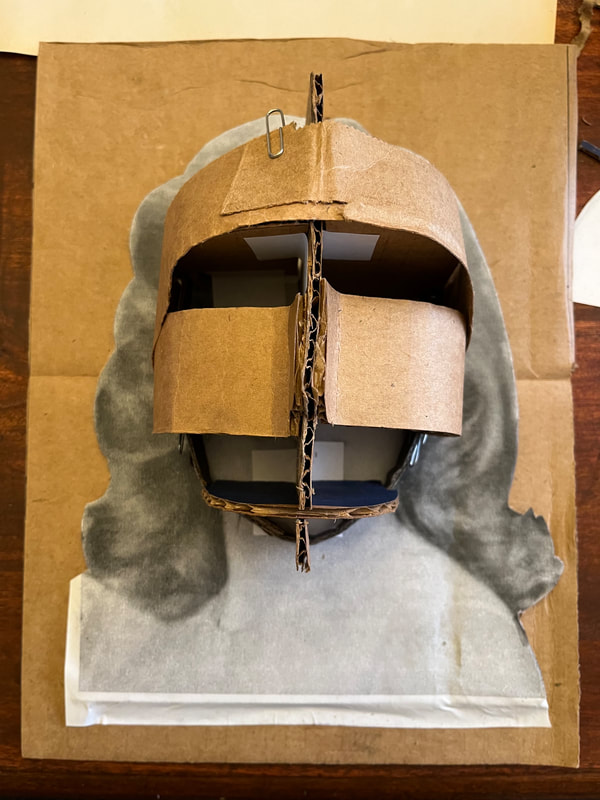
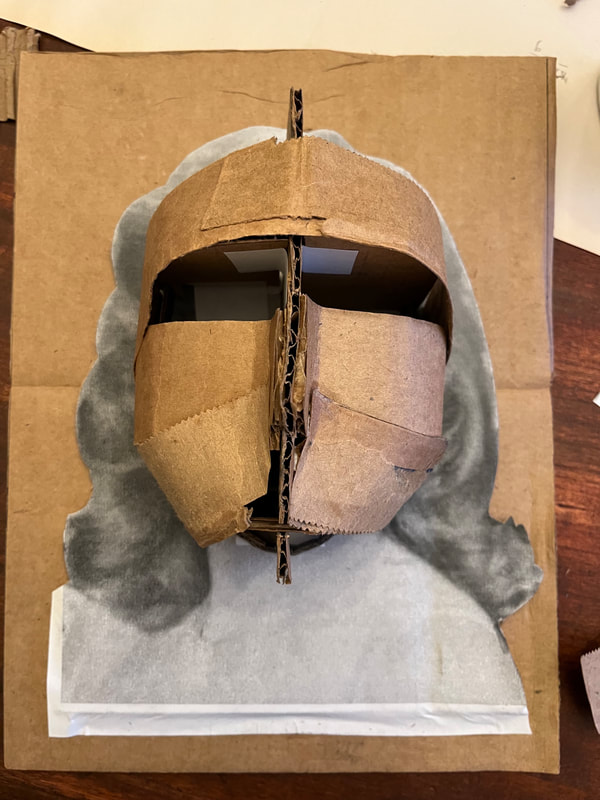
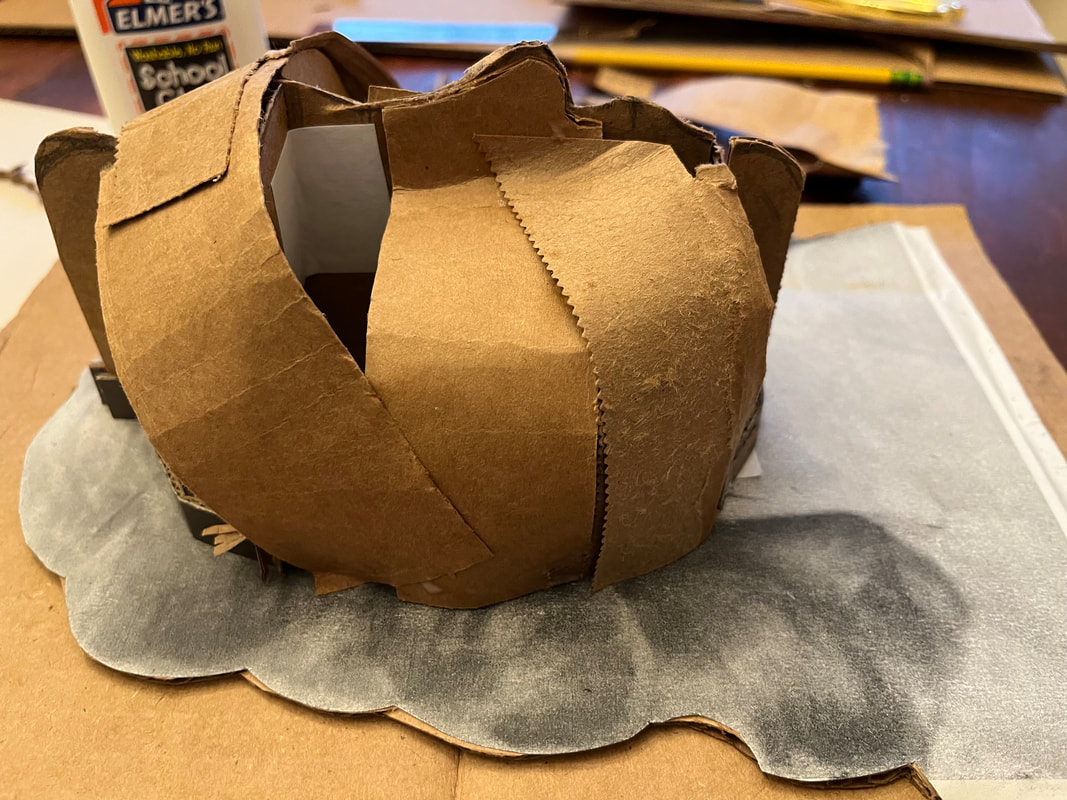
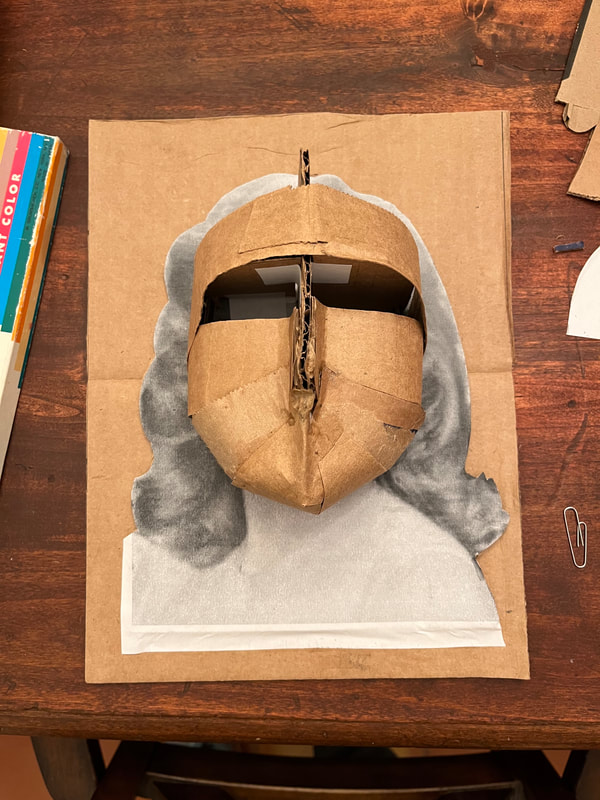
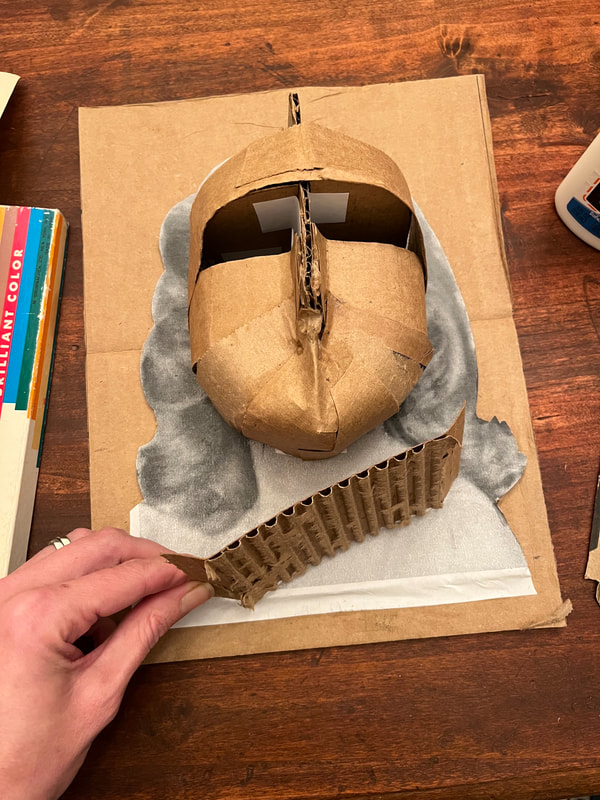
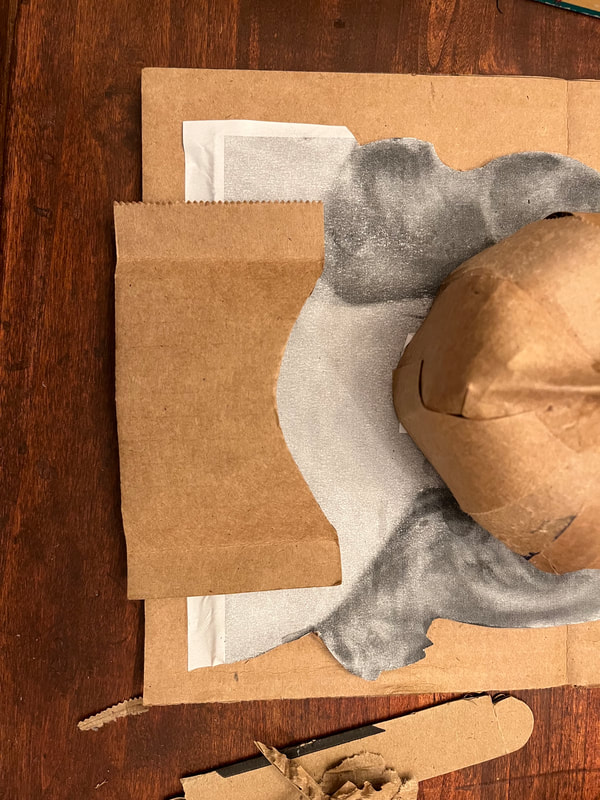
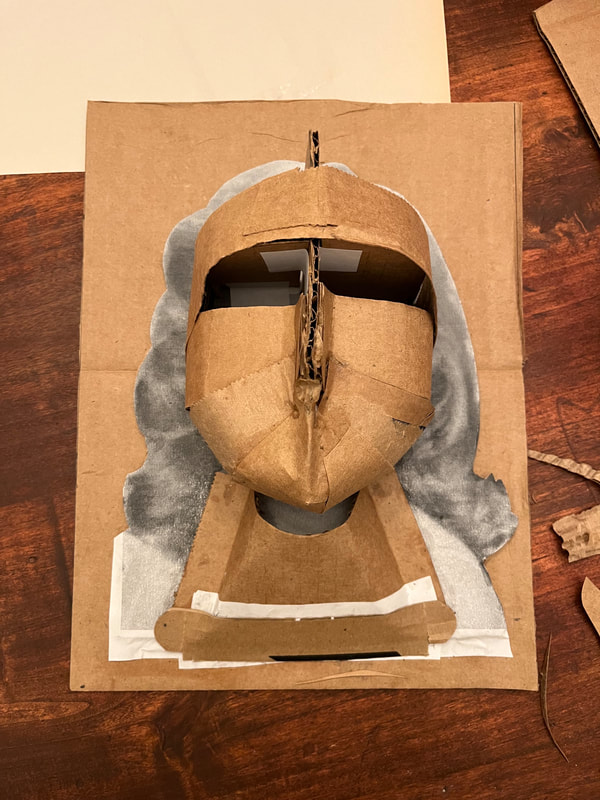
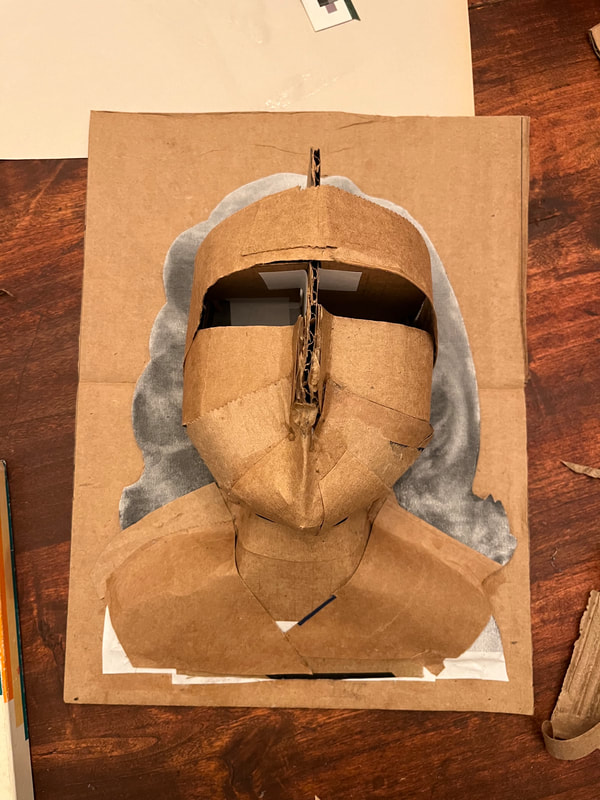
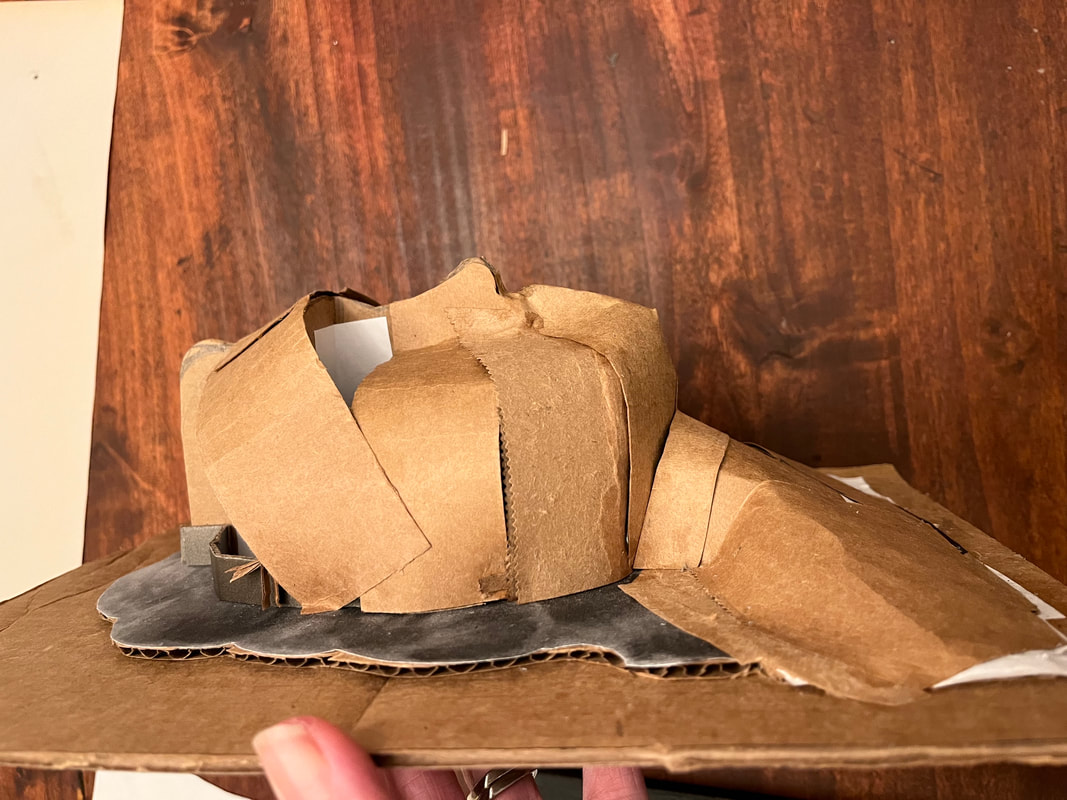
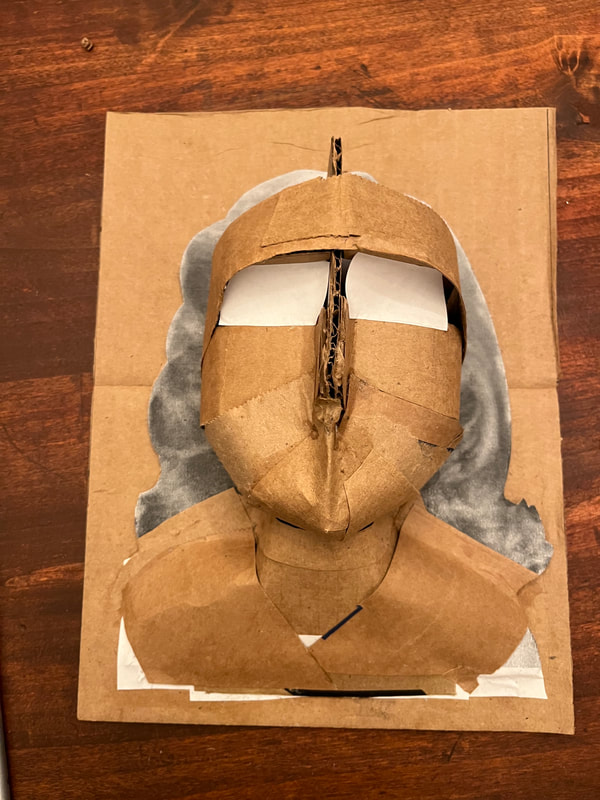
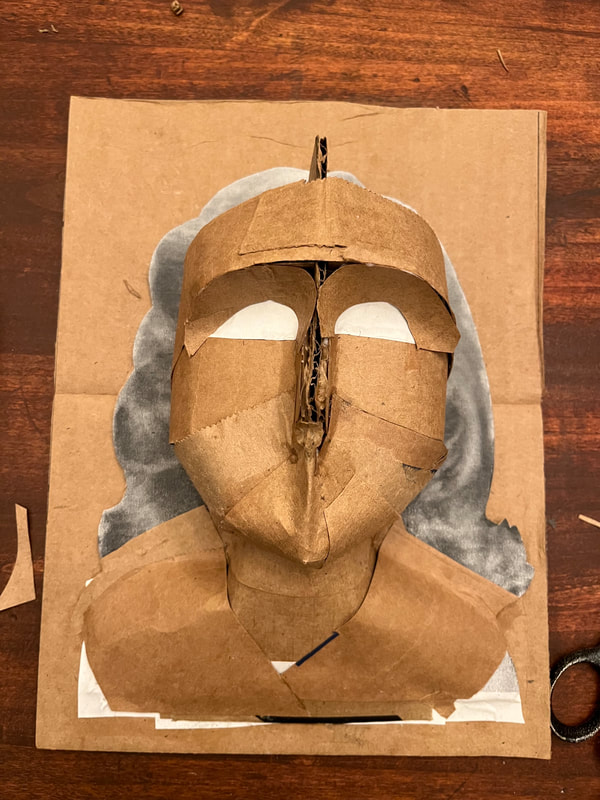
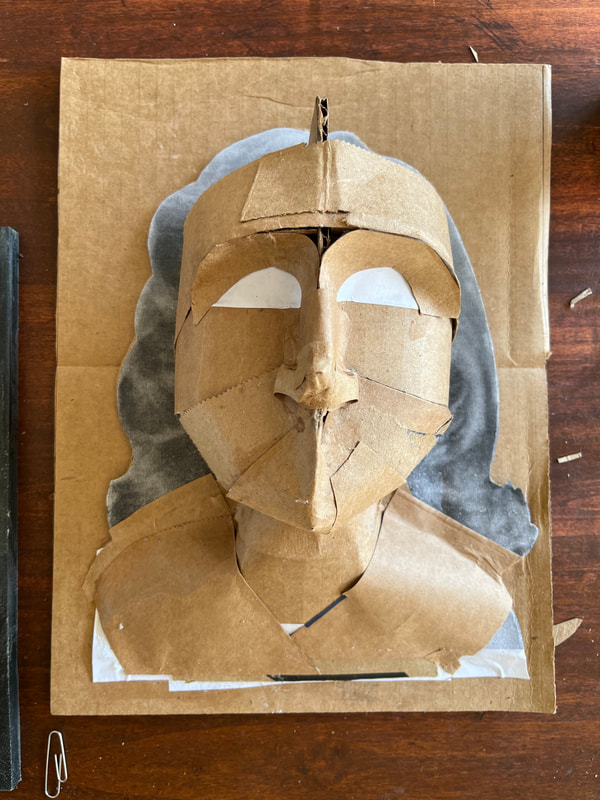
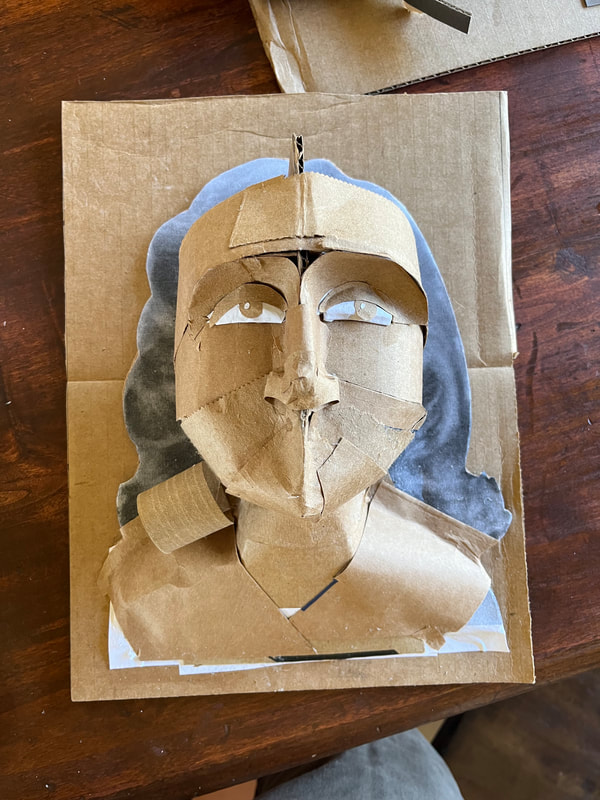
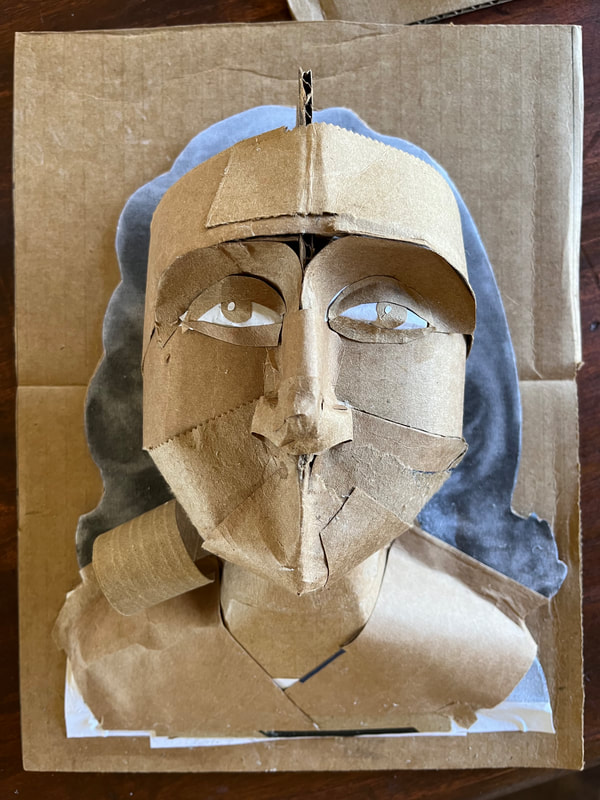
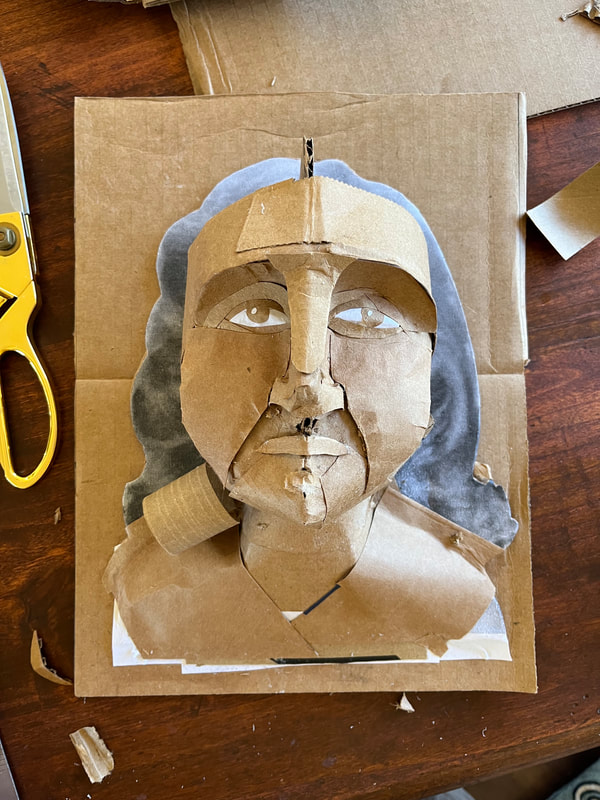
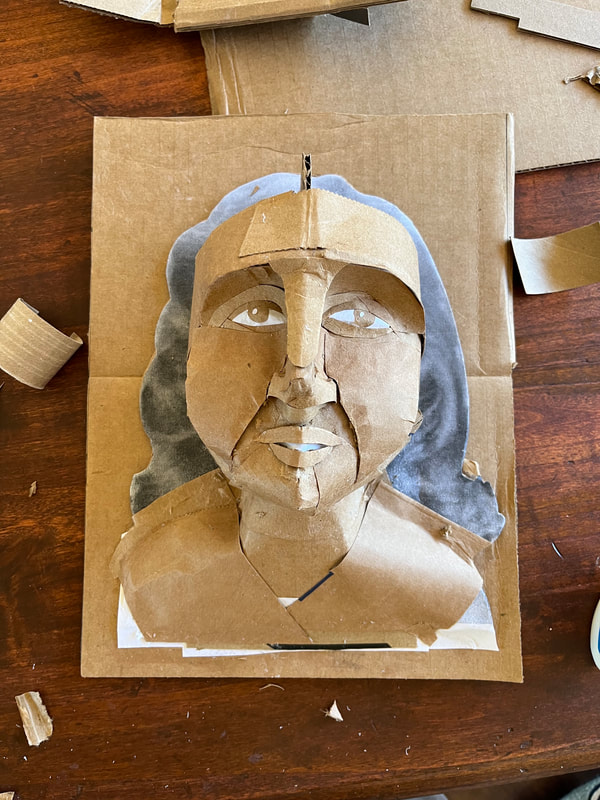
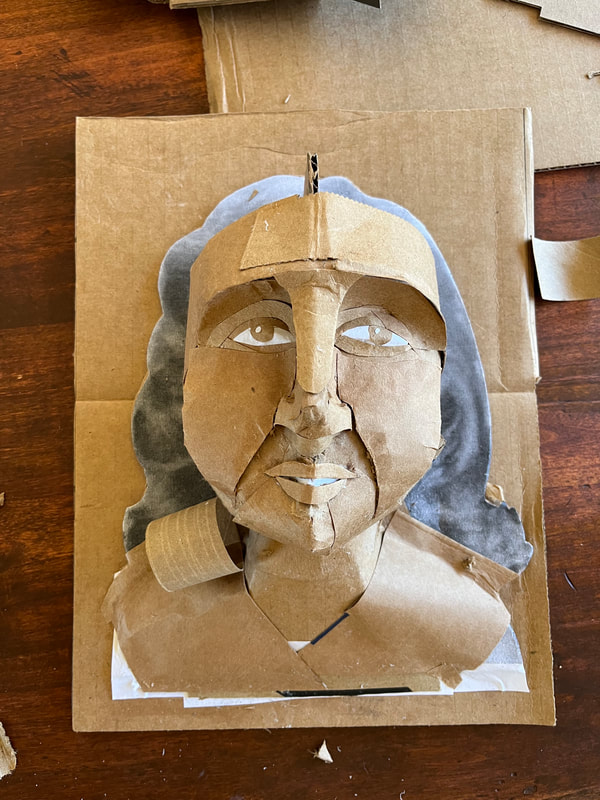
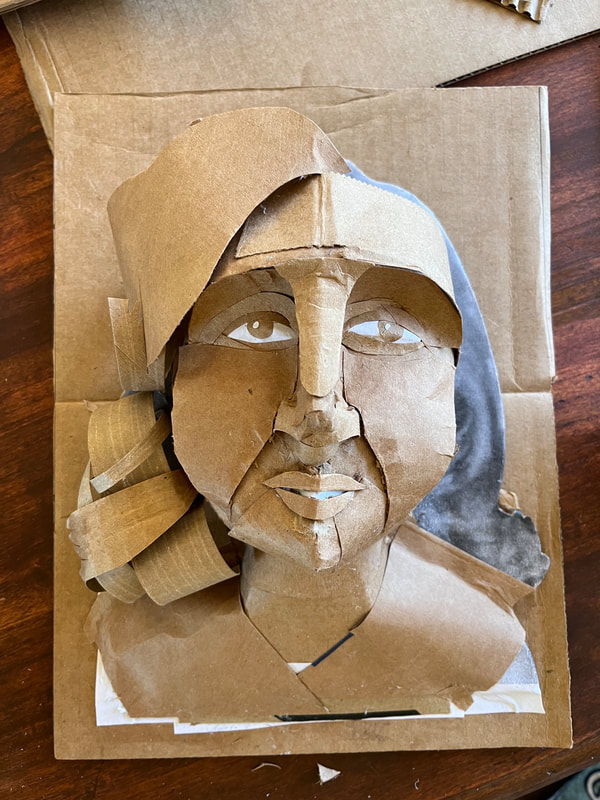
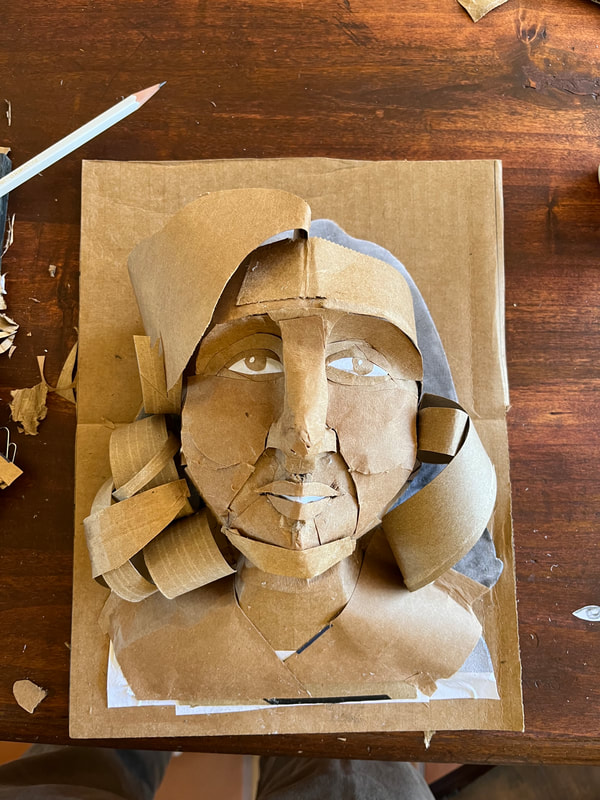
Paper Maché or Cardboard PortraitsStudents will create a portrait of their grandparent out of cardboard or paper maché. The sculpture will be mounted to the wall and protrude from the wall dimensionally capturing the portrait.
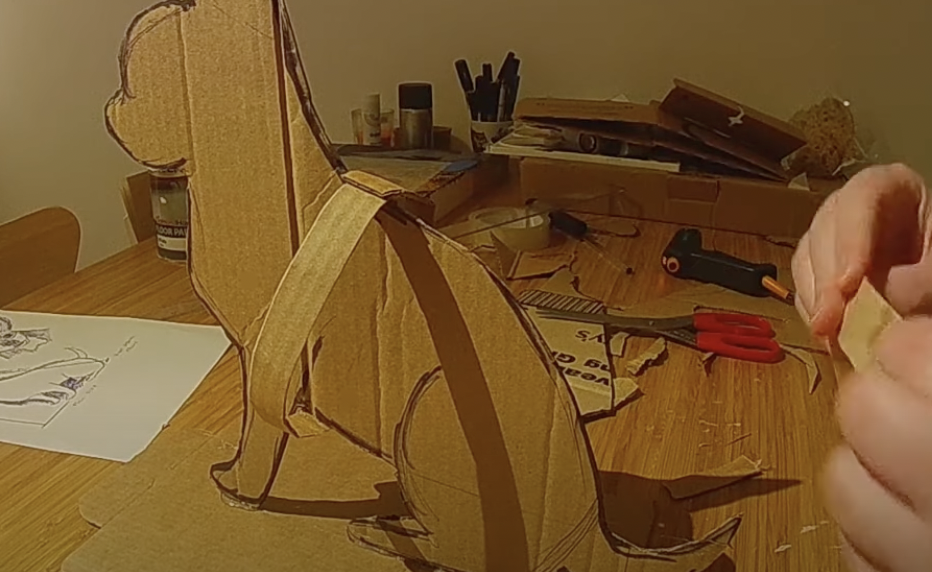
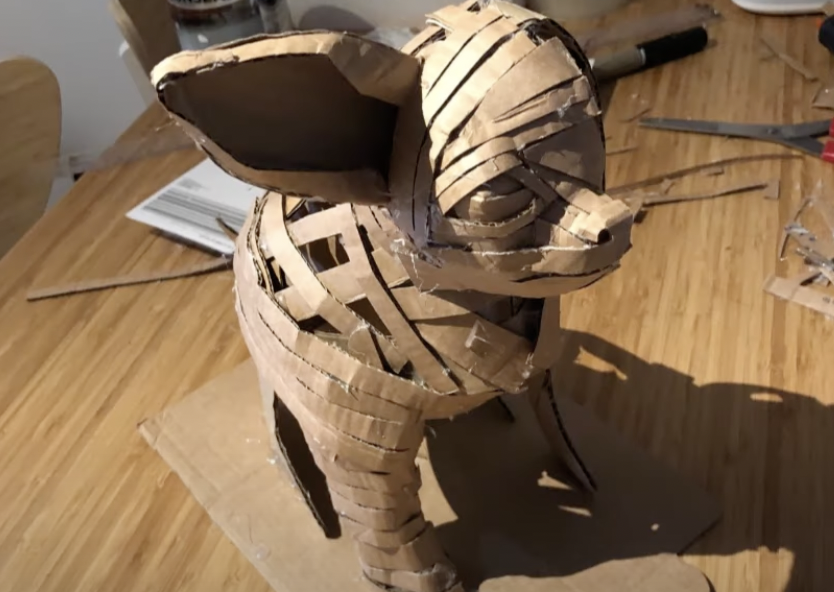
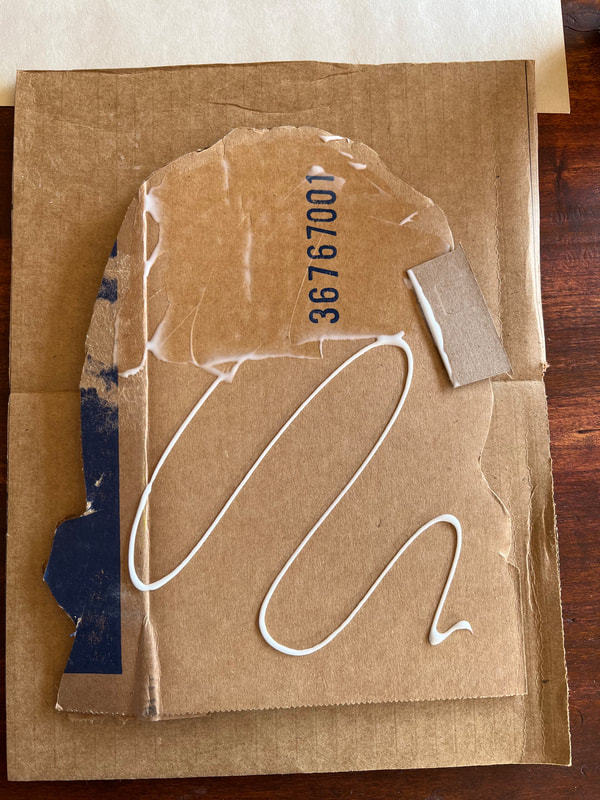
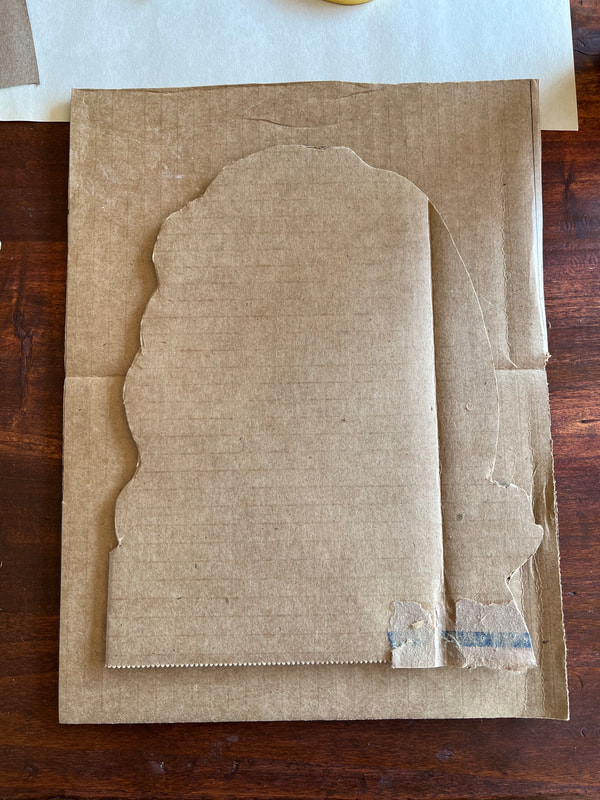
This unit has four parts: research and design (designing a project, photo reference of grandparent), prototype (creating a rough form to mark out the volume), final design in cardboard or paper maché depicting the student's grandparent, and documentation of the finished work (photos, email, reflection, and critique). |
Overview Unit Goal
Composition Concepts
|
|
Artist Inspiration VideosTechnical Skill Videos
|
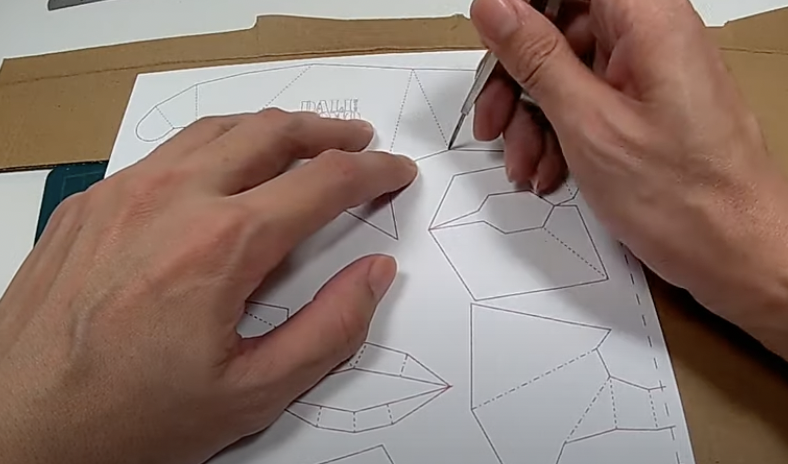
Order of WorkDetermine Your Design
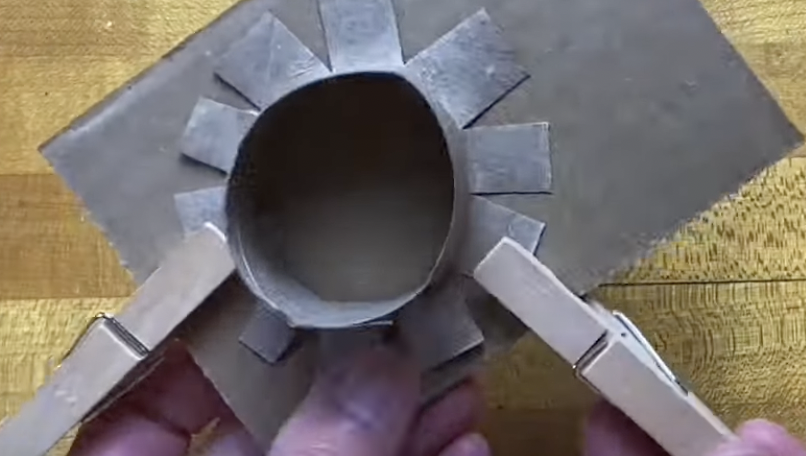
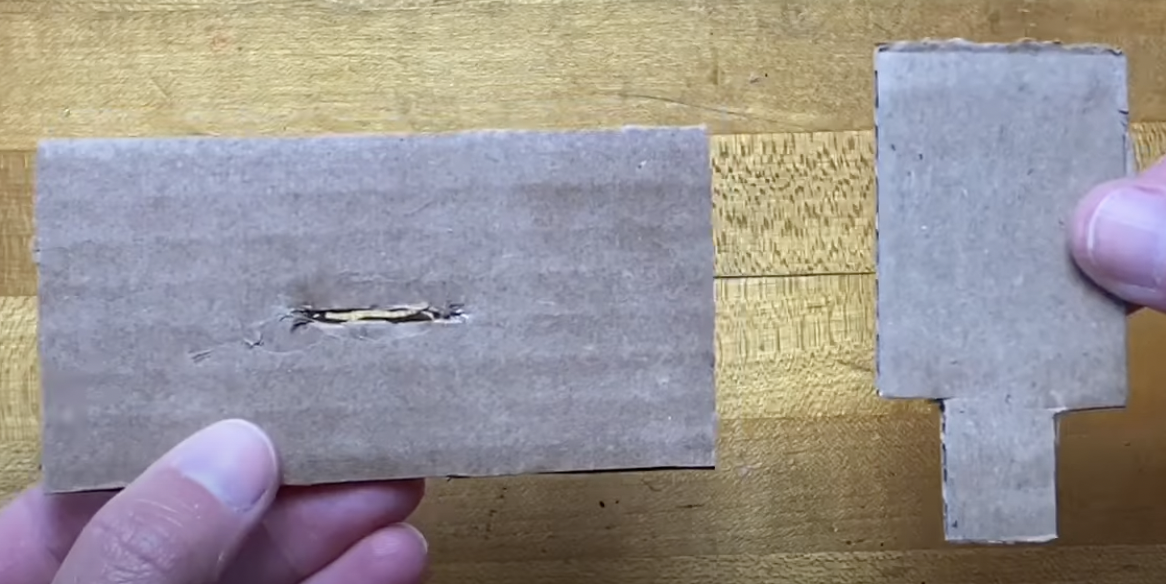
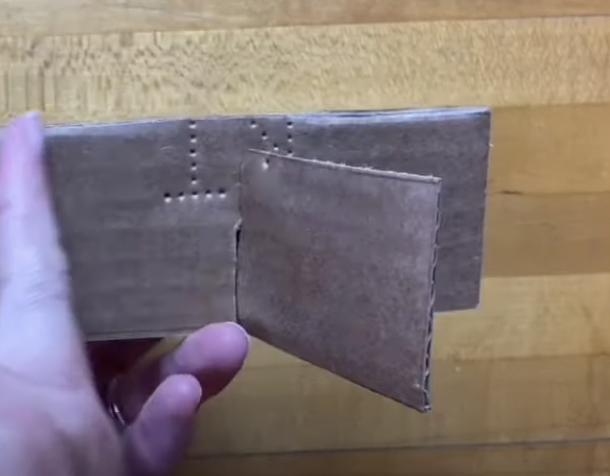
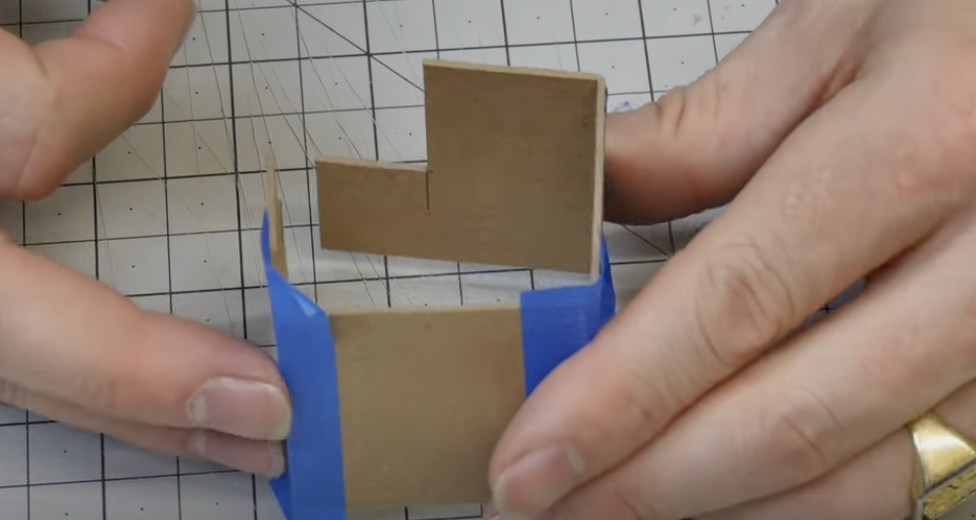
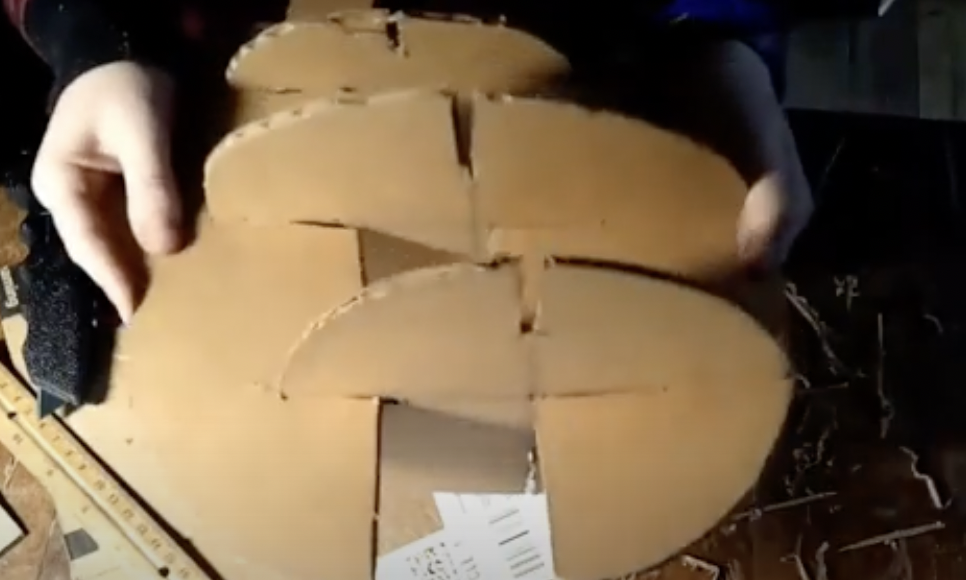
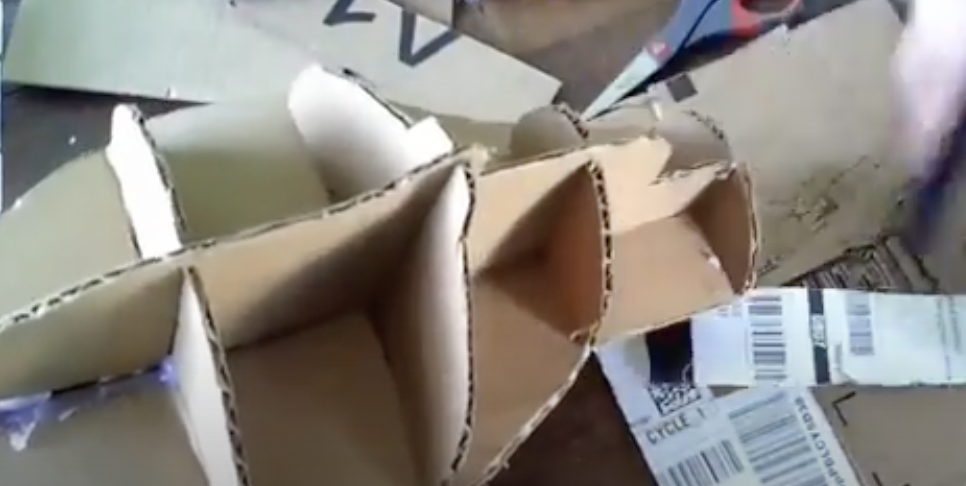
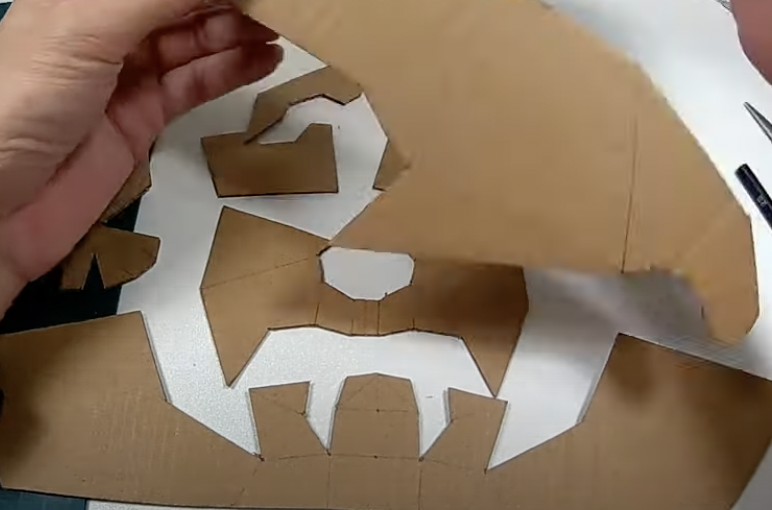
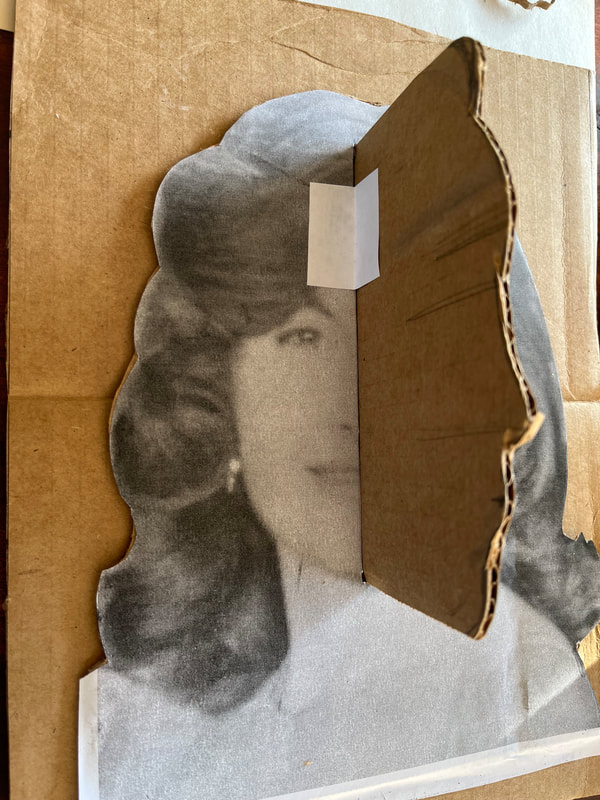
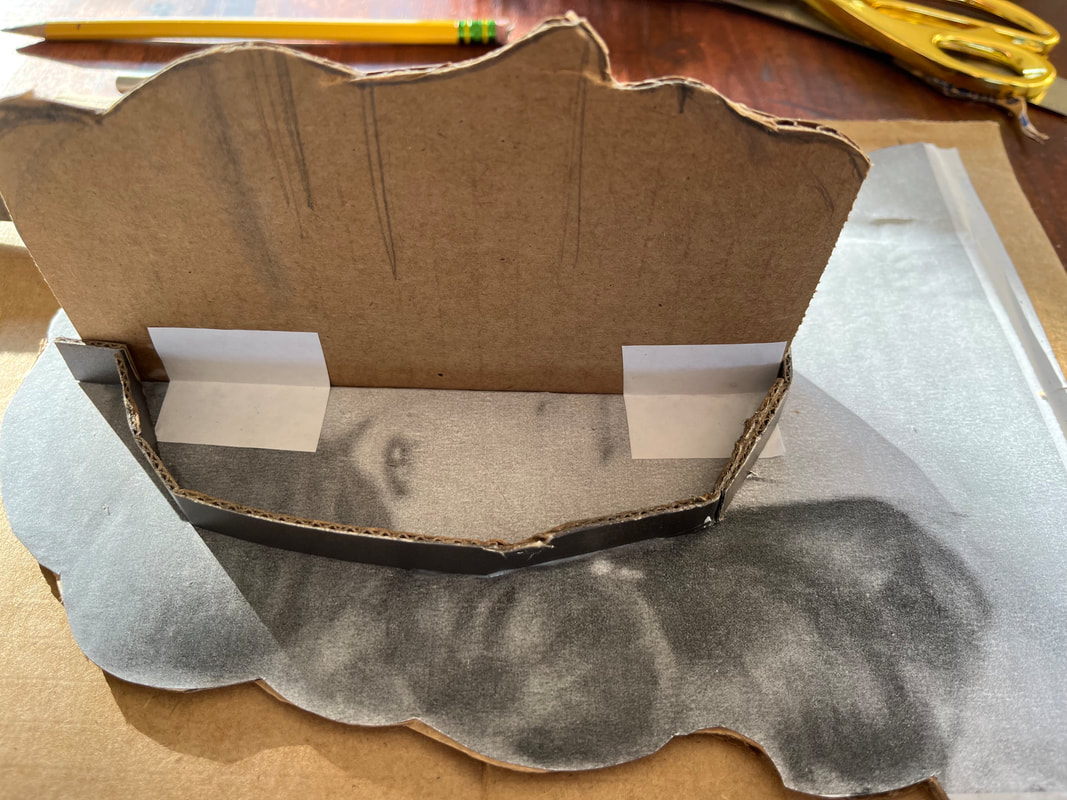
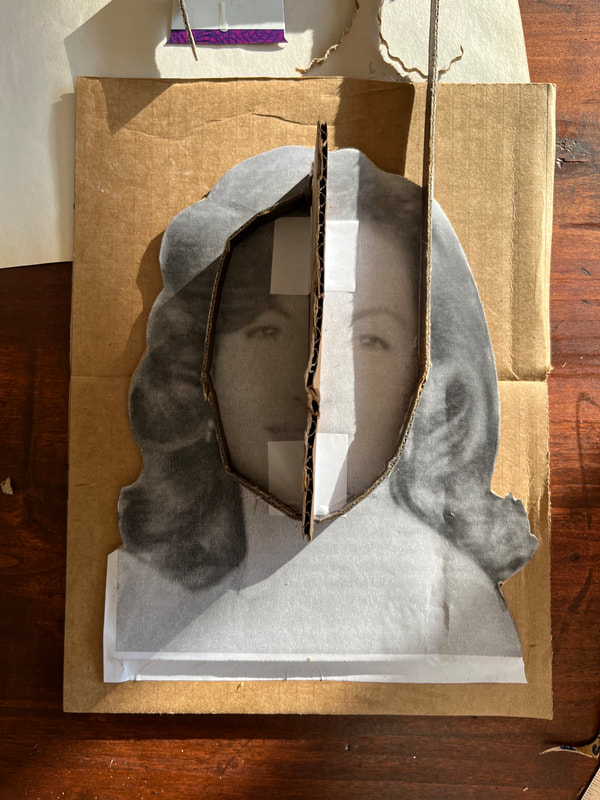
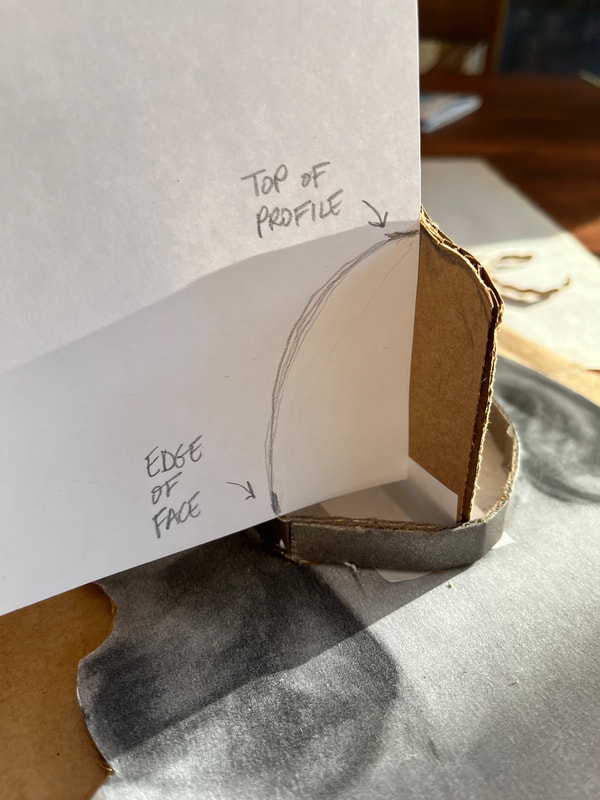
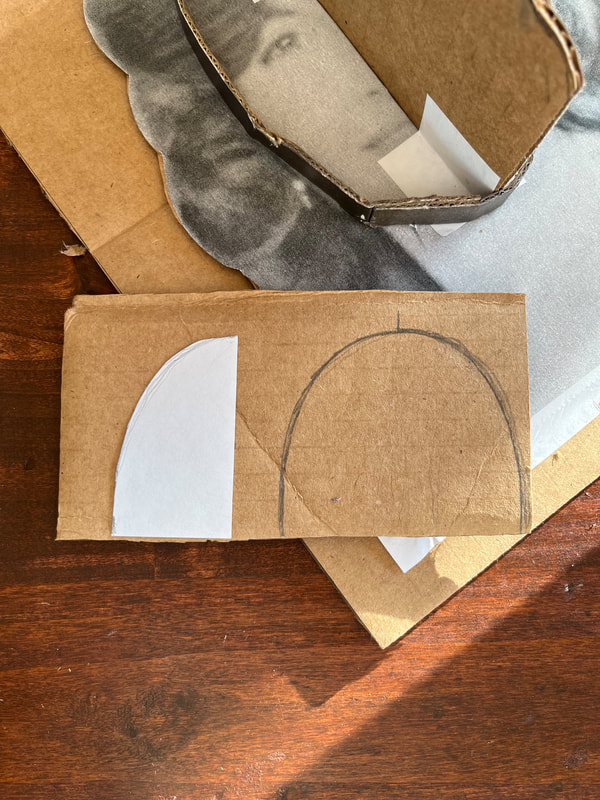
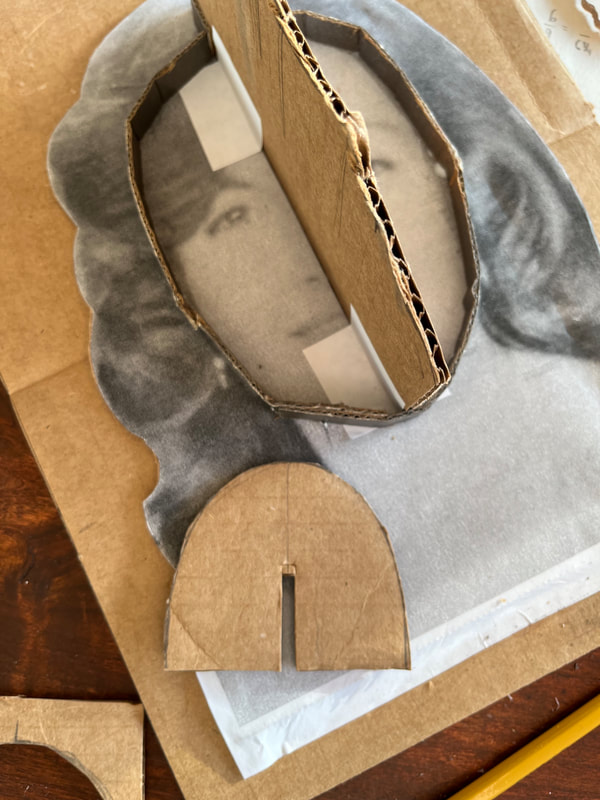
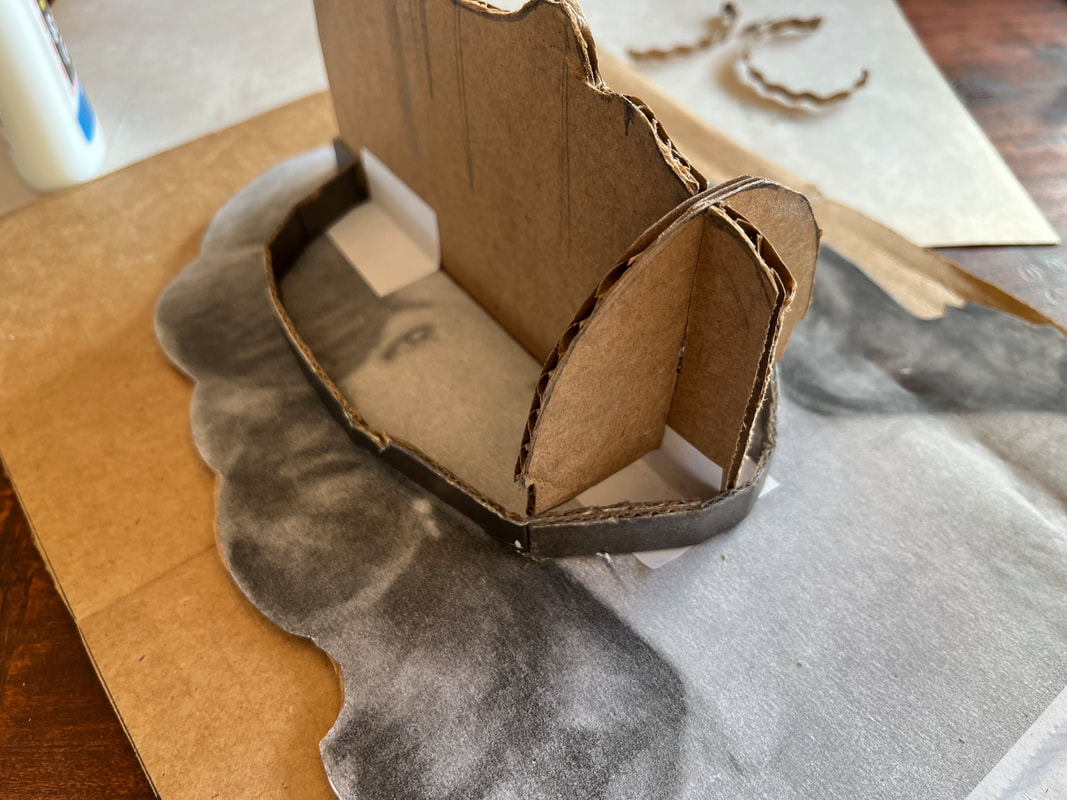
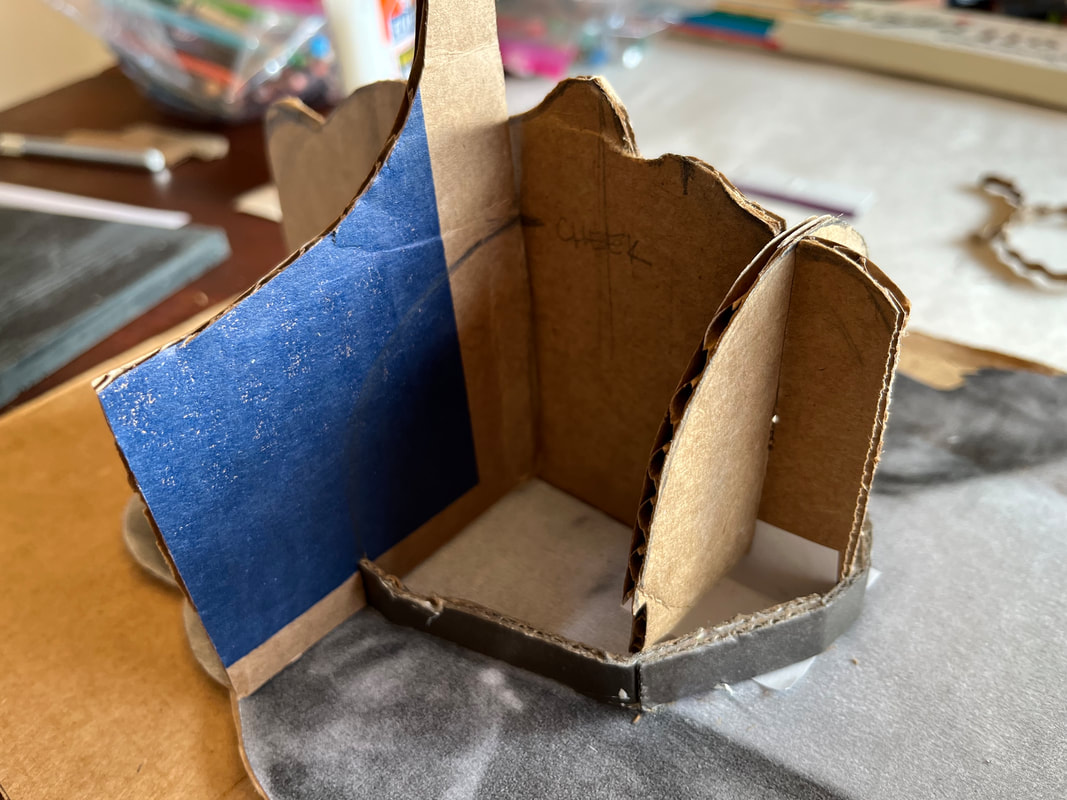
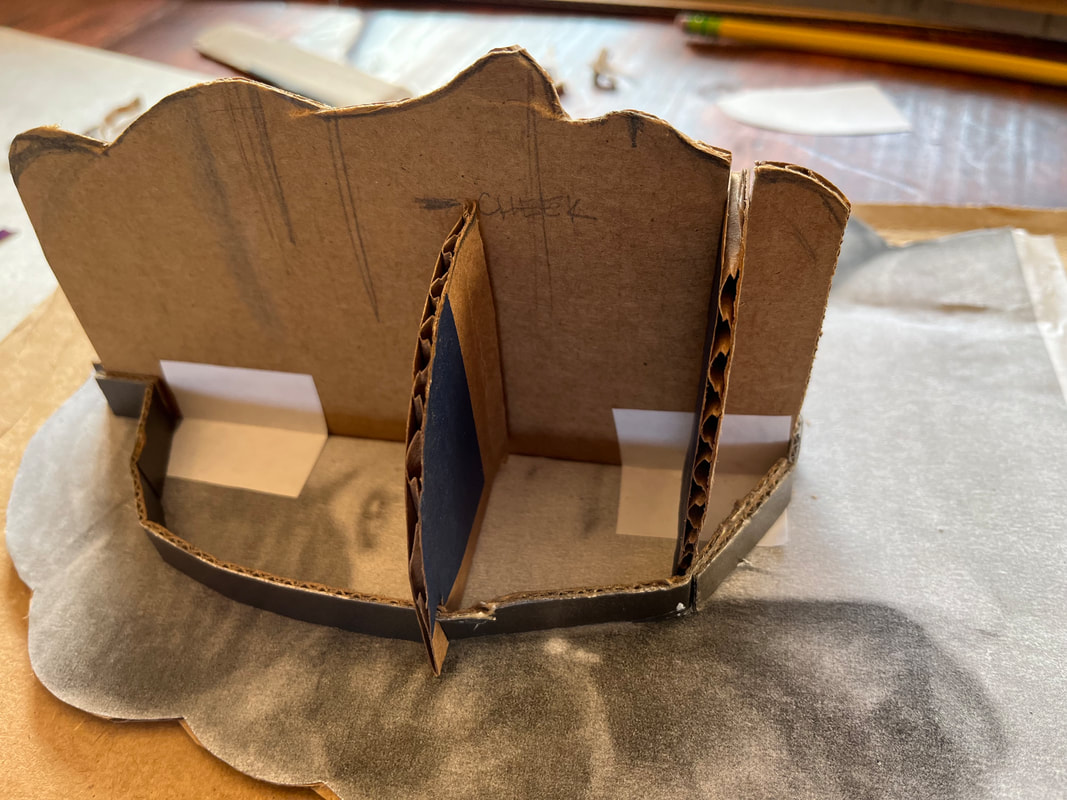
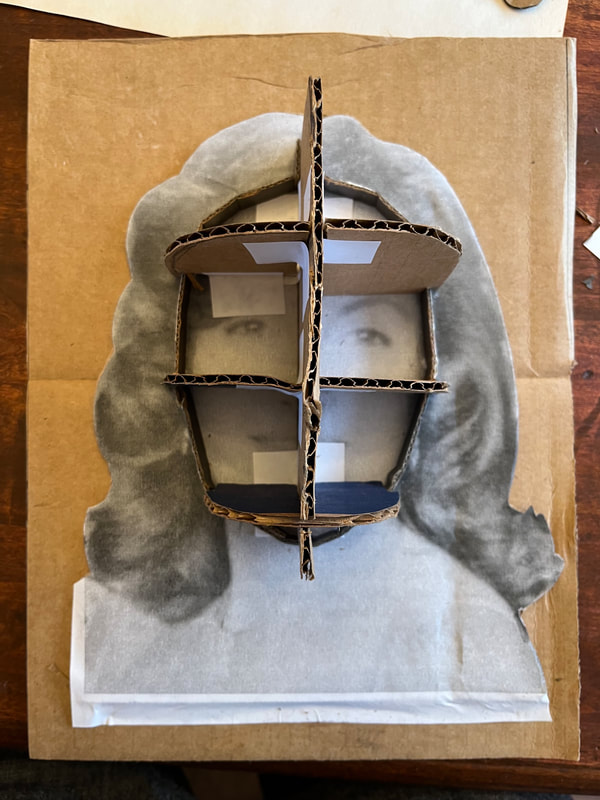
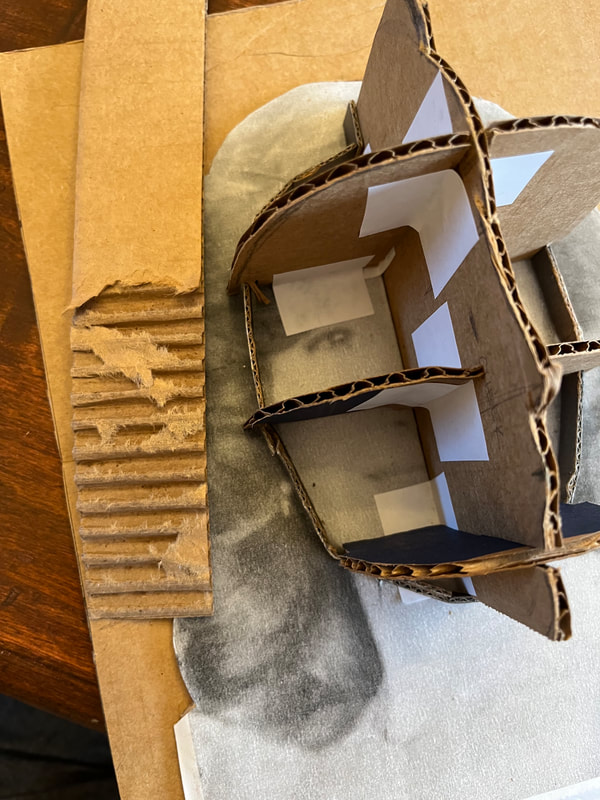
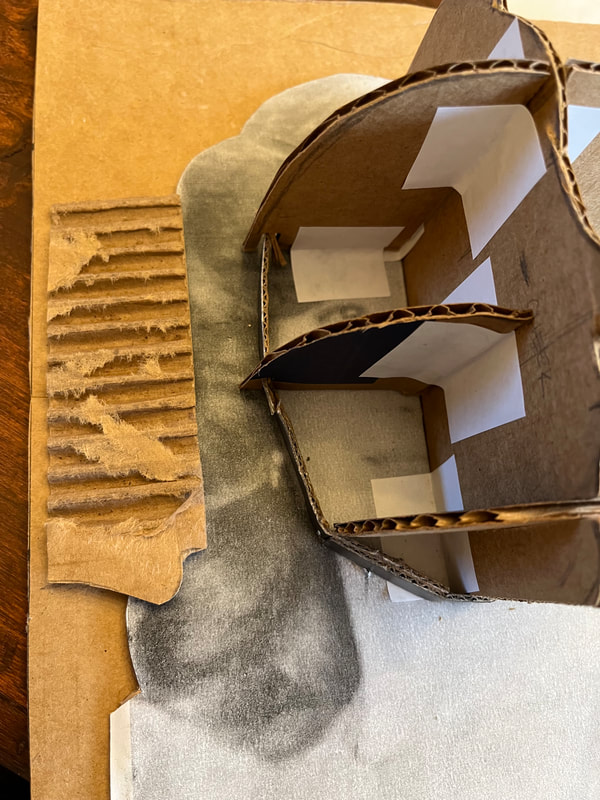
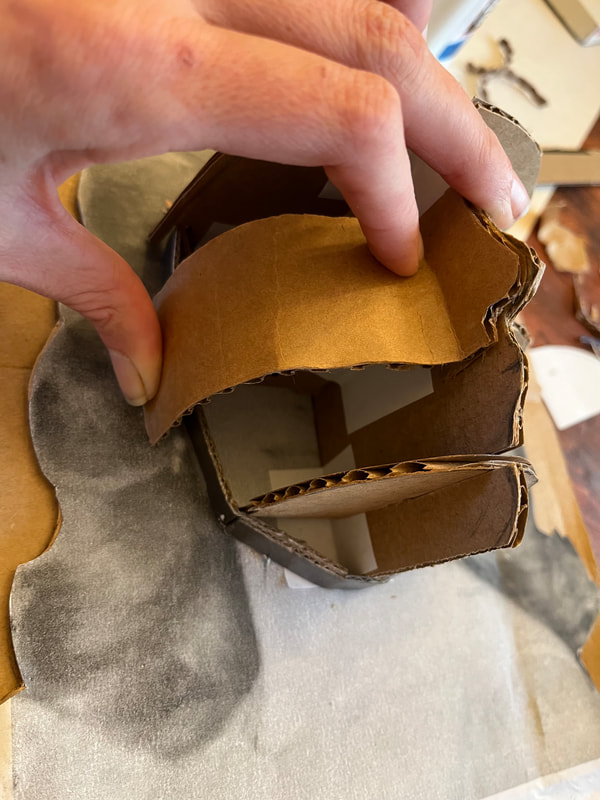
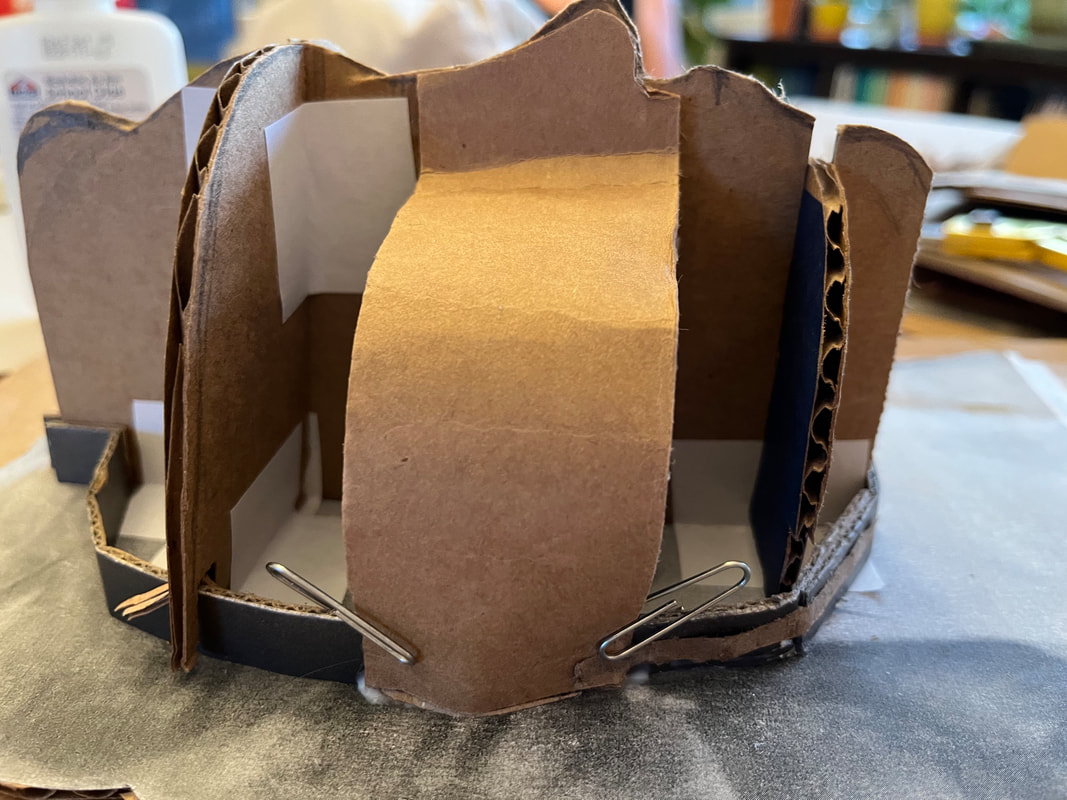
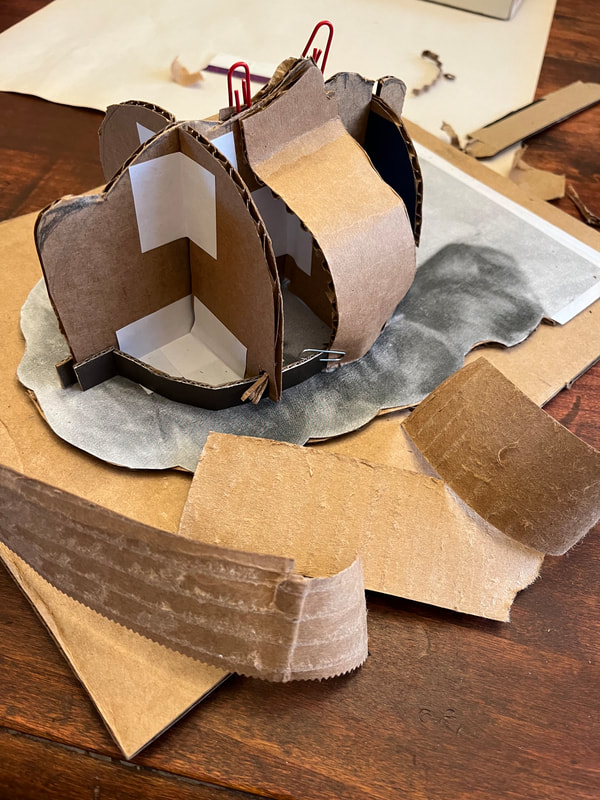
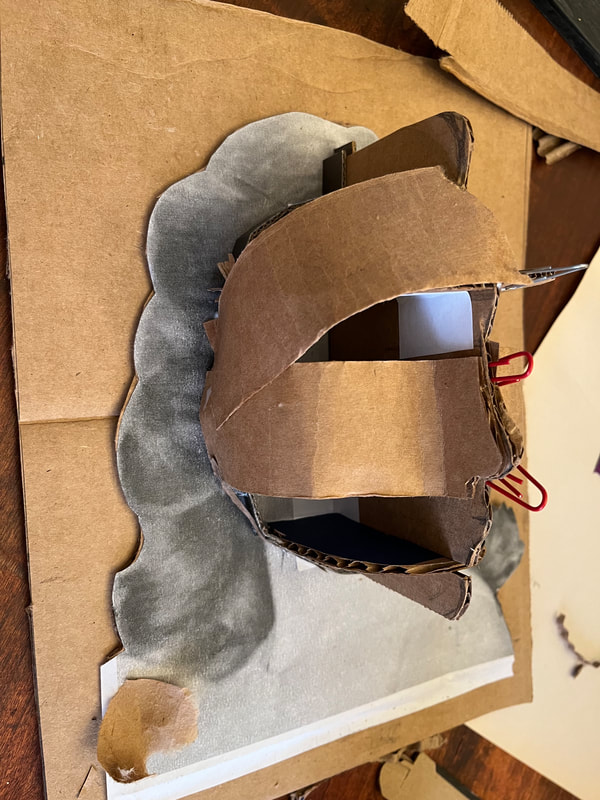
WAFFLE FORM
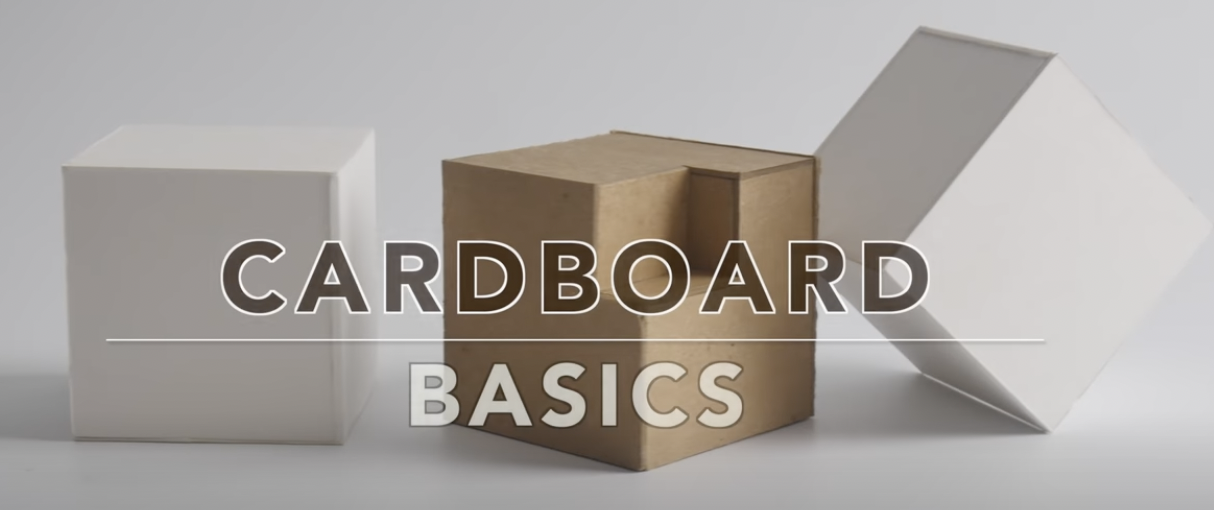
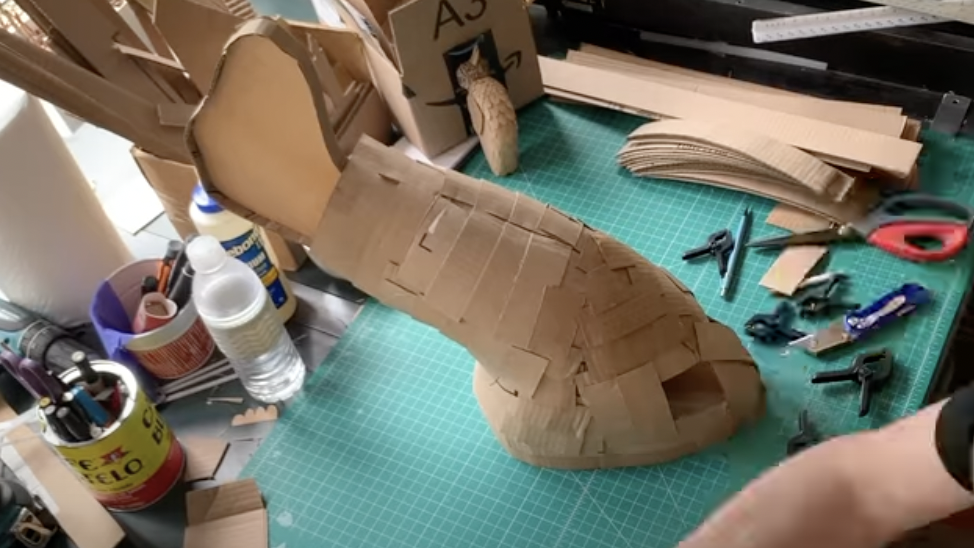
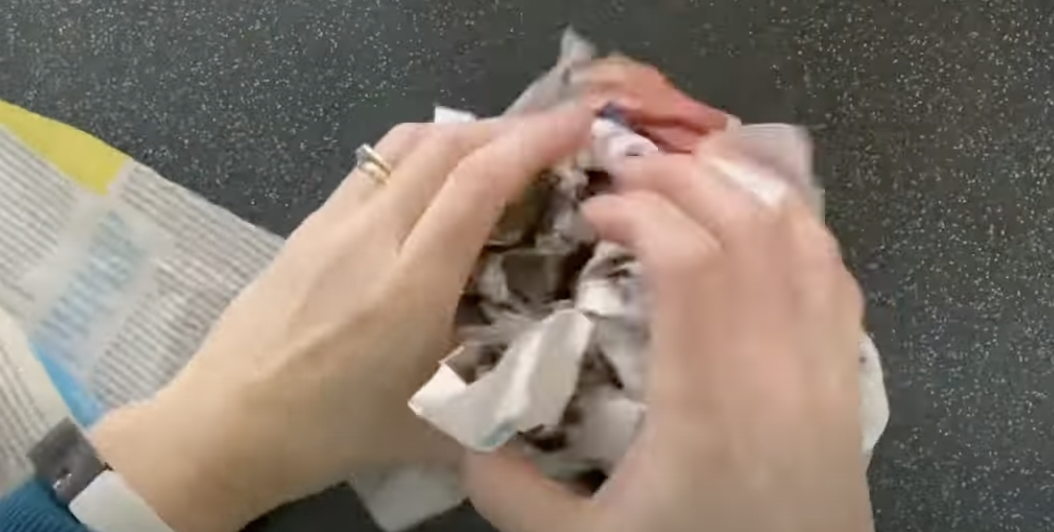
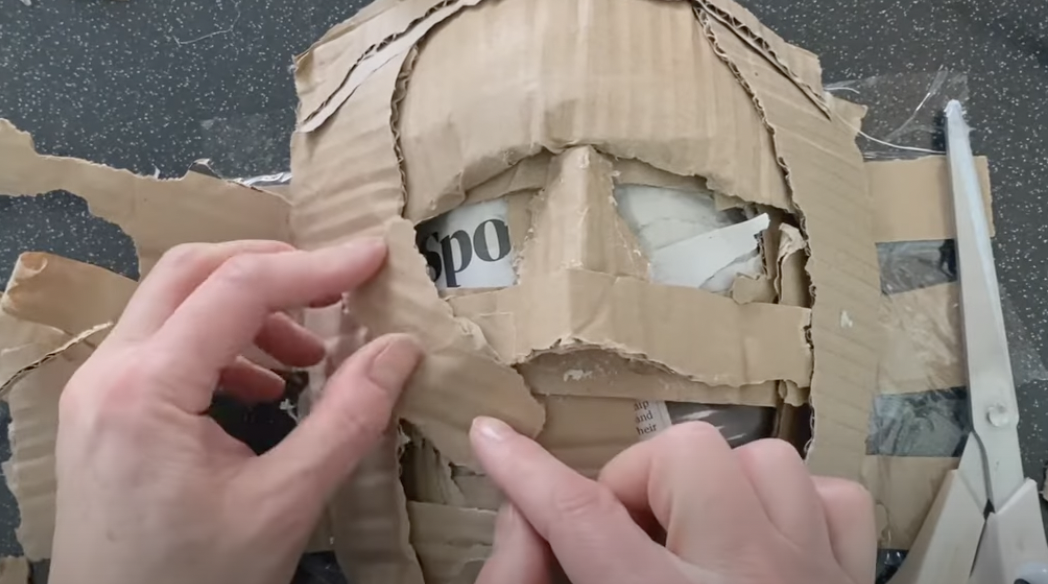
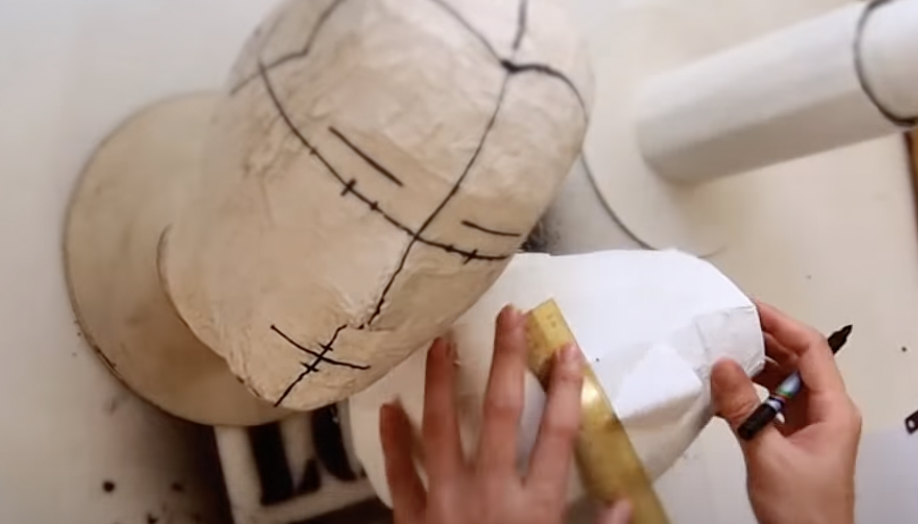
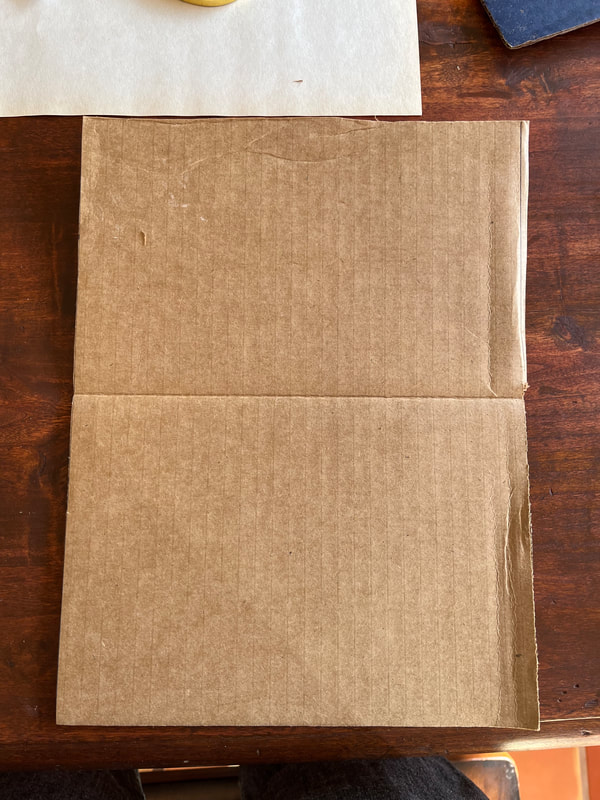
Paper Maché or Cardboard Sculpting You have two options: Cardboard Sculpting - where the final product has cardboard on the finished surface - or Paper Maché - where the final product has been covered in paper and paste (optional: paint). CARDBOARD SCULPTING
|
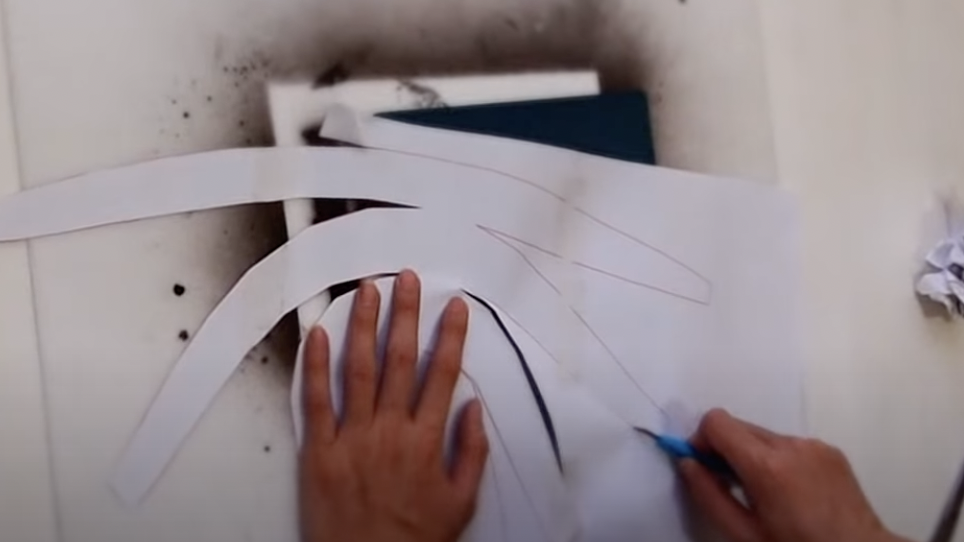
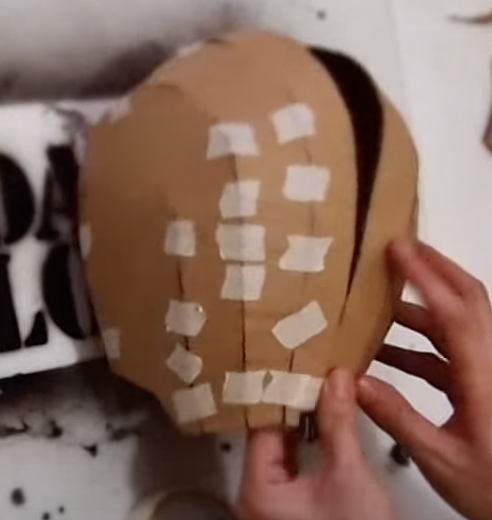
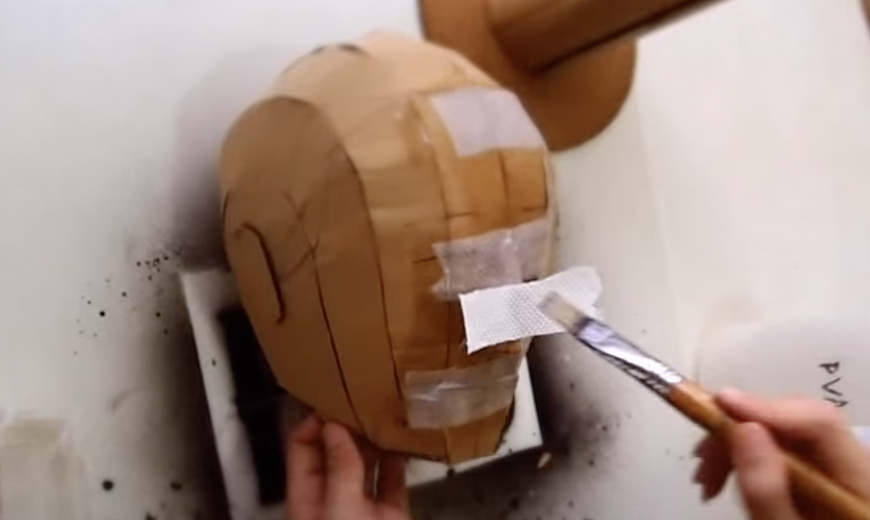
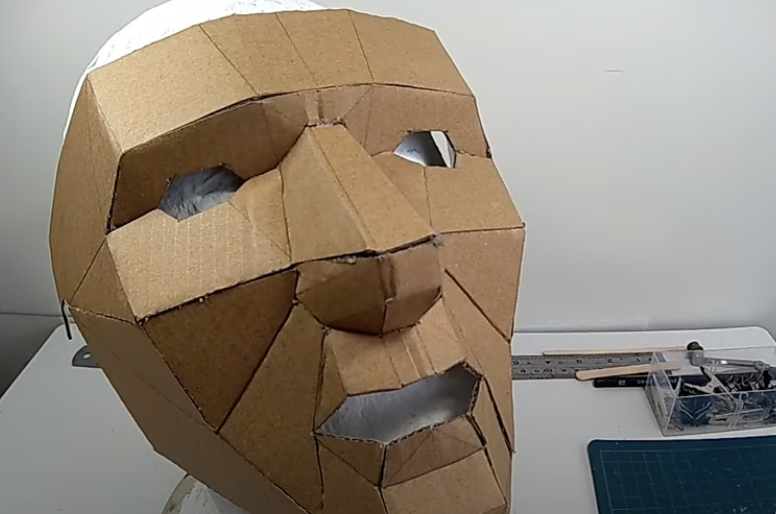
One Step-by-step Option: Abridged Waffle Construction


3 Photos of your Sculptural Portrait
Email an Image of Your Project
|
Grading Criteria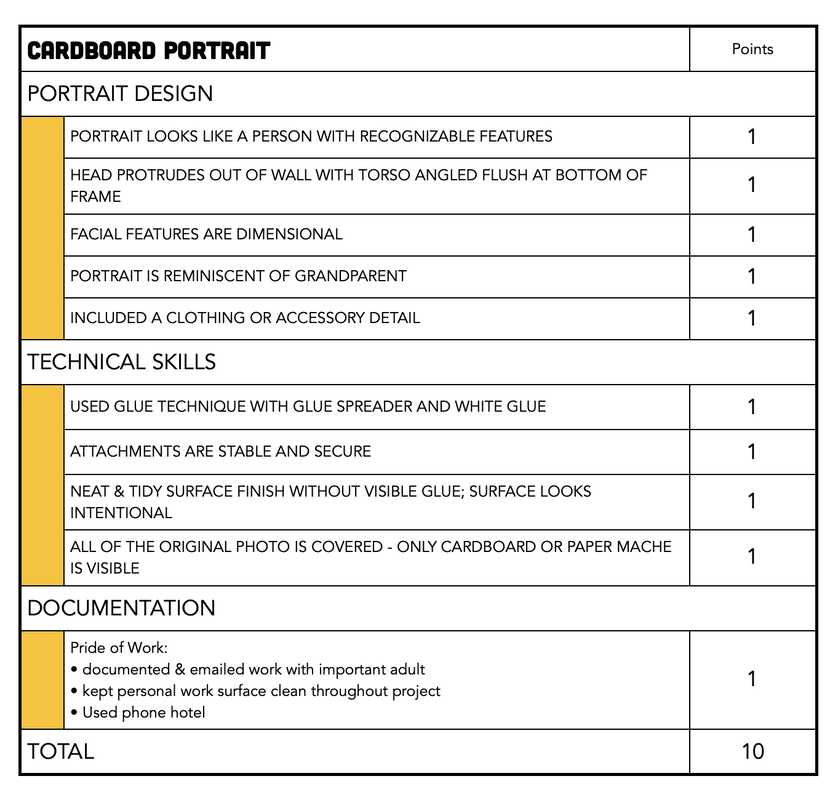
|
