art with ross
  • Home
  • Sculpture
  • Advanced Sculpture
  • Art Terminology
    • Art Term - Line
    • Art Term - Shape
    • Art Term - Form
    • Art Term - Color
    • Art Term - Value
    • Art Term - Texture
    • Art Term - Space
    • Art Term - Balance
    • Art Term - Contrast
    • Art Term - Dominance
    • Art Term - Pattern
    • Art Term - Movement
    • Art Term - Rhythm
    • Art Term - Variety
    • Art Term - Unity
    • Art Term - Style
    • Art Term - Perspective
    • Art Term - Vantage Point
    • Art Term - Graphic Design
    • Art Term - Hand Lettering
    • Art Term - Drawing Styles
    • Art Term - Shading
    • Art Term - Ceramics
    • Art Term - Painting
  • GHS
    • Field Trips
    • Intro
    • Motion
    • Printmaking
    • AP
    • Gallery
    • Other Art Classes
    • Distance Learning
    • AP 2019
    • Enrichment
Picture

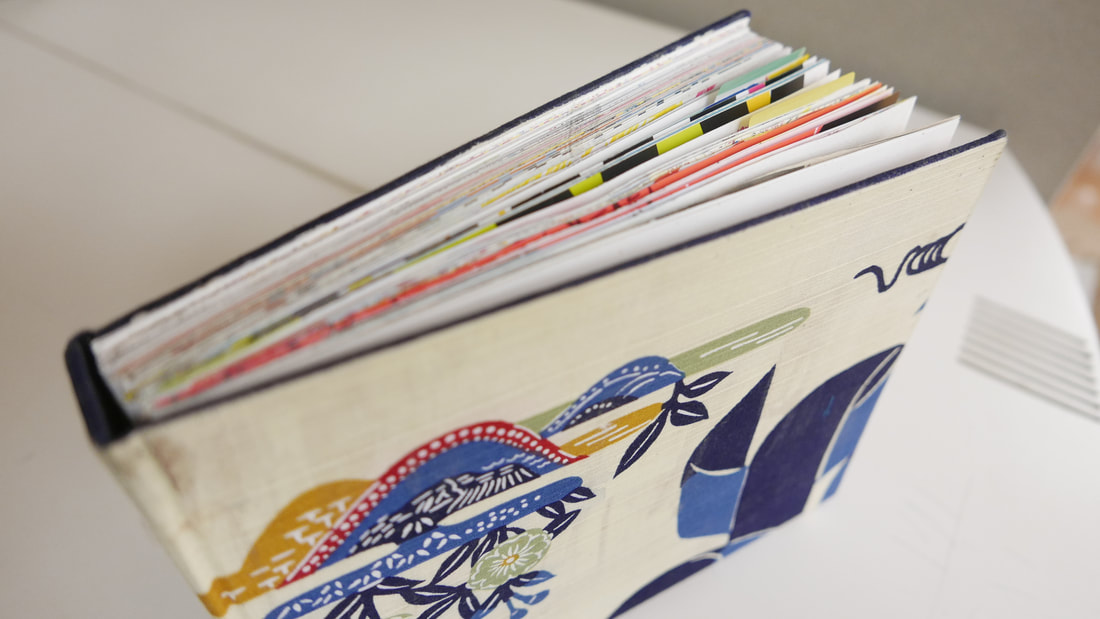
Signature Bookbinding - Blank Book

  • 5 Signature minimum
  • Minimum ¼" spine thickness
  • Hardcover binding 
  • Tight sewing
  • Printed Title on Cover
  • Marbled End Papers

ADDITIONAL OPTIONS
  • Headbands - bought or sewn
  • Marking Ribbon
Things to ask yourself:
  • Did I plan out my pages to fit the cover boards?
  • Have I sewn the signatures tightly enough the book will be strong and long-lasting?
  • Did I do something beyond the minimum requirements?
  • Did I remember to print the title on the bookcover?

Book Parts

SIGNATURES
Picture
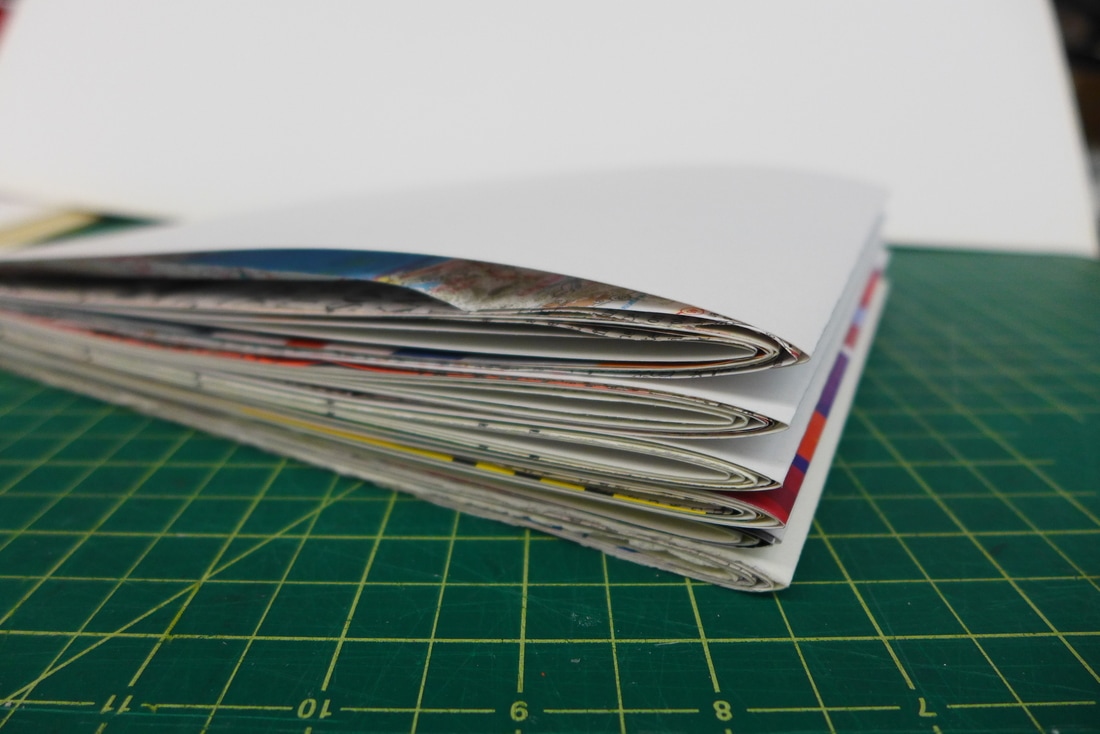
This is a stack of five signatures. Each signature in this book will have ten pieces of paper. That makes a book of 200 pages or 100 spreads.
BINDING TAPES
Picture
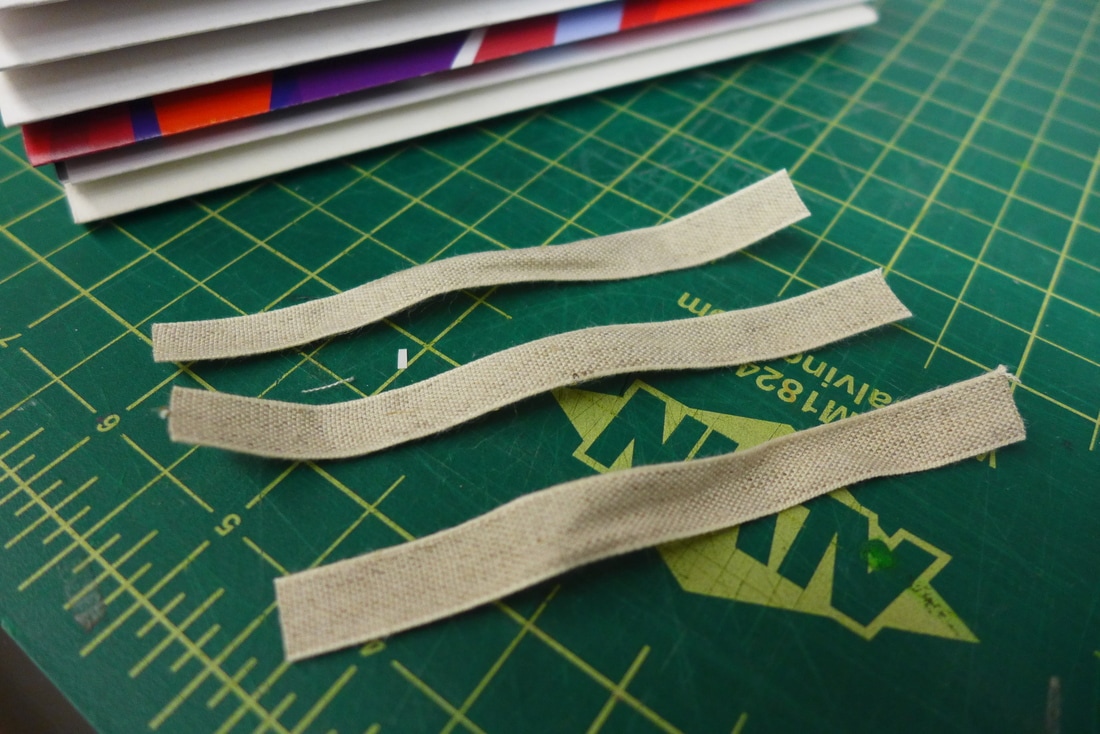
Binding tapes hold the signatures in alignment. They are often made of linen fabric, but they could be any sturdy material, from ribbon to cord.
BINDING THREAD
Picture
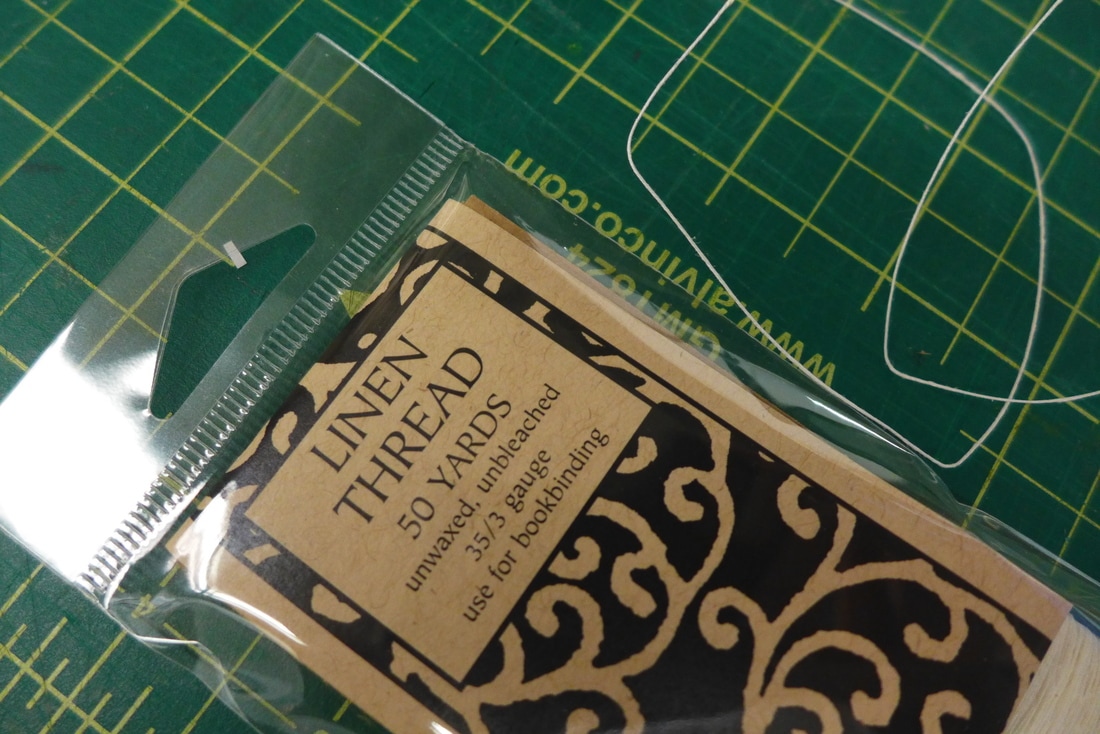
You will be sewing the signatures together using thread. Linen thread is a traditional choice, but any sturdy thread will work.
SUPER
Picture
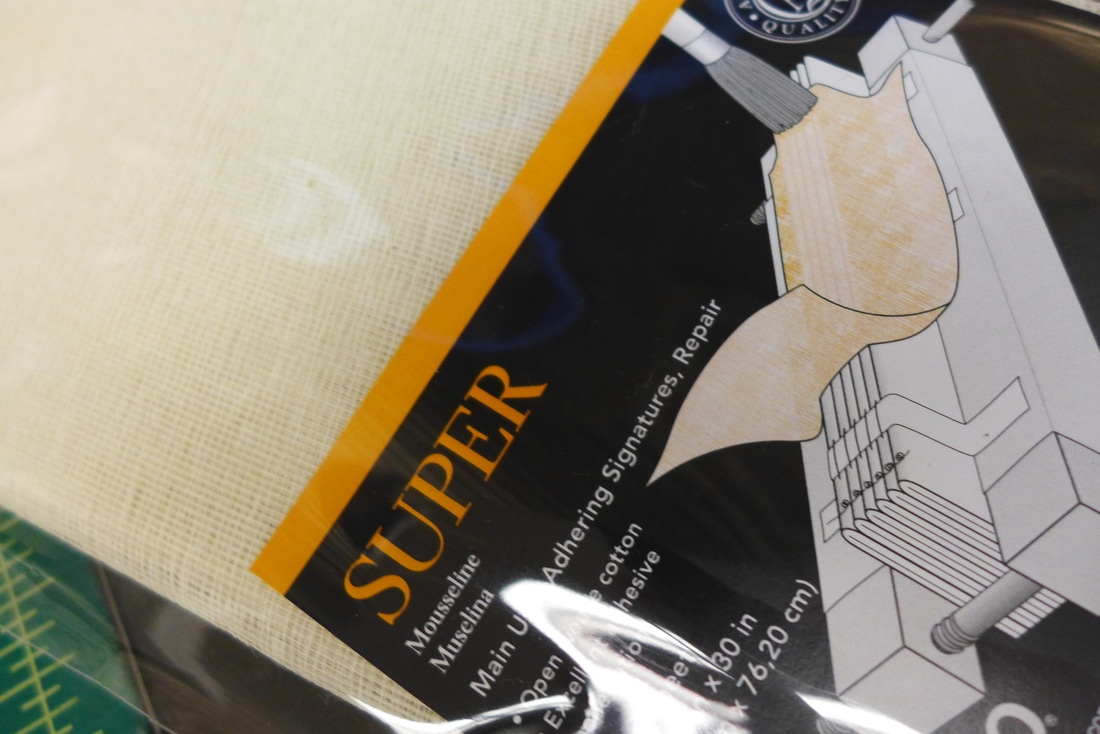
Super is glued to the spine of the signatures. This cheesecloth-like fabric is what helps support the thread and tapes holding the signatures into the cover.

Hand-Bound Bookbinding - Step-by-step Instruction

Sewing Signatures - Reminders

Make sure you pull the thread tight after each signature, so that the book ends up square.
  • Cut tapes to fit the width of your spine plus an inch on each side. (If you spine is ½", then you need three 2 ½" tapes)
  • With the signatures stacked in order, use a ruler to mark where the holes will go. (You need 8 holes on each signature - ⅜" from each edge and on either side of each tape.)
  • Use awls or t-pins to pierce holes in the signatures.
  • Starting from the outside of the signatures going in, sew across the first signature, placing tapes underneath the thread as it runs across the spine.
  • When you get to the end of one signature, make sure you tighten the thread. Each signature should be tied to the last signature on each end.

Instructions for Each Step Separated


Video of Bookbinding with Cord

Video of Bookbinding with Tapes


Video of Sewing Headbands

BOOKCLOTH GLUING GUIDE

Making the Case & Gluing in the Book


Powered by Create your own unique website with customizable templates.