
|
|
Bead Bracelet & Matching EarringsStudents will create a bead bracelet of their own design after investigating bead bracelet styles and techniques. Afterwards, students can make a matching set of earrings using one motif from their bracelet design.
This unit has four parts: research and design (designing a project, measuring for materials), bead bracelet in student's choice of technique and materials, earrings that match bracelet, and documentation of the finished work (photos, email, reflection, and critique). |
Overview Unit Goal
Composition Concepts
|
|
Order of Work
Determine Your Design
- Research bead bracelet designs
- Sketch out the design you are most interested in
- Think through the color scheme you want in your bracelet
- Measure the length of the bracelet you want to create (slightly larger than your wrist)
- You may want to divide this measurement by 9 to get the length of 8 motifs and a hook/clasp finding section.
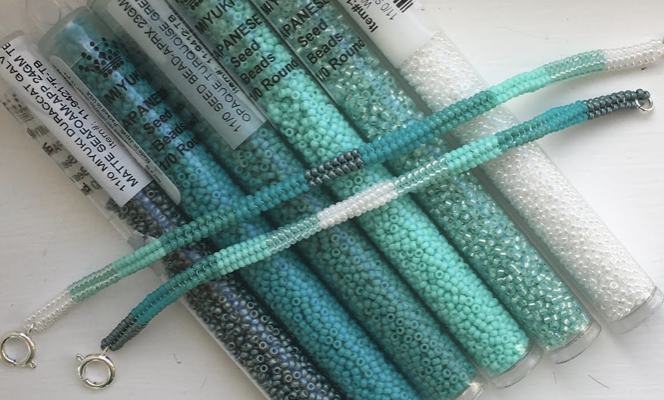
- Count how many beads you will need of each color for your design.
- Create a bead and/or wire bracelet
- You can follow a pattern or create your own design
- Create a pair of earrings that match the bracelet design
- Use one motif from the bracelet pattern.
- Colors and textures from the bracelet should match the earrings.
- PHOTOGRAPH your project (3 photos: solo bracelet, with earrings, on wrist)
- Fill out the REFLECTION
- Record a FLIP VIDEO
- EMAIL an important adult about your work
Bead Bracelet Patterns
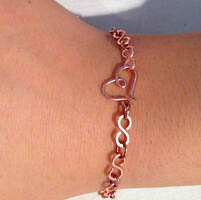
Bending Wire Around One Bead
|
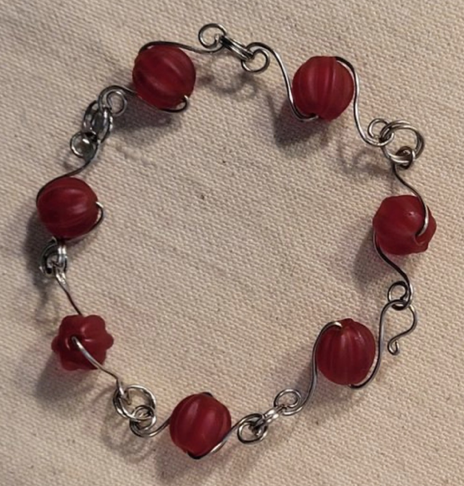
Wire Loops in place of Beads
|
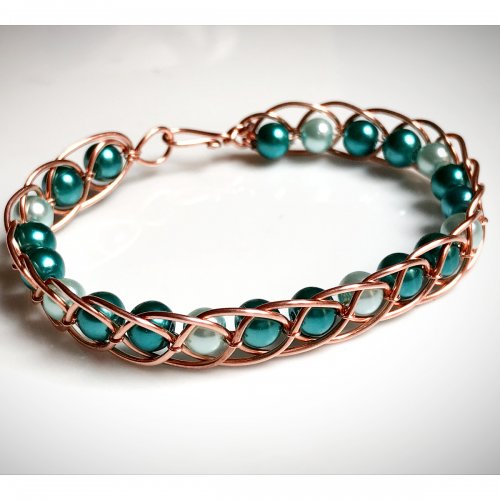
Wire Weaving around Large Beads
|
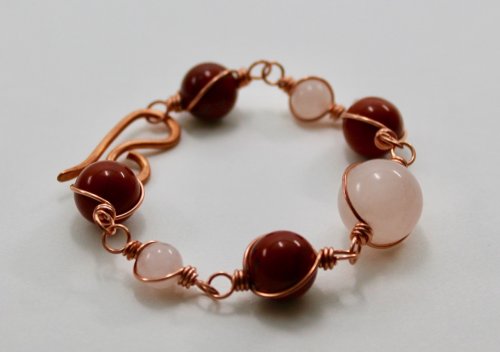
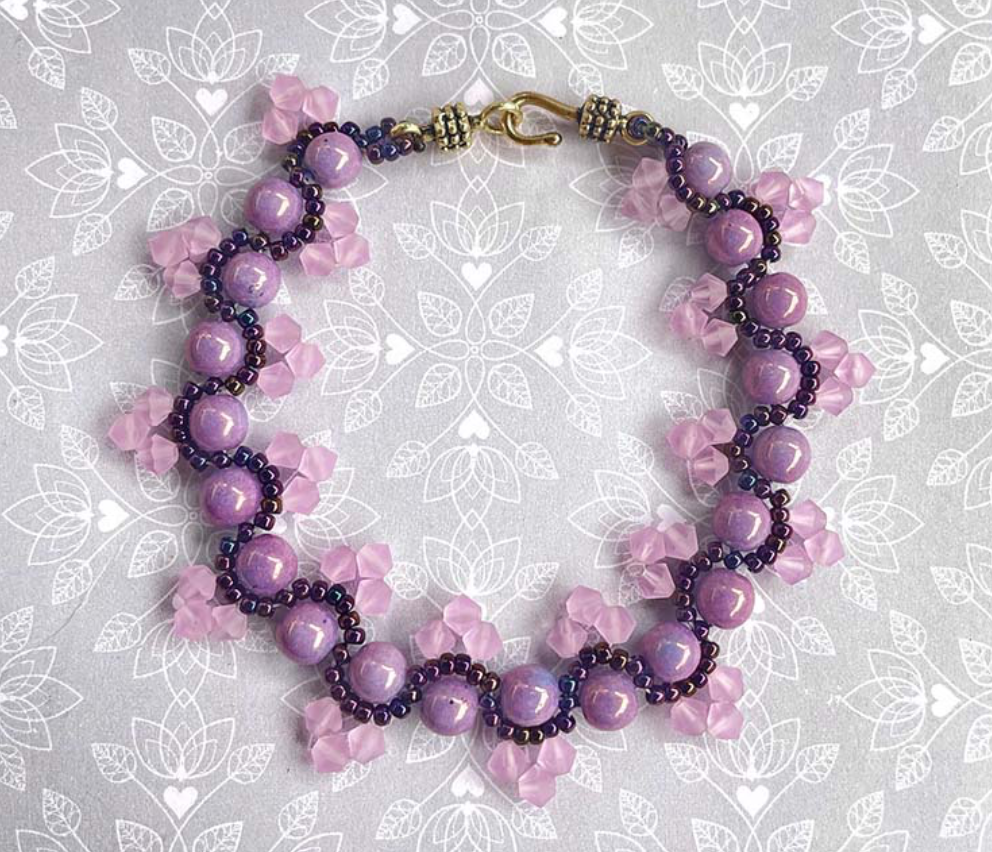
Single Bead Motif
|
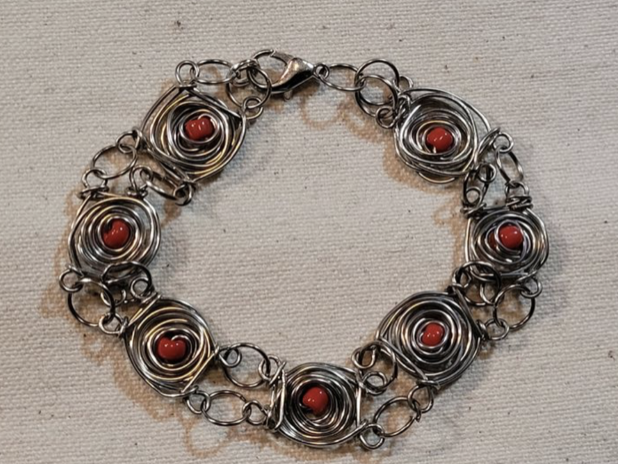
Wire Loops Around Bead
|

Flat Spiral Stitch
|
Chevron Stitch
|
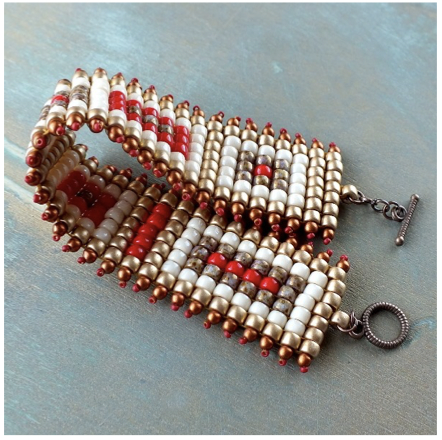
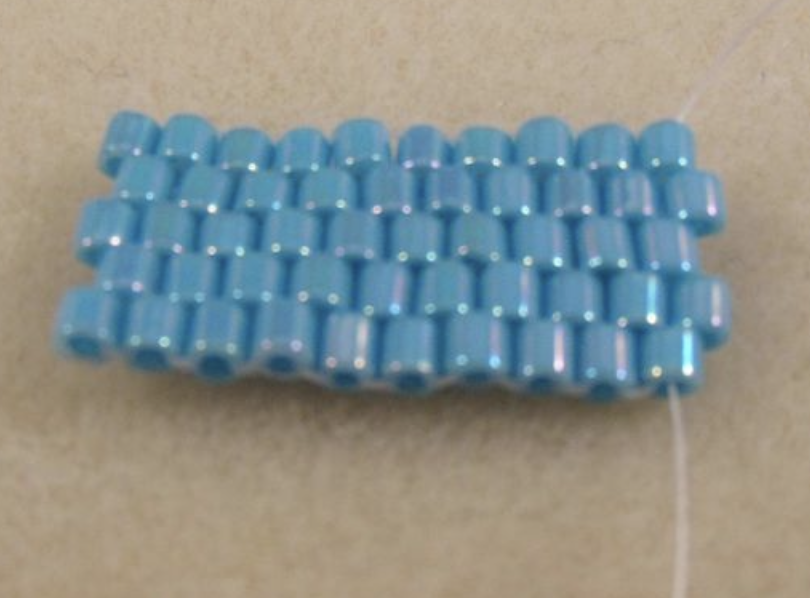
Square Stitch
|
Tubular Peyote Stitch
|
Tubular Herringbone Stitch
|
Twisted Herringbone
|

Open Weave with String
|
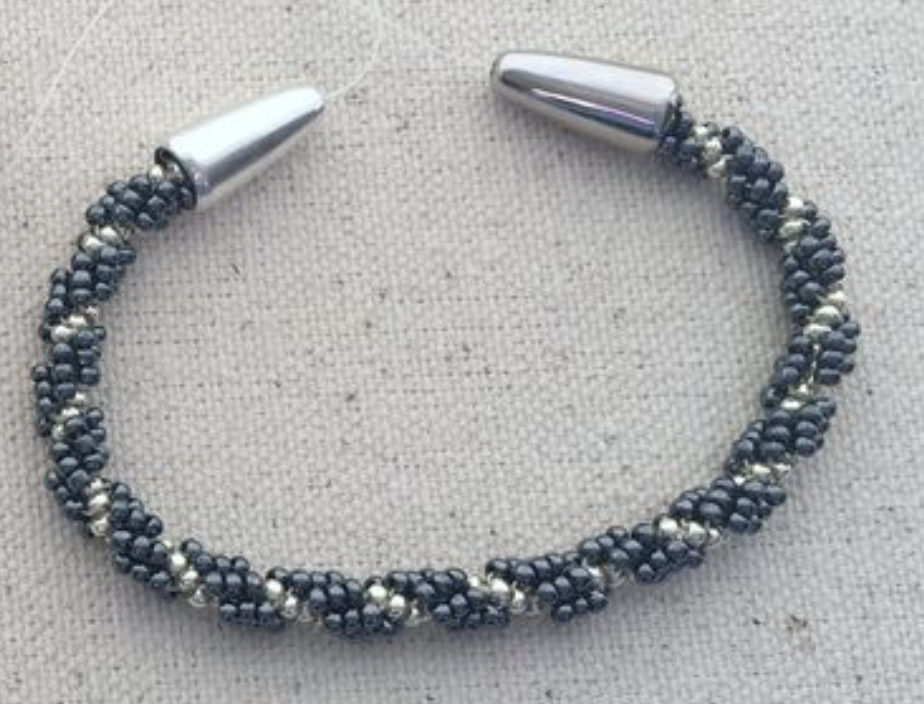
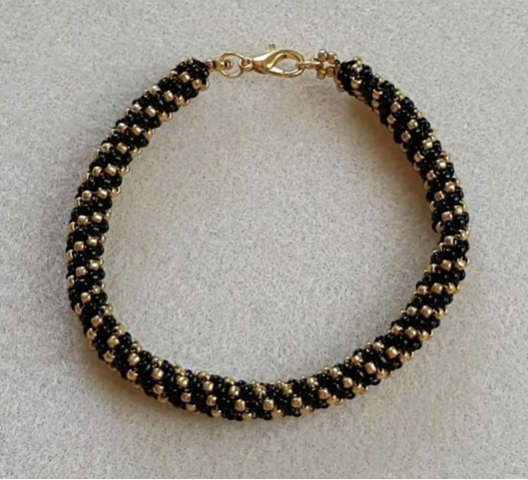
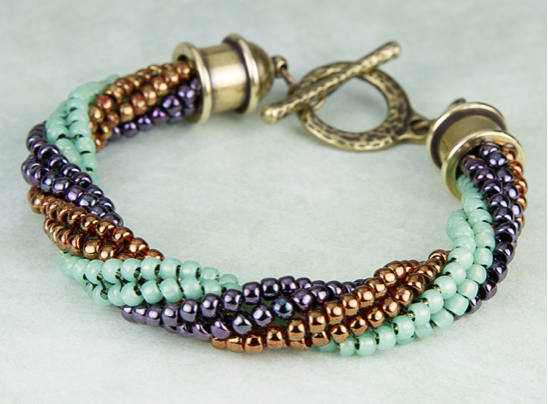
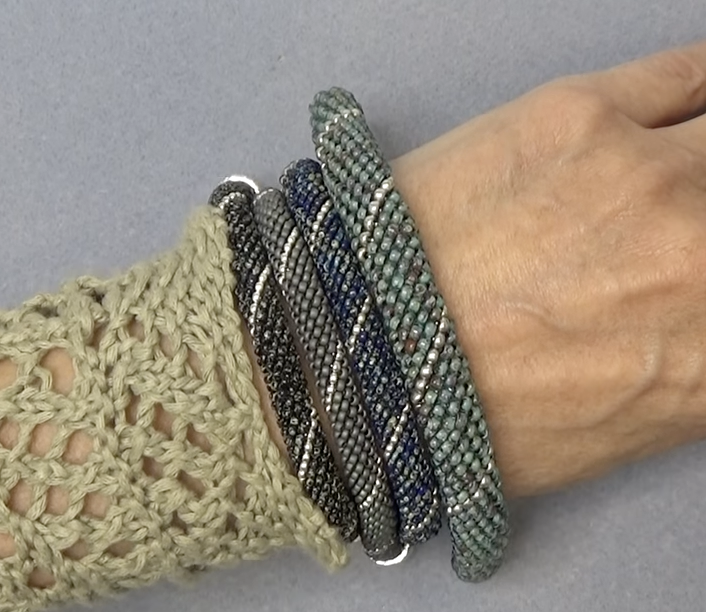
Spiral Rope Stitch
|
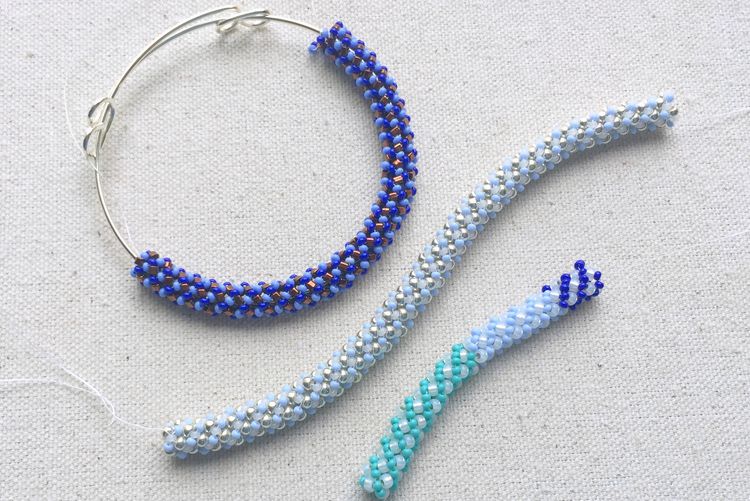
Russian Spiral Rope Stitch
|
Peyote with a Twist
|
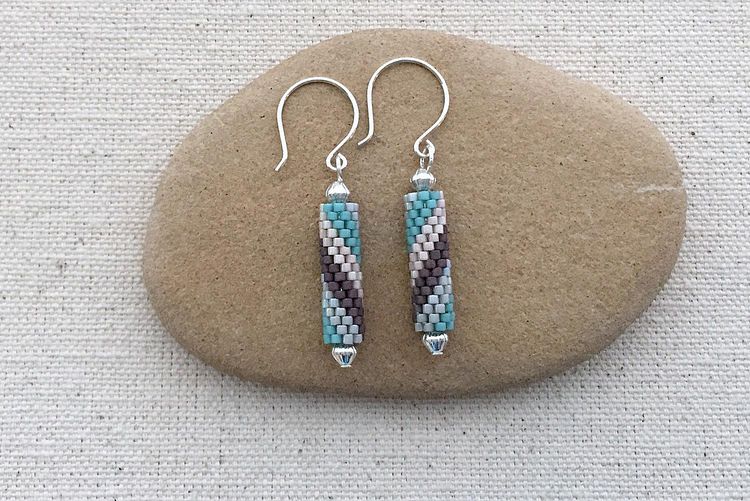
Spiral Peyote Tube Earrings
|
Square Stitch
|
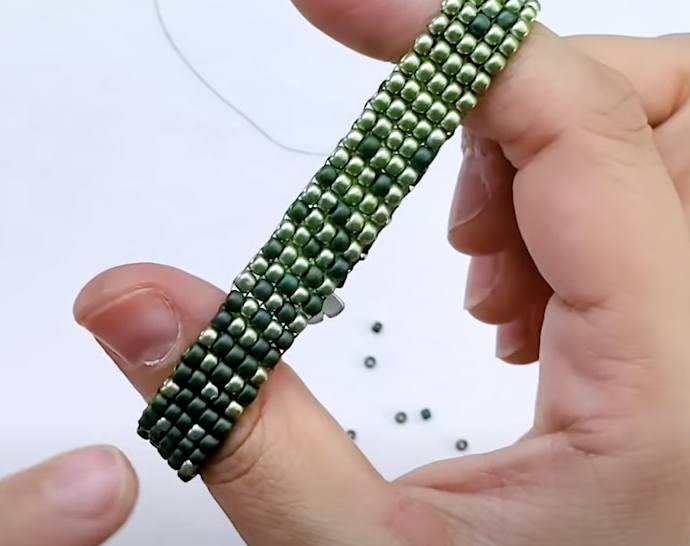
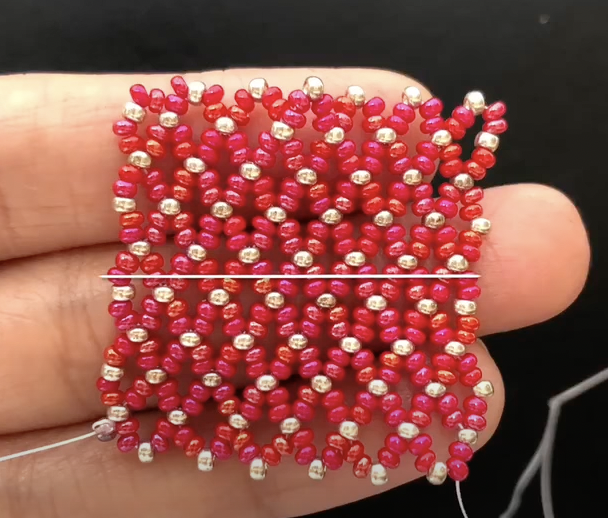
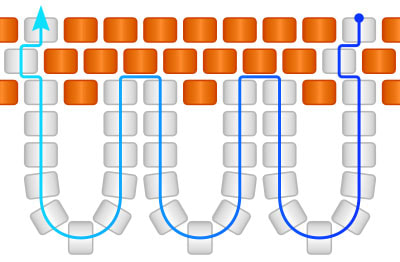
Brick Stitch
|
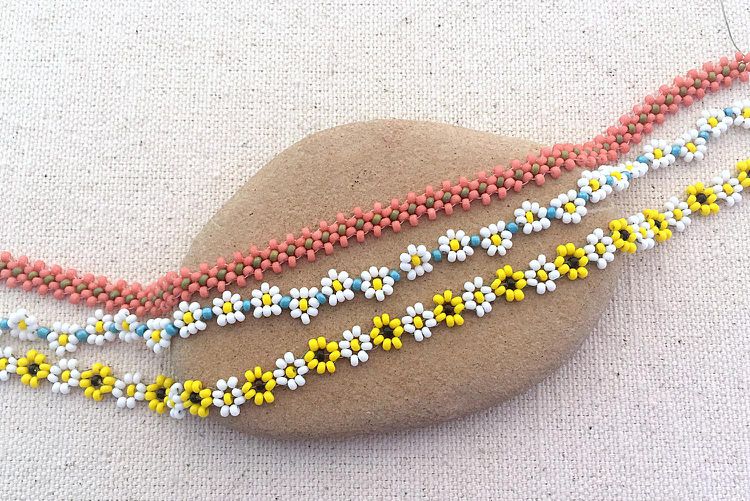
Daisy Chain Stitch
|

St. Petersburg Chain Stitch
|
Taffy Stitch
|
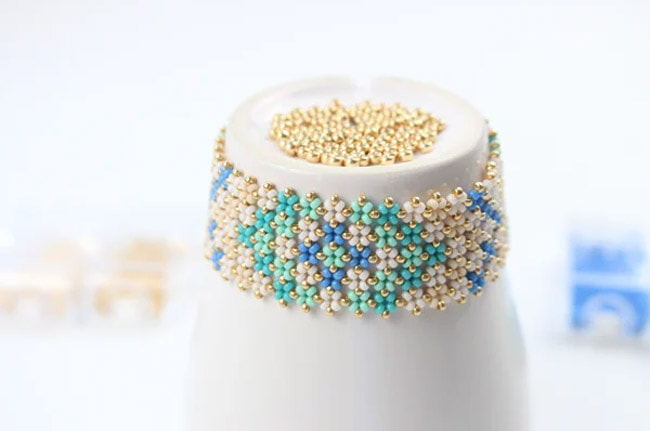
Netting Stitch
|
Pondo Stitch
|
Fringe Stitch
|
Designing your Bracelet
- Your bracelet should have a repeating motif (pattern that repeats in the design)
- Your bracelet should be functional (has a clasp, is the size for a wrist, etc.)
- You can choose a bracelet pattern or create your own design
Things to Consider
- What color scheme will work with the style bracelet you have chosen?
- How can you use texture, size, and color to create visual variety in your bracelet?
- Some stitch types use wire and some use string. This impacts how the bracelet feels when you wear it. A wire bracelet has more structure and can feel firm to wear. A string bracelet flows with your movement, feels soft and flexible.
3 Photos of your Bead Bracelet
Email an Image of Your Project
|
Grading Criteria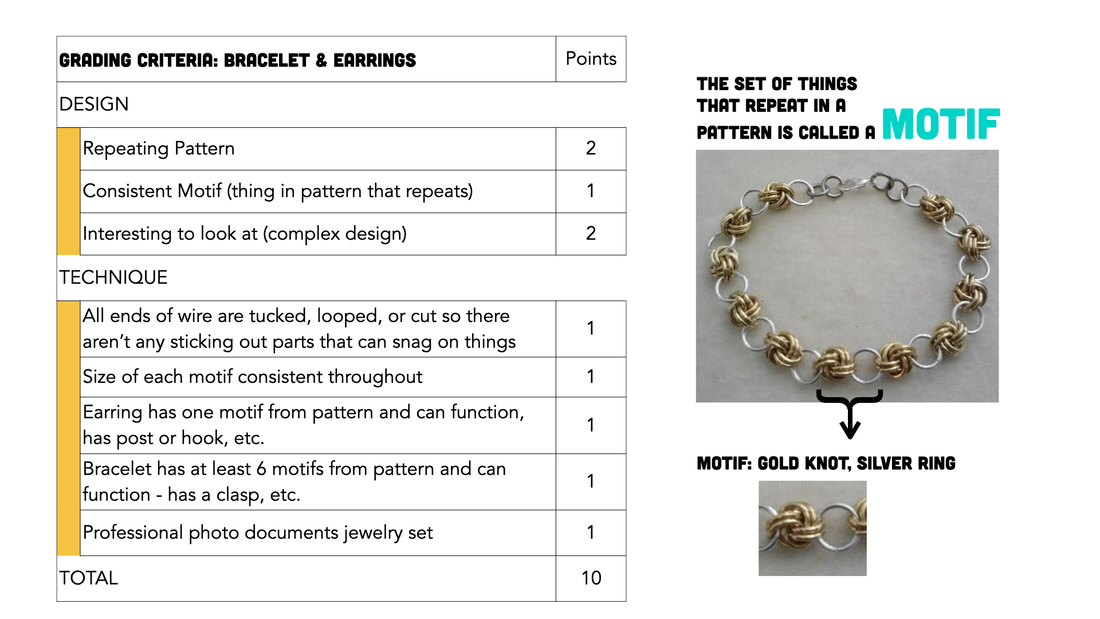
|
