
|
|
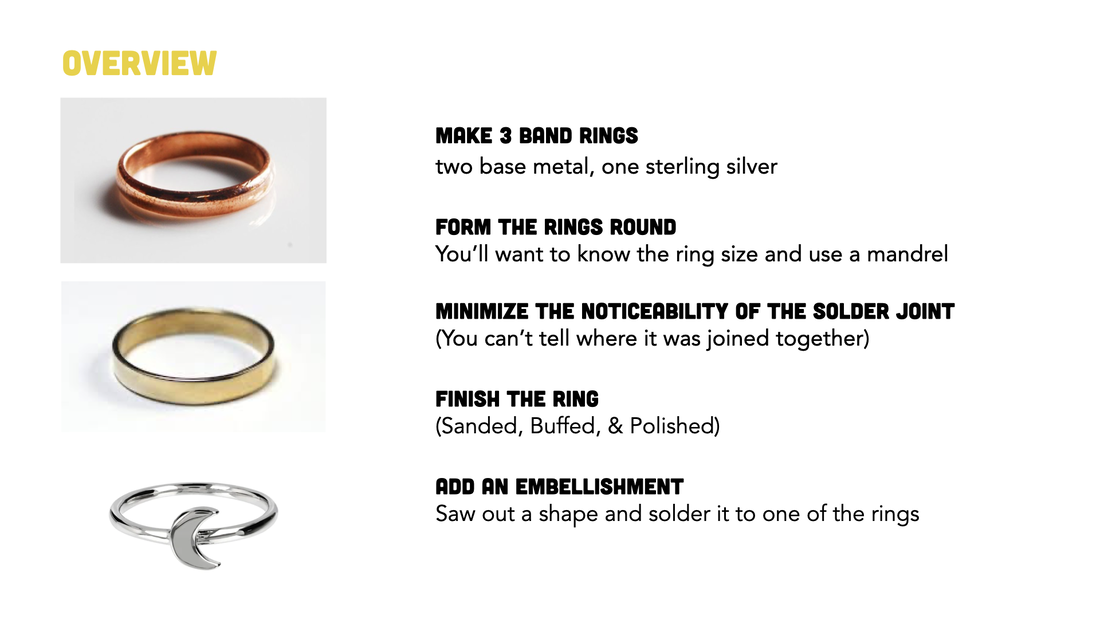
Band RingsStudents will create at least three band rings. Students will use the cutting pliers, sandpaper, ring mandrel, rawhide mallet, solder station, hand files, buffer, polisher, ultrasonic, and jewelry saw to make the three rings.
This unit has four parts that are repeated for three rings: measuring ring size, forming metal in preparation to solder, soldering, finishing (pickling, filing, sanding, buffing, polishing, ultrasonic), and two parts that happen once: adding an embellishment, and documentation of the finished work (photos, email, reflection). |
Overview Unit Goal
Composition Concepts
|
|
Technical Skills Videos |
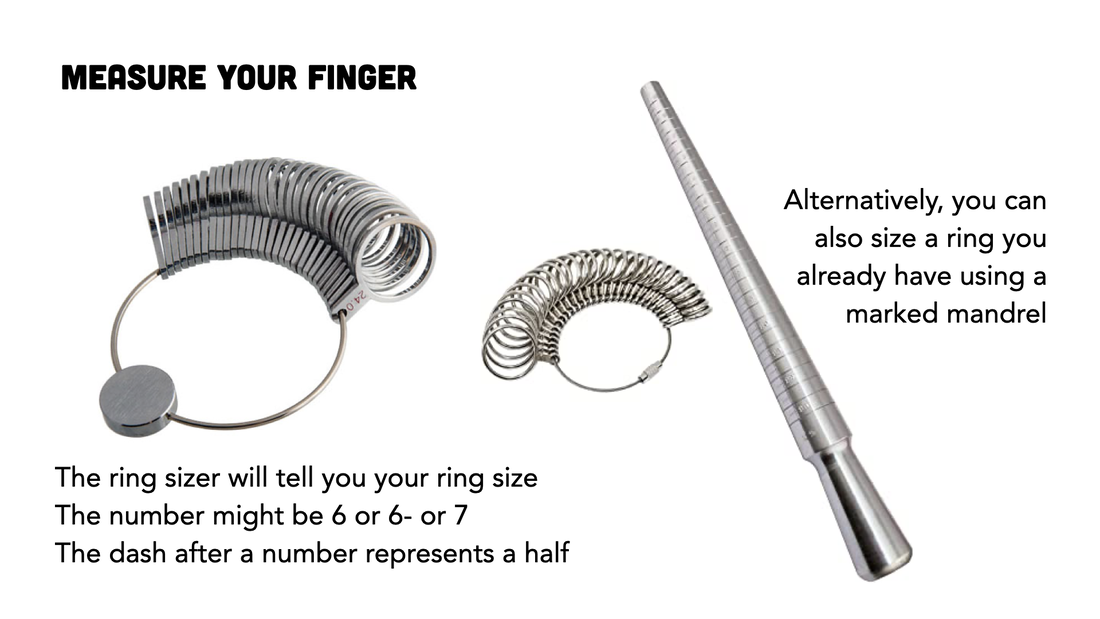
Order of WorkDetermine Your Ring Size
Ring Two: Base Metal
|
Ring Planning
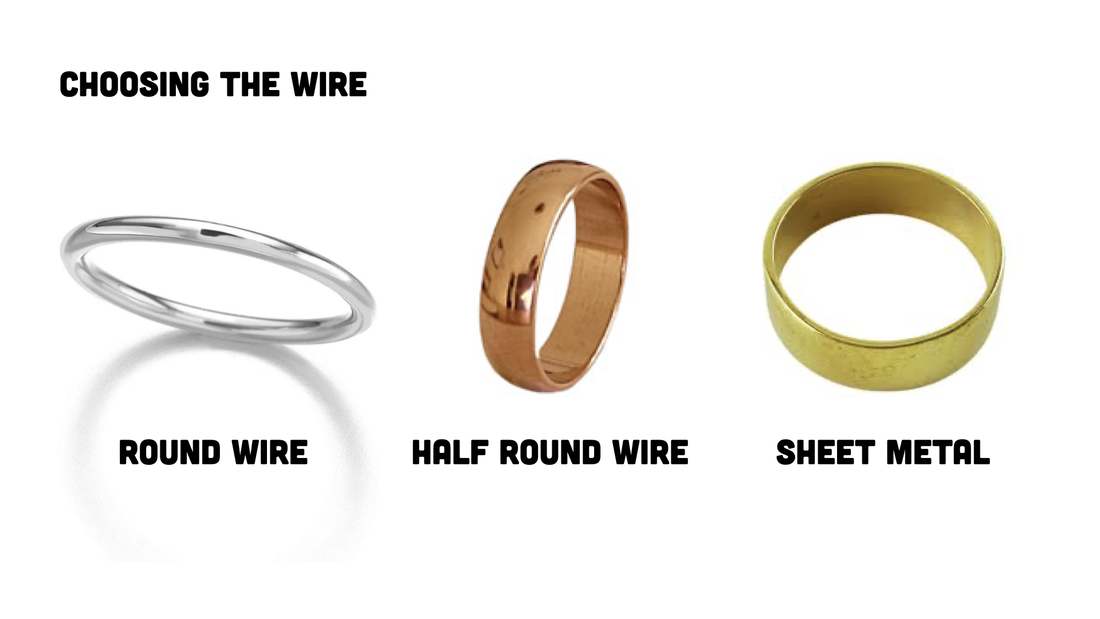

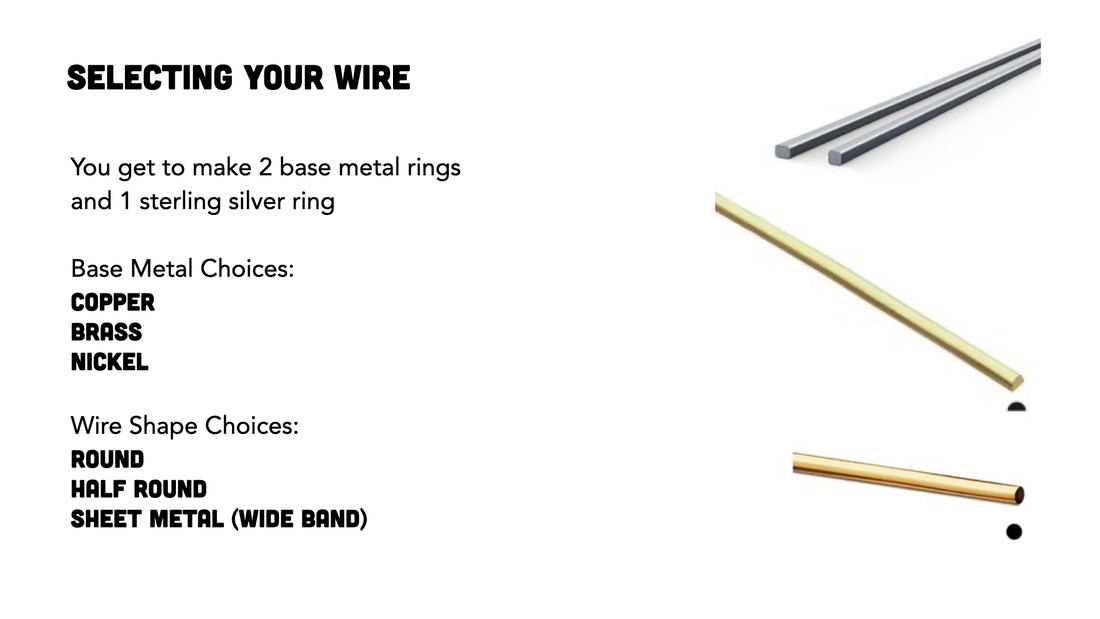
Choosing & Getting the Right Amount of Metal

|
|
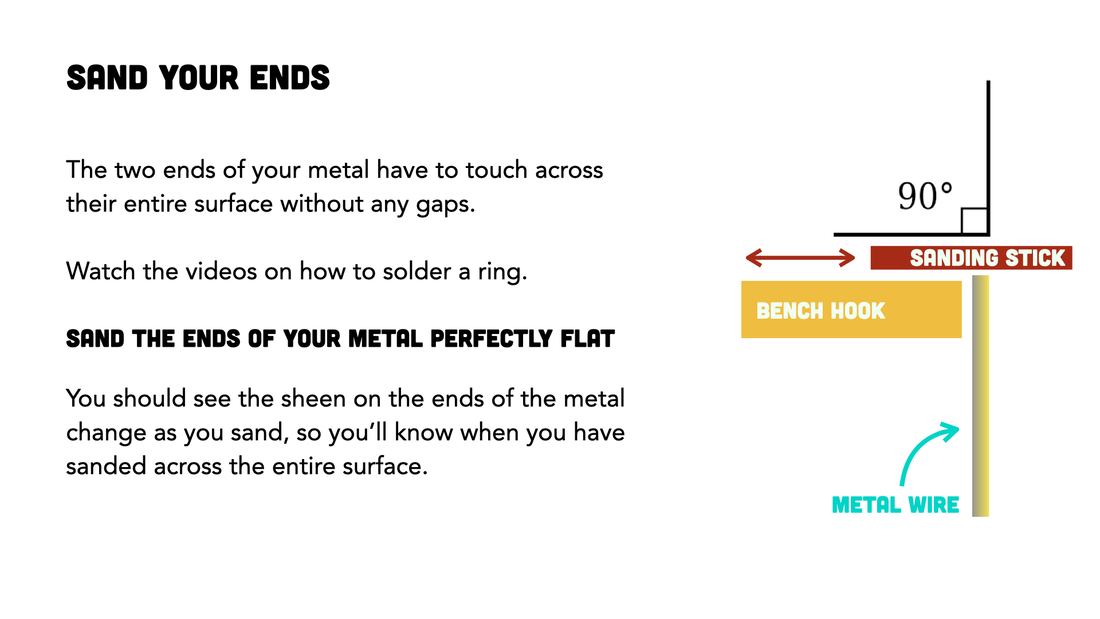
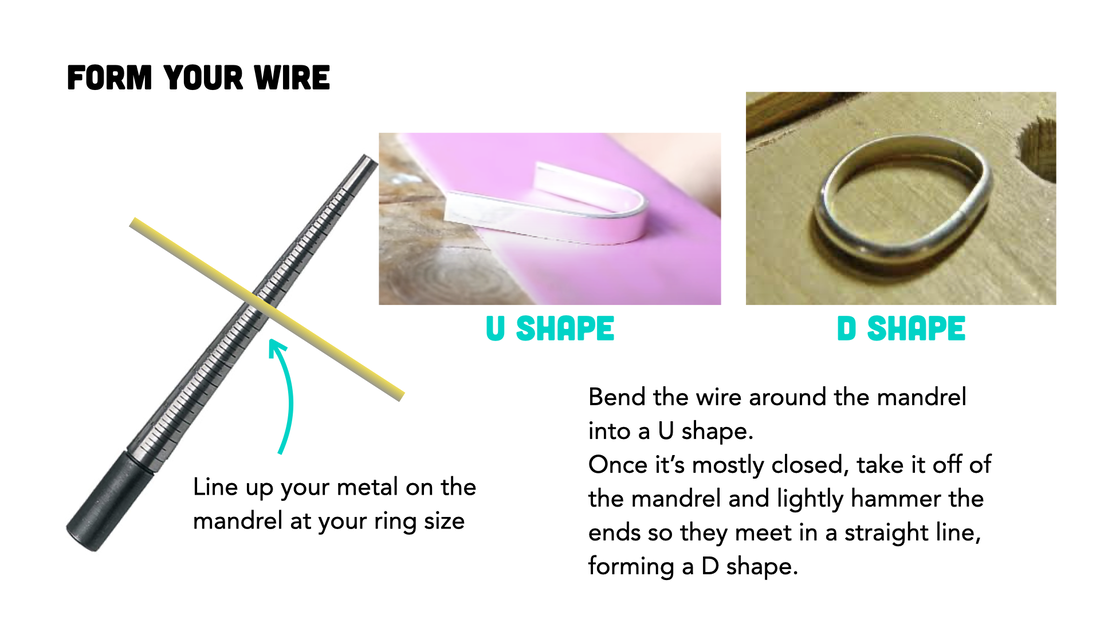
Sanding & Forming the Metal in Preparation for Soldering


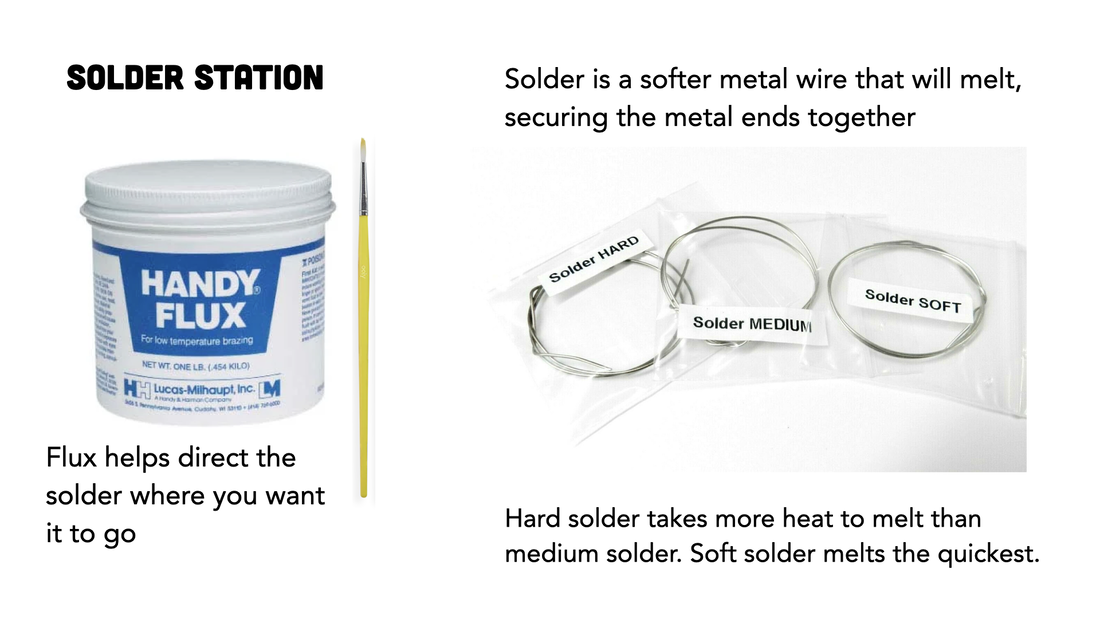
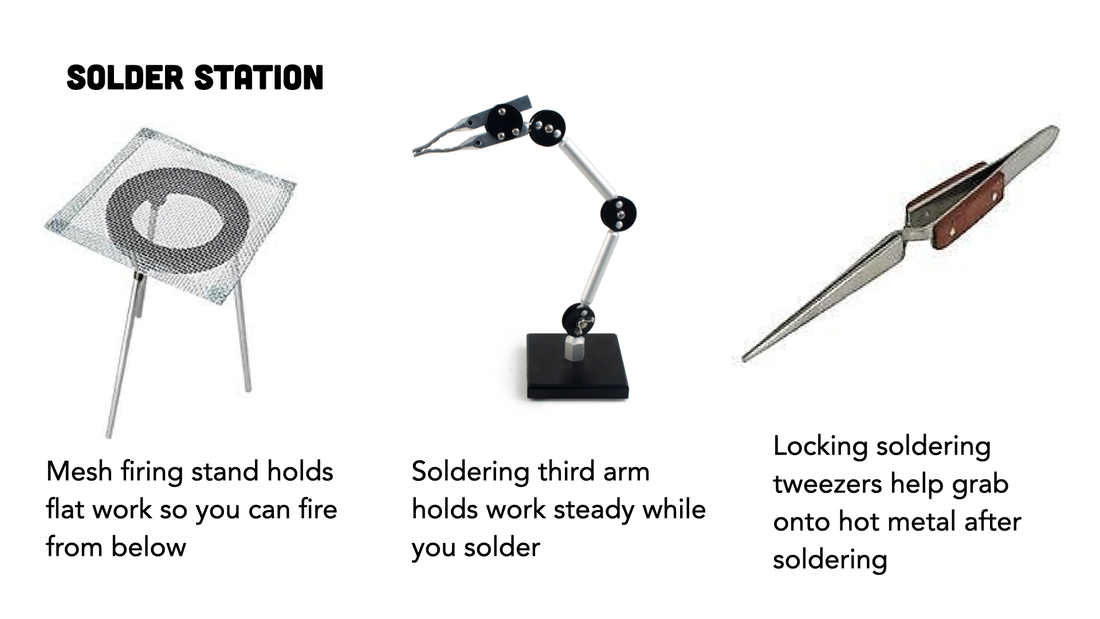
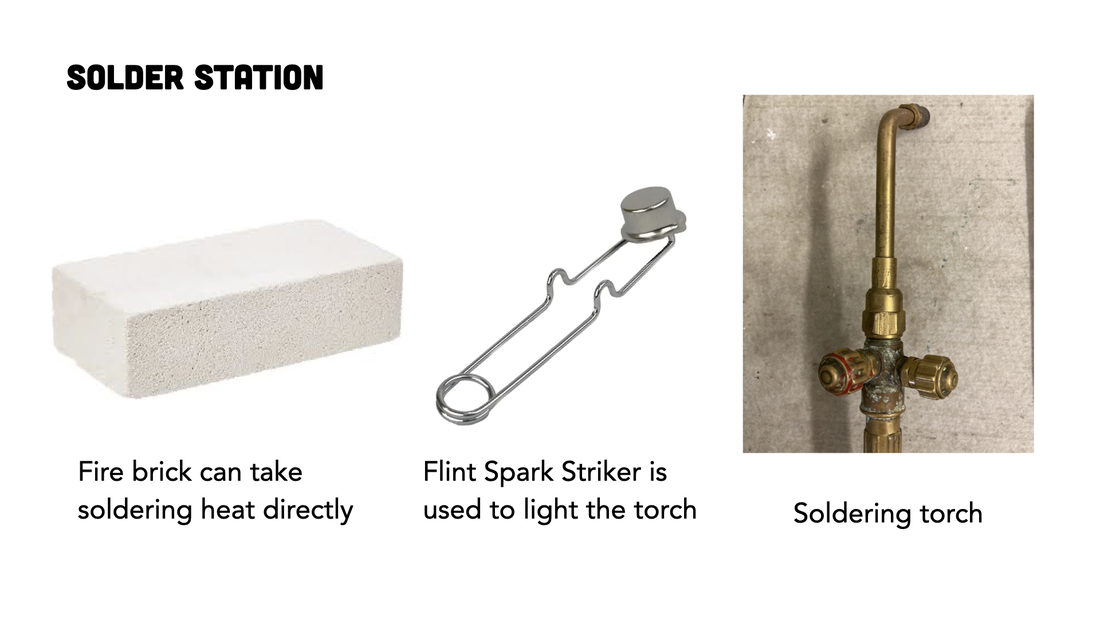
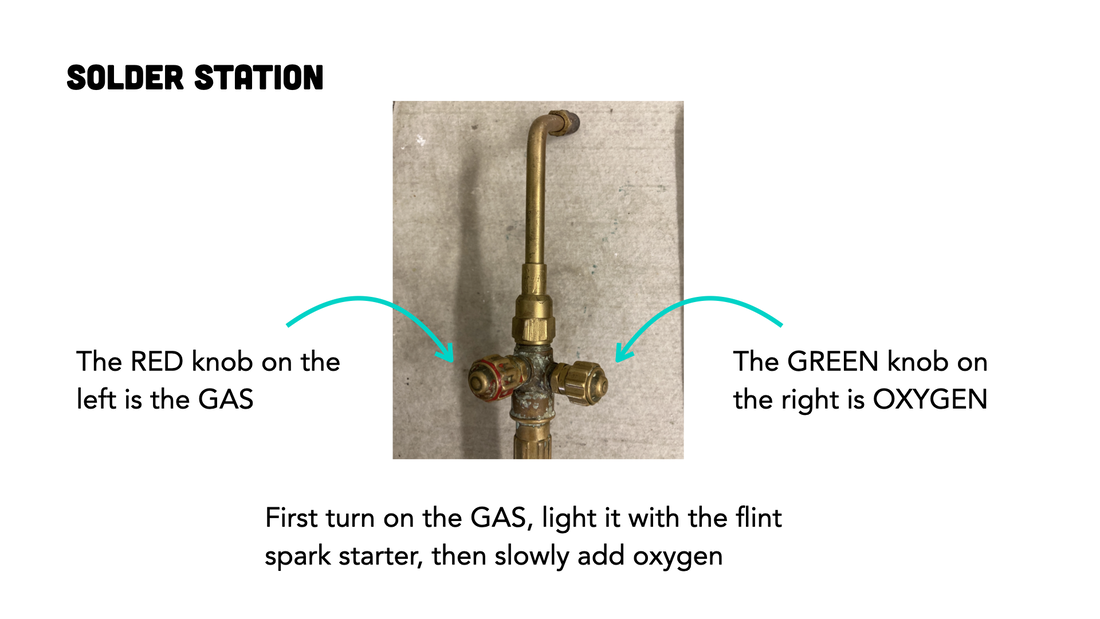
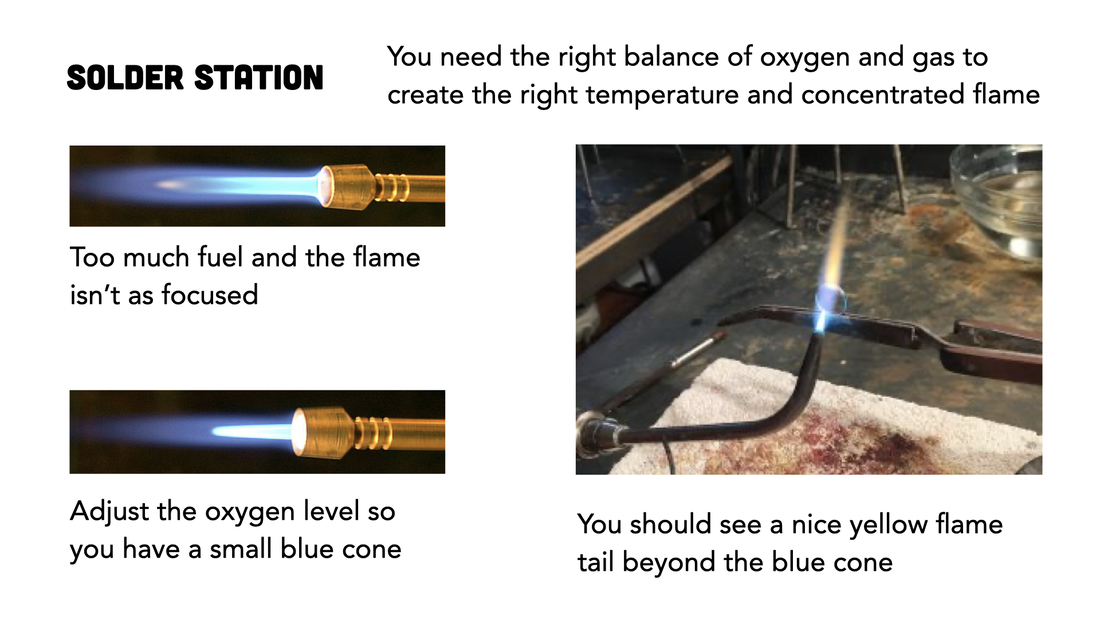
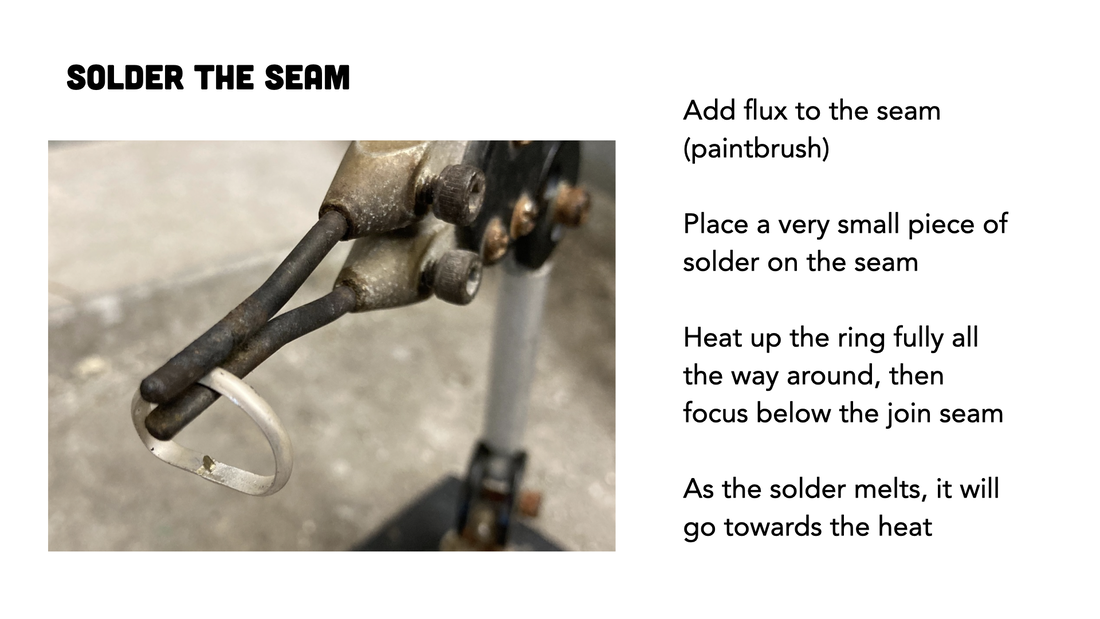
Soldering Station
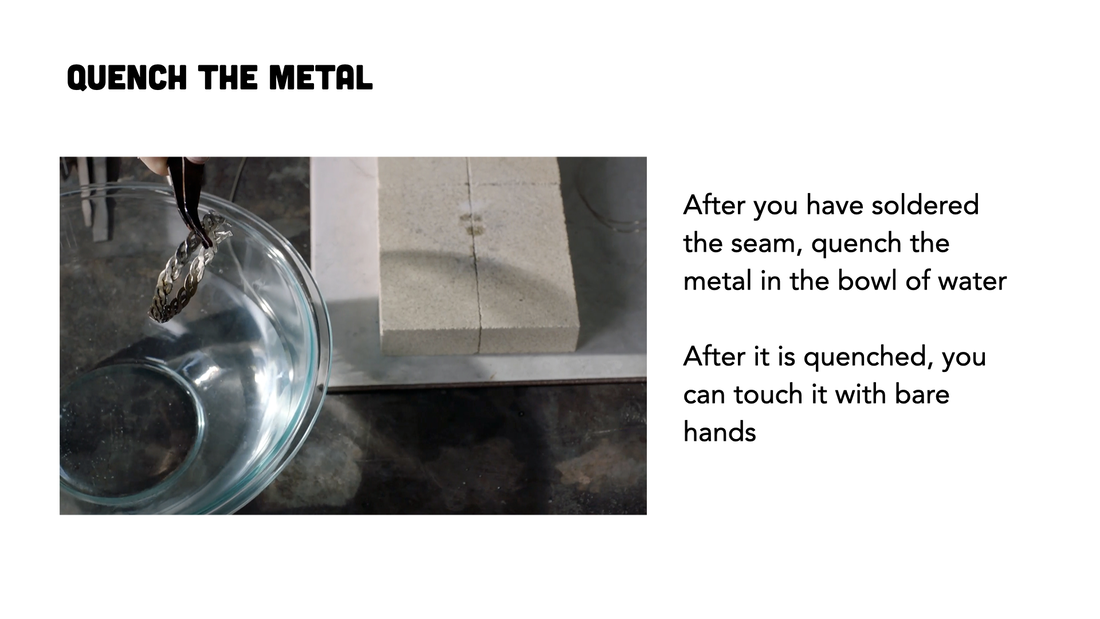
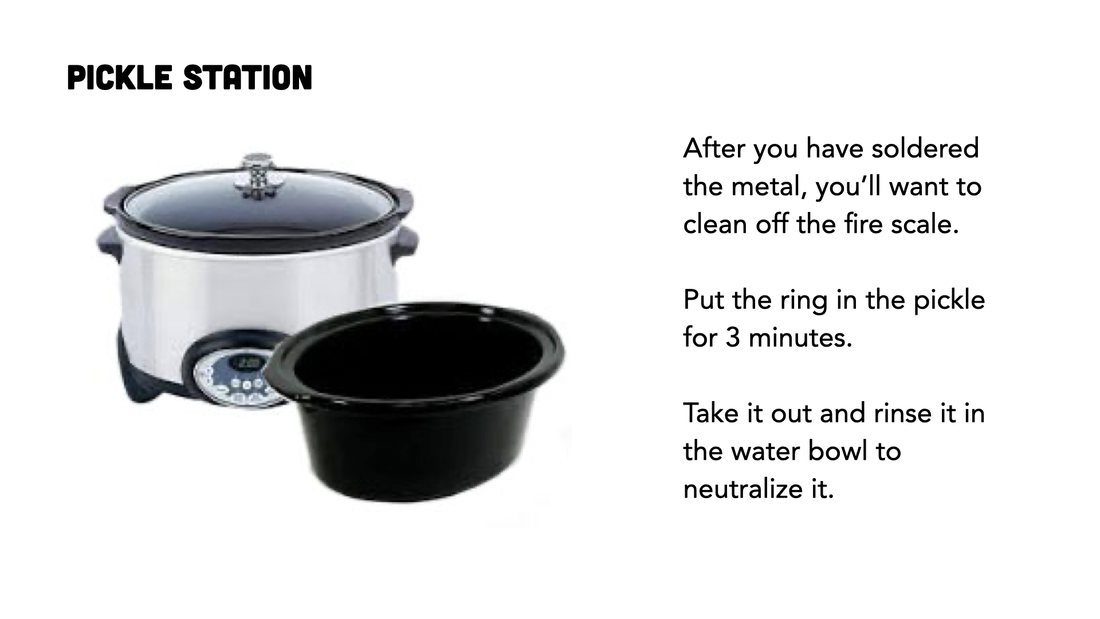
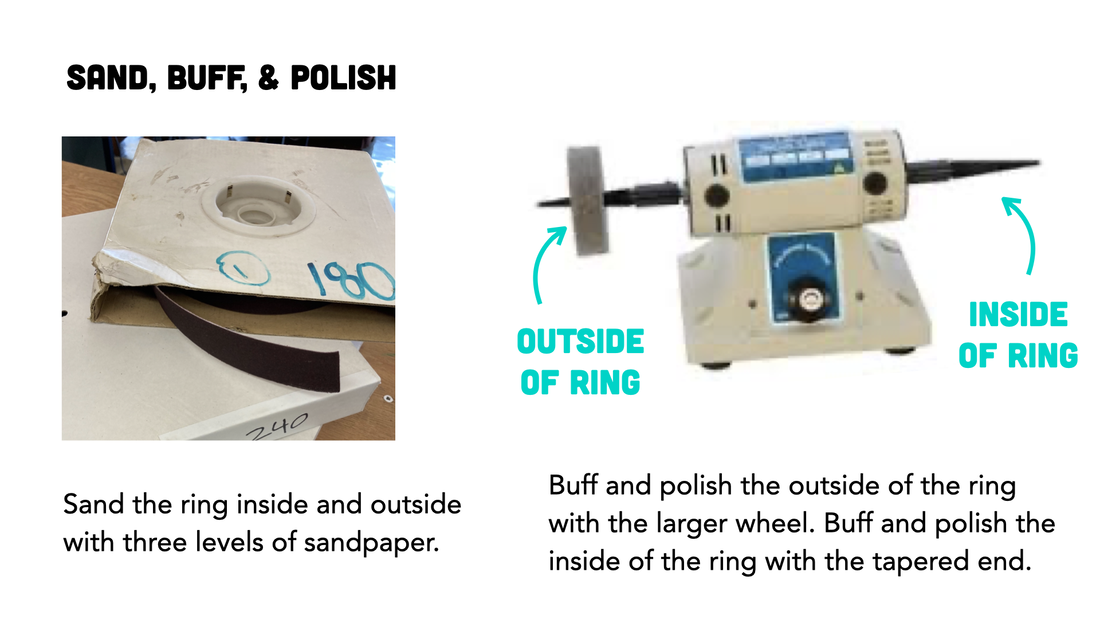
Finishing the Ring

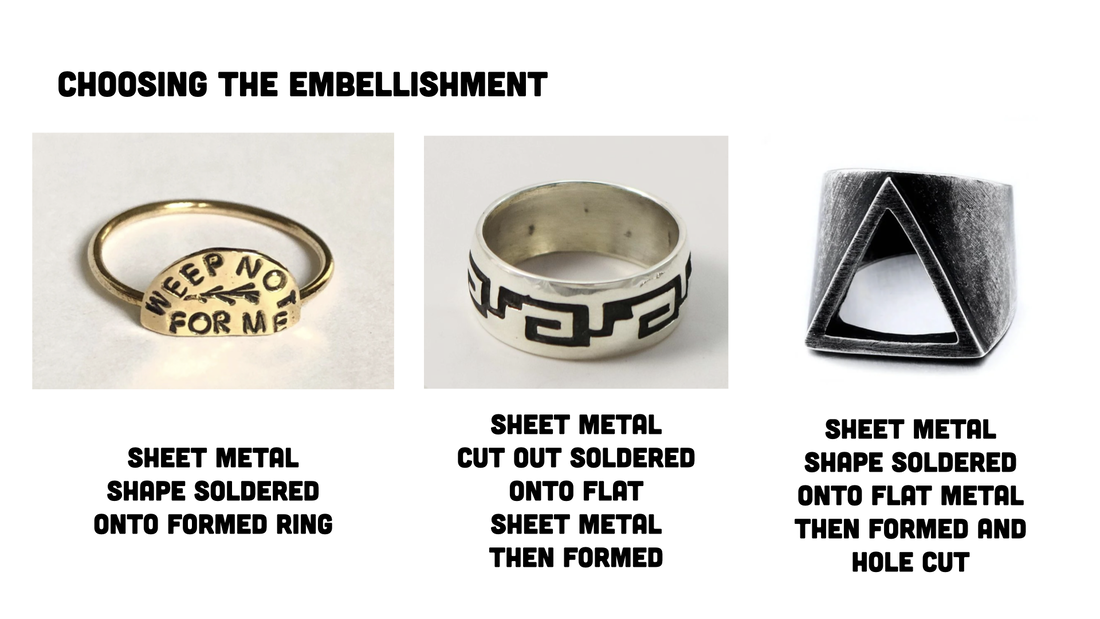
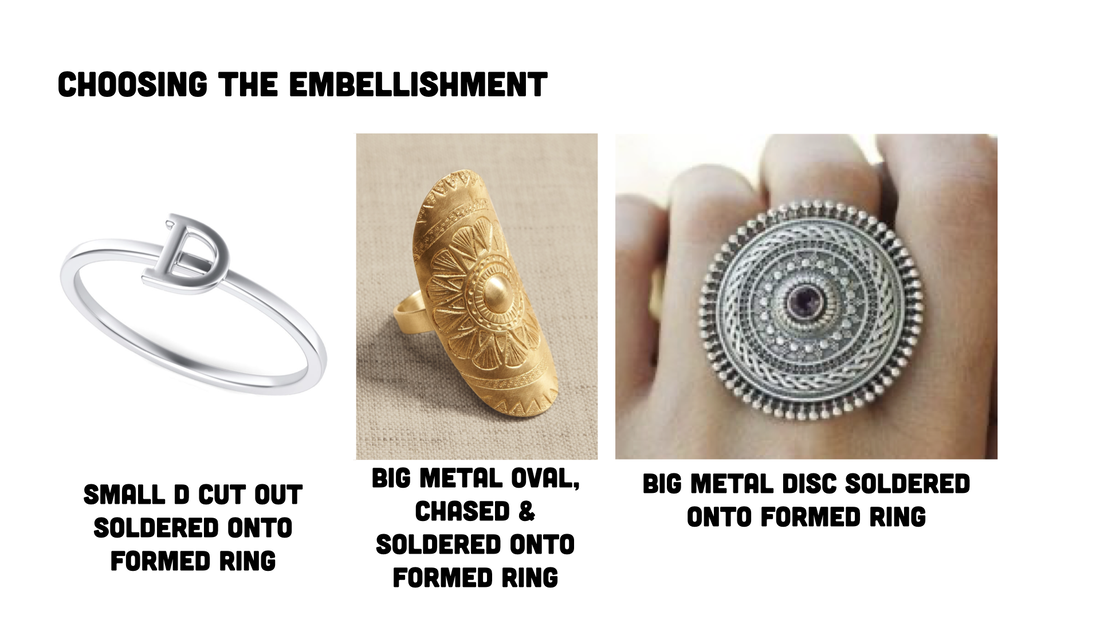
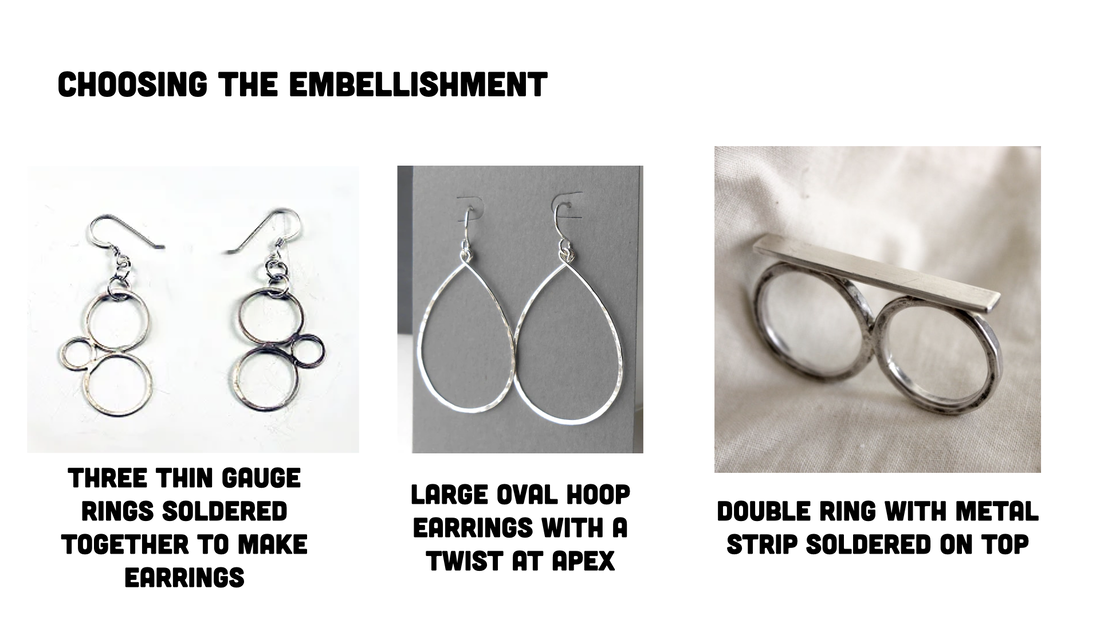
Embellishments

4 Photos of your Rings
Email an image of your 3 Rings
|
Grading Criteria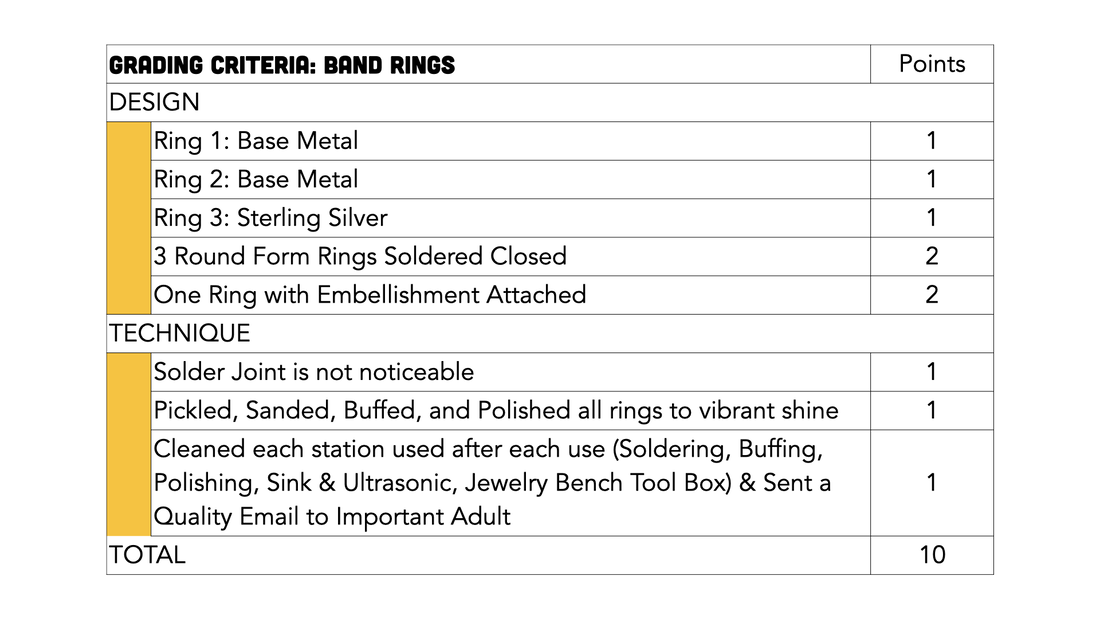
|
