
|
|
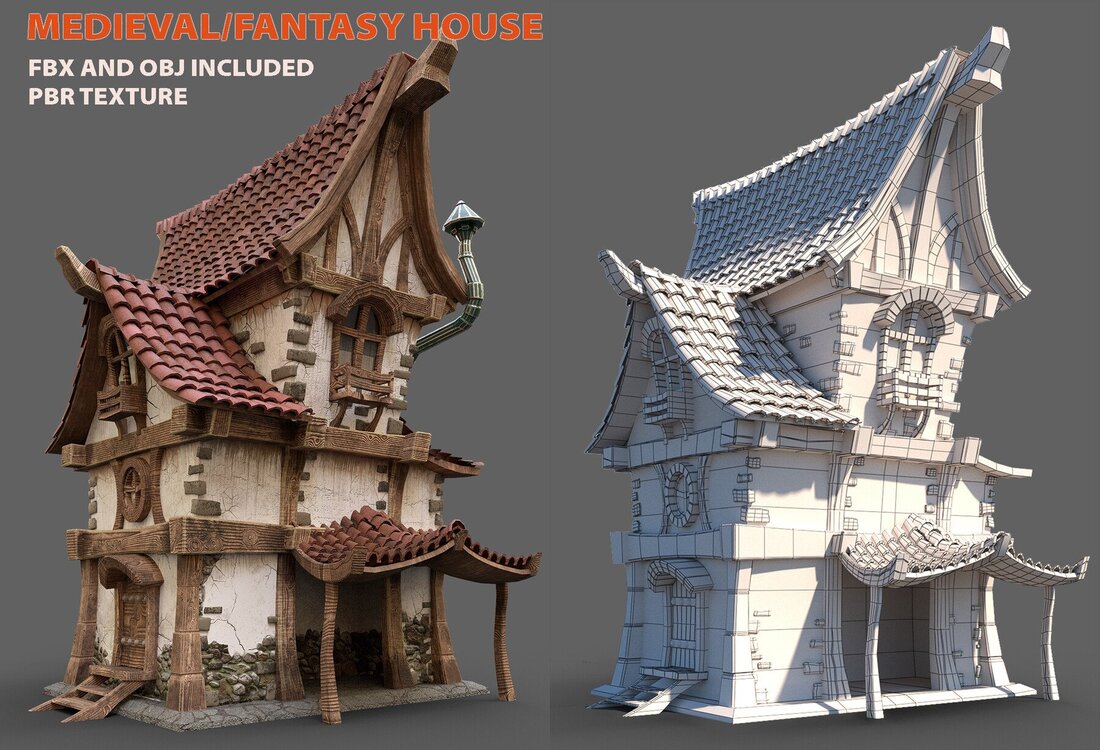
Architectural SculptureStudents will create a small scale architectural sculpture.
This unit has four parts: research and design (researching architectural styles, designing a project), prototype (practicing architectural details), final design in air-dry clay, paper pulp, chipboard, paint, and natural materials, and documentation of the finished work (photos, email, reflection, and critique). |
Overview Unit Goal
Composition Concepts
|
|
Technical Skill VideosResource Book Notes |
Order of WorkPrototype: Detail Practice
|
Sculpture Criteria
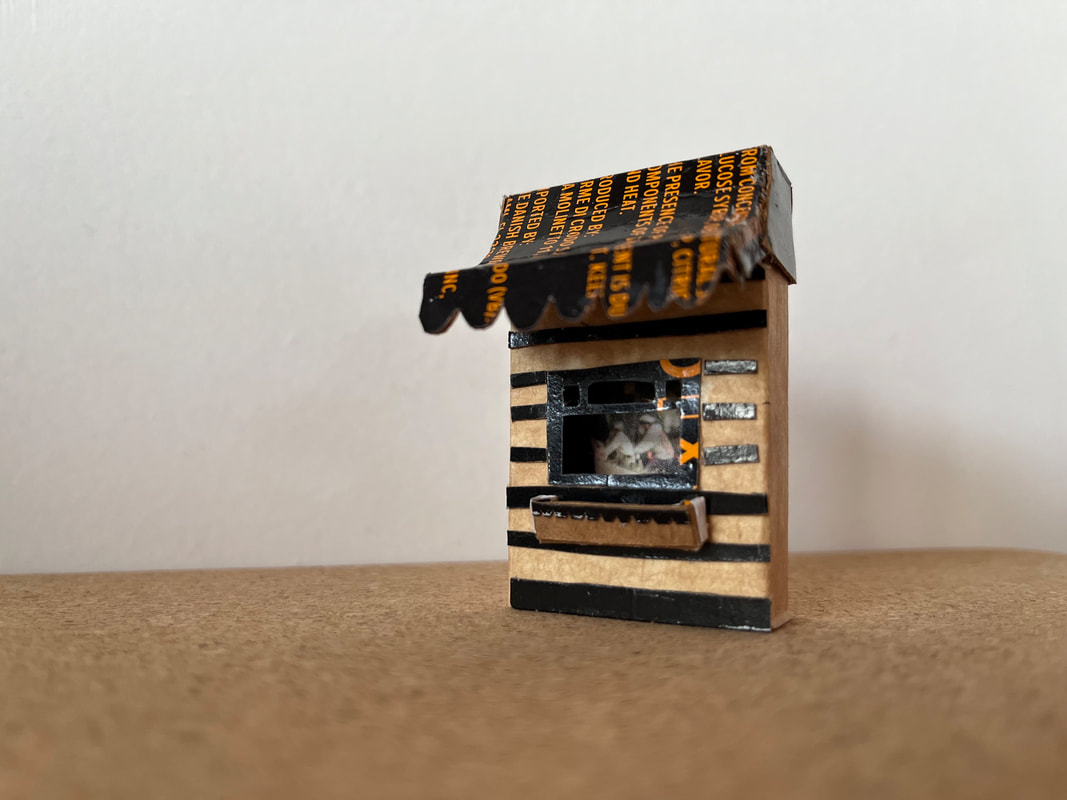
Architectural Sculpture should have an average size of 6 x 6 x 6 inches.
Create 3+ details for the interior, 3+ details for the facade, and 3+ details for the exterior of your building.
Your structure should be started with one or more of the structural materials (bottle, cardboard, sticks/wood, cardstock, chipboard/cereal box, paper).
Your structure should use at least one detail materials (air-dry clay, resin, paper, wood).
|
STRUCTURE MATERIALS
DETAIL MATERIALS
|
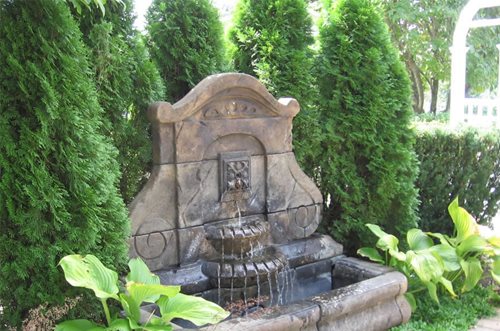
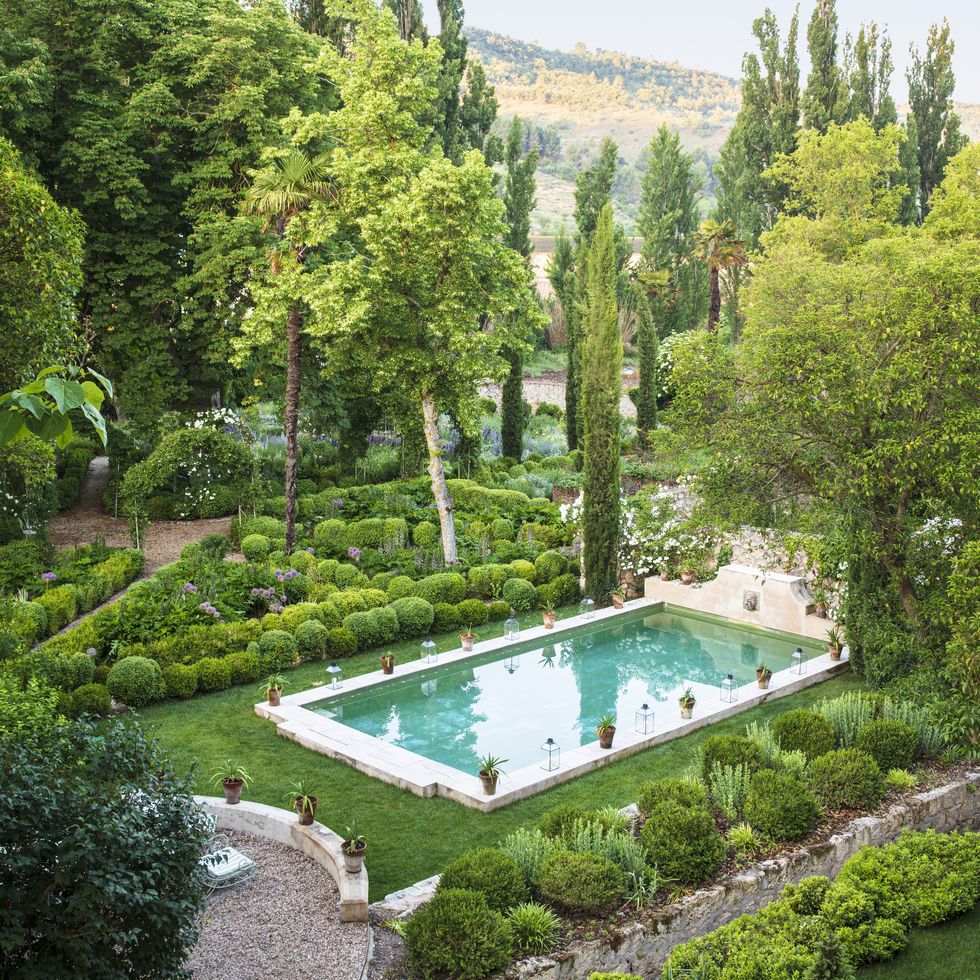
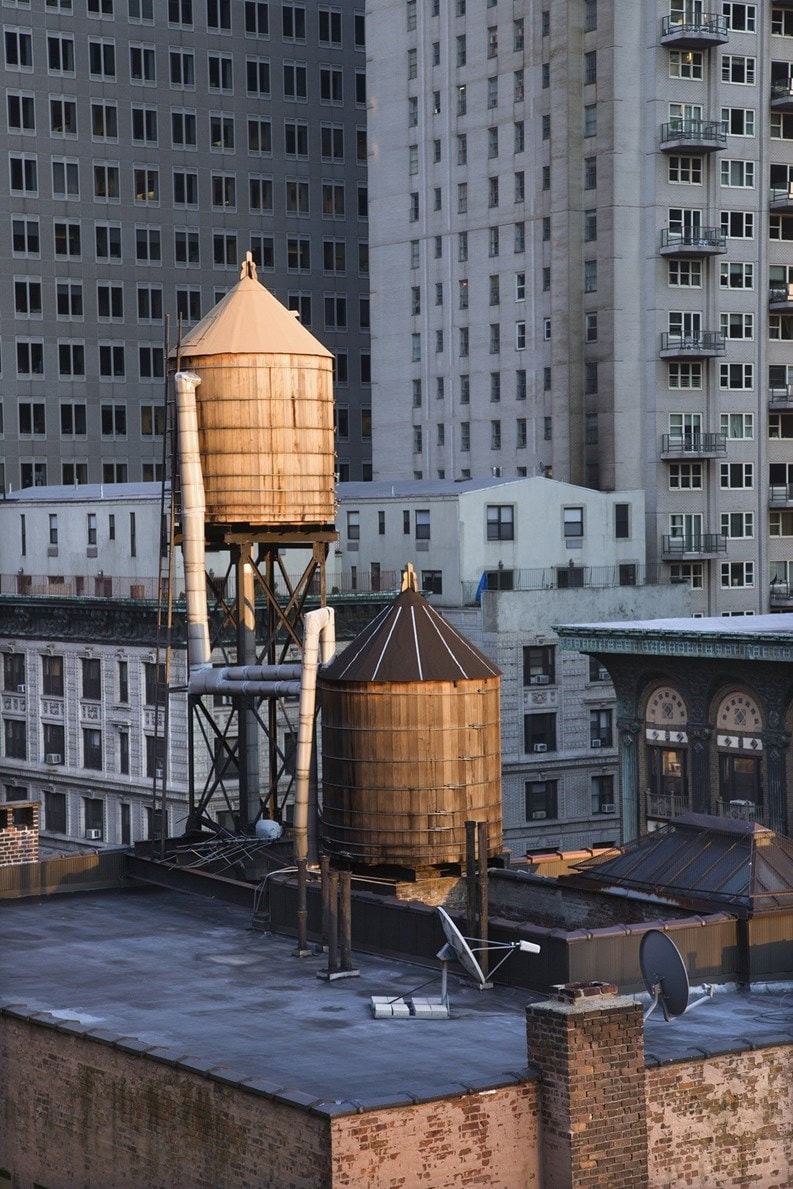
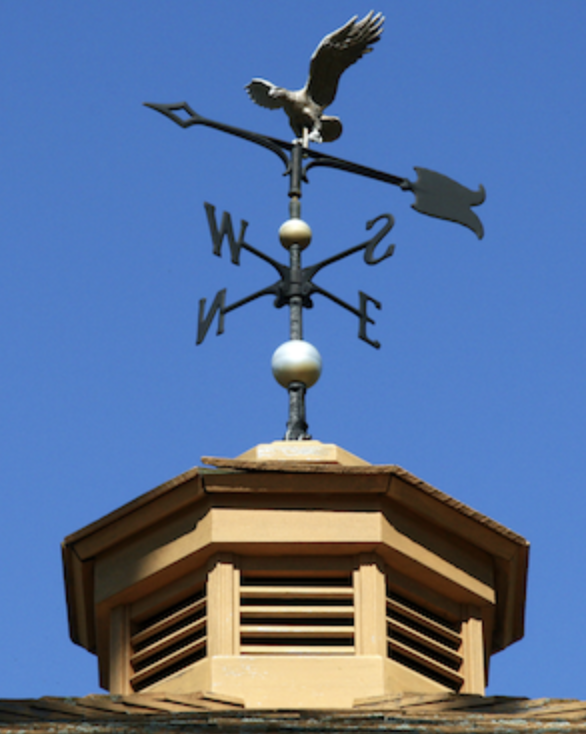
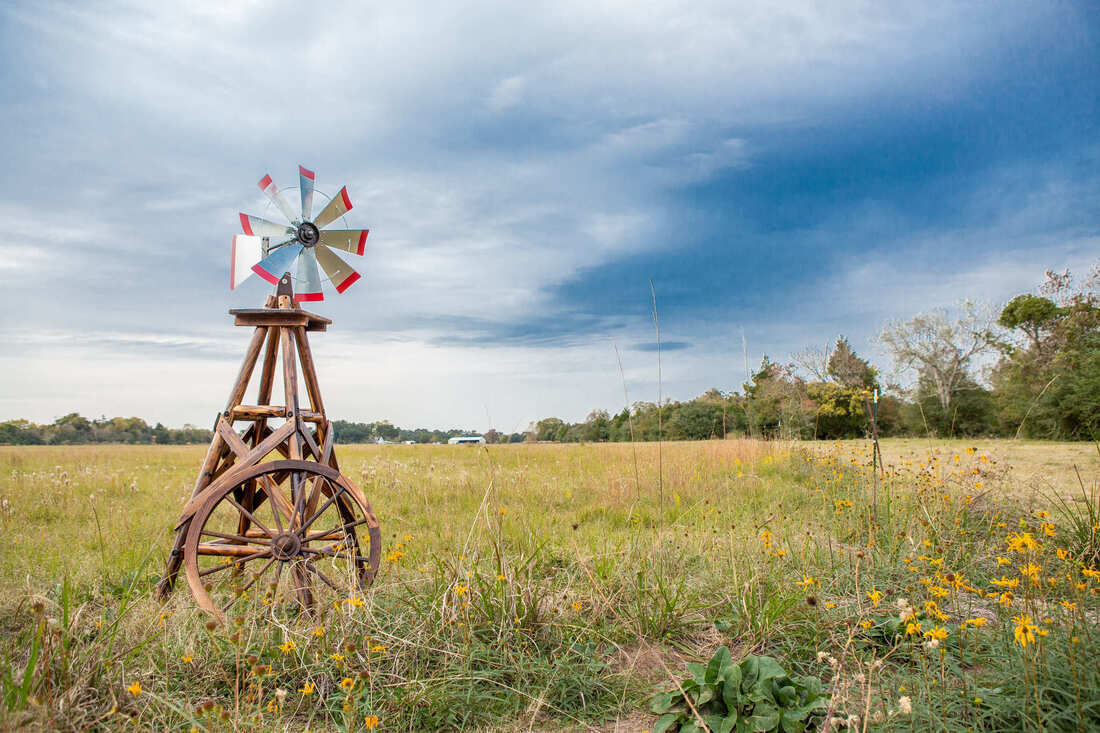
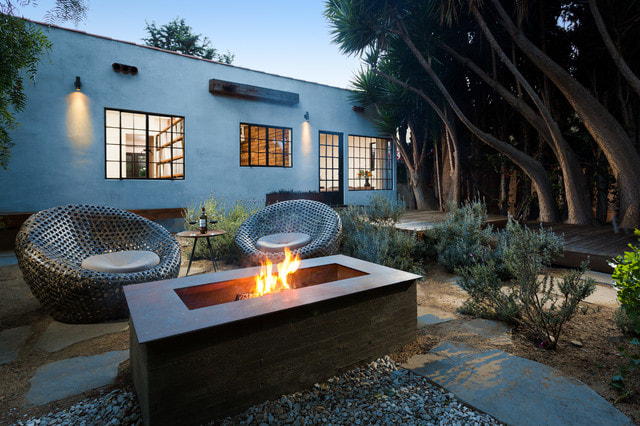
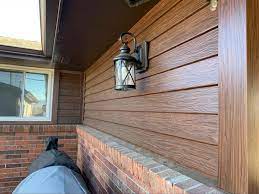
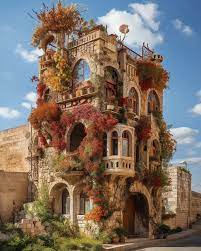
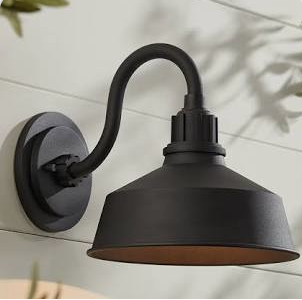
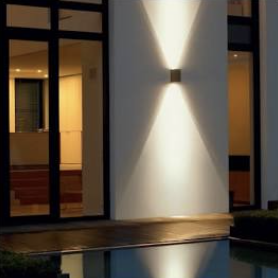
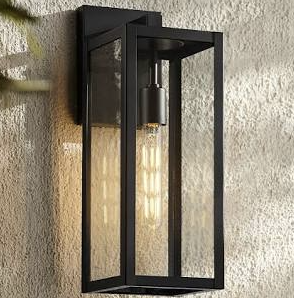
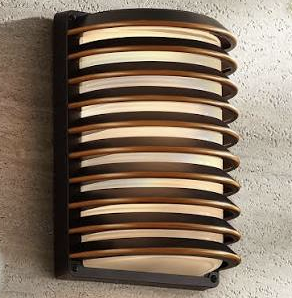
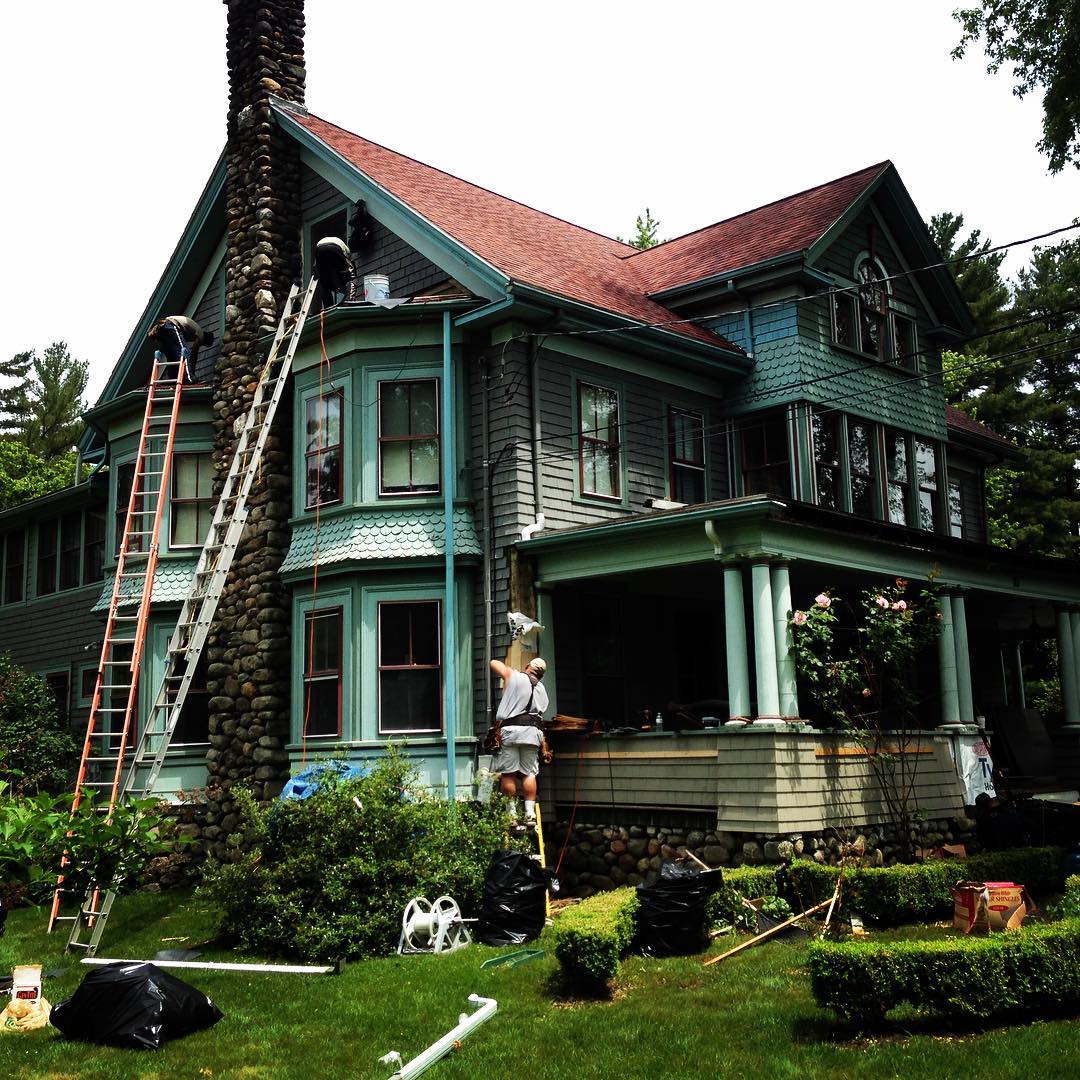
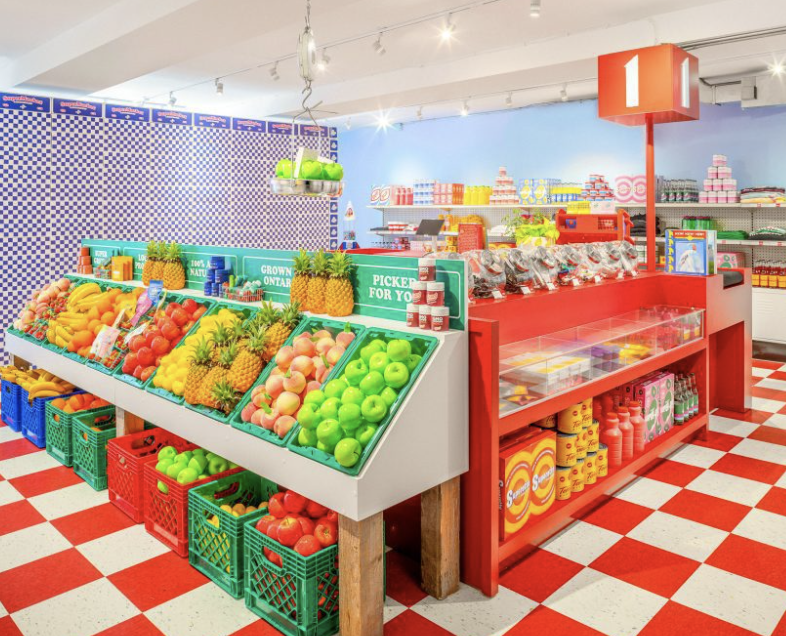
EXTERIOR DETAILS
|
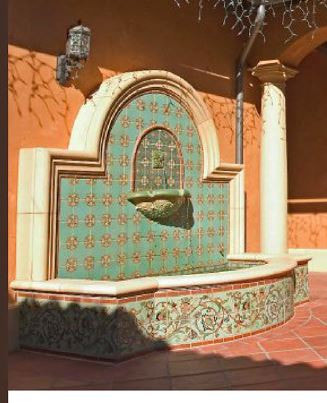
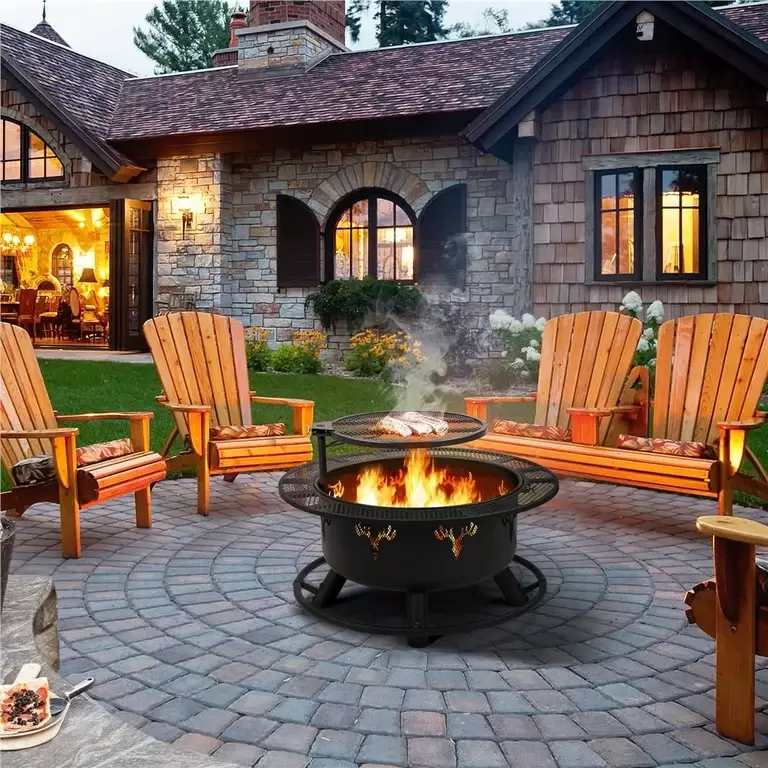
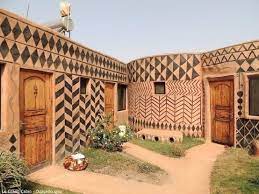
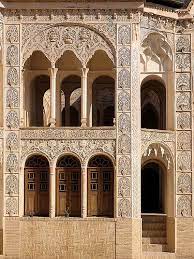
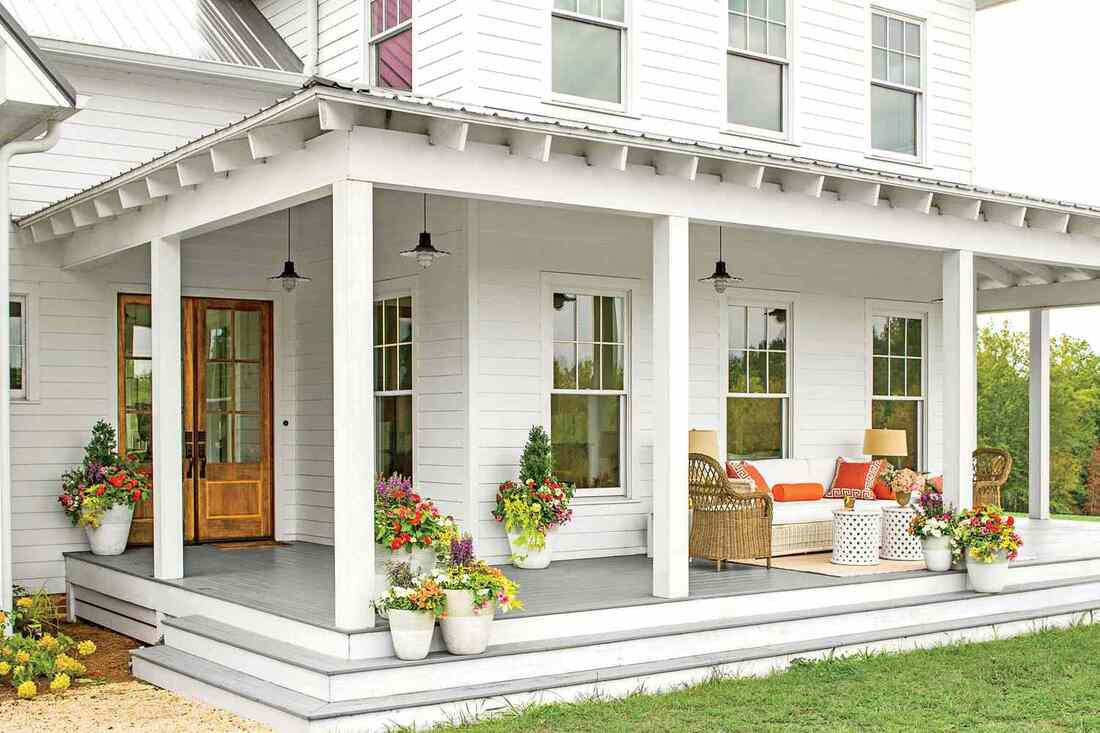
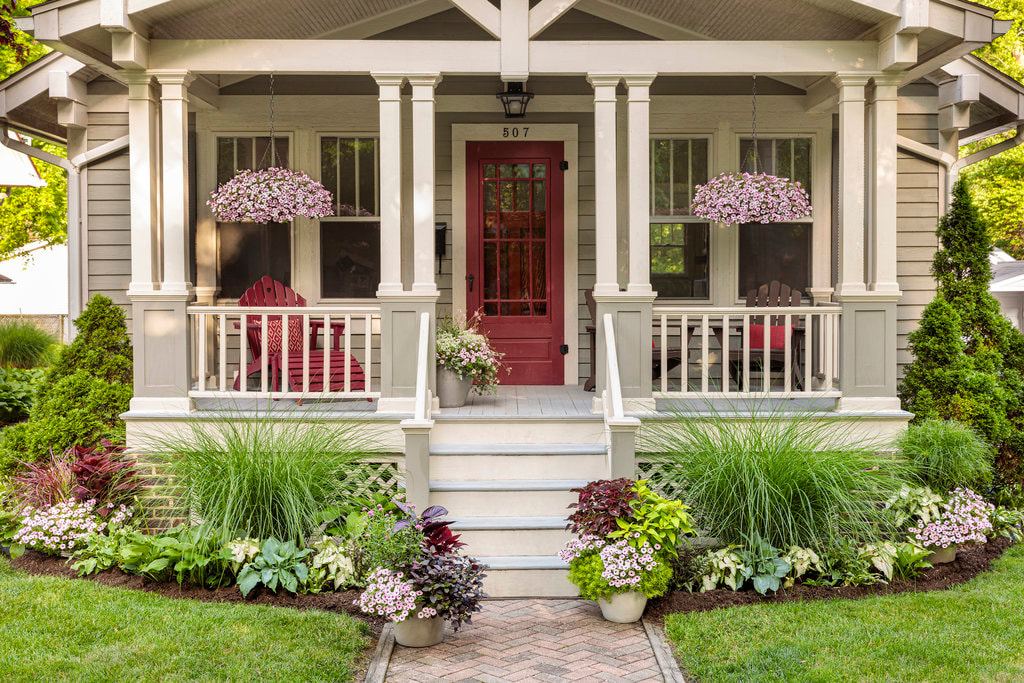
FACADE DETAILS
|
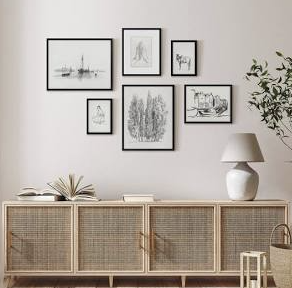
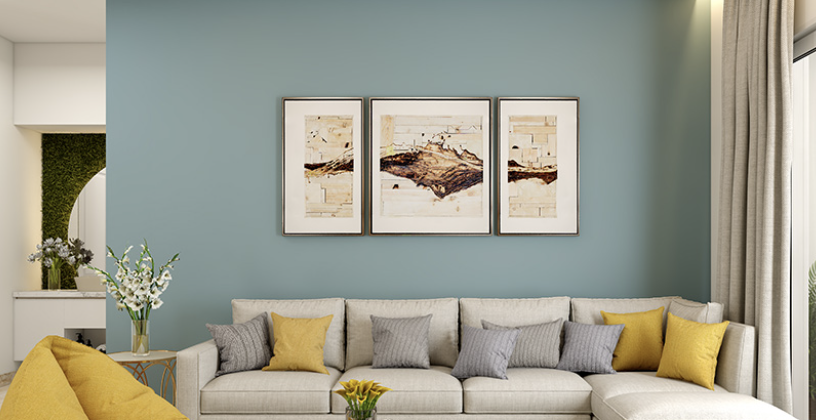
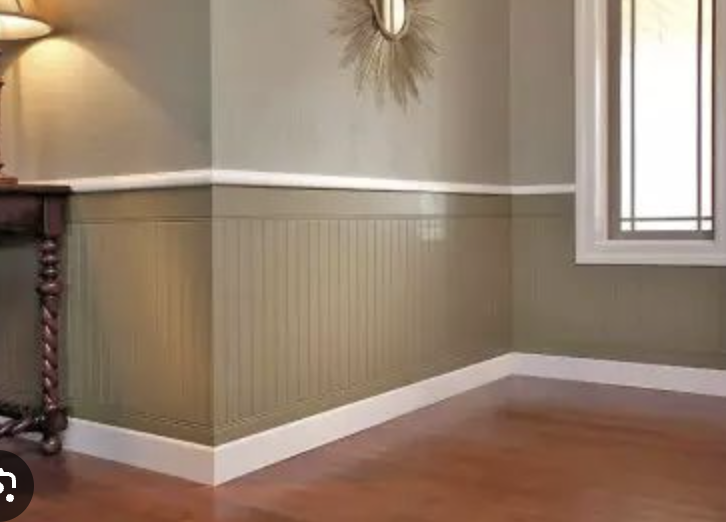
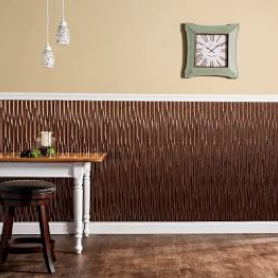
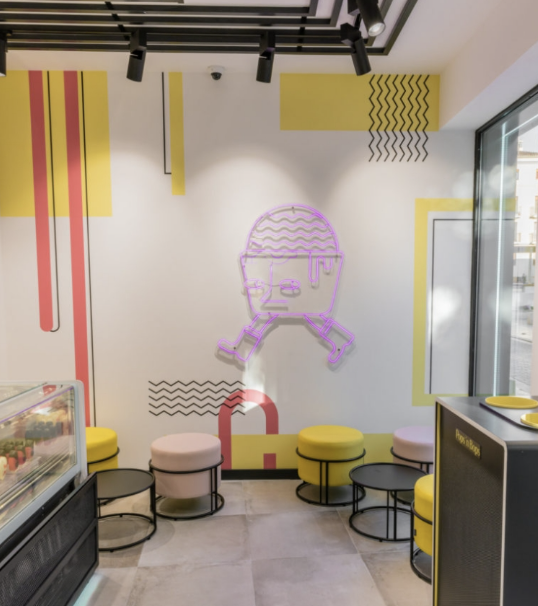
INTERIOR DETAILS
|
Glue Technique
USE A GLUE SPREADER TO SPREAD A THIN EVEN LAYER OF GLUE ON THE TWO PARTS THAT WILL BE JOINED
HOLD THE TWO PARTS TOGETHER FOR TEN SECONDS. THE GLUE SHOULD BE DRY AFTER TEN SECONDS IF YOUR GLUE LAYER WAS THIN ENOUGH.
HOLD THE TWO PARTS TOGETHER FOR TEN SECONDS. THE GLUE SHOULD BE DRY AFTER TEN SECONDS IF YOUR GLUE LAYER WAS THIN ENOUGH.
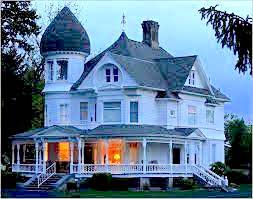
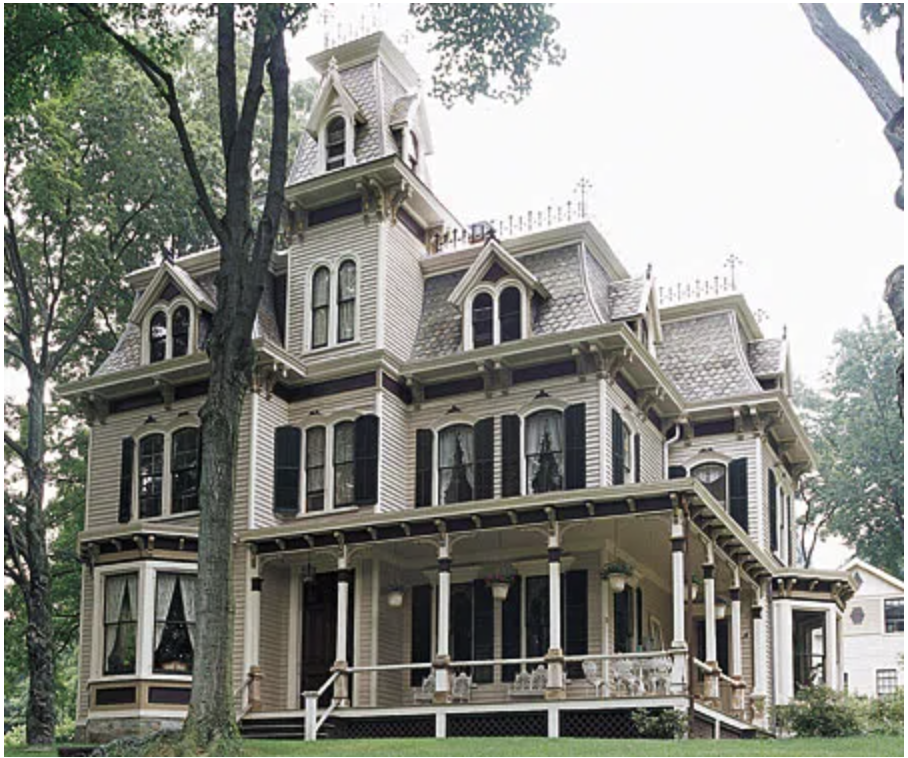
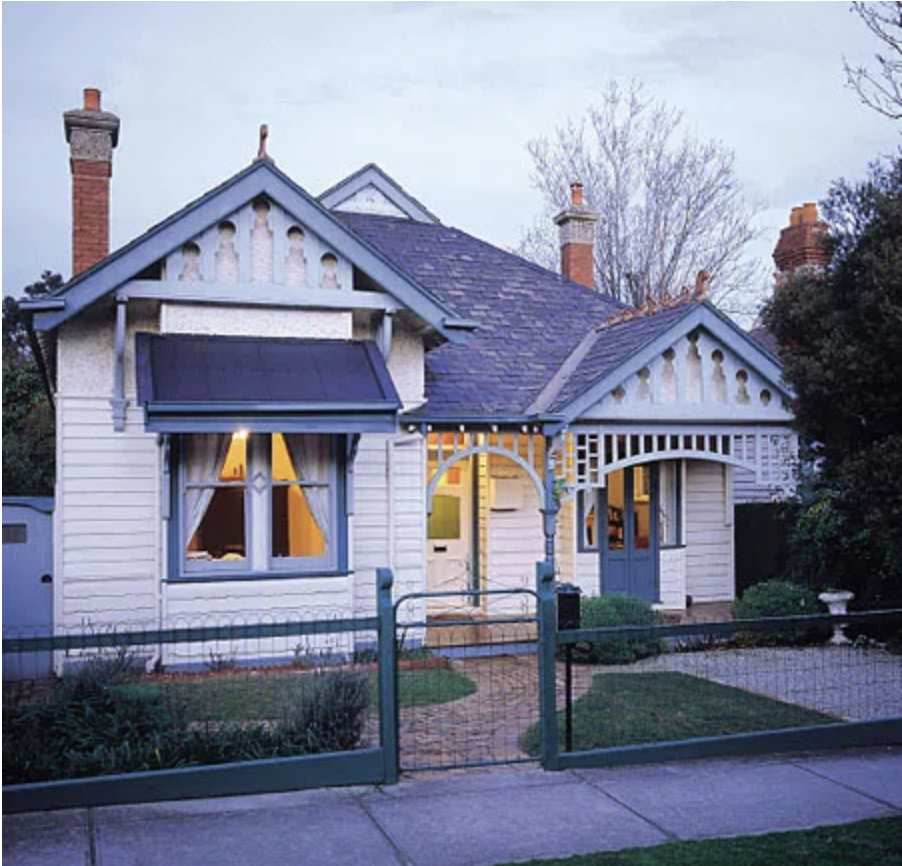
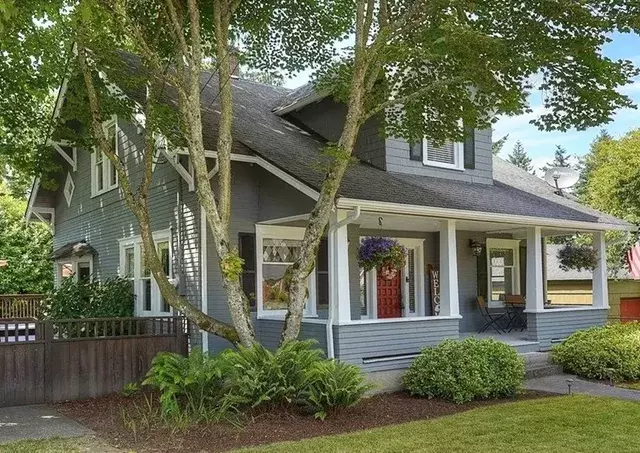
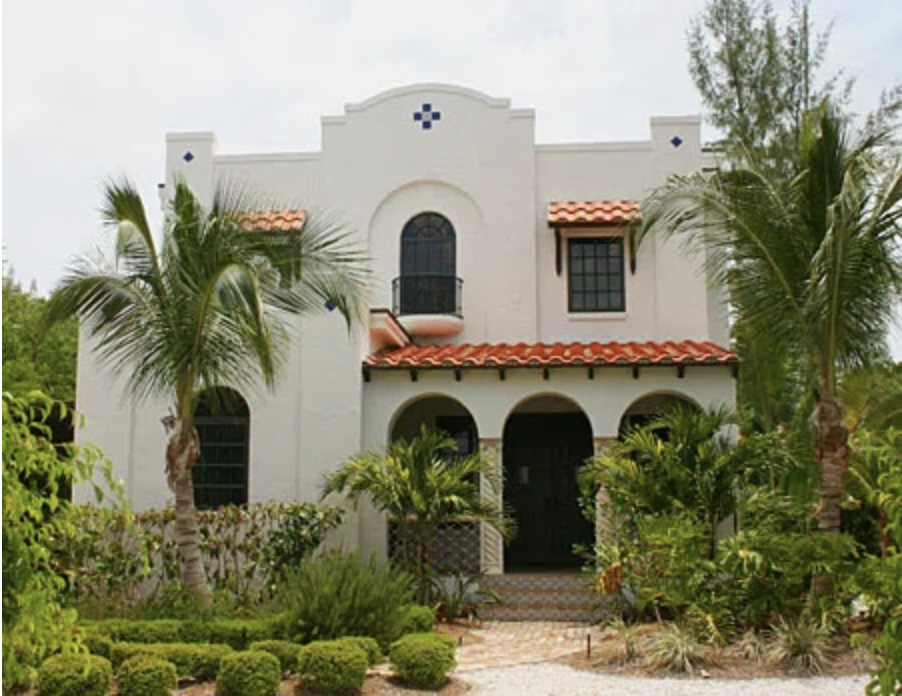
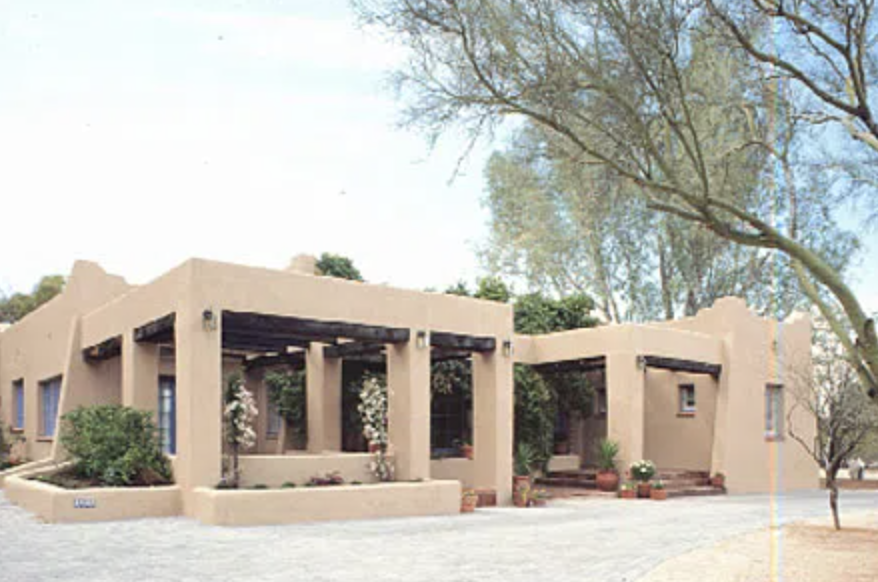
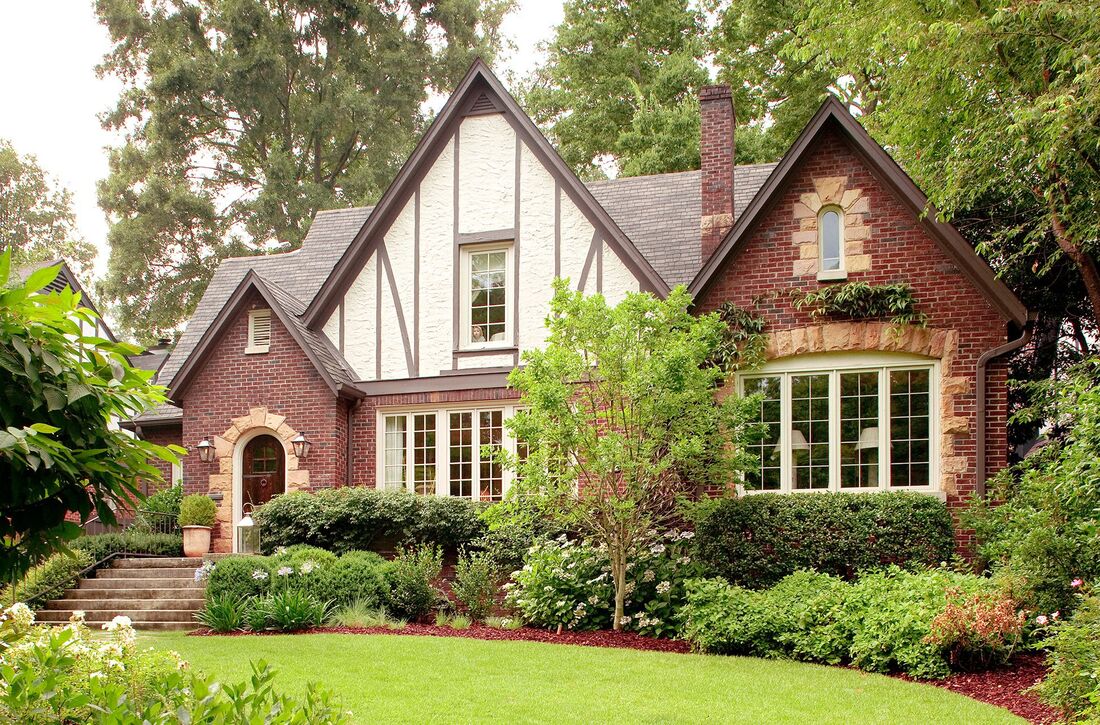
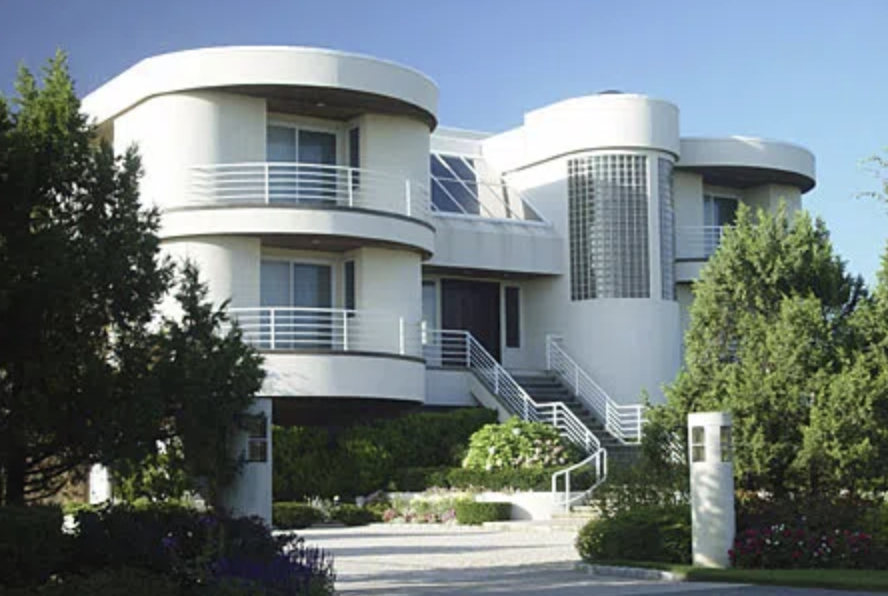
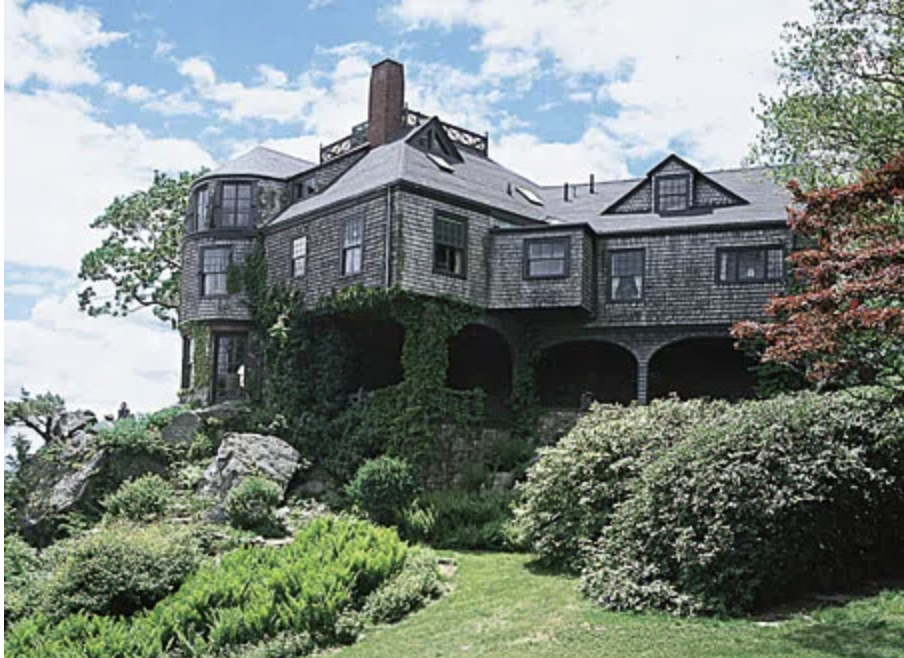
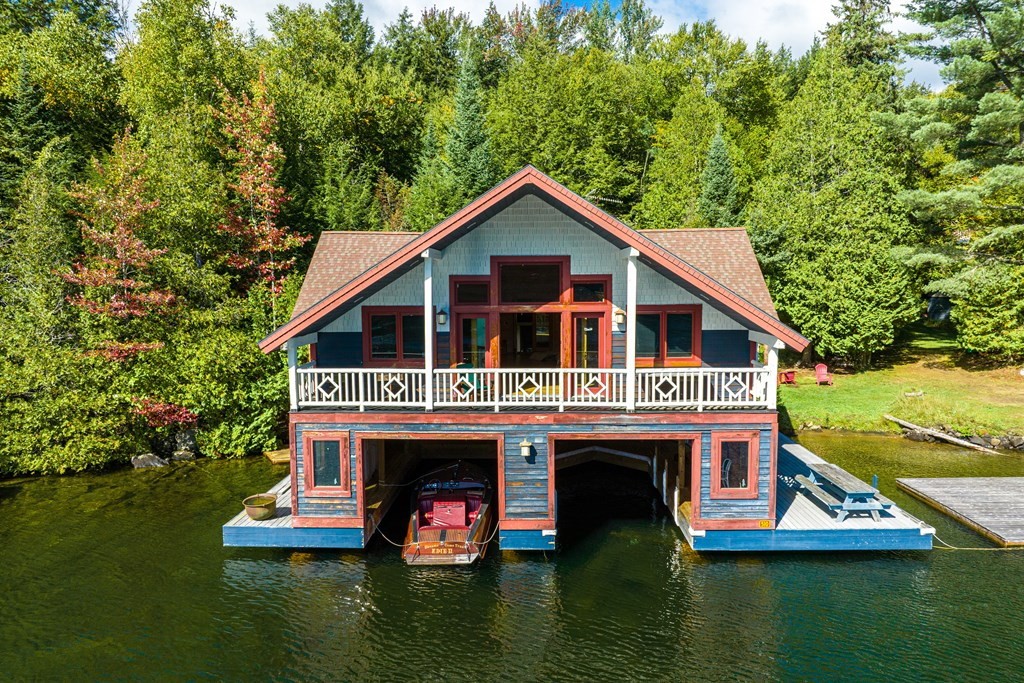
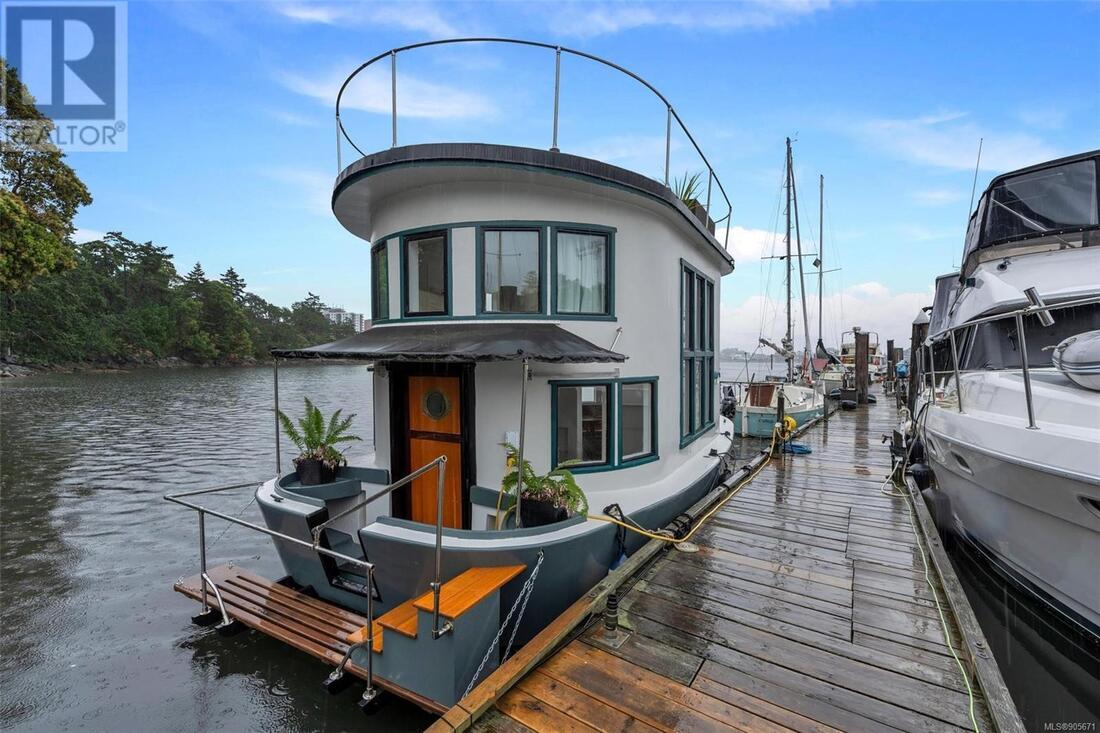
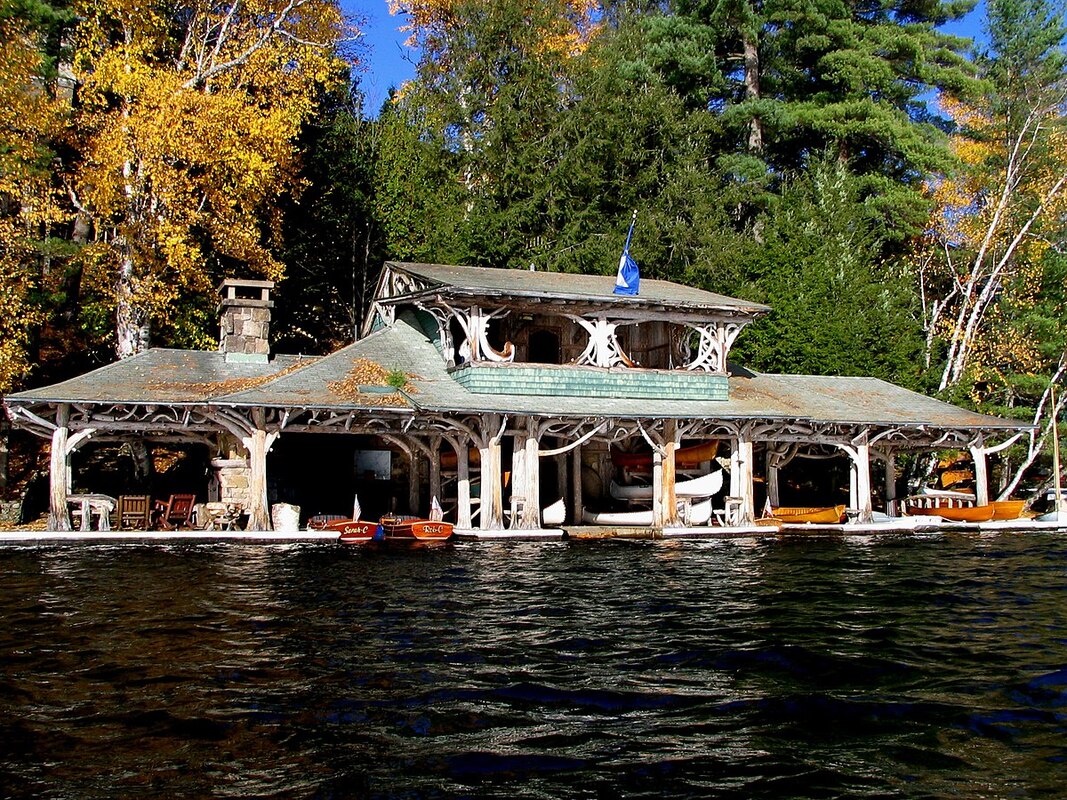
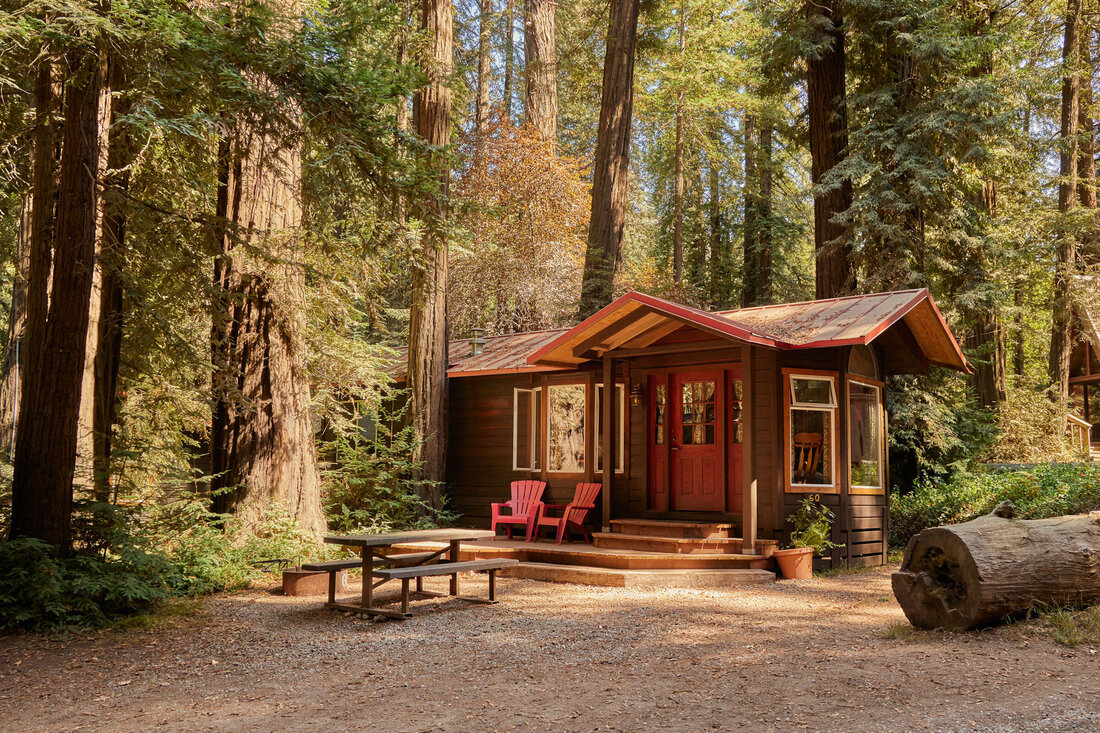
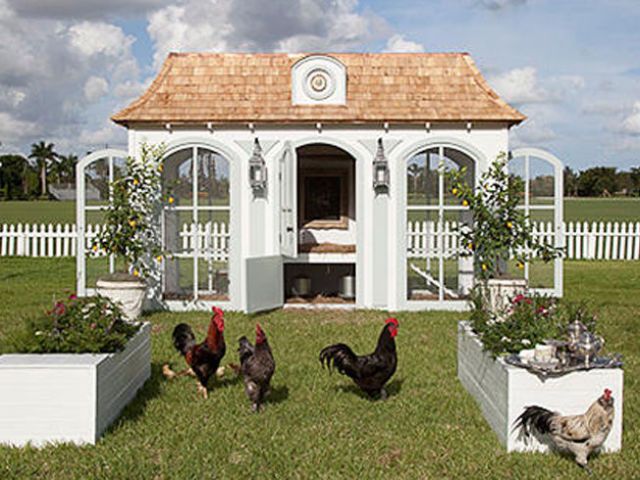
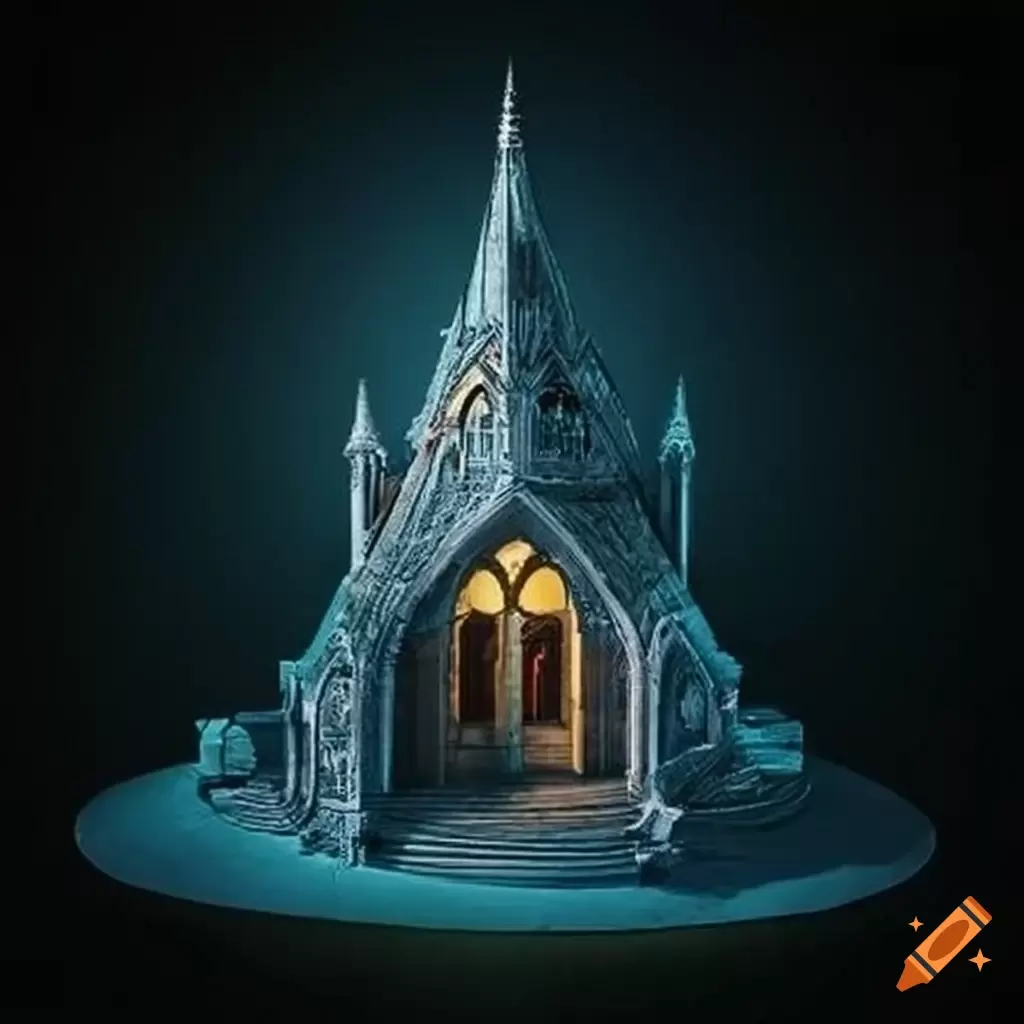
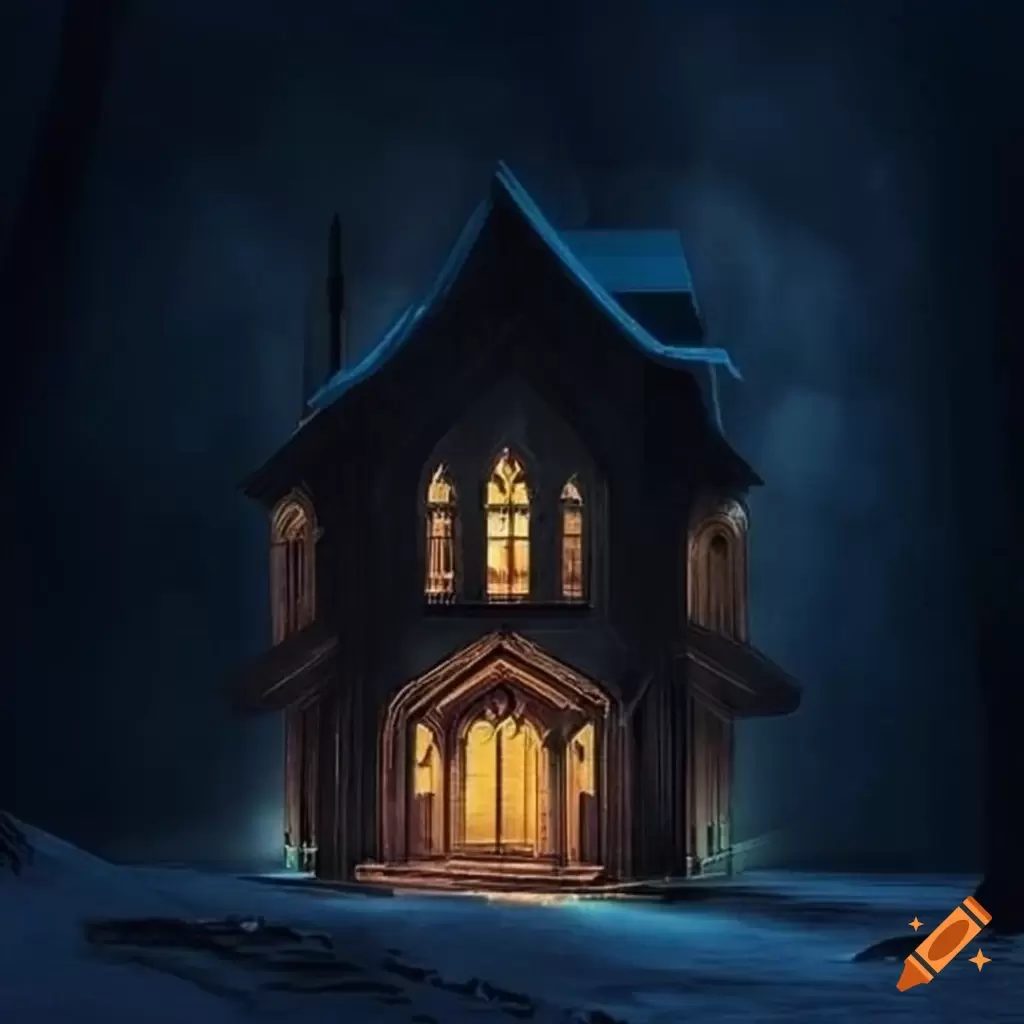
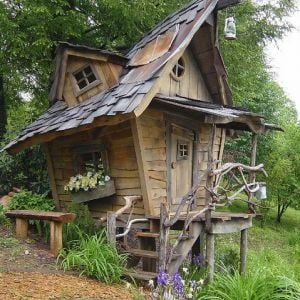
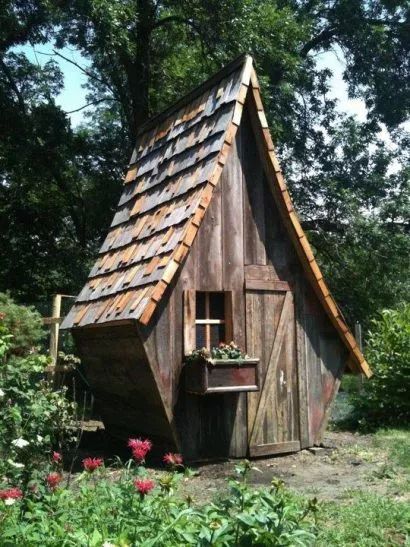
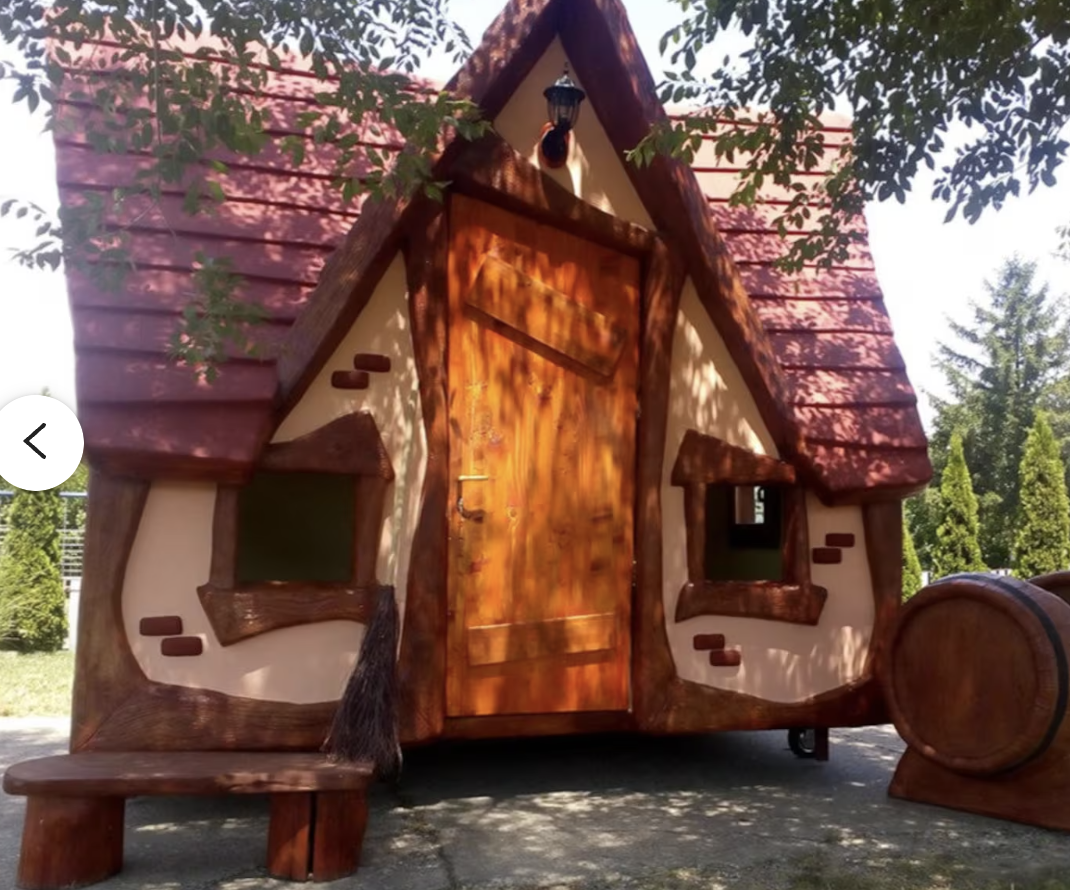
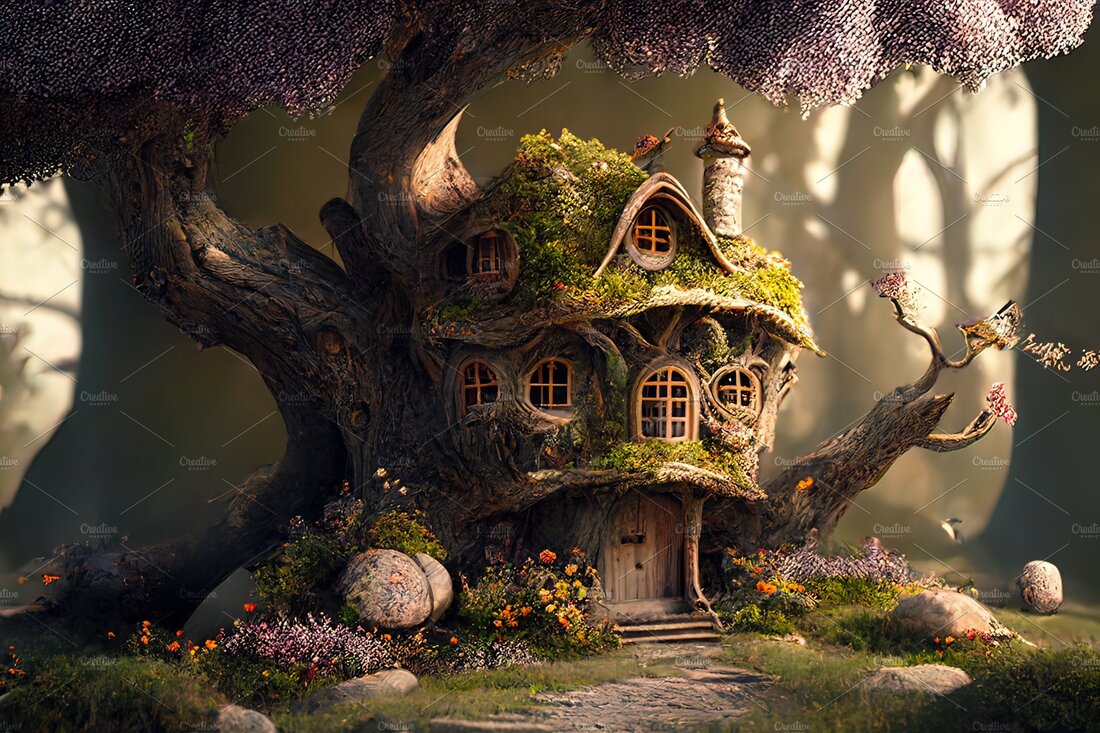
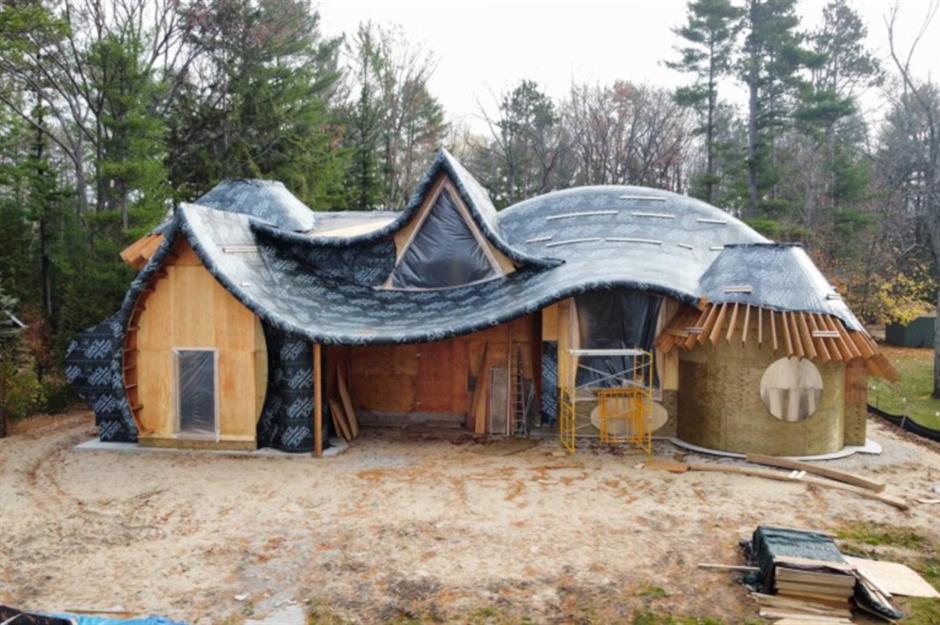
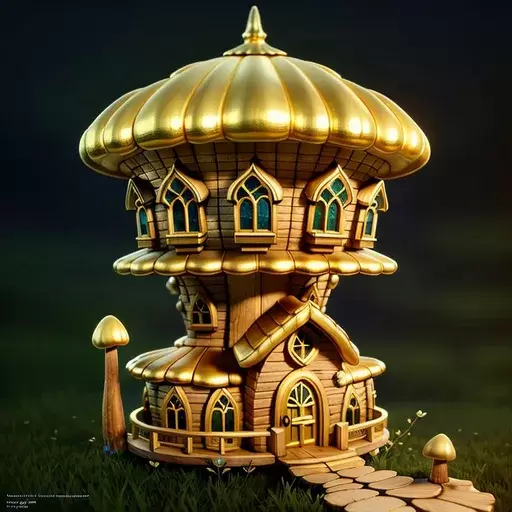
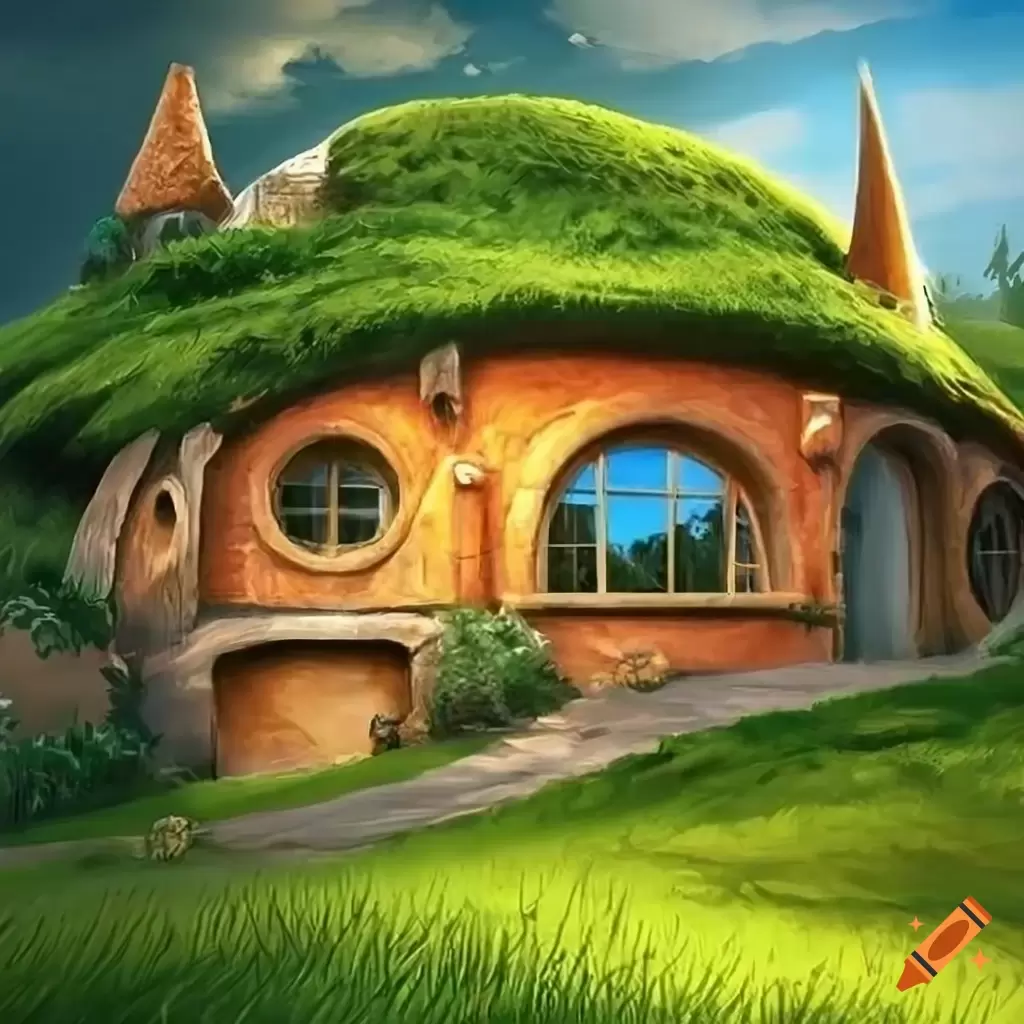
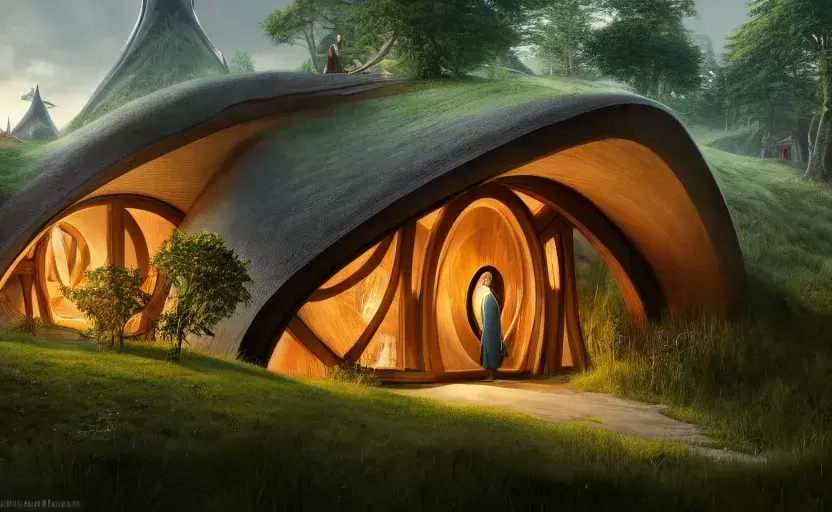
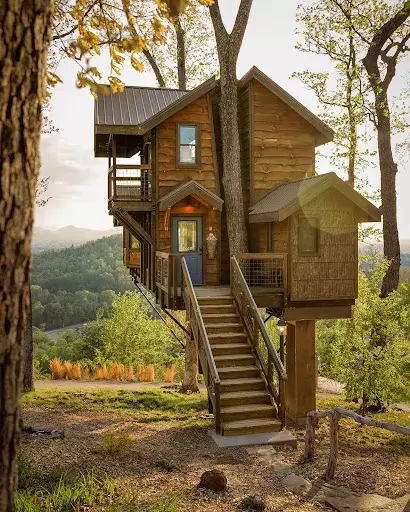
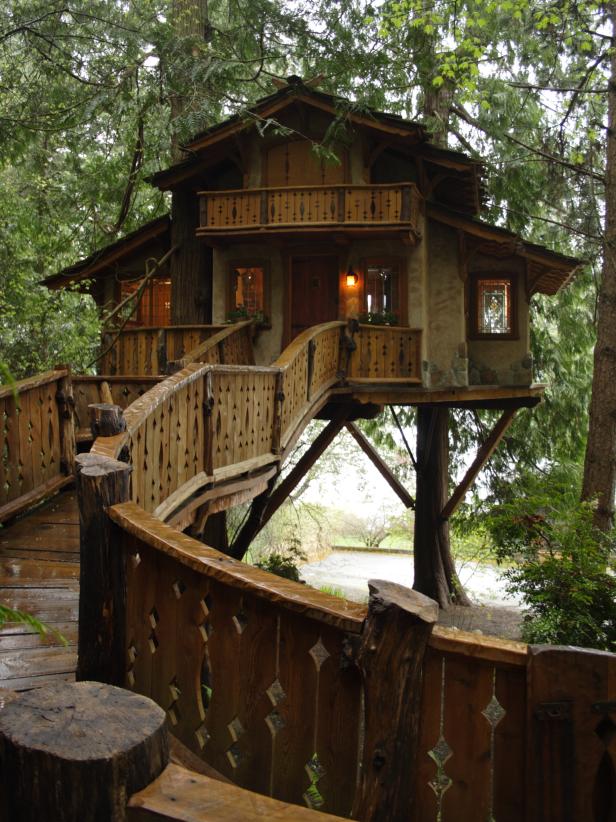
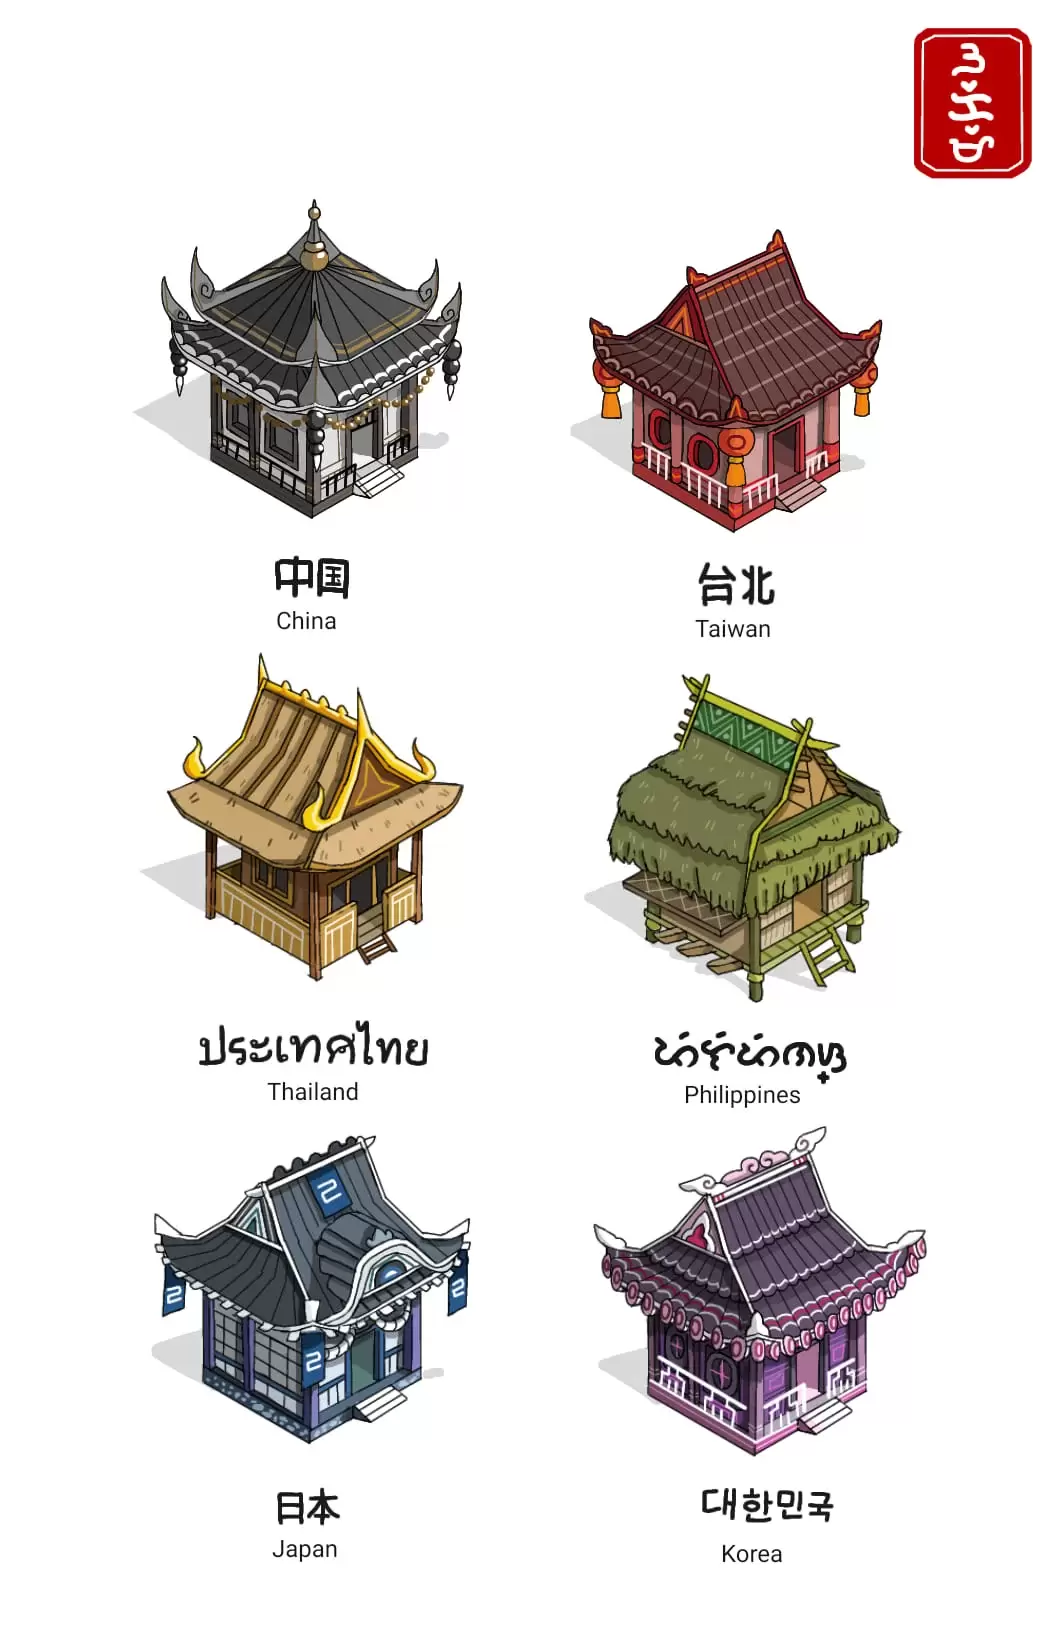
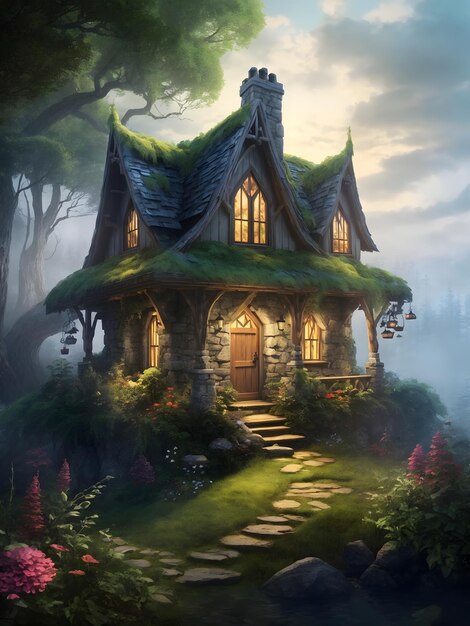
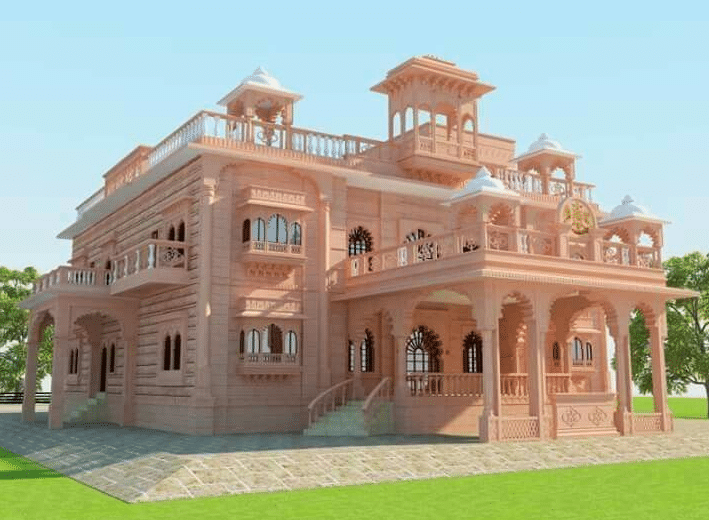
Architectural Design Ideas
|
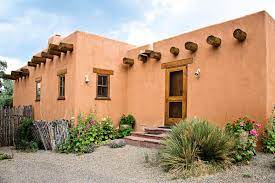
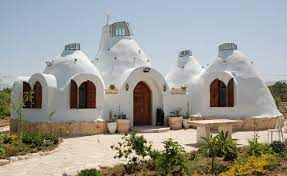
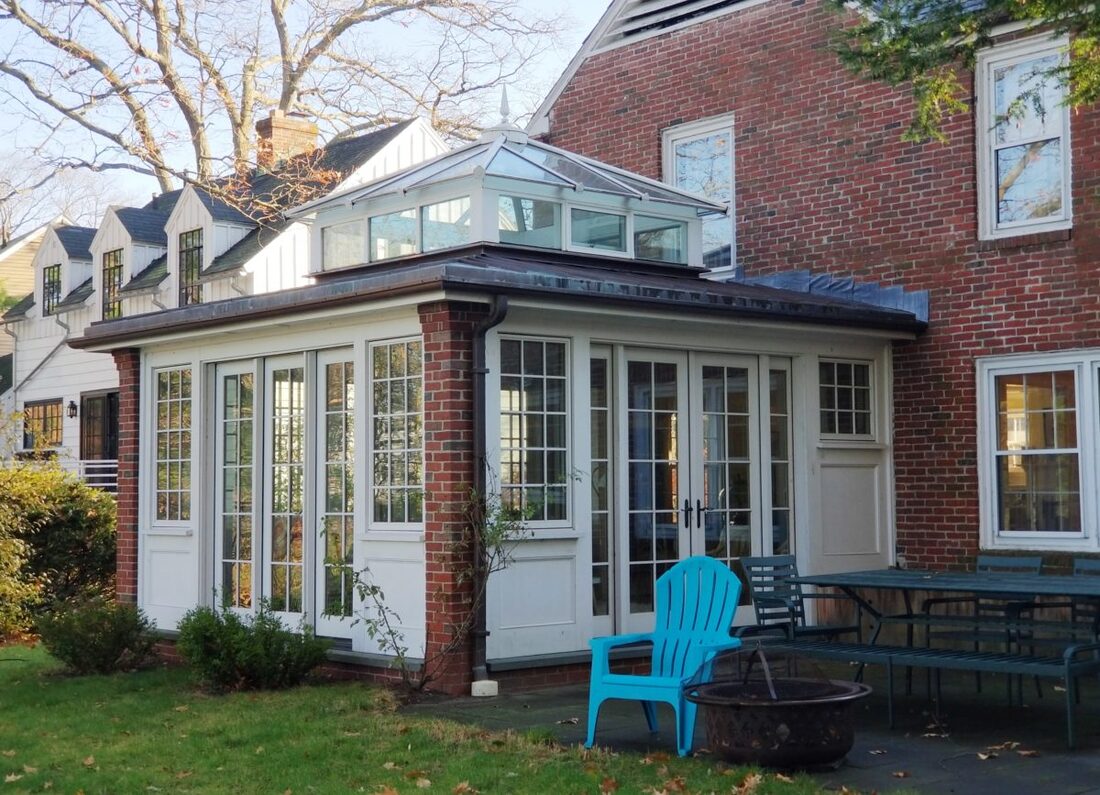
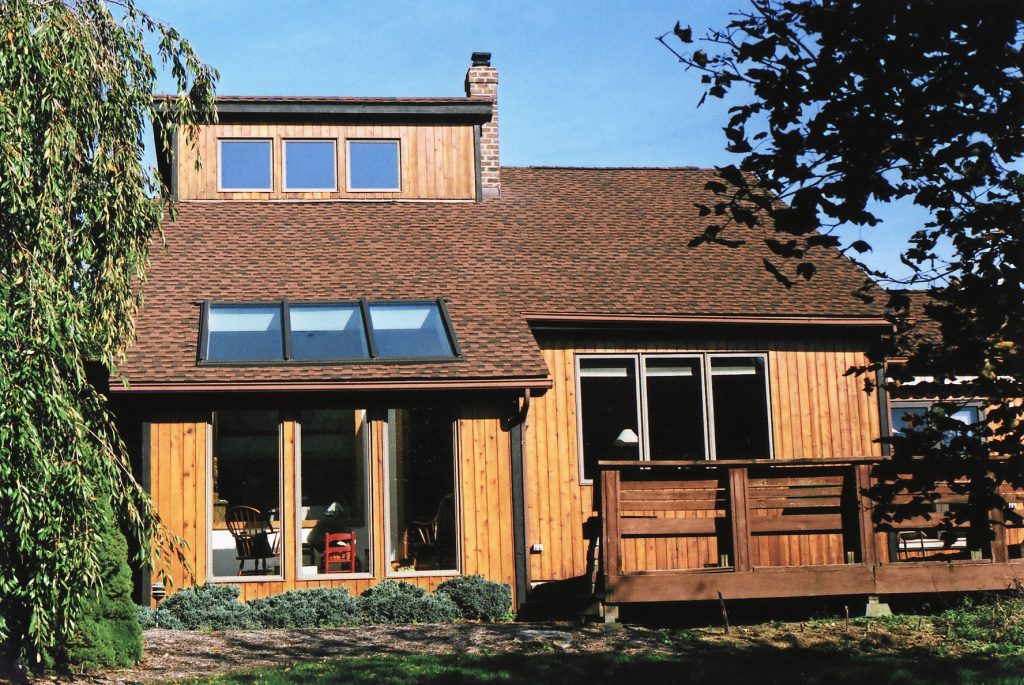
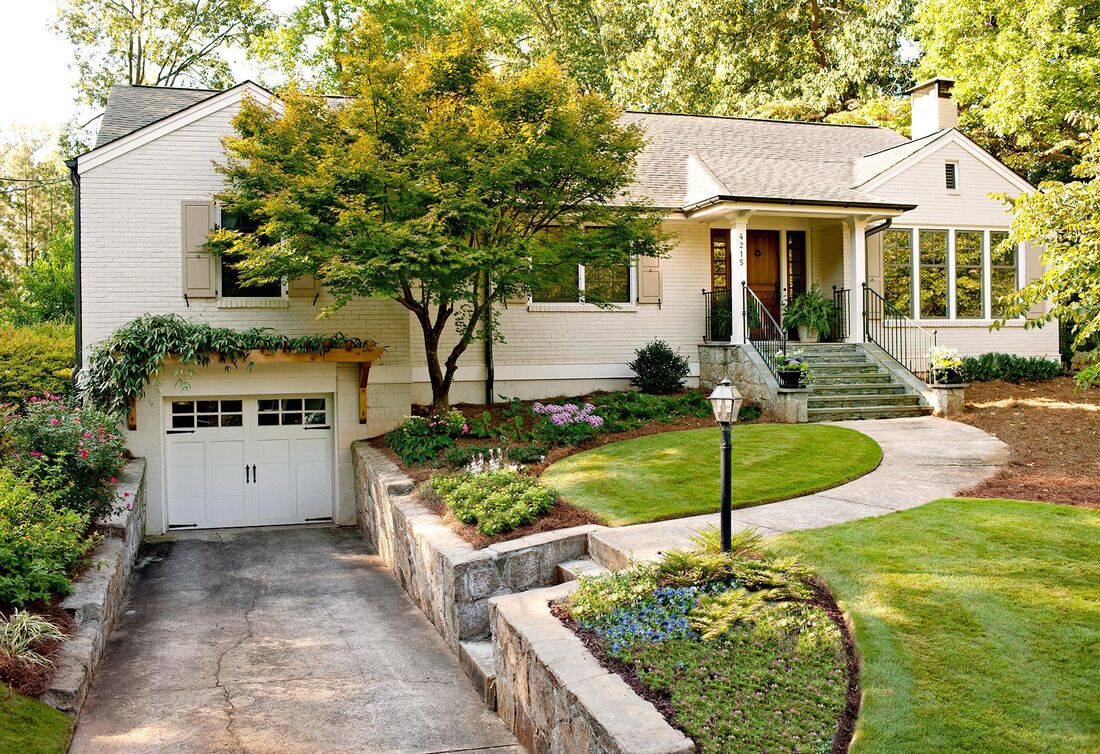
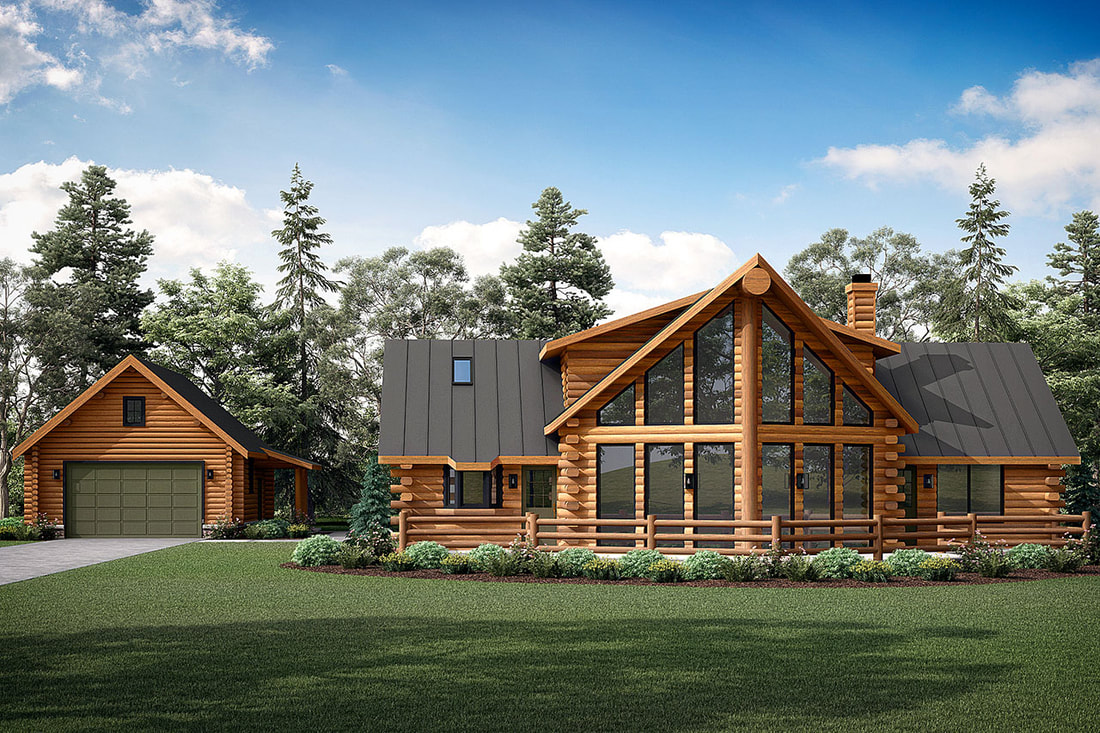
BUILDING TYPES
|
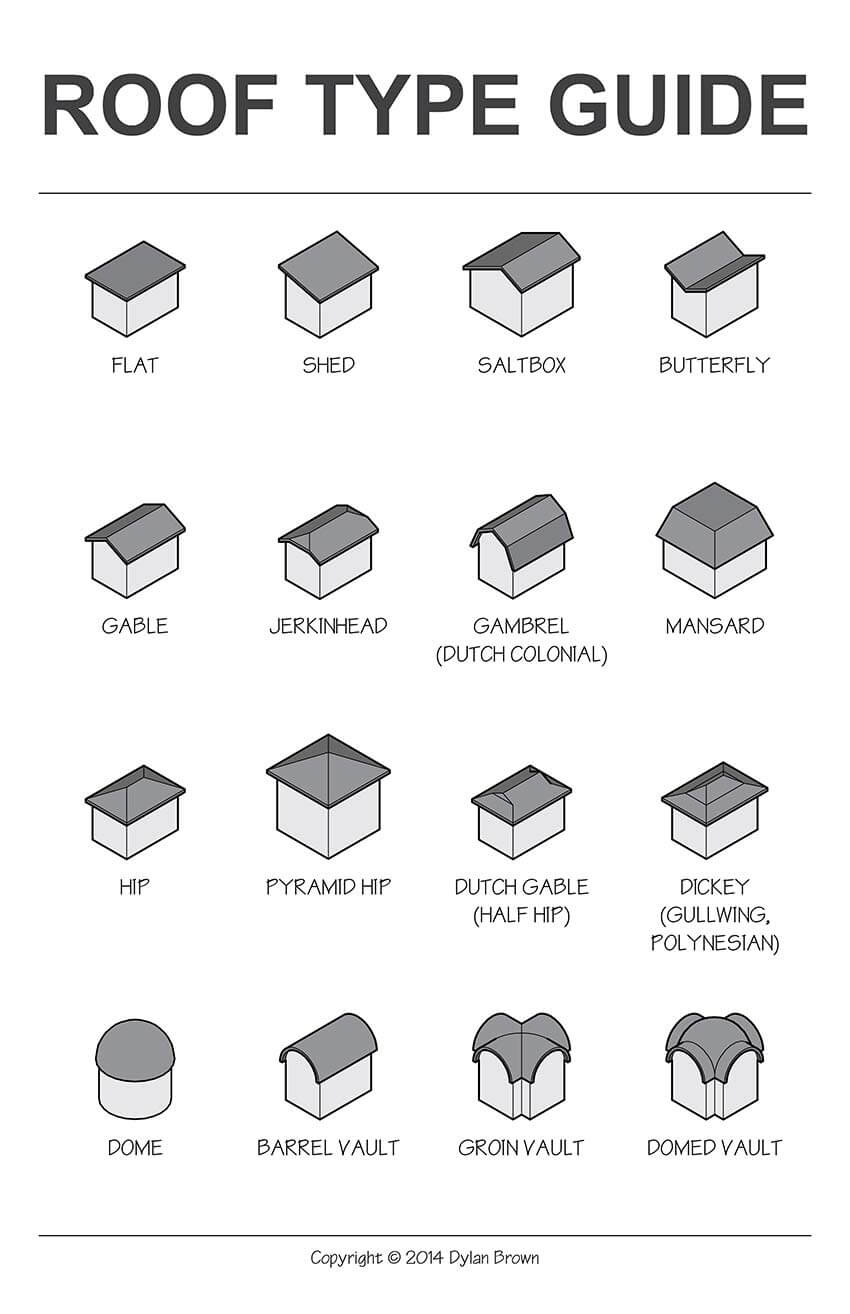
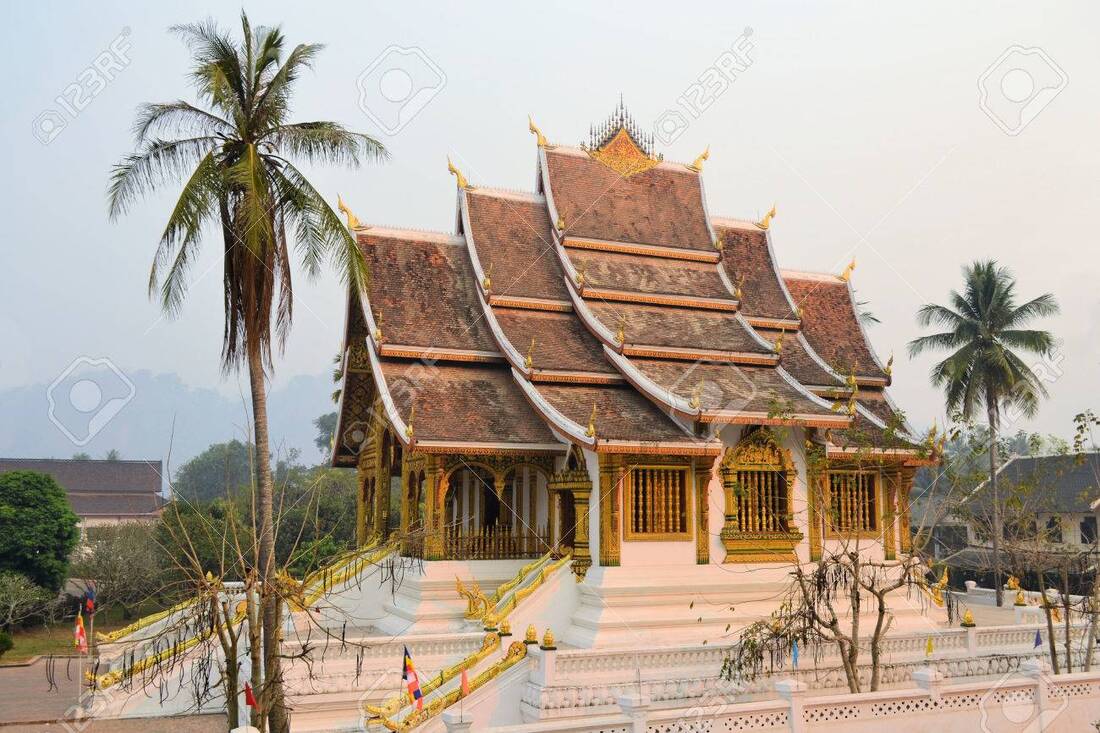
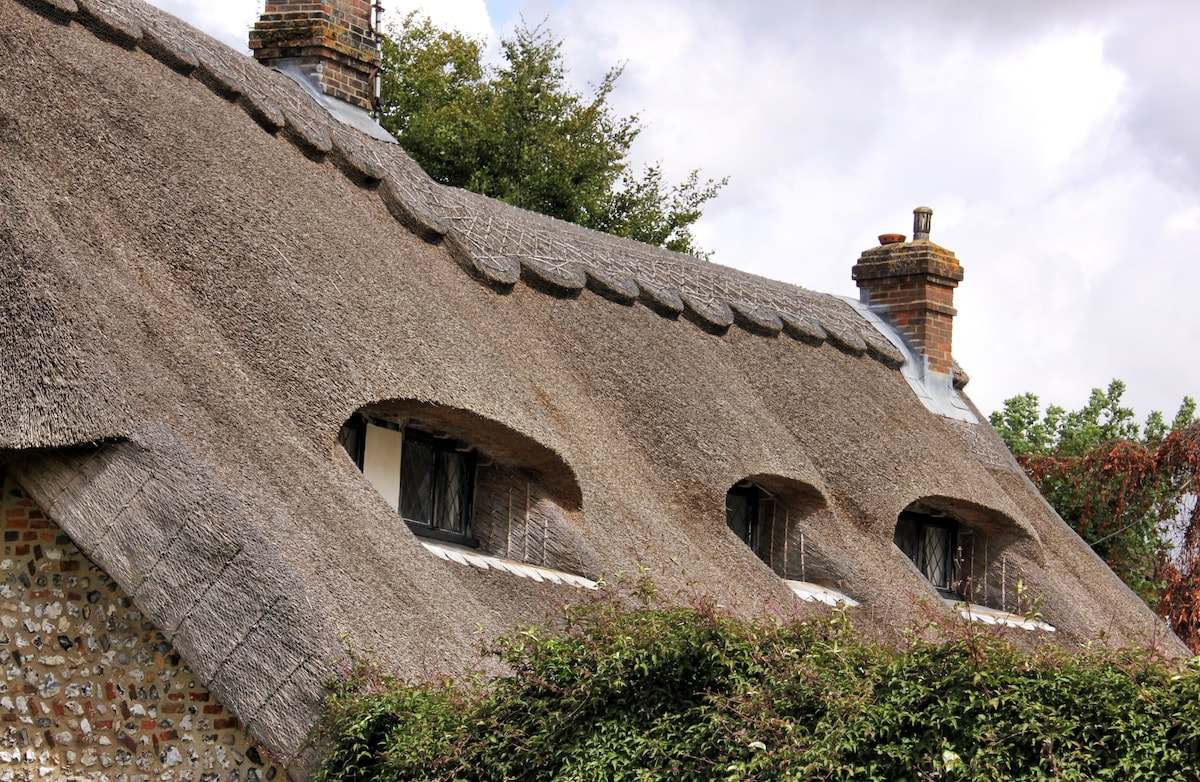
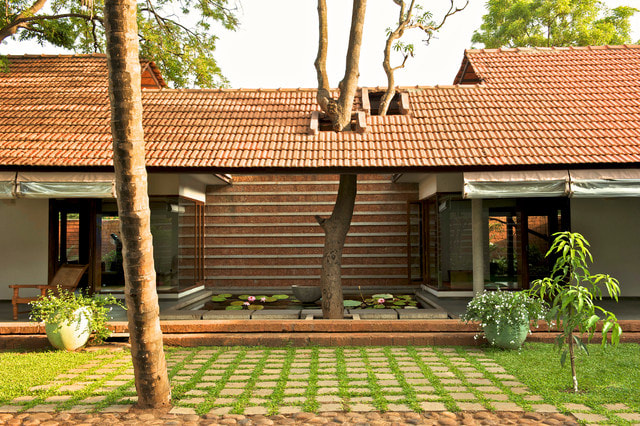
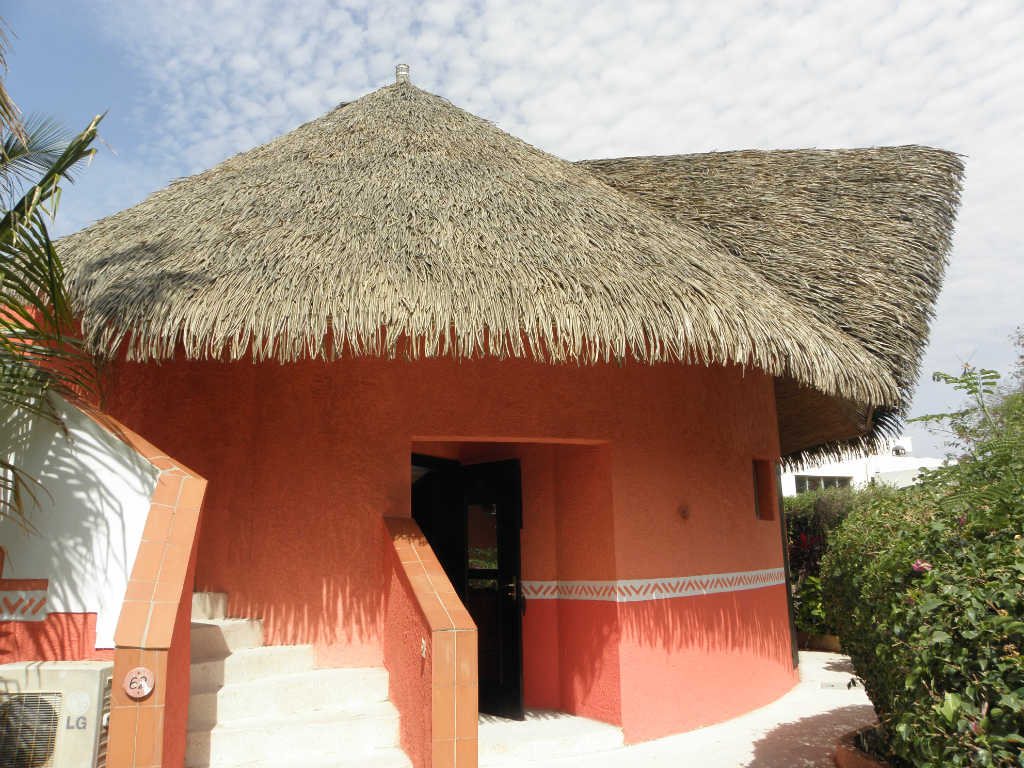
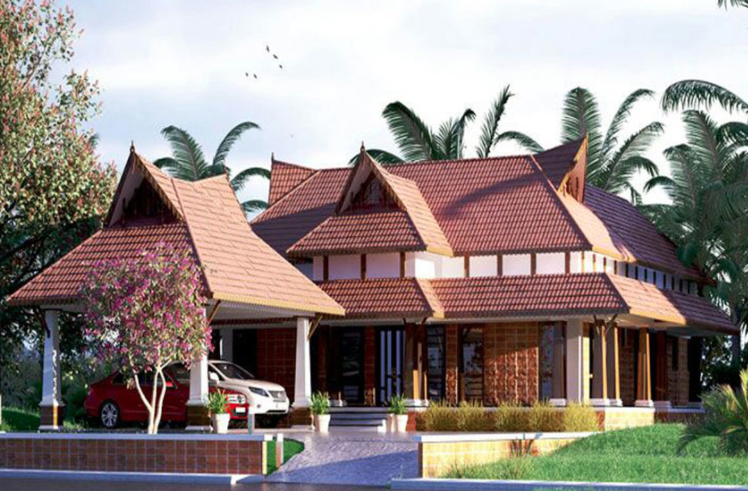
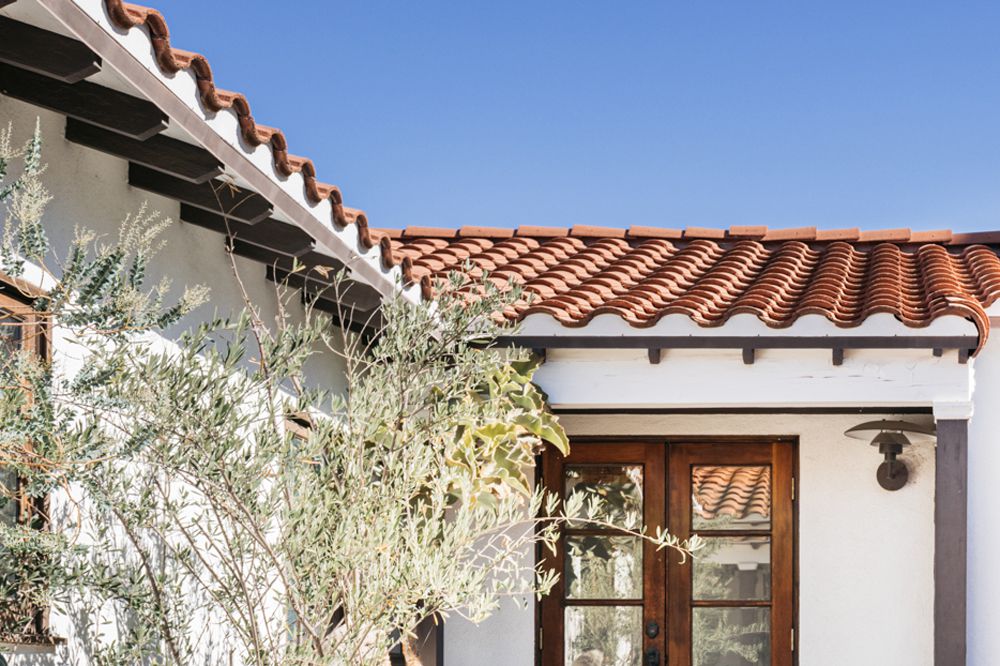
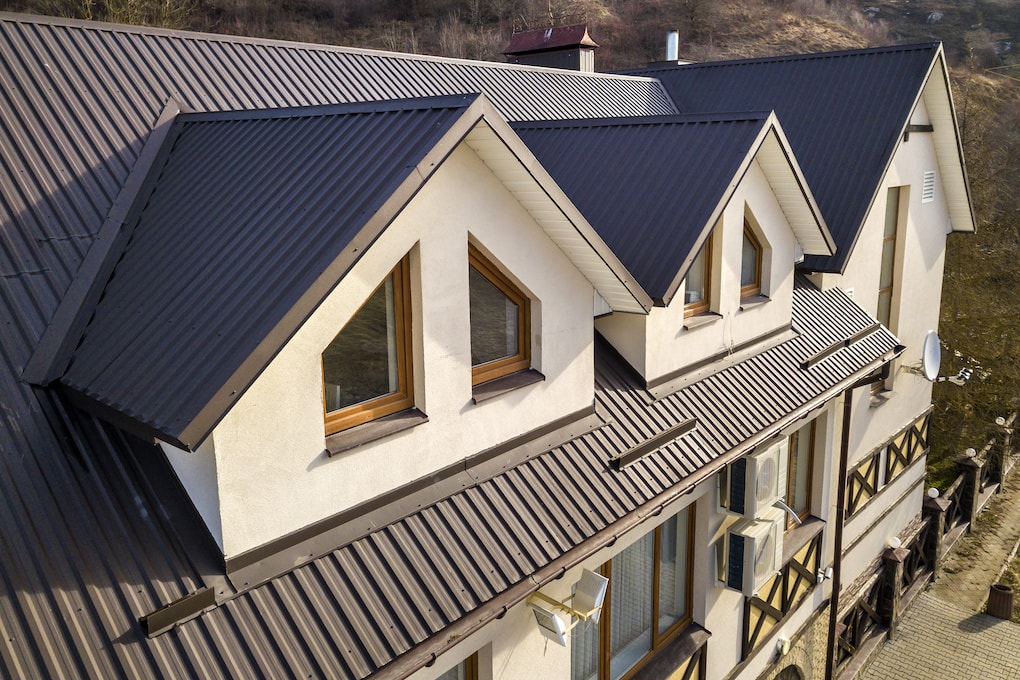
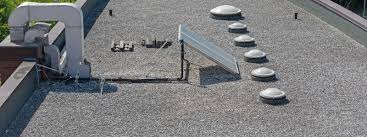
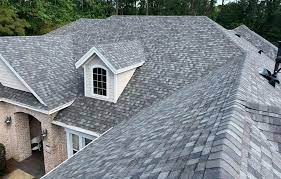
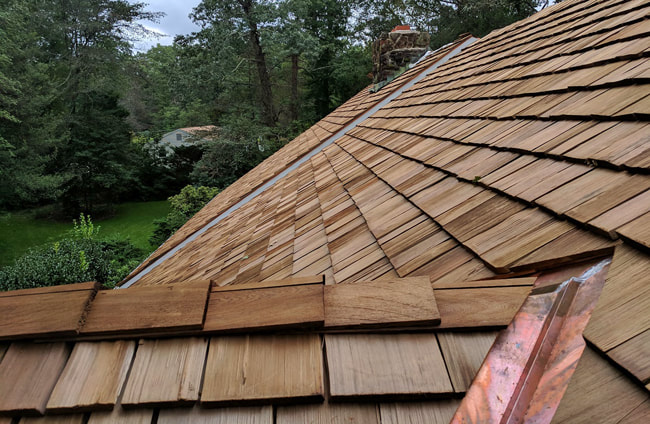
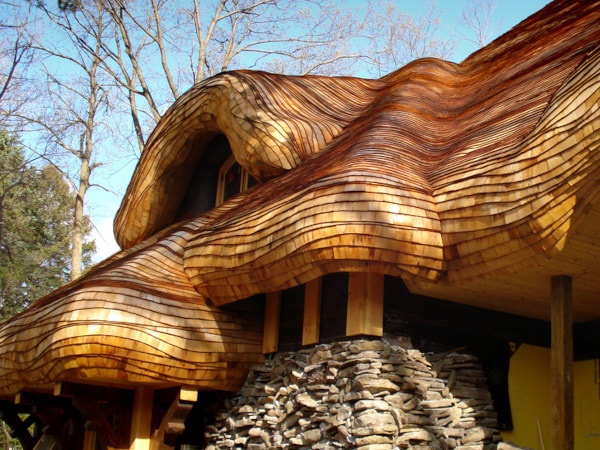
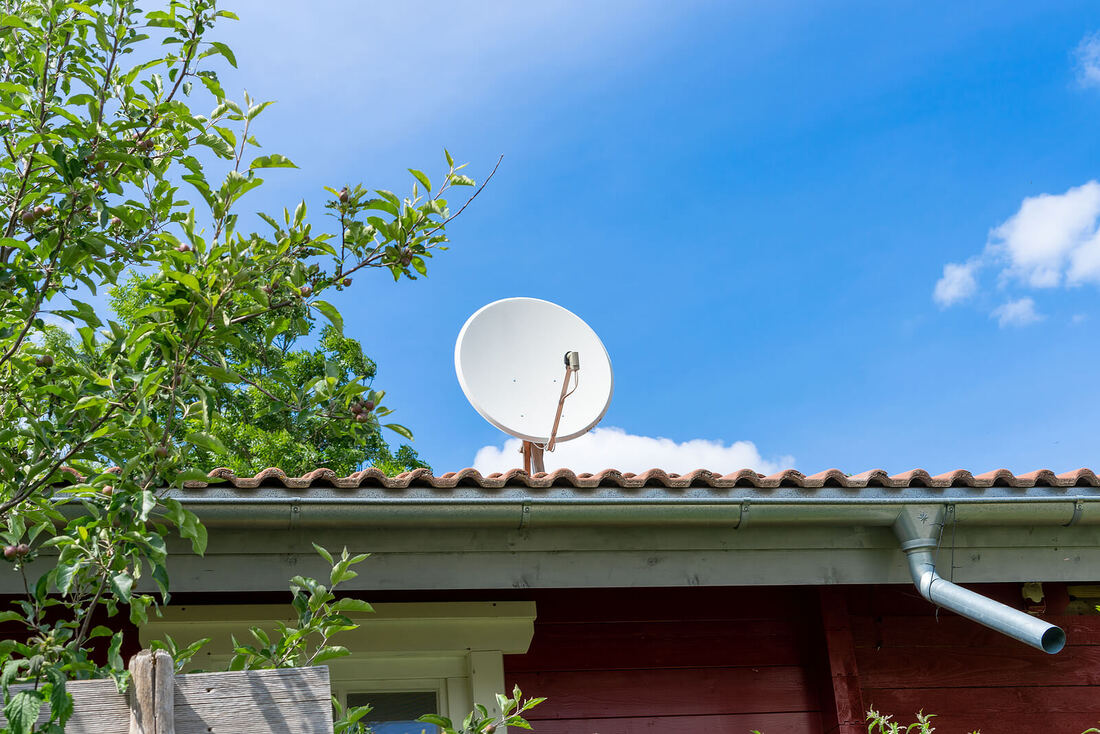
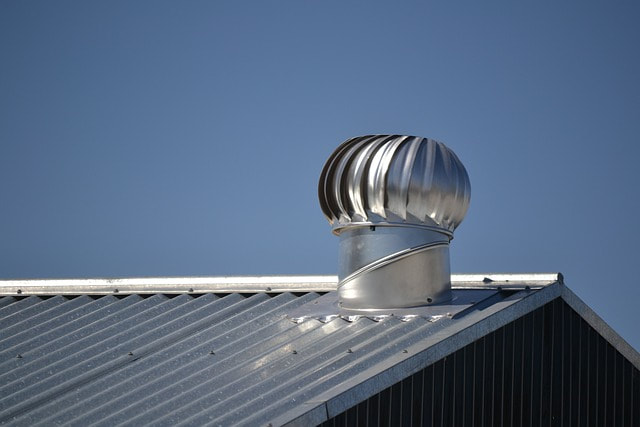
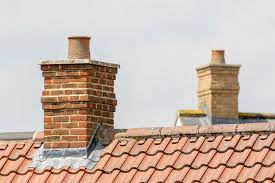
ROOF STYLES
|


|
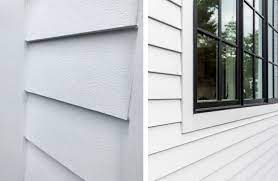
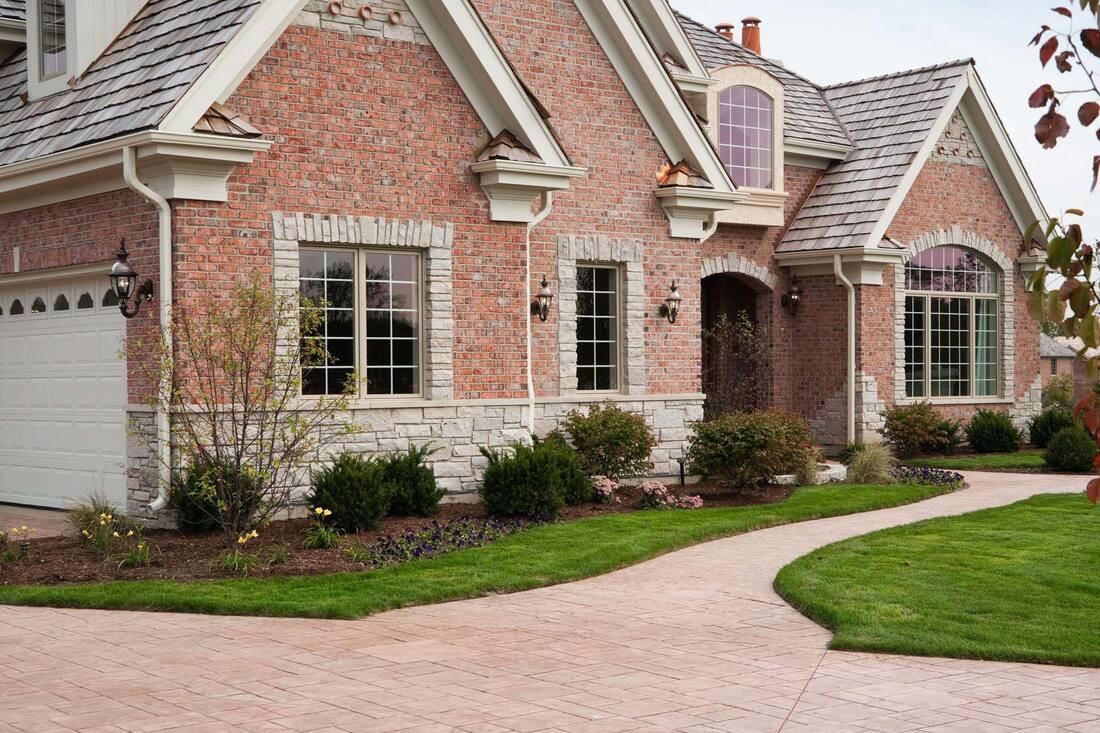
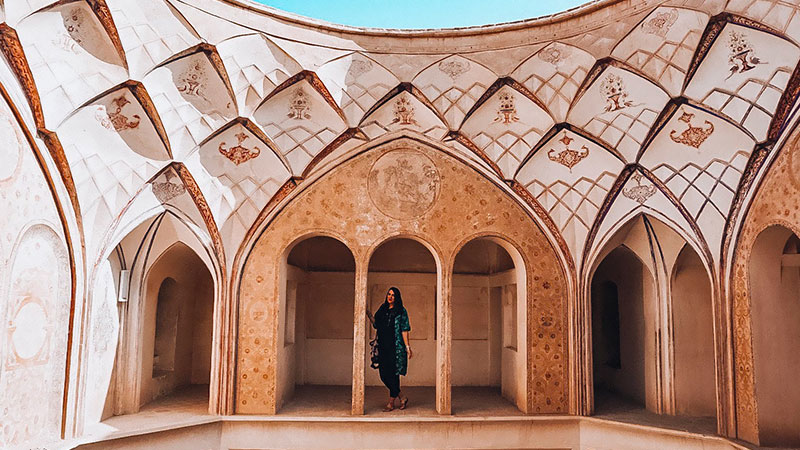
EXTERIOR DETAILS
|
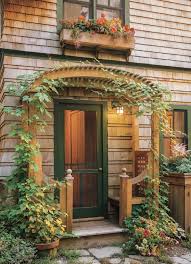
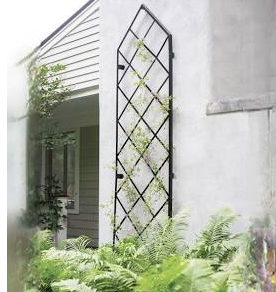
FACADE DETAILS
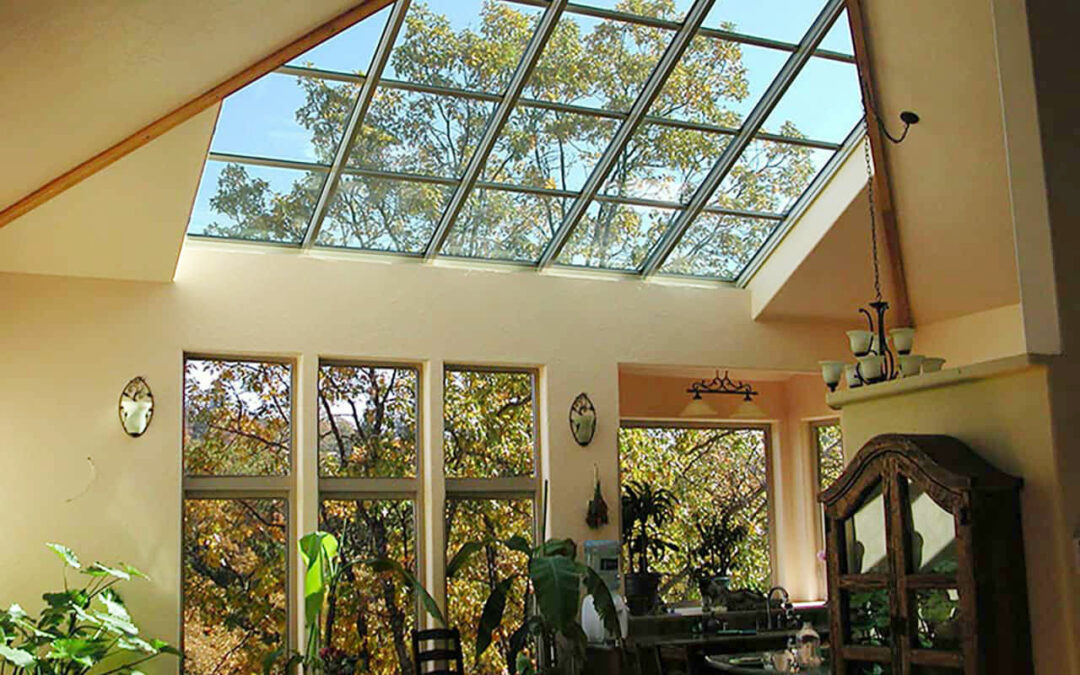
|
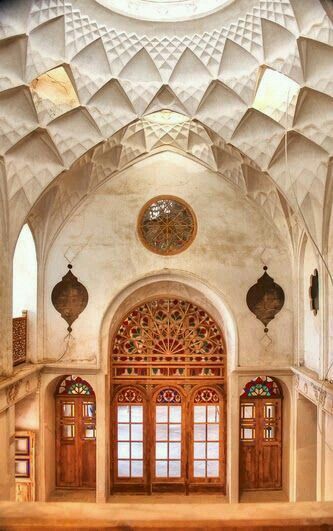
INTERIOR DETAILS
|


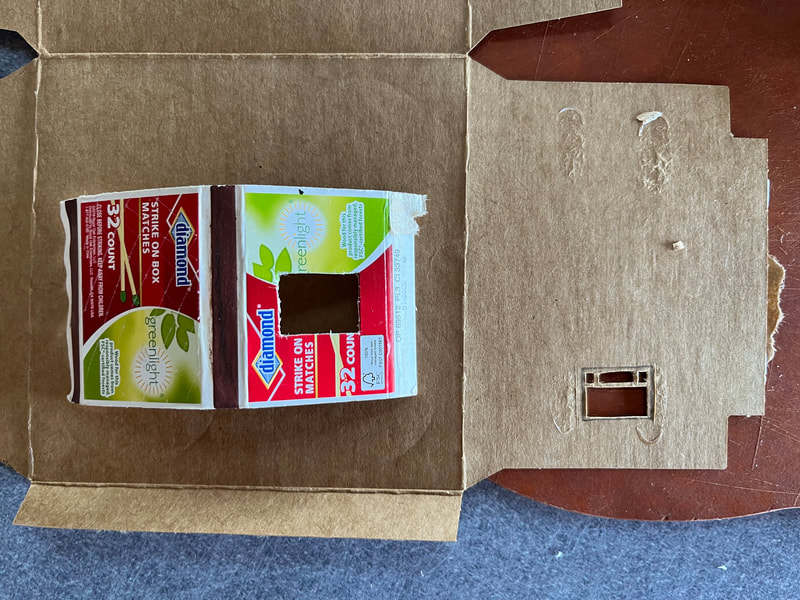
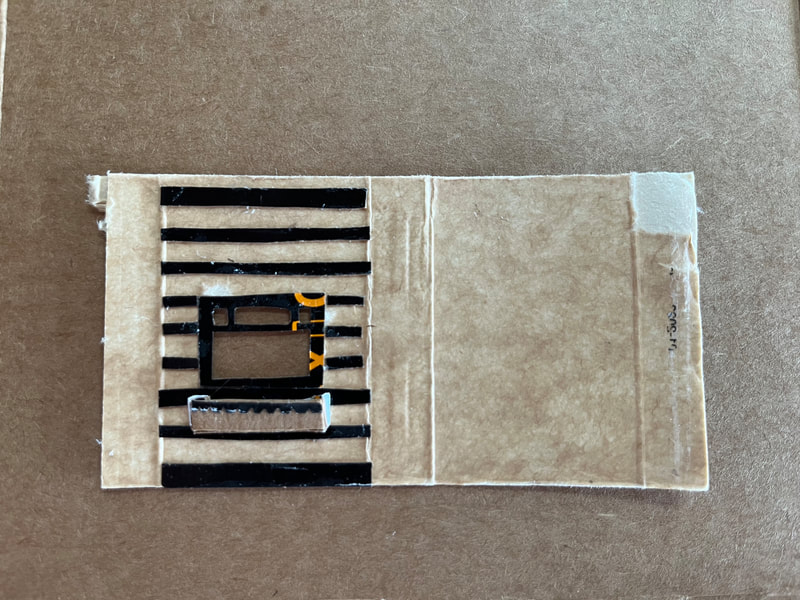
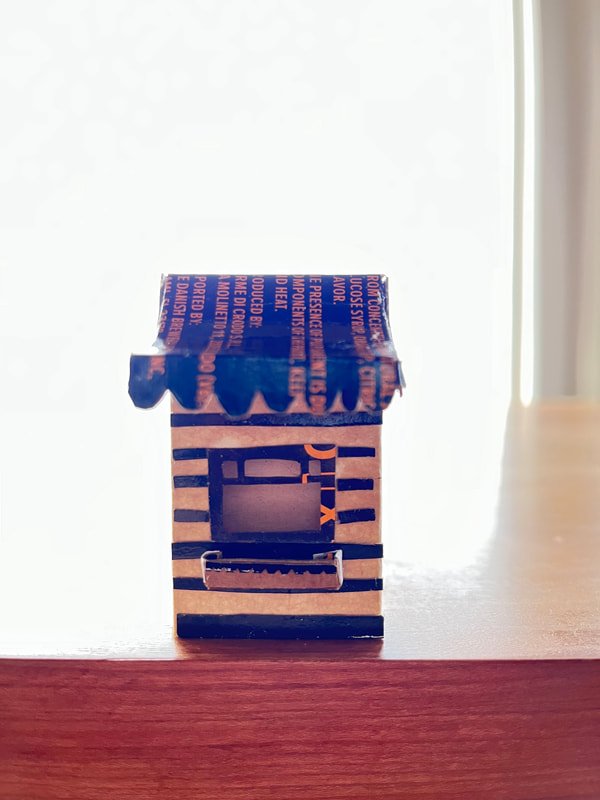
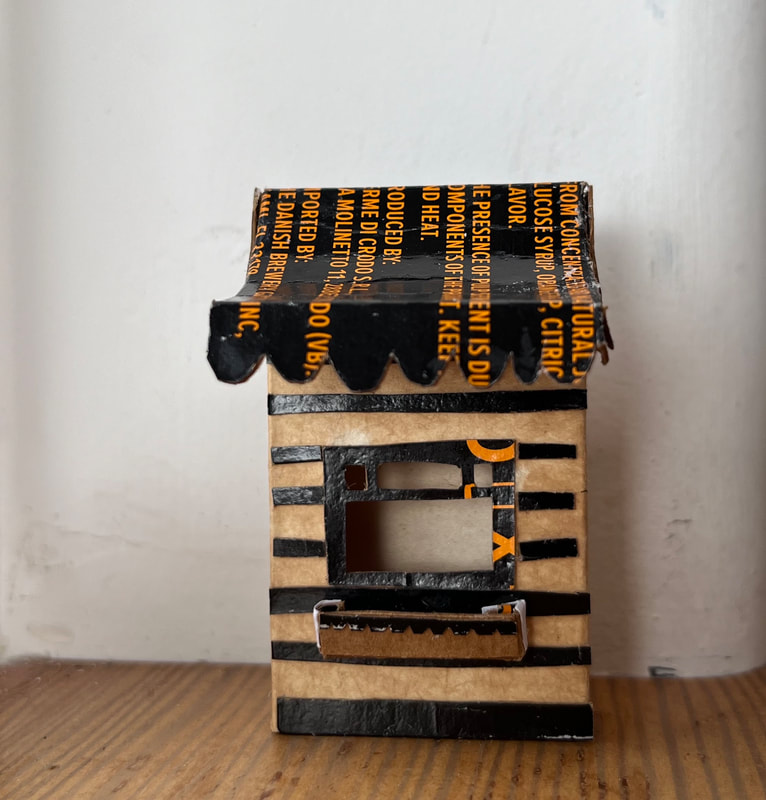
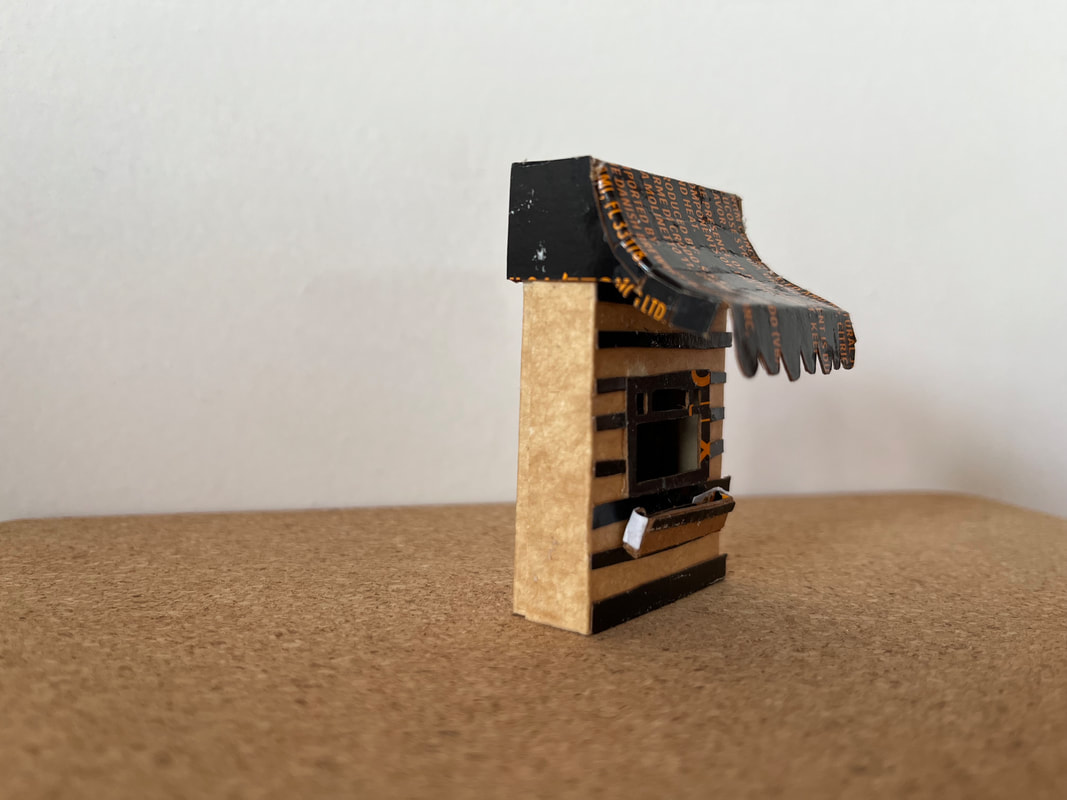
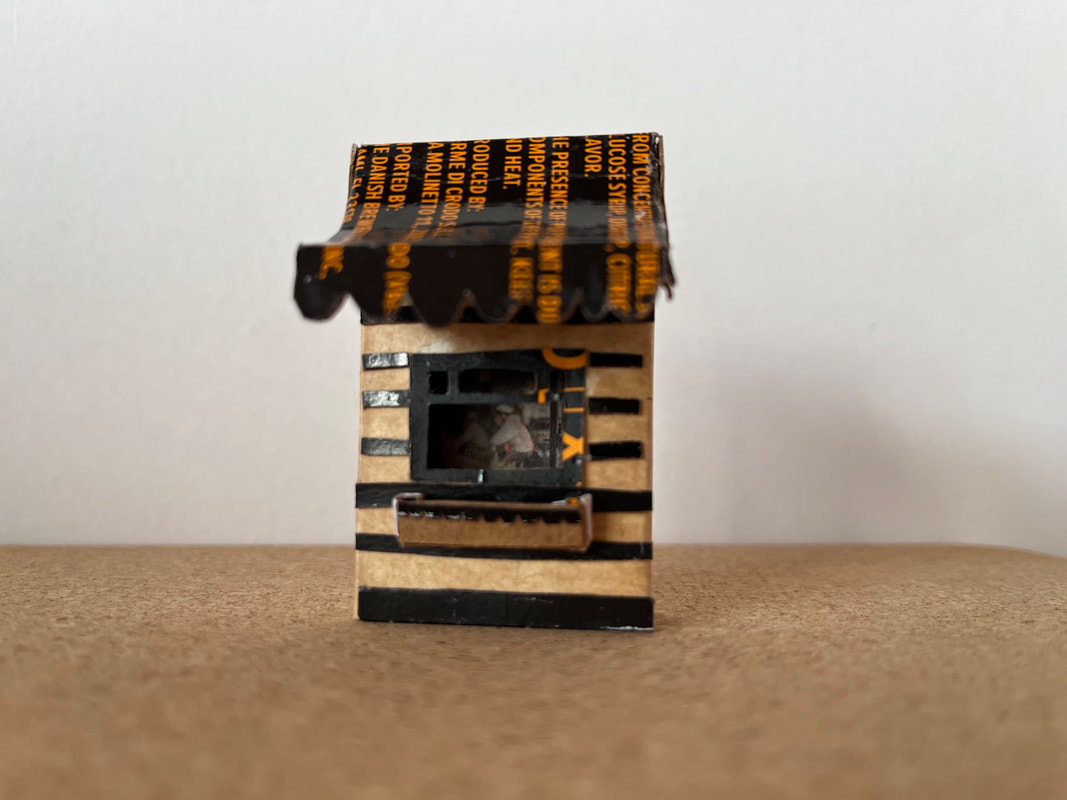
Prototype Steps
|
|
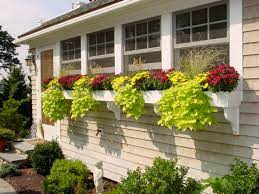
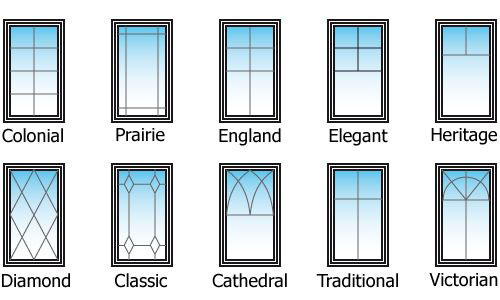
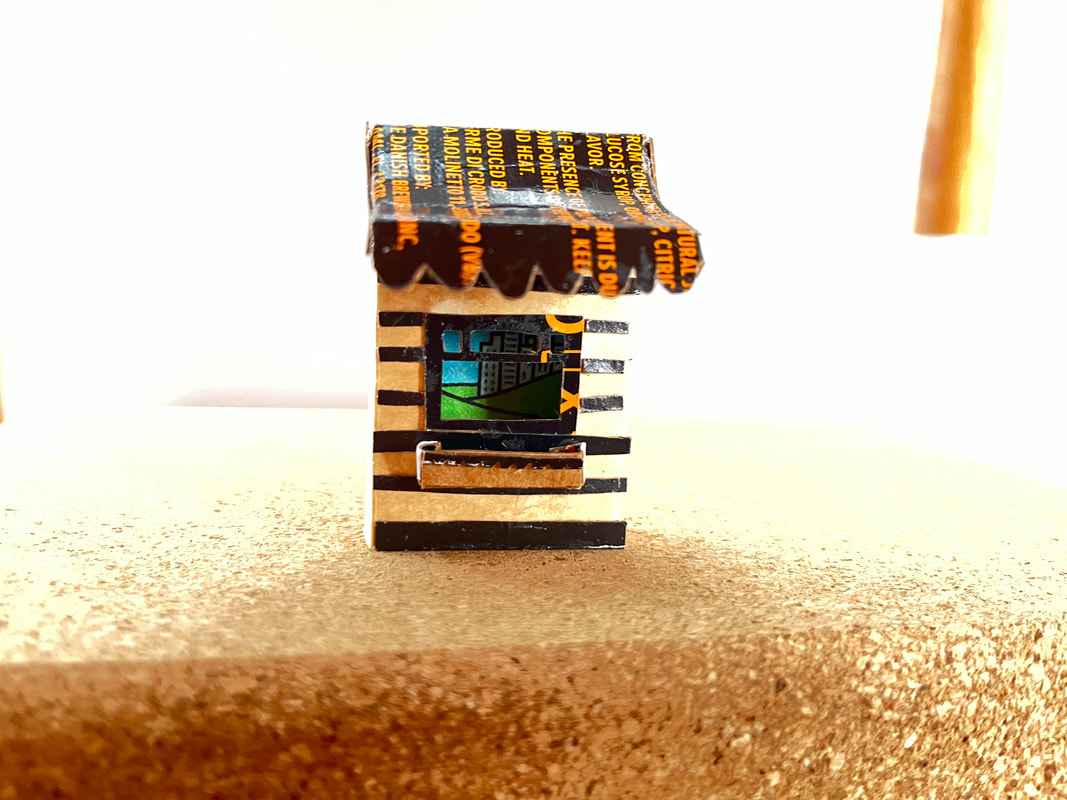
FACADE DETAILS:
WINDOW
WINDOW BOX
|
Design
|
Determine Your Design
|
Documenting your Architectural Sculpture
Email an Image of Your Project
|
Grading Criteria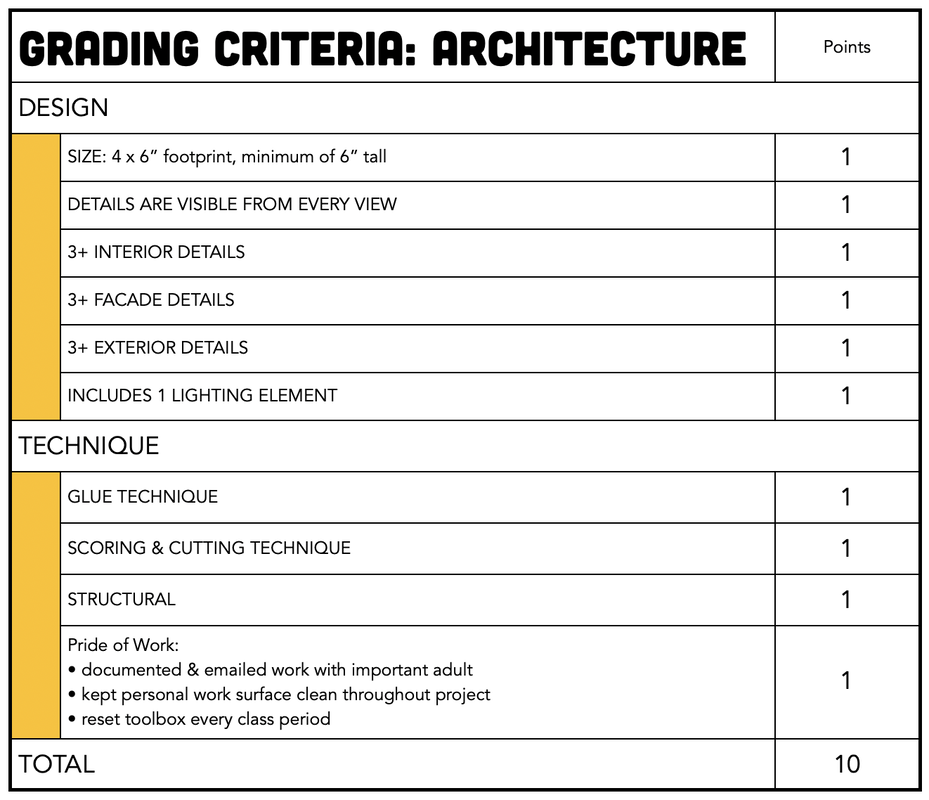
|
